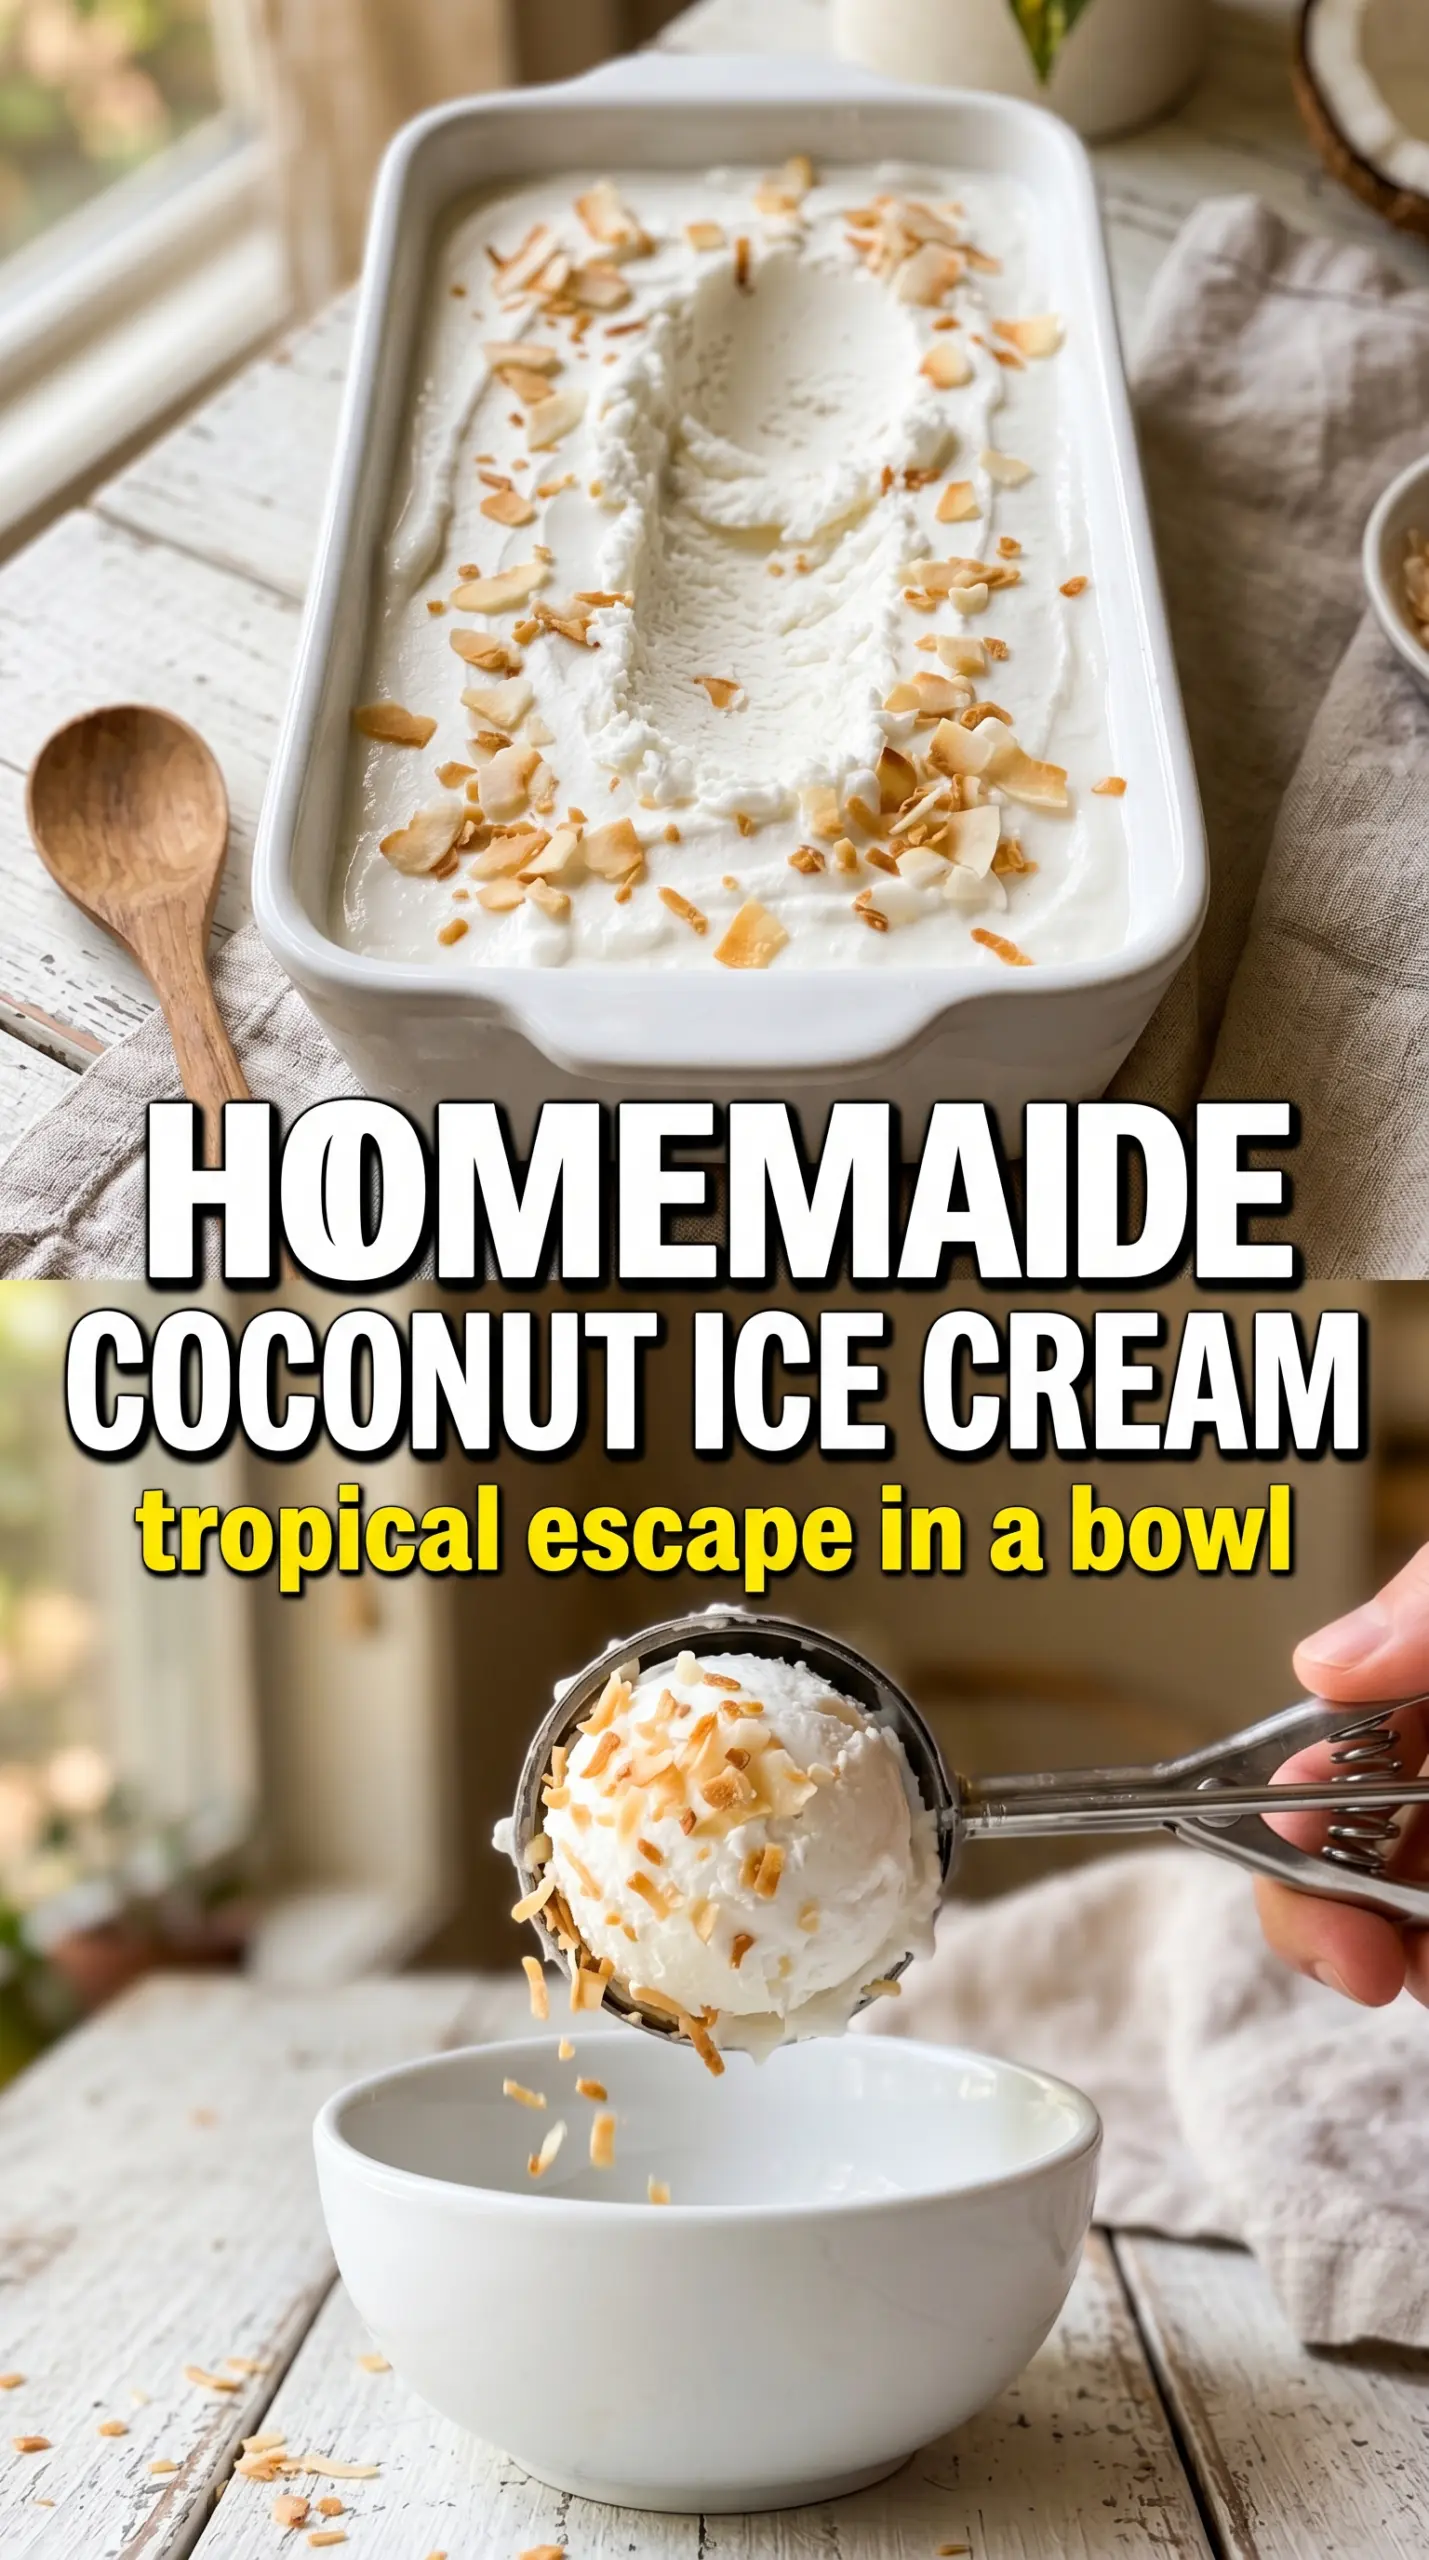
Silky coconut ice cream has a way of tasting richer than you expect from such a short ingredient list. The base comes out dense, fragrant, and clean-tasting, with enough body to scoop into neat rounds instead of turning icy in the freezer. Toasted coconut folded in at the end adds little chewy bits that keep every bite interesting.
What makes this version work is the custard base. Egg yolks give the ice cream structure, while full-fat coconut milk brings the creamy weight you want from a homemade batch. Heating the milk and sugar first dissolves the sugar completely, and tempering the yolks keeps the custard smooth instead of scrambled. The coconut extract is small but important here; it pushes the flavor toward toasted, tropical coconut instead of just “sweet cream with a hint of coconut.”
The custard thickened up beautifully and the toasted coconut stayed crunchy in the freezer. I served it with pineapple and my husband went back for a second bowl before dinner was even over.
Save this coconut ice cream for the nights when you want a creamy no-ice-crystals dessert with real toasted coconut flavor.
The Custard Step That Keeps Coconut Ice Cream Smooth Instead of Grainy
The biggest mistake people make with coconut ice cream is rushing the custard. If the yolks hit the heat too fast, they tighten into tiny bits and you end up with a base that feels sandy even after churning. Tempering is what protects you here: whisk the hot coconut milk in slowly, then return everything to the pan and cook low enough that the custard thickens gradually.
That 175F mark matters because it tells you the custard is cooked enough to coat the back of a spoon without turning eggy. Pull it early and the base can taste thin; push it too far and the yolks seize. Straining the custard before chilling catches any overcooked bits, which is cheap insurance for a smooth finish.
What Each Ingredient Is Actually Doing in This Coconut Ice Cream
- Full-fat coconut milk — This is the backbone of the recipe, and the full-fat version matters. Light coconut milk won’t give you the same dense, scoopable texture. Shake the cans before opening, then whisk them into the sugar so the fat stays evenly distributed.
- Egg yolks — Yolks are what turn this from frozen coconut milk into actual ice cream. They add richness and help the base churn up smoother. Don’t swap them for whole eggs unless you want a firmer, more custard-like result with less silkiness.
- Granulated sugar — Sugar doesn’t just sweeten the base; it keeps the ice cream softer straight from the freezer. If you cut it too much, the texture gets hard and icy. That said, you can reduce it slightly, but expect a firmer scoop.
- Coconut extract — This is the ingredient that makes the coconut flavor pop without needing to overload the base with more milk. If you don’t have it, add another 1/2 teaspoon vanilla and a little more toasted coconut, but the flavor won’t be as pronounced.
- Toasted shredded coconut — Plain shredded coconut gives you texture, but toasting it first adds the nutty, caramelized edge that makes every bite better. Cool it before folding it in so it stays distinct instead of softening into the base.
How to Turn the Base Into Ice Cream That Actually Scoops
Heating the Coconut Milk Without Scorching It
Warm the coconut milk and sugar over medium heat just until the sugar dissolves and the mixture starts steaming. You don’t want a boil here; too much heat can cook the dairy-free fat unevenly and make the base taste cooked before the custard even starts. Stir until the liquid looks glossy and the sugar is gone.
Tempering the Yolks the Right Way
Whisk the yolks until smooth in a separate bowl, then drizzle in the hot coconut milk slowly while whisking constantly. The goal is to raise the yolks’ temperature without scrambling them. If you pour too fast, you’ll get little egg ribbons, and those only get worse once the custard goes back on the stove.
Cooking the Custard Until It Coats the Spoon
Return everything to the saucepan and cook over medium-low heat, stirring constantly with a spatula that reaches the corners. At around 175F, the custard thickens enough to leave a clean line on the spatula and lightly coat the back of a spoon. If it starts to bubble hard, pull it back; a broken custard is much harder to smooth out later.
Chilling, Churning, and Folding in the Coconut
Strain the custard, stir in the vanilla, coconut extract, and salt, then chill it fully before churning. Cold base churns faster and makes smaller ice crystals, which gives you a smoother scoop. Add the toasted coconut in the last couple minutes of churning so it stays suspended instead of sinking, then freeze the finished ice cream until firm.
How to Adapt This for Dairy-Free, Lower-Sugar, or Extra Coconut Flavor
Make It Fully Dairy-Free
This recipe is already built on coconut milk, so it works as a dairy-free dessert as written. Just check that your shredded coconut and vanilla extract are free of dairy additives, and you’re set. The texture stays rich because the egg yolks provide the structure that cream would normally give.
Dial the Coconut Flavor Up Even More
If you want a louder coconut finish, add an extra 1/4 teaspoon coconut extract, not more sugar. More extract gives you flavor without thinning the base or making it icy. You can also use a bit more toasted coconut on top for a stronger coconut aroma with every bite.
Use Unsweetened Coconut for Less Sweetness
Unsweetened shredded coconut works fine if you want a less sweet dessert, but the flakes will taste drier and a little less candy-like. Toast it until the edges are deeply golden so it still brings enough nuttiness to stand out in the finished ice cream.
Storage and Reheating
- Refrigerator: The churned base isn’t meant to be stored in the fridge; once it’s frozen, keep it in the freezer instead.
- Freezer: Store in an airtight container for up to 2 weeks for the best texture. Press parchment or plastic wrap directly onto the surface if you want to slow ice crystal formation.
- Reheating: Let it sit at room temperature for 5 to 10 minutes before scooping. If it’s rock hard, don’t microwave the whole container; that softens the edges unevenly and turns the texture sloppy.
Answers to the Questions Worth Asking
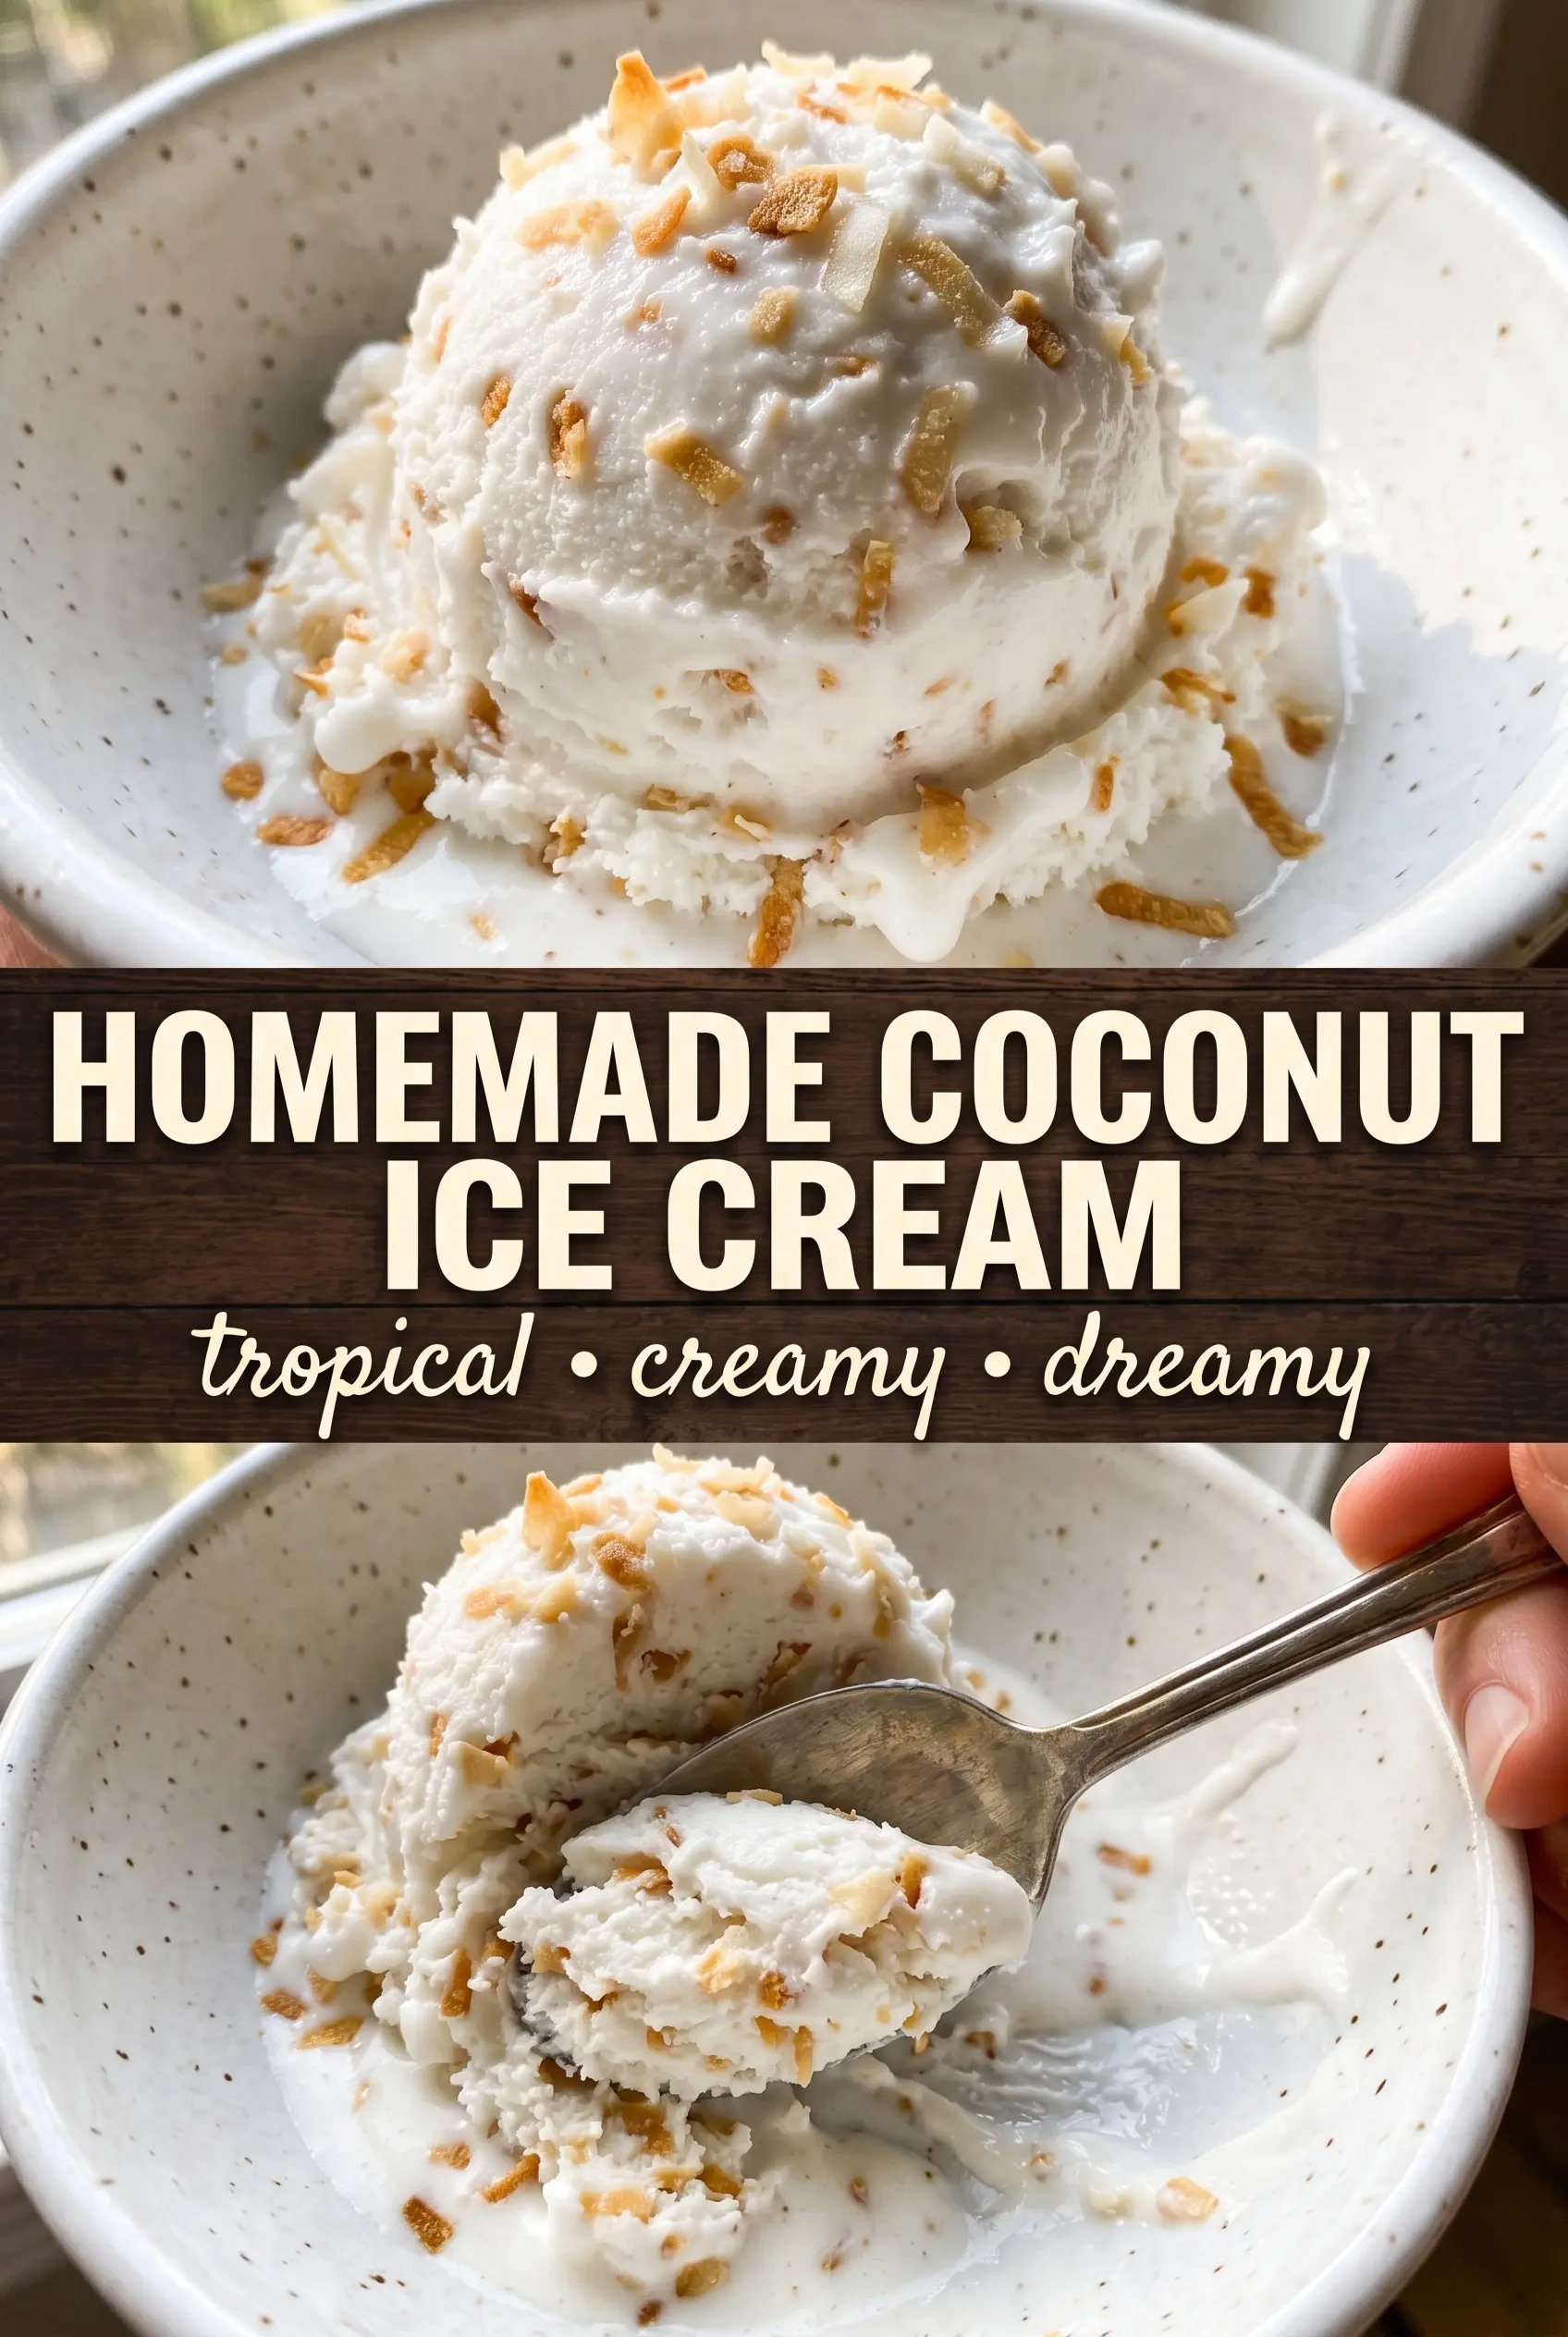
Homemade Coconut Ice Cream
Ingredients
Equipment
Method
- Heat the full-fat coconut milk and granulated sugar in a saucepan over medium heat until the mixture steams and the sugar dissolves completely.
- Continue heating just until you see steady steam rising from the surface, then remove from heat for tempering.
- Whisk the egg yolks until smooth, then slowly whisk the hot coconut milk into the yolks to prevent scrambling.
- Return the mixture to the saucepan and cook over medium-low heat, stirring constantly, until the custard reaches 175F and coats the back of a spoon.
- Strain the custard, then stir in the vanilla extract, coconut extract, and salt until fully combined.
- Cool completely to room temperature, then refrigerate until very cold (at least 4 hours) before churning.
- Churn the chilled coconut custard in an ice cream maker according to the manufacturer’s directions until it reaches a soft-serve consistency.
- Fold in the toasted shredded sweetened coconut during the last 2 minutes of churning, then transfer to a container and freeze until firm.


