Corn on the cob turns unexpectedly rich when it cooks in milk and butter instead of plain water. The kernels stay tender and sweet, but the flavor goes deeper — almost like the corn was basted from the inside while it cooked. You still get that fresh summer-corn snap, just wrapped in a creamy, buttery finish that doesn’t need much help at the table.
The trick is keeping the pot at a gentle boil, not a rolling one. Whole milk adds body, butter carries flavor, and a little sugar boosts the corn’s natural sweetness without making it taste like dessert. Salt belongs in the pot too, because it seasons the kernels all the way through instead of sitting on the surface after the fact.
Below, I’ll walk you through the exact liquid ratio, the cooking cue that tells you the corn is ready, and a few easy ways to adjust this if you want to serve a bigger crowd or change up the seasoning.
The corn came out so tender and the milk-butter broth gave it a sweet, creamy taste without making it greasy. I set the timer for 25 minutes and it was perfect, even the next day reheated under foil.
Milk-butter boiled corn that turns every ear sweet, creamy, and tender enough to skip the extra toppings
The Gentle Boil That Keeps Corn Sweet Instead of Watery
Plain boiling water can pull a little flavor out of corn if you cook it hard and fast. The milk-butter bath changes the game because the liquid stays rich and the heat stays controlled. That means the kernels cook through without losing their sweetness or turning shriveled at the edges.
The other mistake people make is overcooking it. Corn only needs enough time to become tender and fully heated through. Past that point, the kernels start to lose their pop and the texture goes soft instead of juicy.
Keep the liquid at a steady, lazy boil once the corn goes in. If the pot starts roaring, lower the heat. You want the milk to move gently around the ears, not bubble so hard that it threatens to boil over.
What Each Ingredient Is Actually Doing in This Dish

- Corn on the cob — Fresh corn matters here because the whole recipe leans on natural sweetness. If the corn is older, it still works, but you’ll notice the kernels are less juicy. Pick ears with tight husks and plump kernels for the best result.
- Whole milk — This is what gives the cooking liquid its round, creamy body. Lower-fat milk will work in a pinch, but the broth won’t cling to the corn the same way. If you need a substitute, half-and-half makes it even richer, though it’s more likely to foam up.
- Butter — Use real unsalted butter so you control the seasoning. It melts into the liquid and coats the corn as it cooks, which is part of why the finished ears taste like they’ve already been dressed. Salted butter can work, but reduce the added salt a little.
- Sugar — You’re not making sweet corn dessert. The sugar just nudges the corn’s own sweetness forward, especially if the ears aren’t peak-season perfect. Leave it out if your corn is very fresh and naturally sweet, but the tiny amount does help.
- Salt — This seasons the corn from the inside of the pot instead of only on the plate. It also keeps the milk bath from tasting flat. Flaky salt at serving time adds a little crunch and gives the butter something to cling to.
How to Build the Creamy Bath Without Letting It Boil Over
Starting the Pot
Add the water, milk, butter, sugar, and salt to a large pot first, then bring it up slowly over medium-high heat. Stir as the butter melts so the milk doesn’t catch on the bottom. You’re looking for a gentle boil with small bubbles across the surface, not a violent eruption that splashes milk everywhere.
Cooking the Corn Through
Once the corn goes in, lower the heat to medium and cover the pot. The milk calms the boil and helps the liquid stay at a controlled simmer, which is exactly what you want. If the pot starts to foam toward the rim, uncover it for a minute and nudge the heat down before it spills over.
Knowing When It’s Done
The corn should feel tender when pierced with a fork but still have a little bite near the base of the kernels. At 20 minutes, start checking one ear if your corn is small or very fresh; larger ears may need the full 25. Pulling it at the right moment matters because overcooked corn loses that juicy snap this method is built to protect.
Serving While It’s Still Glossy
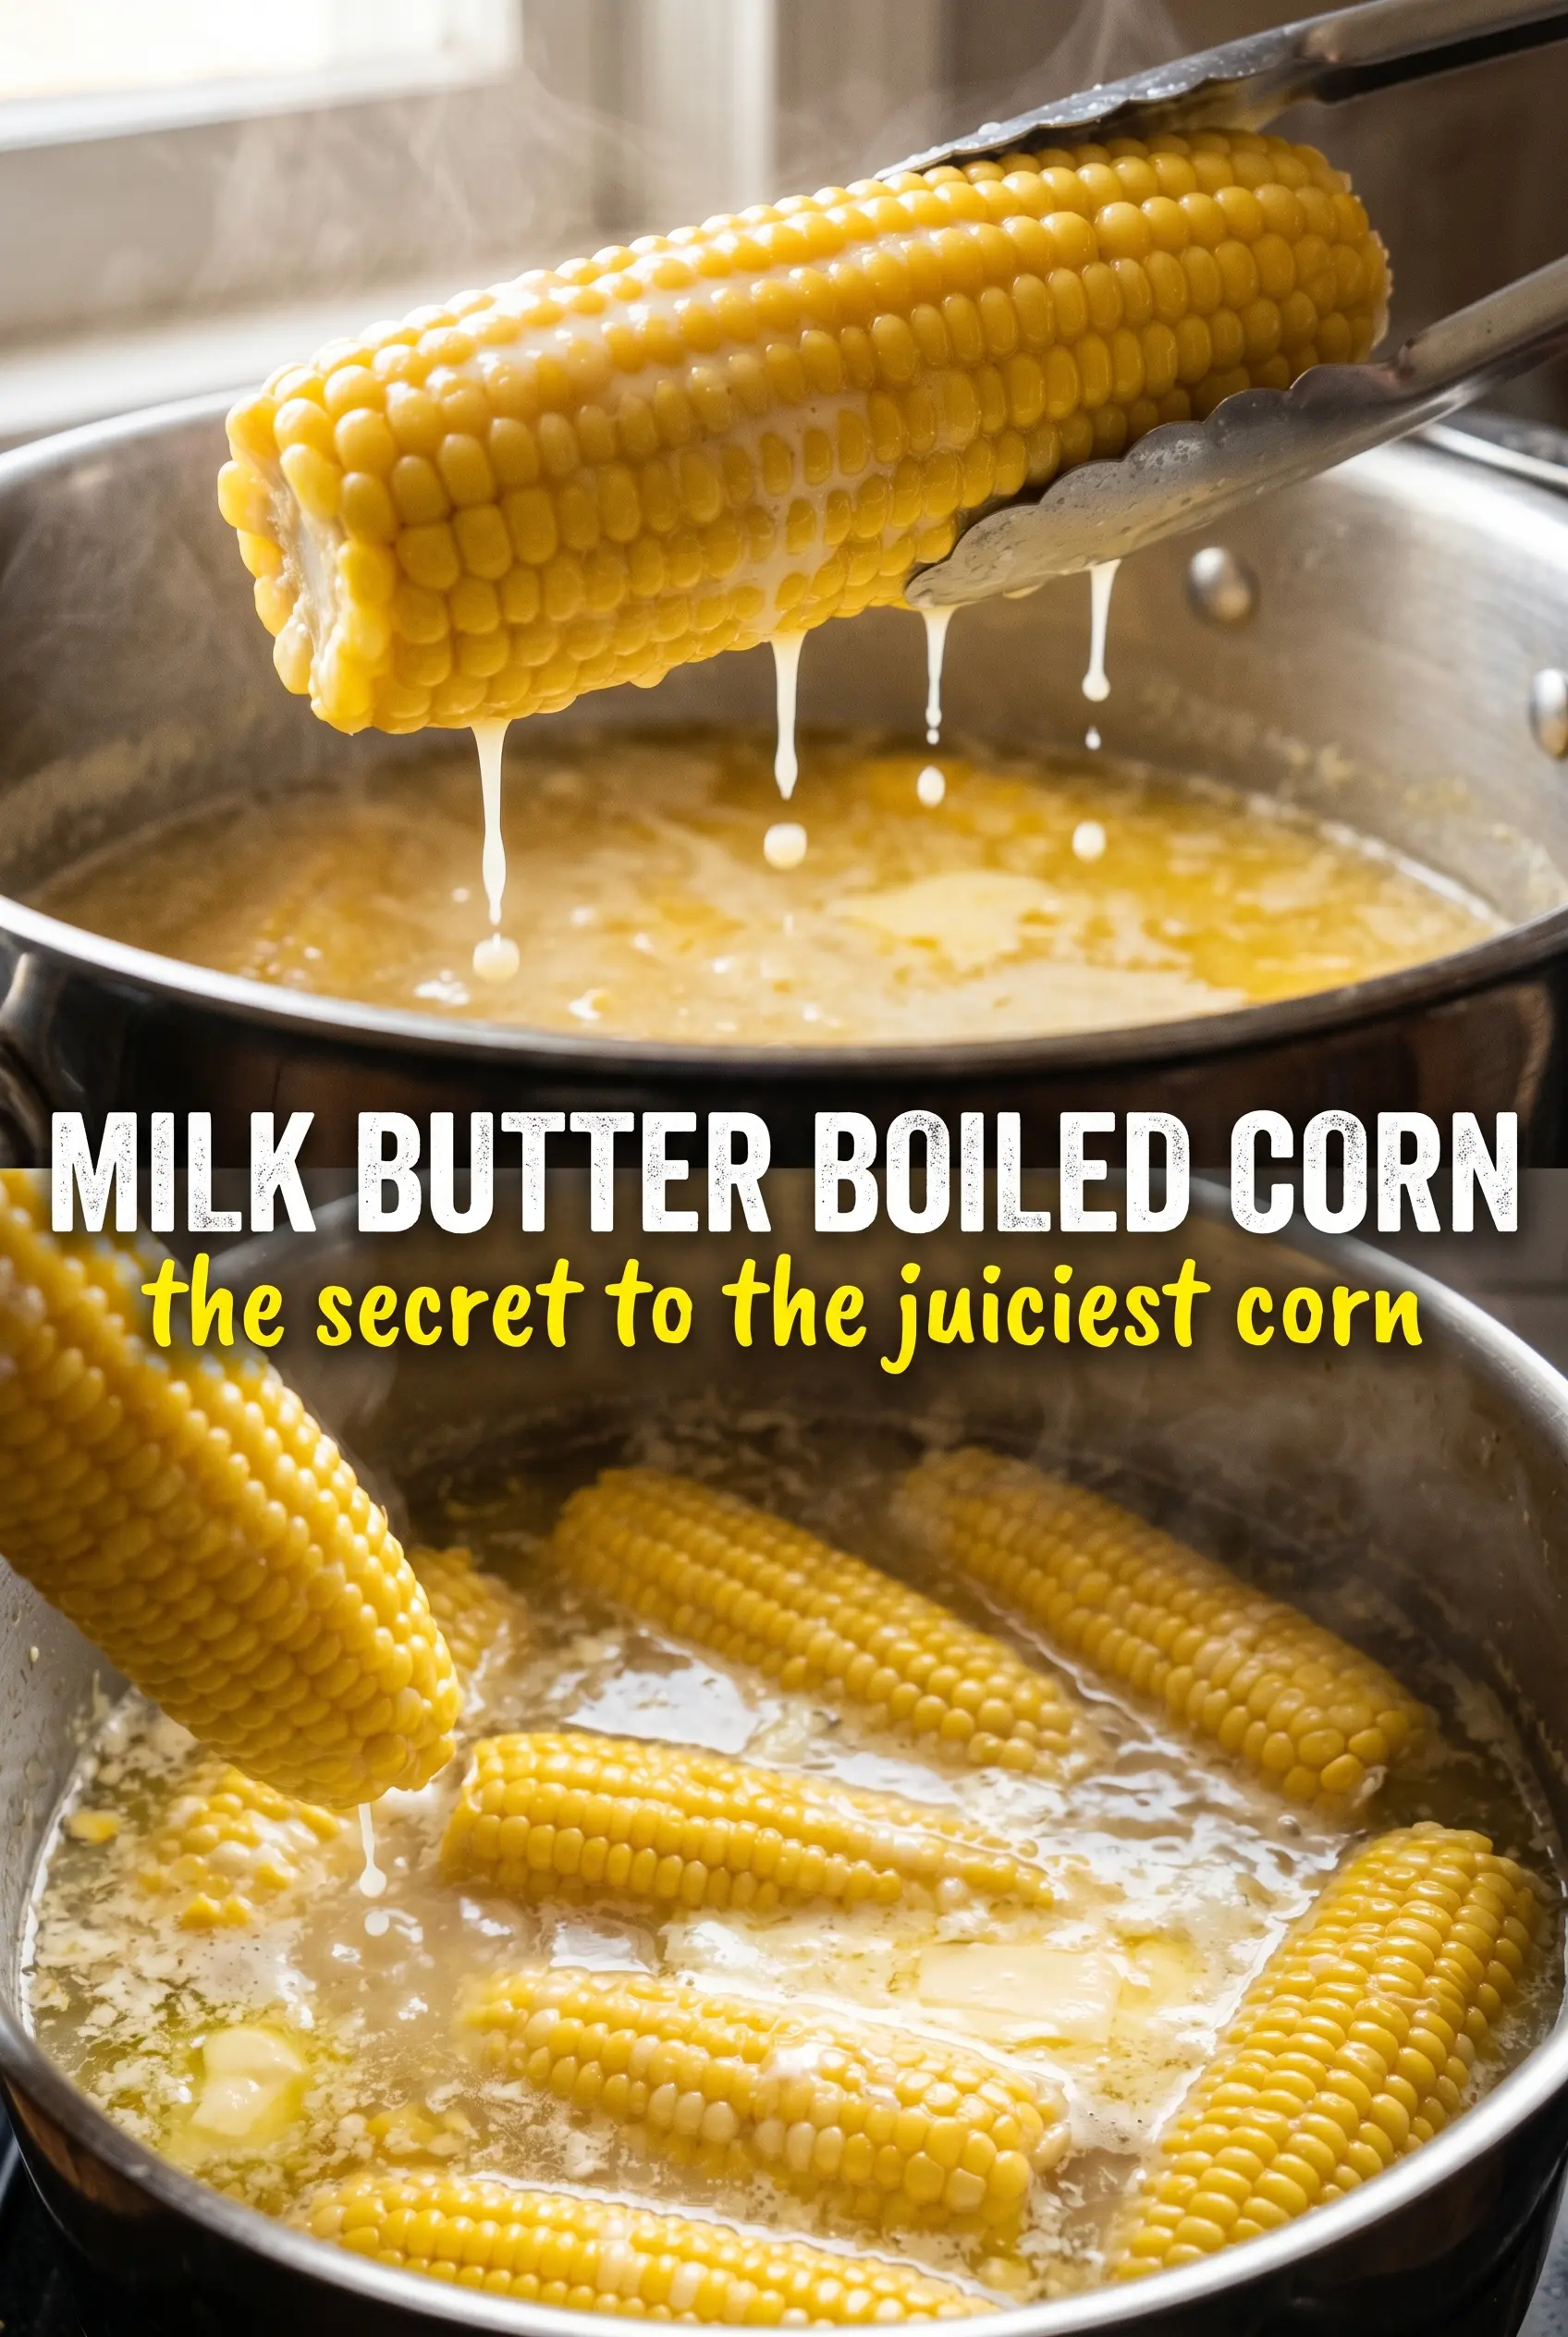
Lift the ears out with tongs and let the extra liquid drip off for a few seconds. Serve them right away with a pat of butter and a pinch of flaky salt. The surface should look glossy and lightly coated, not wet enough to puddle on the plate.
How to Adapt This for Different Kitchens and Different Eaters
Dairy-Free Corn That Still Stays Rich
Use unsweetened oat milk or full-fat coconut milk instead of the whole milk, then swap the butter for a plant-based butter with a clean flavor. Oat milk keeps the taste closest to the original, while coconut milk adds a faint sweetness that works if you don’t mind a slight tropical note.
Making It for a Bigger Crowd
Double the liquid only if your pot can hold the ears without crowding them. The corn needs room to move so the milk bath can circulate around each cob. If the pot is packed tight, the ears steam unevenly and you lose that even, buttery coating.
Skipping the Sugar When Your Corn Is Peak Fresh
If you’re working with very fresh corn, you can leave out the sugar and still get a sweet finish. The milk and butter will carry the flavor on their own. This version tastes a little more corn-forward and less rounded, which some people prefer.
Storage and Reheating
- Refrigerator: Store leftover corn in an airtight container for up to 3 days. The kernels stay tender, though they lose a little of that just-cooked gloss.
- Freezer: Freezing isn’t the best choice here. The milk-butter coating and the texture of cooked corn both suffer after thawing.
- Reheating: Warm the ears gently in a covered skillet with a splash of water or a little butter over low heat. High heat dries the kernels out fast and makes them taste starchy instead of sweet.
Questions I Get Asked About This Recipe
Milk Butter Boiled Corn on the Cob
Ingredients
Equipment
Method
- Combine water, whole milk, cubed unsalted butter, granulated sugar, and salt in a large Dutch oven, then bring to a gentle boil over medium-high heat while stirring until the butter melts.
- Add the corn ears and reduce heat to medium, keeping the liquid just hot enough that it does not boil vigorously (you should see gentle simmering rather than rolling bubbles).
- Cover and cook for 20–25 minutes, stirring or turning the corn once near the halfway mark if needed so the kernels cook evenly, until tender and deeply flavored (visual cue: the kernels look plumper and the liquid looks creamy).
- Remove the corn with tongs and let excess milk-butter liquid drip off.
- Serve immediately with an extra pat of butter and flaky salt, so the coating looks glossy as it reaches the plate.


