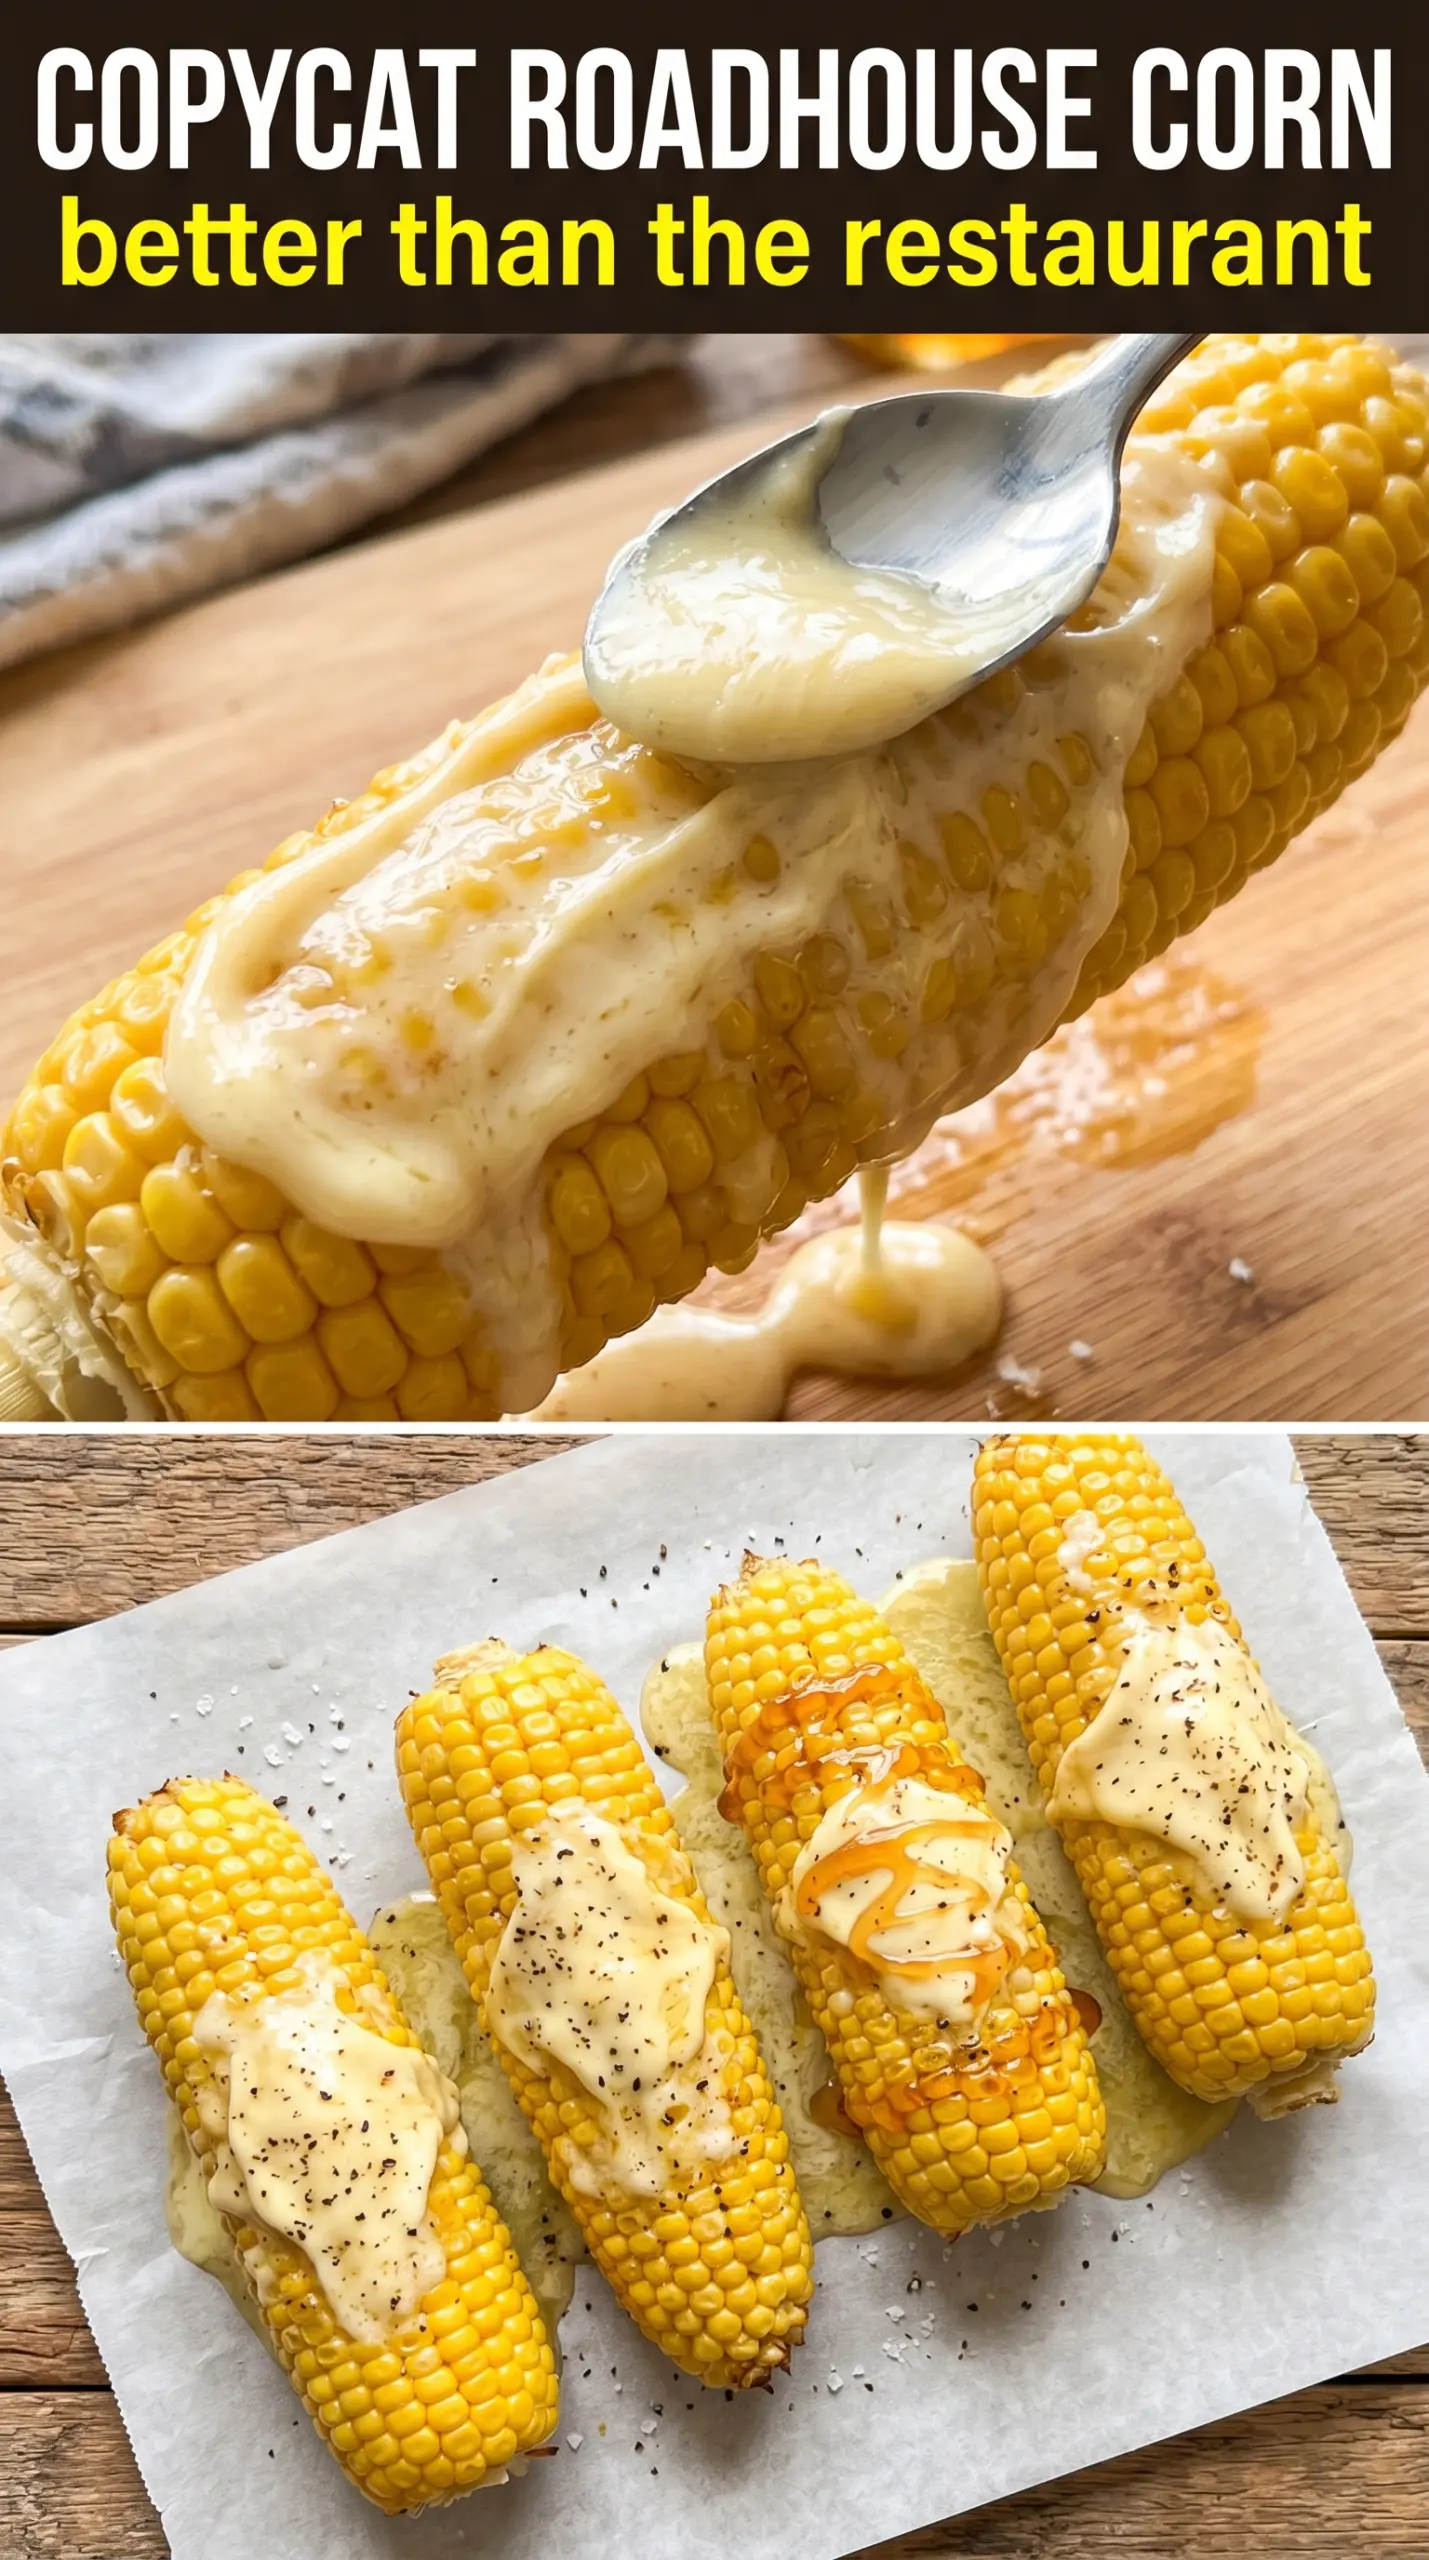
Sweet, glossy corn with a buttery finish always disappears fast, but this Texas Roadhouse buttered corn version has that extra restaurant-style shine that keeps people reaching for one more spoonful. The kernels stay plump, the glaze clings instead of pooling, and the balance of honey, sugar, and garlic keeps it from tasting one-note sweet.
The trick is keeping the corn dry enough after cooking so the butter can coat it instead of sliding off. Frozen corn works well here because it holds its shape and gives you that tender pop without turning mushy, and the short simmer in the skillet is just long enough to reduce the honey butter into a light glaze. Garlic powder adds a little savory depth that makes the sweetness taste richer, not candy-like.
Below you’ll find the small details that make this side dish taste like it came from a steakhouse, plus a few easy swaps if you need to work with what you’ve got.
The corn turned out glossy and coated instead of watery, and the honey-butter glaze thickened up just enough in the skillet. My kids kept sneaking bites before dinner, which never happens with a side dish.
Love this glossy Texas Roadhouse buttered corn? Pin it now for the nights when you need an easy, sweet-savory skillet side that tastes like a steakhouse.
The Corn Stays Glossy Only If You Don’t Drown It
The most common mistake with buttered corn is letting extra water hang around in the pan. Wet corn steams instead of glazing, and that leaves you with a thin, diluted coating instead of the glossy finish you want. Drain it well after cooking, then give the skillet a few minutes over medium heat so the butter and honey can cling to each kernel.
The second thing that matters is timing. Honey and sugar don’t need long enough to caramelize here; they just need enough heat to melt into the butter and coat the corn. If the pan gets too hot, the butter can separate and the glaze starts to look greasy instead of silky.
- Frozen whole kernel corn — Frozen corn is the right choice because it stays sweet and intact. Thawed canned corn can work in a pinch, but drain it thoroughly and expect a softer texture.
- Unsalted butter — Use unsalted butter so you can control the salt level. Salted butter works, but cut back on the added salt or the finished corn can lean too savory.
- Honey — Honey gives the glaze its rounded sweetness and that sticky shine. Maple syrup changes the flavor more than you might want, though it will still coat the corn.
- Garlic powder — This is what keeps the corn tasting like a side dish instead of dessert. Fresh garlic cooks too aggressively here and can taste harsh in such a short sauté.
- Fresh parsley — Optional, but the little bit of green makes the bowl look finished and adds a clean note against the buttery glaze. Skip it if you don’t have it; the flavor won’t depend on it.
What Each Ingredient Is Actually Doing in This Recipe
- Primary ingredient (the star) — Quality matters most. Choose the best you can find.
- Cooking medium (oil, butter, or broth) — This carries flavors and prevents dryness.
- Seasonings (salt, pepper, spices, herbs) — Layer flavors so nothing overpowers. Build depth gradually.
- Aromatics (garlic, onion, herbs) — Cook with fat to bloom flavors. Become the foundation.
- Supporting ingredients — Complement the main ingredient without overpowering it.
- Sauce or liquid (if applicable) — Brings flavors together. Balance richness with acid.
- Acid (lemon, vinegar, wine, or other) — Brightens and prevents flat-tasting results.
- Final finish (garnish, glaze, or sauce) — Prevents one-dimensional taste and adds visual appeal.
How to Build the Honey Butter Glaze Without Burning It
Heating the Corn First
Cook the corn until it’s hot all the way through, then drain it well. If you’re using boiled corn, let it sit in the colander for a minute so the surface steam can escape. That quick drying step matters because any water left behind thins the butter and stops the glaze from tightening around the kernels.
Letting the Butter Coat the Kernels
Melt the butter in a skillet over medium heat, then add the corn and toss it until every kernel looks slick and evenly coated. The corn should sound like a gentle sizzle, not a hard fry. If the butter starts browning before the corn is warmed through, lower the heat; the goal here is a glossy coating, not browned butter.
Finishing with Honey and Seasoning
Stir in the honey, sugar, garlic powder, salt, and pepper once the corn is fully coated in butter. Cook just until the mixture reduces slightly and the kernels look shiny, about 3 to 5 minutes. If the pan looks dry too soon, the heat is too high; add a small splash of water only if you need to loosen the glaze briefly, then let it cook off again.
How to Adapt This Corn for a Bigger Crowd or a Different Pantry
Make It Dairy-Free Without Losing the Shine
Swap the butter for a good plant-based butter that melts cleanly. You still get a glossy coating, though the finished dish will taste a little less rich and a little more neutral. Choose a brand with decent fat content so the glaze doesn’t turn watery.
Use Fresh Corn When It’s in Season
Fresh corn kernels can replace frozen corn if you cut them off the cob and cook them just until tender. Fresh corn brings a sweeter snap and a little more texture, but it also releases more moisture, so don’t skip the draining step after cooking.
Make It for a Potluck Without Overcooking It
Cook the corn and build the glaze just before serving, then hold it covered on the lowest heat for a short time if needed. If it sits too long, the butter firms up and the glaze tightens too much. A quick stir before serving brings the shine back.
Storage and Reheating
- Refrigerator: Store leftovers in an airtight container for up to 4 days. The glaze will tighten as it chills, but the corn stays flavorful.
- Freezer: Freezing isn’t ideal because the buttery coating can separate and the corn softens after thawing. It will still be safe to eat, but the texture won’t be as good.
- Reheating: Rewarm gently in a skillet over low heat with a small splash of water or a tiny pat of butter. High heat dries out the corn and breaks the glaze.
Questions I Get Asked About This Recipe
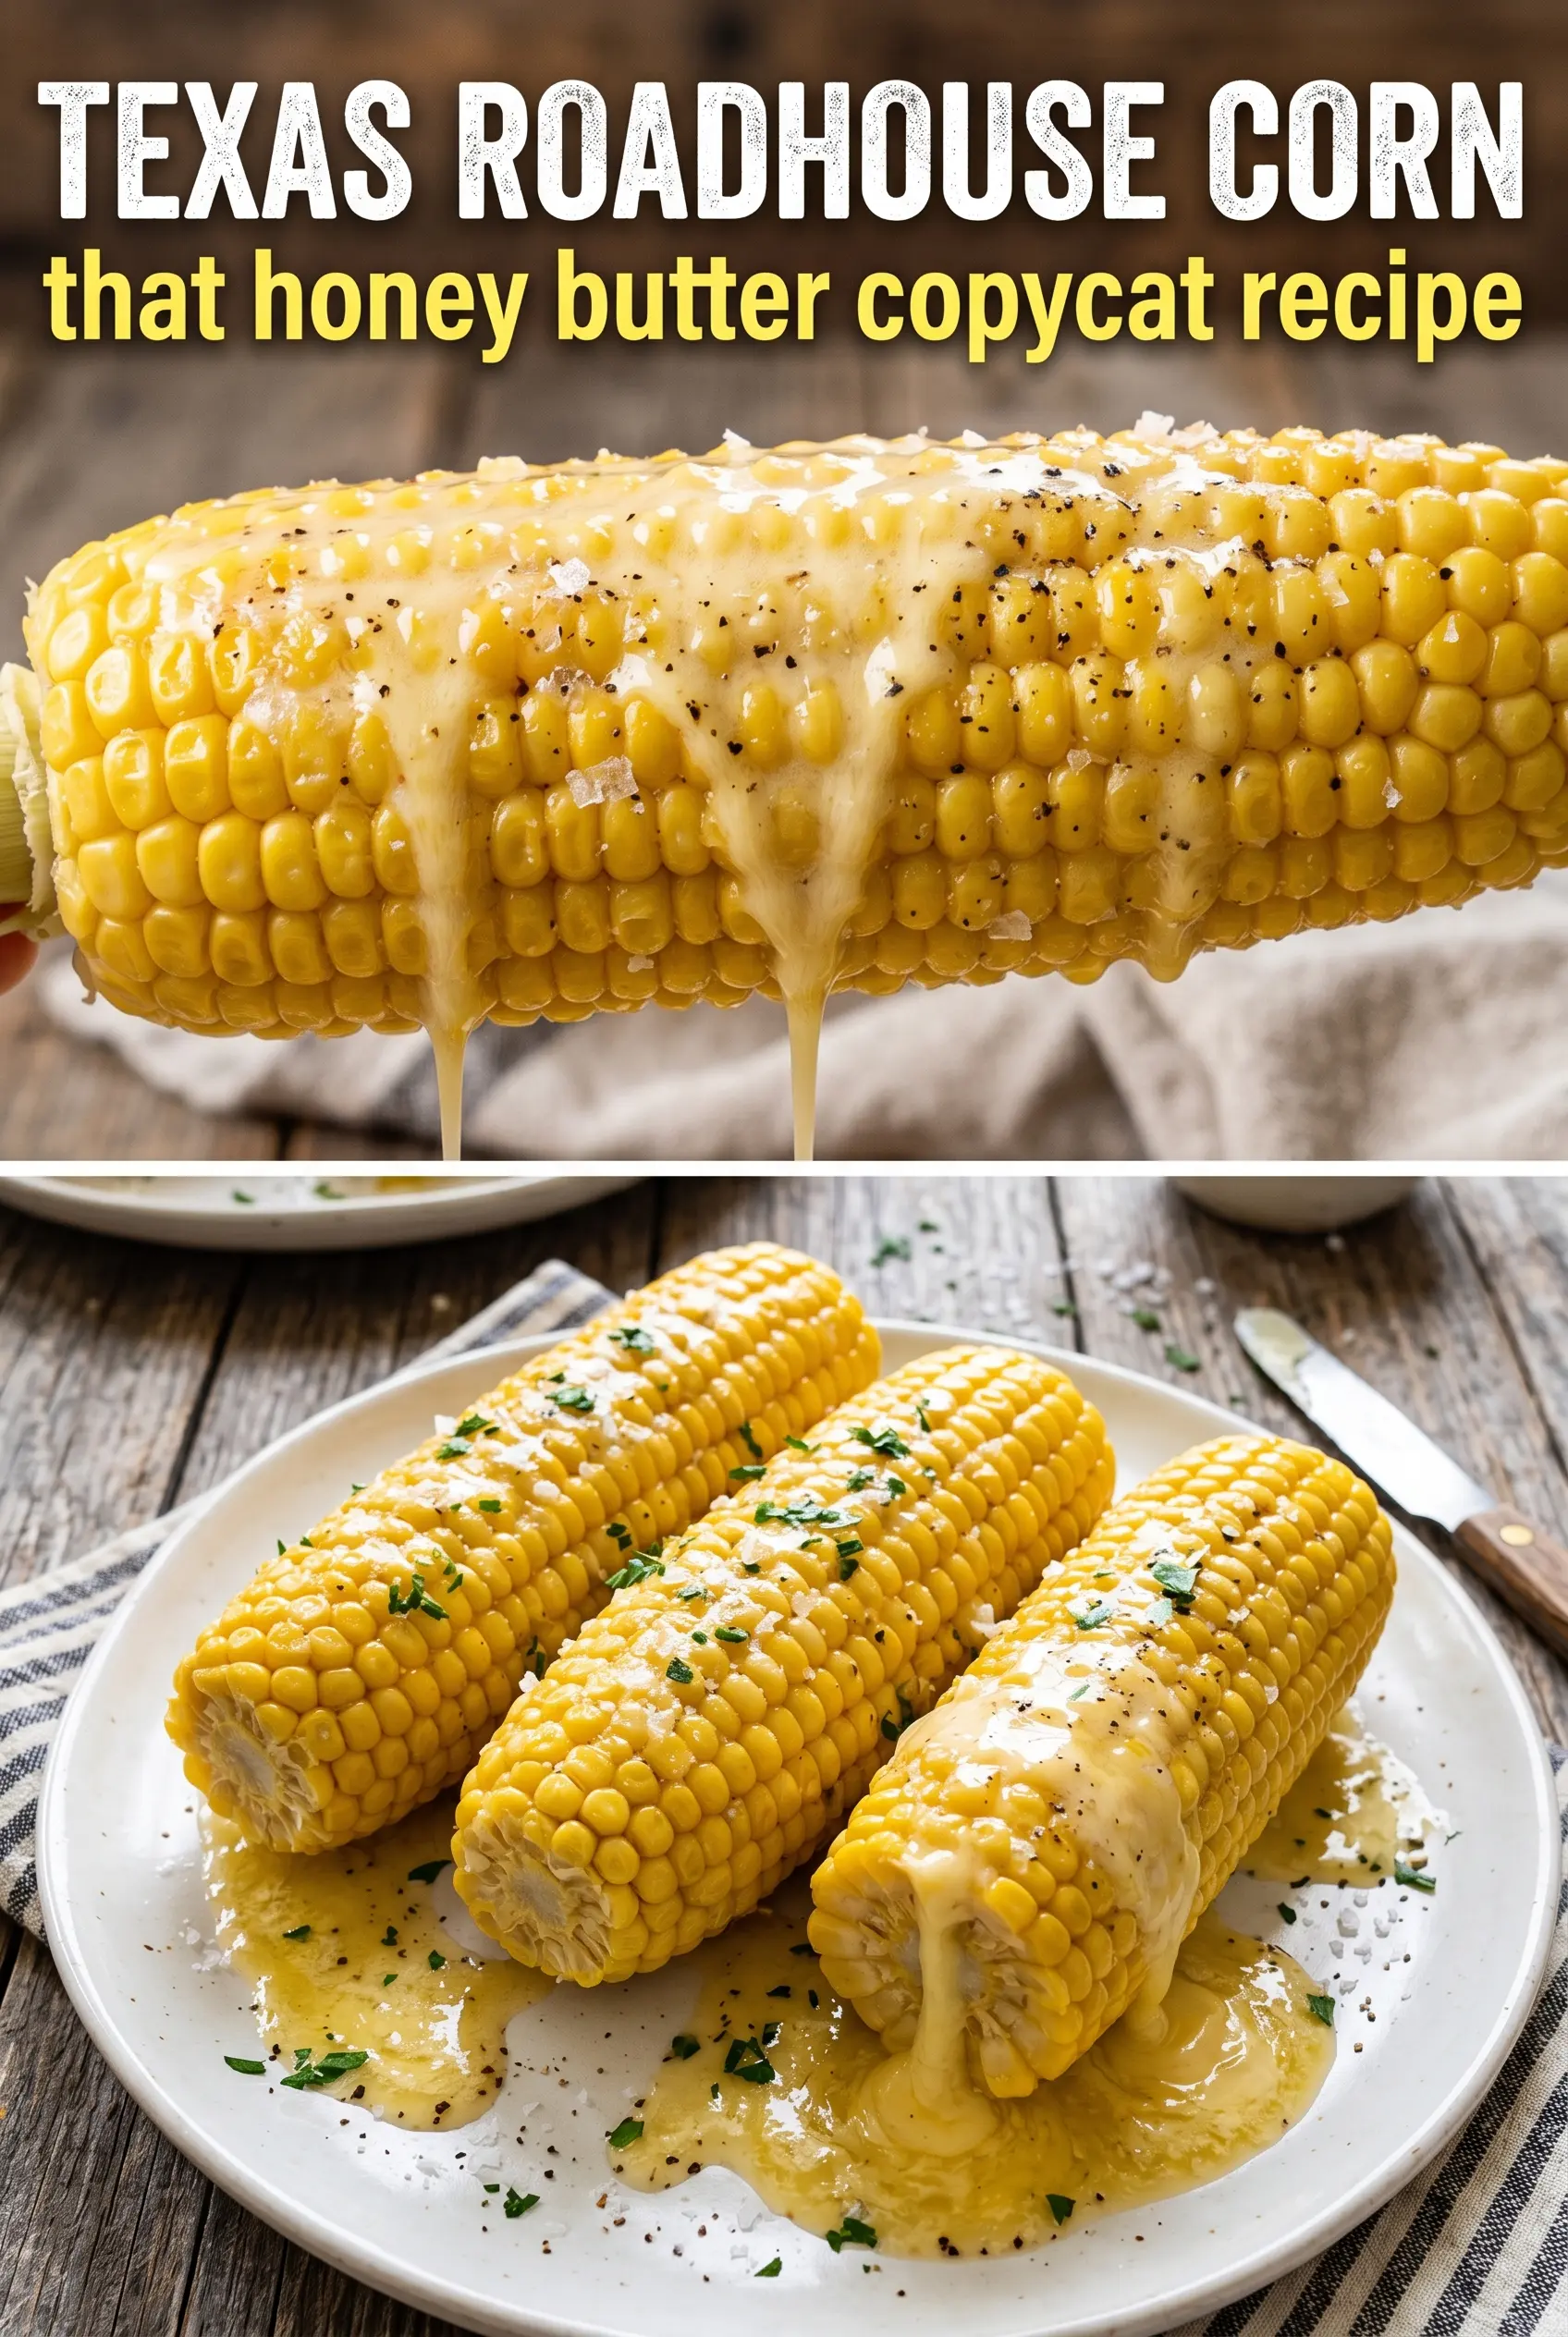
Texas Roadhouse Buttered Corn
Ingredients
Equipment
Method
- Cook frozen whole kernel corn according to package directions, or boil it in salted water for 5 minutes until heated through, then drain well.
- Melt unsalted butter in a cast iron skillet over medium heat until fully liquid.
- Add drained frozen whole kernel corn to the skillet and toss to coat in the melted butter.
- Stir in honey, sugar, garlic powder, salt, and black pepper, then cook for 3–5 minutes, stirring occasionally, until the corn is fully coated.
- Keep cooking until the butter and honey have reduced into a glossy glaze that clings to the kernels.
- Transfer the sweet buttered corn to a serving bowl and garnish with fresh parsley for garnish.
- Serve immediately while the corn is hot and glossy, with steam visible.


