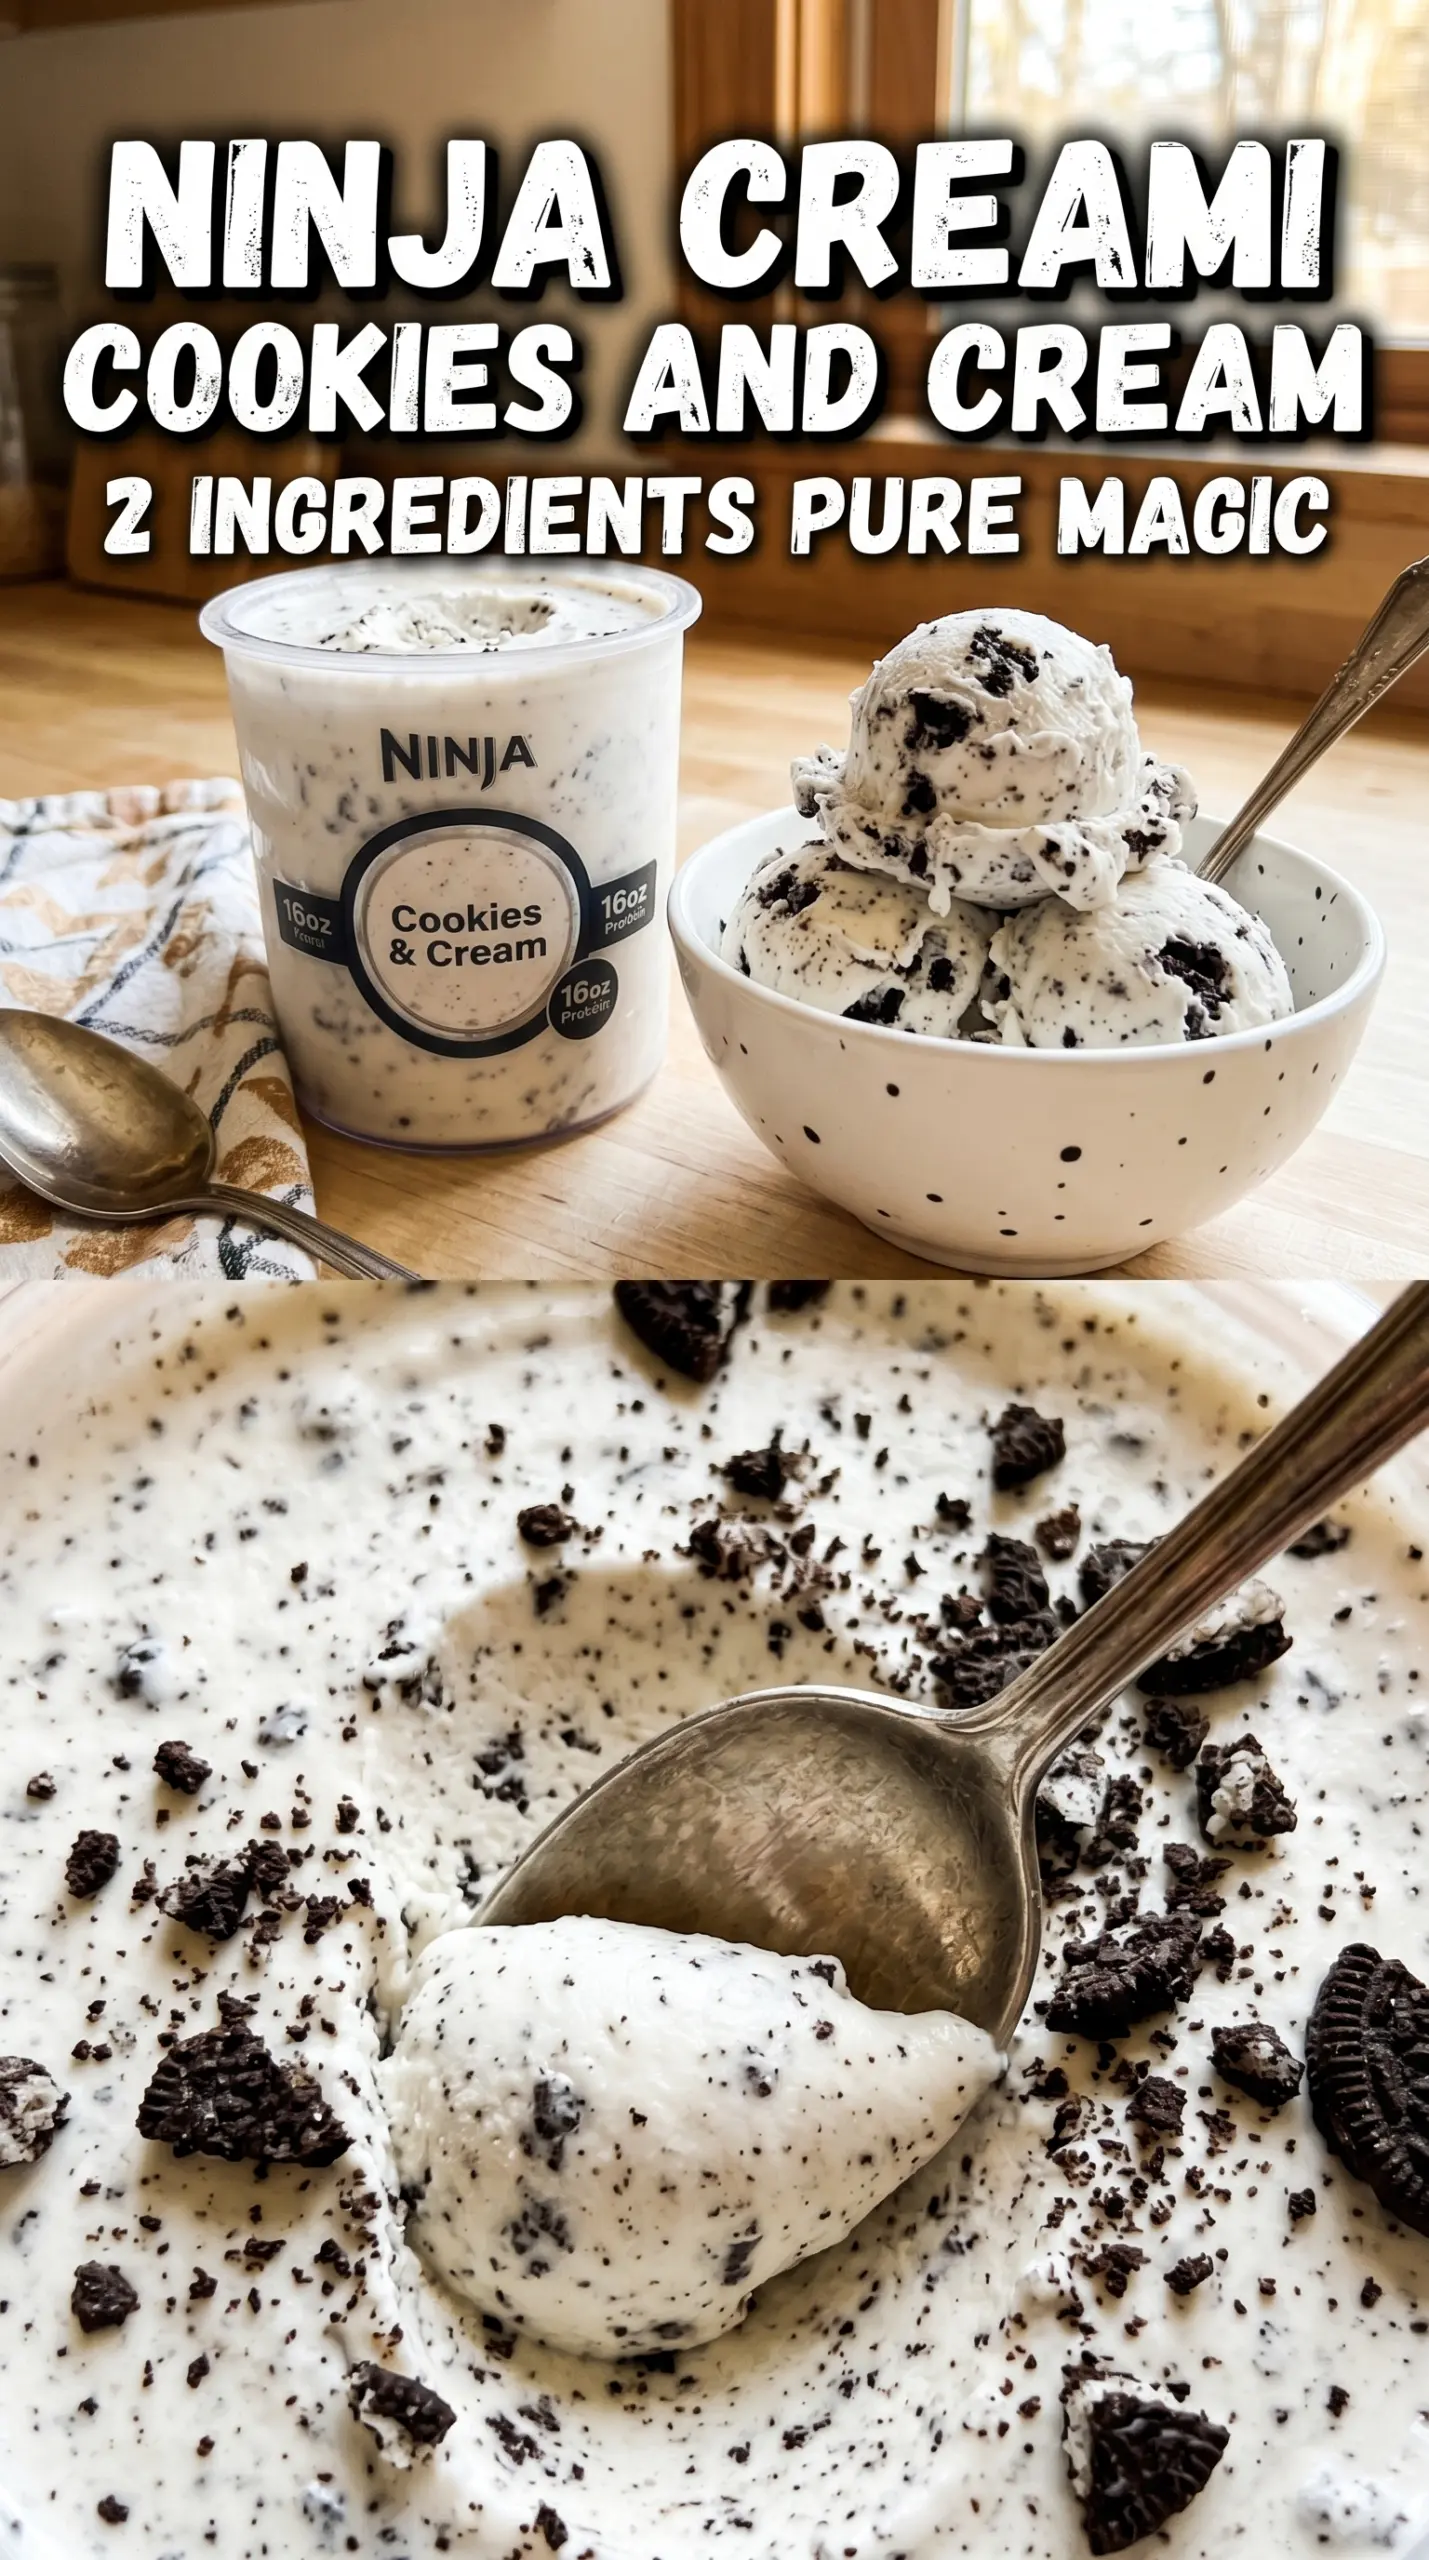
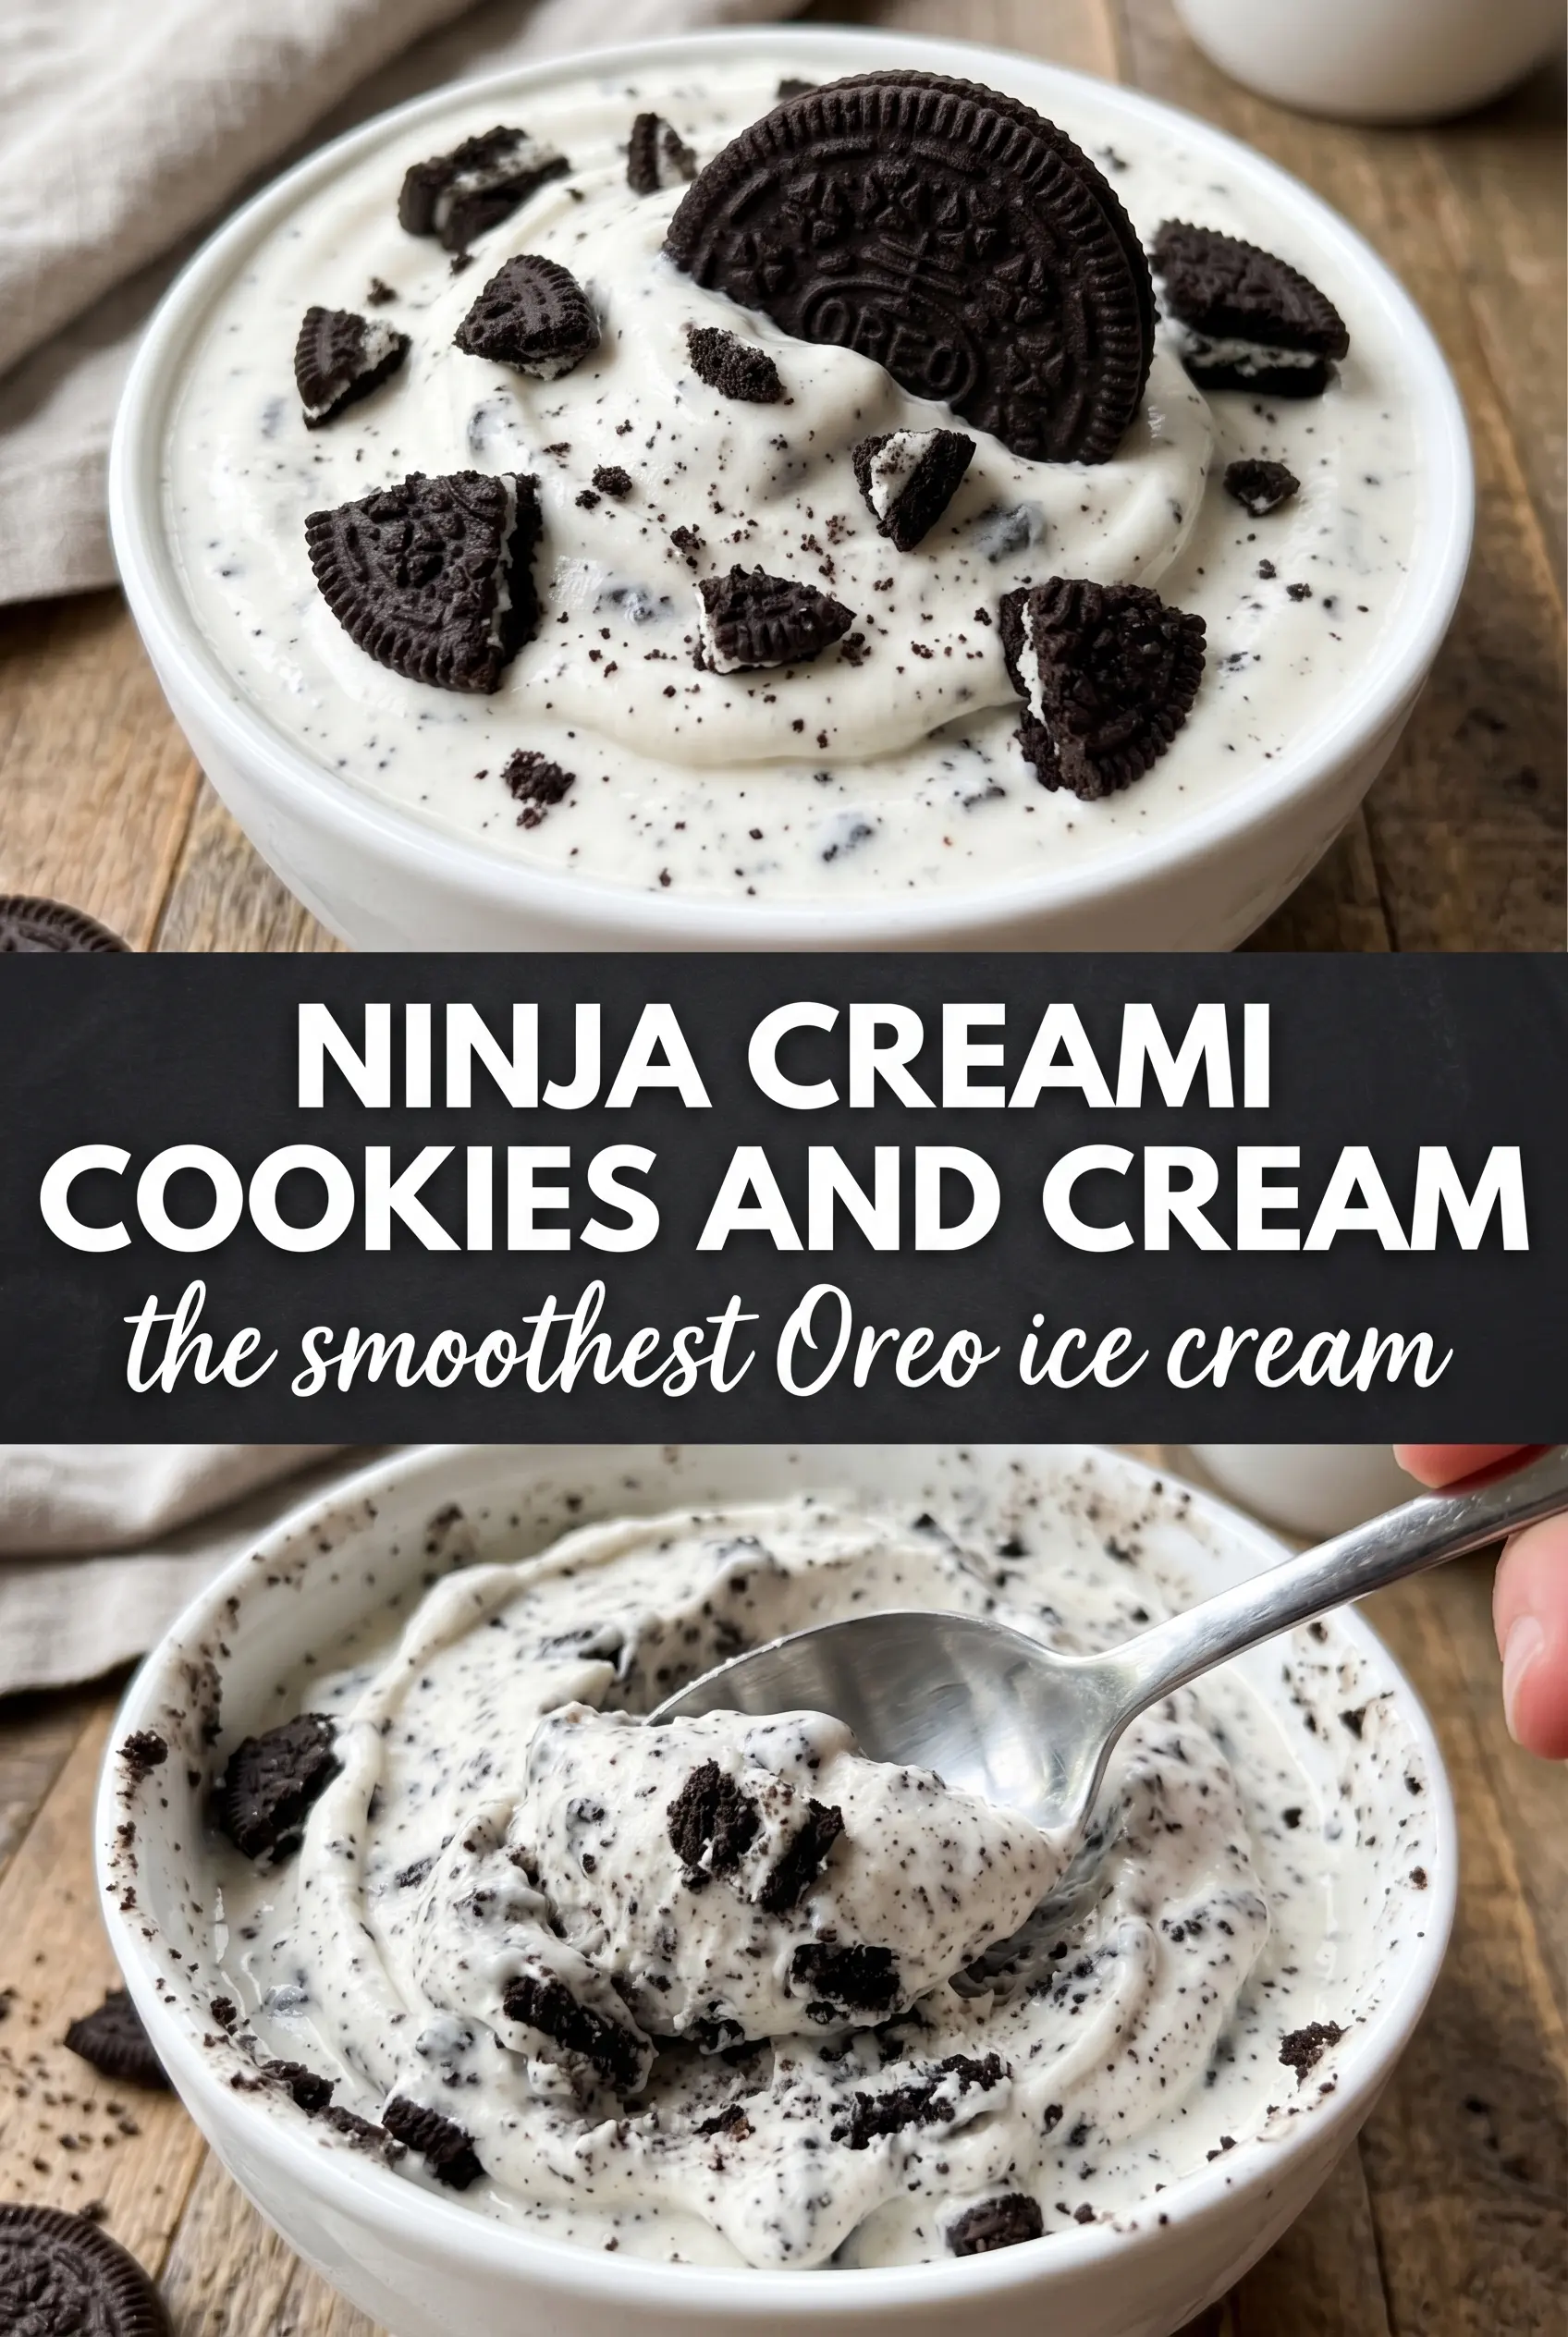
Cookies and cream made in the Ninja Creami lands somewhere between soft-serve and the kind of dense, scoopable ice cream you normally only get from a good shop. The base turns smooth and rich without needing a custard, and the cookie pieces stay distinct instead of dissolving into gray streaks. That contrast is what makes this version worth repeating: cold vanilla creaminess in every spoonful, with crunchy chocolate cookie bits folded through at the end.
The trick is building a base that freezes cleanly and spins well. Cream cheese adds body and helps the mixture turn creamy instead of icy, while a little sugar keeps the texture from freezing into a hard block. Crushing the cookies separately and adding them with Mix-In matters too, because if they go in before freezing, they turn soggy and lose the texture that makes cookies and cream worth making in the first place.
Below, I’ll show you the little details that keep the pint smooth on the first spin, how to rescue it if the texture comes out too firm, and which swaps still give you a good result if you need a lighter or dairy-free version.
The base turned out super smooth after one re-spin, and adding the cookies at the end kept them crunchy instead of turning muddy. My kids kept sneaking spoonfuls straight from the pint.
Save this Ninja Creami cookies and cream pint for the nights when you want rich ice cream with crunchy cookie pieces and no churning.
The Base Needs to Freeze Hard, Not Bitter
The most common mistake with Ninja Creami ice cream is trying to spin a pint that never froze fully or froze with a weak base. If the mixture is too thin, the machine can still process it, but the texture turns crumbly and dry instead of creamy. This recipe uses enough fat, sugar, and a little cream cheese to keep the frozen base from turning chalky after the first spin.
That 24-hour freeze matters. The pint should be solid all the way through, not just firm on the outside with a soft center. If you rush it, the blade will drag through slush and the result will look processed but eat like icy milk.
- Whole milk — Gives the base enough water to freeze cleanly, but not so much that the finished ice cream turns heavy. Lower-fat milk works, but the texture gets a little less plush.
- Heavy cream — This is what gives the final pint that dense, scoopable body. Half-and-half can work in a pinch, but the finished texture will be lighter and less rich.
- Cream cheese — A small amount makes a big difference here. It adds body and keeps the frozen base from spinning up icy, and you want it softened so it blends completely smooth.
- Chocolate sandwich cookies — Use them for Mix-In, not for the base. That keeps the cookie pieces recognizable and gives you real contrast instead of a uniformly gray ice cream.
What Each Ingredient Is Actually Doing in This Frozen Dessert
- Base ingredient (cream, milk, or non-dairy) — This provides the foundation and richness. Quality matters.
- Sweetener (sugar, honey, or other) — This sweetens and prevents ice crystals. The ratio is critical.
- Flavor element (vanilla, fruit, or other) — This defines the ice cream personality. Use quality ingredients.
- Stabilizers (egg yolks, cornstarch, or gelatin) — These prevent melting and large ice crystals. Optional but helpful.
- Churning (if using ice cream maker) — This incorporates air and prevents ice crystals. Critical for smooth texture.
- Freezing temperature and time — Proper freezing prevents rock-hard texture. Store at 0°F or below.
- Mix-ins (chocolate, cookies, or fruit) — These add texture and prevent monotone flavor. Add near end of churning.
- No-churn method (if using whipped cream or condensed milk) — This creates creamy texture without ice cream maker. Freezing time is longer.
The Spin, Respin, and Mix-In Sequence That Keeps It Creamy
Building a Smooth Base
Blend the milk, cream, sugar, softened cream cheese, vanilla, and salt until the mixture looks completely uniform. You shouldn’t see tiny flecks of cream cheese floating around, because those harden into little bits that never fully disappear after freezing. If your blender struggles, let the cream cheese soften a little longer before you try again.
Freezing the Pint Properly
Pour the base into the Ninja Creami pint and stop about 1 inch from the top. That headspace matters because the mixture expands as it freezes, and an overfilled pint can freeze unevenly. Set it flat in the freezer and leave it alone for the full 24 hours so the texture is even from edge to center.
Spinning to the Right Texture
Run the Ice Cream setting first and check the texture before deciding whether it needs another pass. If it comes out powdery or crumbly, that’s not a failure — it just means the base is very cold and needs a touch more liquid. Add 1 tablespoon milk and Re-spin only if the pint looks dry; too much milk will push it toward soft-serve soup.
Folding in the Cookies
Use the Mix-In function for the crushed cookies so they stay in chunks and don’t get pulverized. You want them scattered through the ice cream, not fully blended in. If the pint is very firm after mixing, let it sit for a minute or two on the counter before scooping so the cookies don’t shatter everything apart.
Three Ways to Make This Pint Fit the Night You’re Having
Dairy-Free Version
Use a rich canned coconut milk or a thick dairy-free cream alternative in place of the heavy cream, and swap in an unsweetened non-dairy milk for the whole milk. The texture will be a little softer and the flavor will carry a light coconut note, but the pint still spins into a good cookies-and-cream dessert if the base is fully frozen.
Lighter Ice Cream
Replace part of the heavy cream with more whole milk if you want a less rich finish. You’ll lose some of that dense, almost gelato-like body, but the cookies still give it plenty of personality. This works best if you don’t mind a slightly icier spoonful.
Gluten-Free Cookie Swap
Use your favorite gluten-free chocolate sandwich cookies and crush them the same way. The only thing that changes is the cookie texture, so pick one that stays crisp after freezing rather than a softer sandwich cookie that turns pasty in the mix.
Storage and Reheating
- Refrigerator: Not recommended. This is an ice cream base, so it belongs in the freezer and softens too quickly in the fridge.
- Freezer: Freeze leftovers in the pint with the lid on for up to 1 week. The texture gets firmer after the first spin, so expect it to need a few minutes on the counter before scooping again.
- Reheating: No reheating needed. For leftovers, let the pint sit at room temperature until the edges soften, then use the machine again or scoop directly if you like a firmer texture. Don’t microwave it, since that melts the outside before the center is usable.
Questions I Get Asked About This Recipe
Ninja Creami Cookies and Cream
Ingredients
Equipment
Method
- Blend whole milk, heavy cream, granulated sugar, softened cream cheese, vanilla extract, and salt until completely smooth and the cream cheese is fully incorporated.
- Pour the mixture into the Ninja Creami pint container, leaving 1 inch of headspace.
- Freeze the pint for 24 hours until solid.
- Process on the Ice Cream setting; if the pint is too firm, add 1 tablespoon milk and Re-spin.
- Use the Mix-In function to fold in crushed chocolate sandwich cookies.
- Serve immediately, or return the pint to the freezer until ready to serve.


