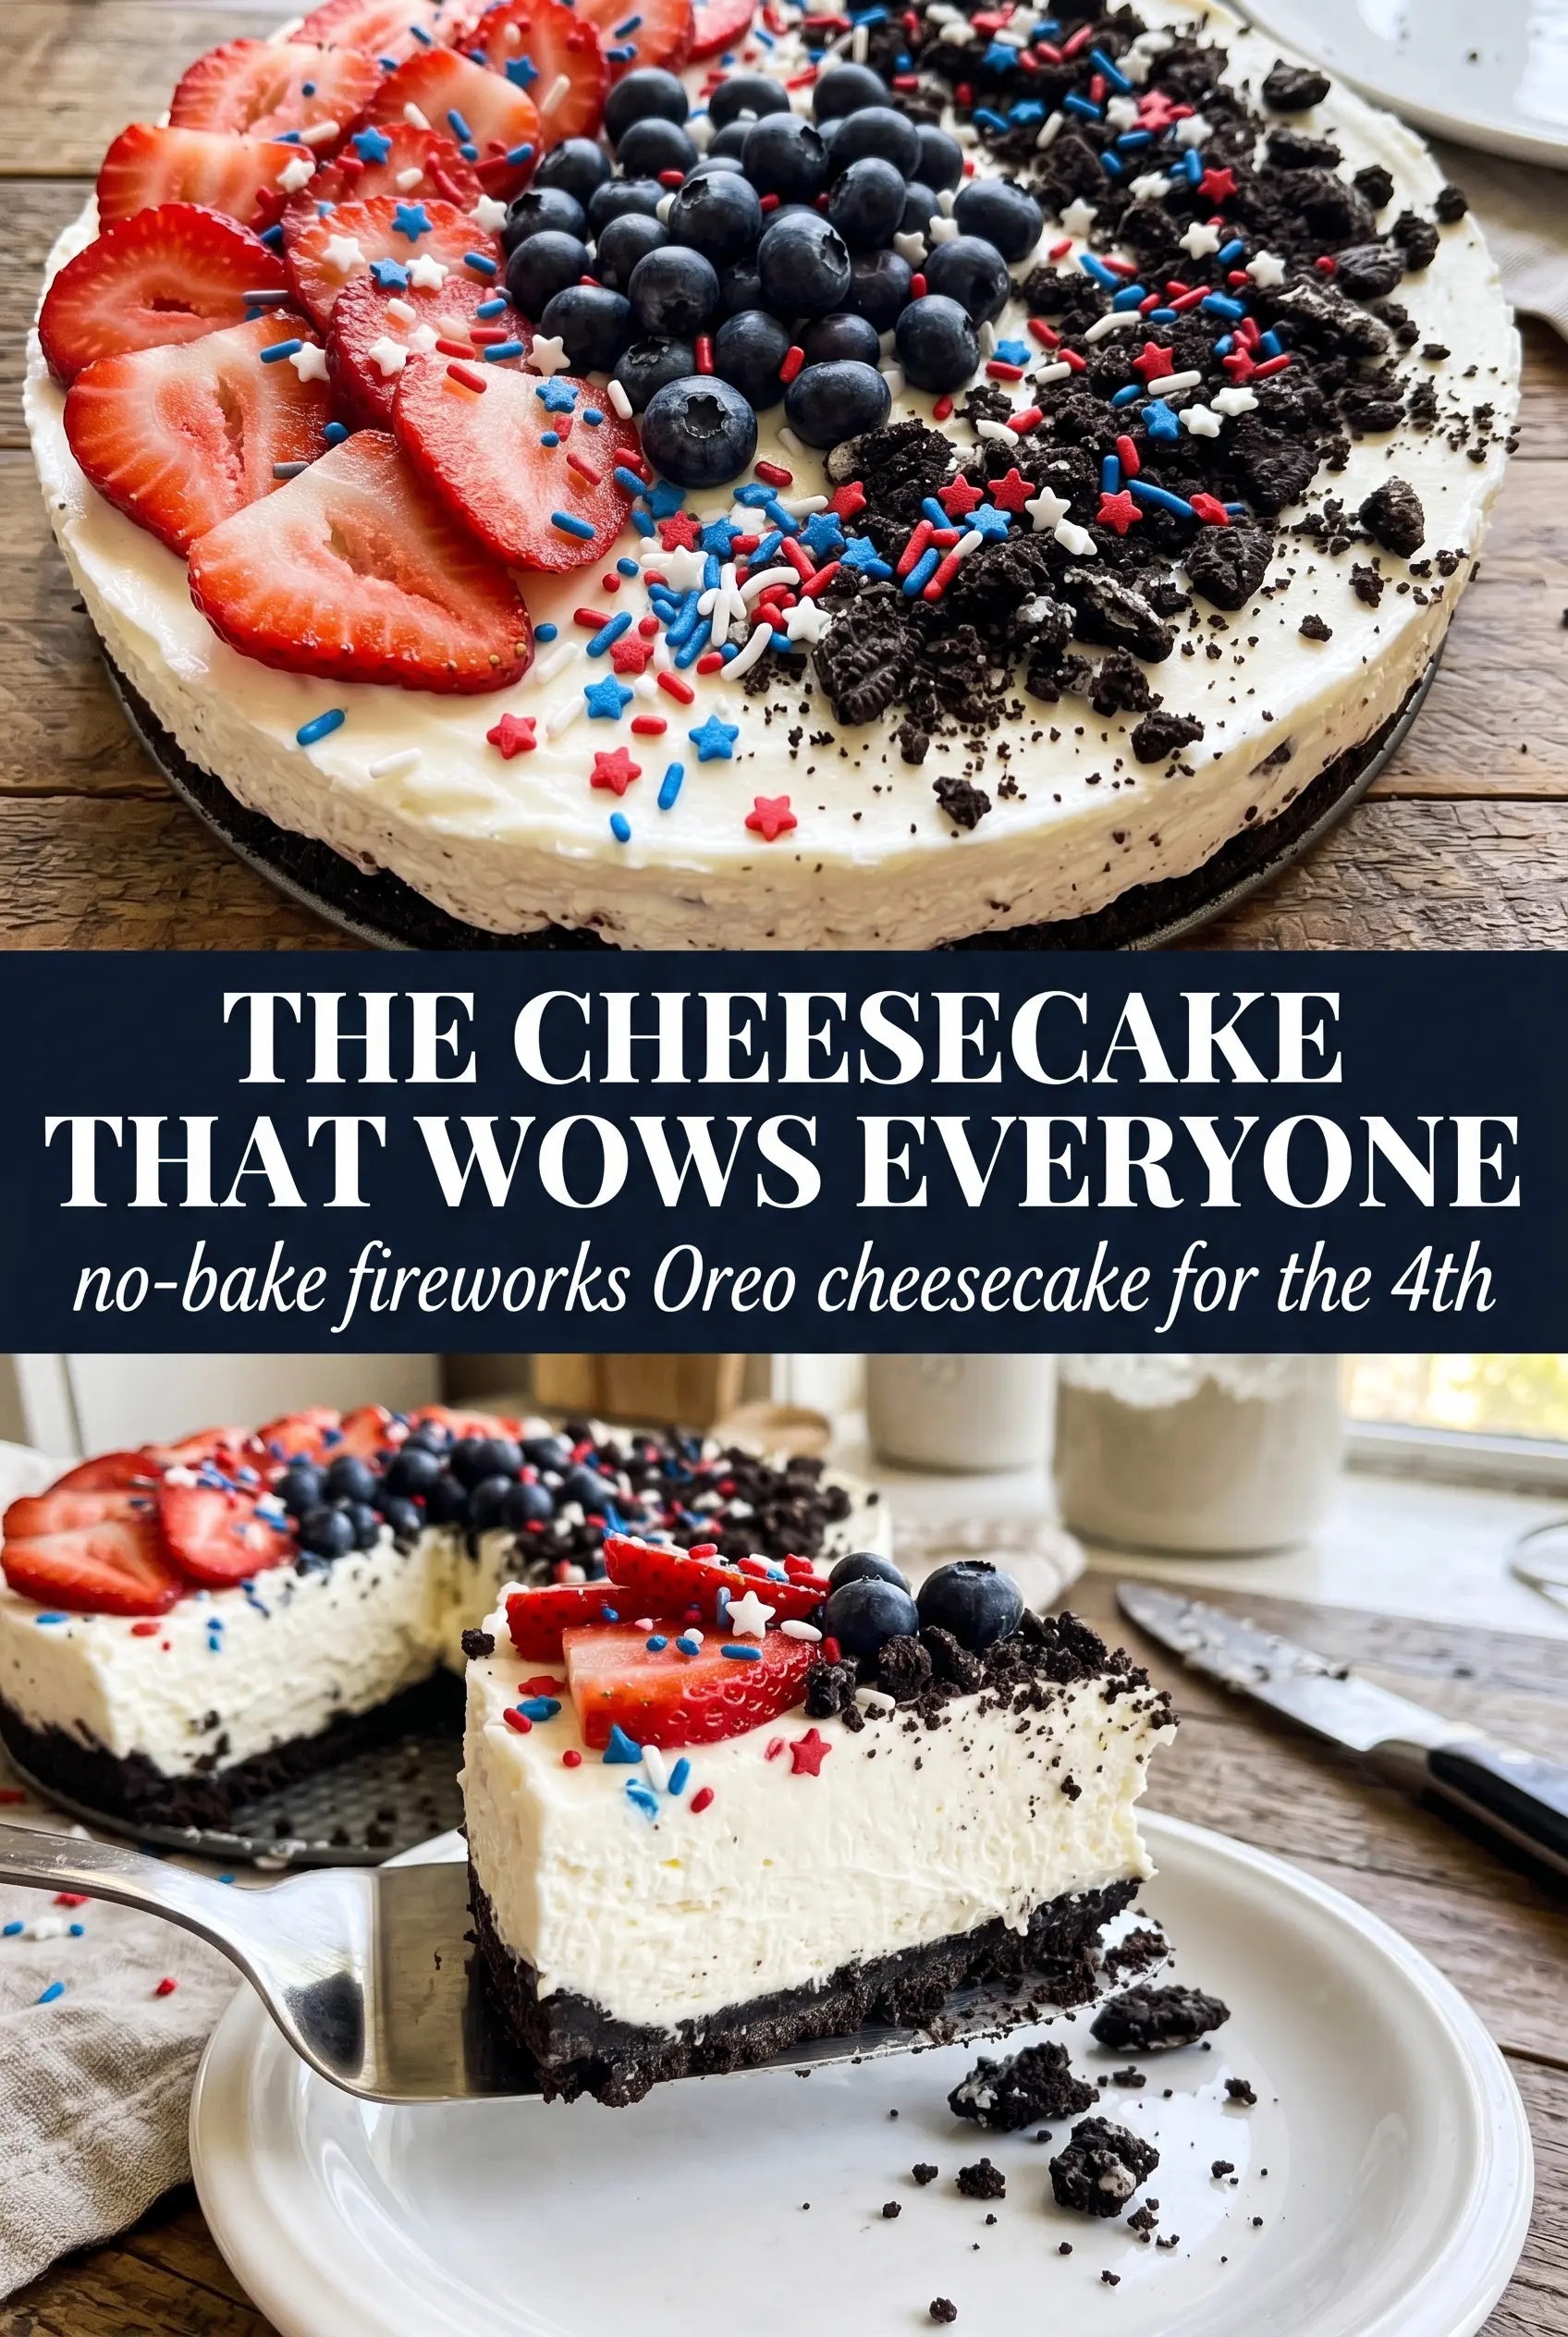
Rich, cold, and stacked with that familiar cookies-and-cream flavor, this no-bake Fireworks Oreo cheesecake is the kind of dessert that disappears fast at a summer party. The crust stays firm enough to slice cleanly, the filling sets into a light mousse-like layer, and the topping gives it that playful red, white, and blue look without turning the whole thing into a project.
What makes this version work is the balance. The cream cheese gets beaten until it’s completely smooth before the whipped cream goes in, which keeps the filling silky instead of grainy. The Oreo crust is pressed in firmly and chilled first, so it holds up under the filling instead of crumbling the second you cut into it. That extra patience in the fridge is what gives you neat slices and a cheesecake that tastes as polished as it looks.
Below, I’ve included the small details that matter most: how to keep the filling fluffy without deflating it, what to do if your crust feels loose, and a few easy variations if you want to change the decoration or make it ahead for a crowd.
The filling set up beautifully and the crust held together even after chilling overnight. I loved that the whipped cream folded in lightened it without losing that Oreo cheesecake richness.
Save this no-bake Fireworks Oreo cheesecake for a red, white, and blue dessert that slices cleanly and chills into the perfect party centerpiece.
The Reason This Cheesecake Holds Its Shape Without Gelatin
The structure comes from two places: the cream cheese base and the whipped cream folded into it. That combination sets firm enough for clean slices, but it still eats light instead of dense like a baked cheesecake can. The biggest mistake here is underbeating the cream cheese. Any tiny lump stays in the finished filling, and once the whipped cream is folded in, those lumps are harder to fix.
The other key is temperature. Softened cream cheese beats smooth; cold cream cheese beats up into little bits. On the other side, the whipped cream needs stiff peaks so it can support the filling. If the whipped cream is only at soft peaks, the cheesecake will still taste fine, but it won’t slice as neatly after chilling.
- Oreo cookies — The chocolate cookie filling helps the crust bind, so you don’t need to pick the cream out. Fine crumbs press tighter and give you a sturdier base.
- Cream cheese — Full-fat brick cream cheese gives the best texture. Tub-style cream cheese is too soft and can make the filling loose.
- Heavy whipping cream — This is what gives the cheesecake its lift. Whipped topping won’t behave the same way and usually makes the filling sweeter and less clean-tasting.
- Powdered sugar — It dissolves cleanly and helps the filling set without grittiness. Granulated sugar leaves the texture rough.
What Each Layer Is Doing in the Bowl
The crust is more than a base here. It gives the cheesecake a salty, chocolaty contrast that keeps the filling from tasting flat. Press it firmly and evenly all the way to the edges of the pan. If it’s packed loosely, the first slice will drag crumbs everywhere.
The filling depends on order. Cream cheese, sugar, and vanilla have to be fully smooth before the whipped cream goes in. Once the cream is folded in, stop stirring as soon as the mixture looks even. Overmixing knocks out the air you just built, and the cheesecake gets heavier instead of cloud-like.
- Butter — Just enough melted butter turns the crumbs into a crust that holds together after chilling. If you add much more, the crust turns greasy.
- Vanilla extract — It softens the tang of the cream cheese and makes the Oreo flavor taste rounder. Use real vanilla if you have it; this is one place where it shows.
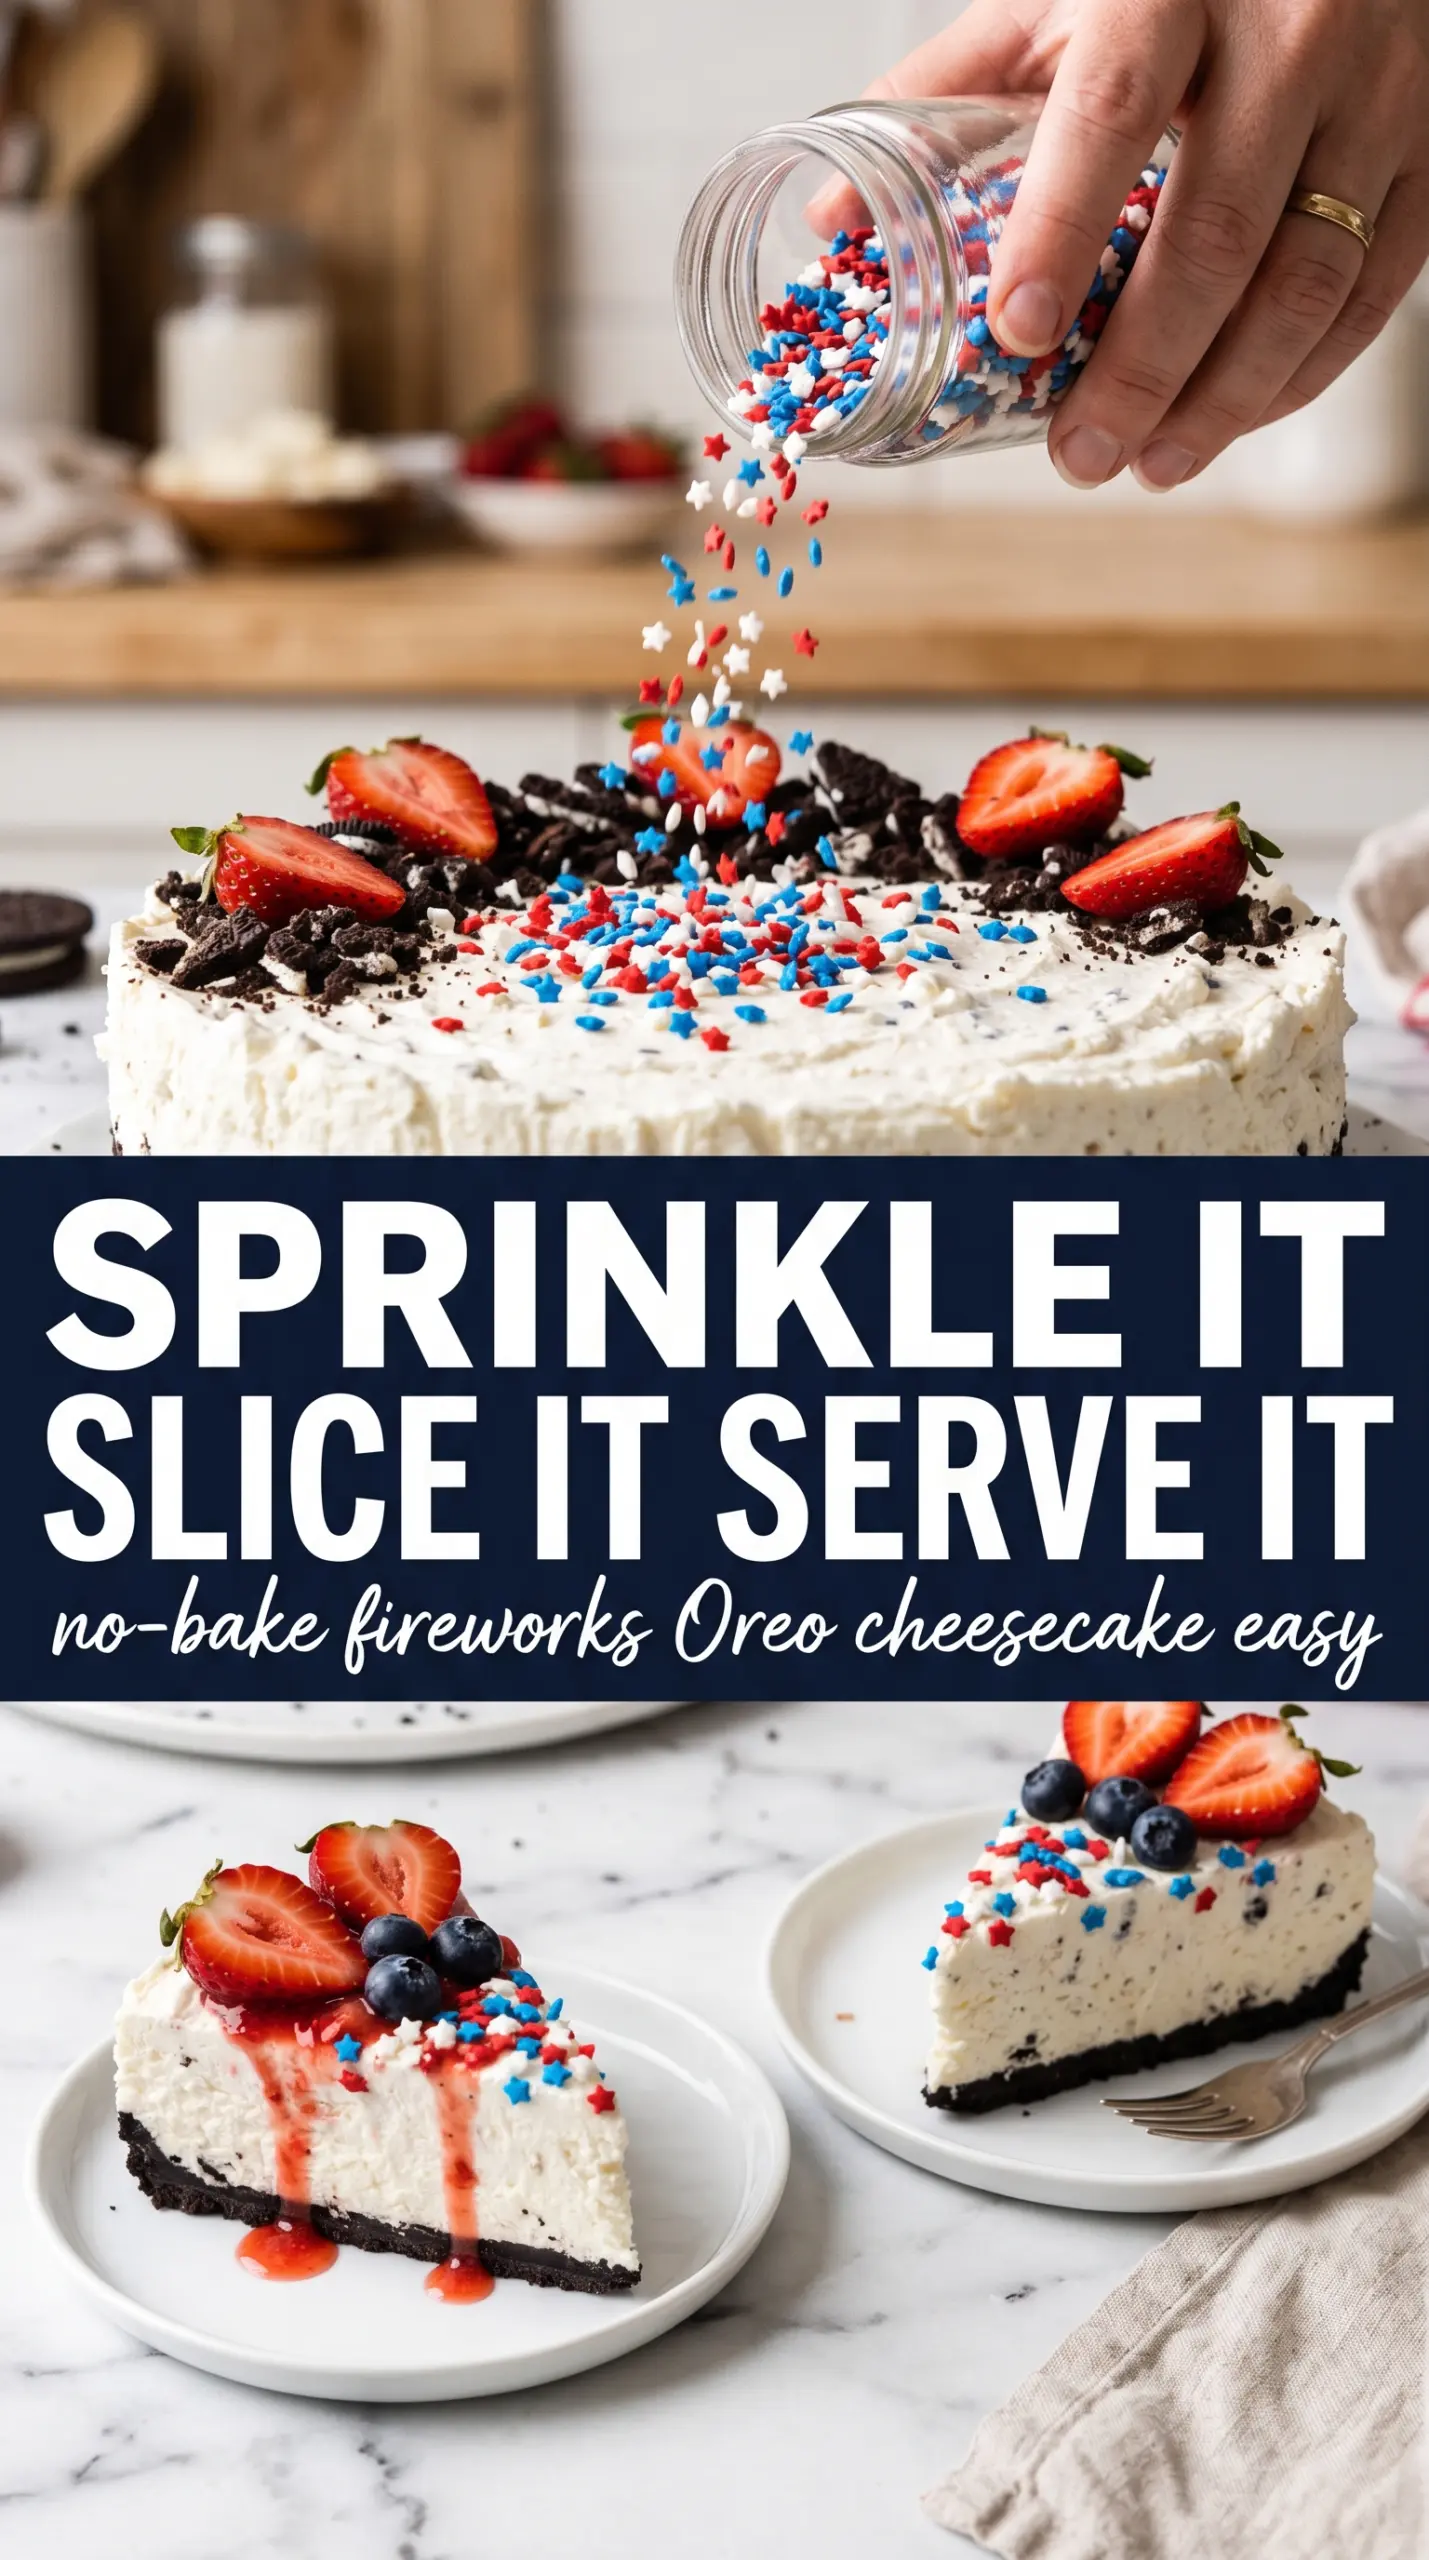
- Red and blue star sprinkles — Add them after the cheesecake is fully set so they stay bright and crisp instead of bleeding color into the cream.
- Whipped cream for piping — The piped edge gives the dessert that fireworks look and hides any slight wobble at the rim of the filling.
Building the Crust and Folding the Filling Without Losing Air
Pressing the Oreo Base
Mix the crushed Oreos with melted butter until every crumb looks damp, like dark wet sand. Press the mixture firmly into the bottom of a 9-inch springform pan, then work it slightly up the sides if you want a little extra support at the edge. Chill the crust before you add the filling. If you skip that chill, the butter stays soft and the crust can shift under the weight of the cheesecake.
Whipping the Cream Cheese Smooth
Beat the softened cream cheese first, then add the powdered sugar and vanilla and keep mixing until the bowl looks completely smooth. Scrape down the sides and bottom of the bowl so no hidden lumps sneak into the filling. This stage matters more than people think, because once the whipped cream is added, those lumps won’t disappear on their own. The mixture should look glossy and thick before you move on.
Folding in the Whipped Cream
Whip the heavy cream to stiff peaks in a separate bowl so it stands up straight when you lift the whisk. Fold it into the cream cheese mixture in two additions using a spatula and a broad, gentle motion. Stop as soon as the color is uniform. If you stir aggressively, you’ll deflate the filling and lose the airy texture that makes this cheesecake slice cleanly after chilling.
Chilling Until the Center Sets
Pour the filling over the chilled crust and smooth the top with an offset spatula. Cover the pan and refrigerate for at least 6 hours, though overnight gives you the best slice. Don’t rush this part. The center needs time to firm up all the way through, and if you cut too early, the edges may look set while the middle slumps.
How to Adapt This for Different Crowds and Pantry Swaps
Gluten-Free Version
Use gluten-free chocolate sandwich cookies in the crust and check that your sprinkles are certified gluten-free if that matters for your kitchen. The filling doesn’t need any changes. You’ll still get the same creamy texture and the same clean slices.
Extra-Decorated Party Top
Pipe whipped cream in swirls around the edge and keep the center open for a bigger scatter of crushed Oreos and sprinkles. This makes the cheesecake look more dramatic without changing the flavor or the set. It’s the easiest way to stretch one dessert into a real centerpiece.
Lower-Sugar Adjustments
You can reduce the powdered sugar a little, but don’t cut it too aggressively. The sugar sweetens the filling and helps with structure, so reducing it too much can leave the cheesecake softer and less stable. If you want a less sweet dessert, lean harder on the whipped cream topping and keep the Oreo crust as written.
Storage and Reheating
- Refrigerator: Store covered for up to 4 days. The crust may soften slightly, but the filling stays creamy.
- Freezer: This cheesecake freezes well before decorating. Wrap the chilled cheesecake tightly, freeze for up to 1 month, and thaw overnight in the refrigerator.
- Reheating: No reheating needed. Serve cold. If it’s been frozen, let it thaw fully before adding whipped cream and sprinkles so the topping doesn’t sweat.
Questions I Get Asked About This Recipe
No-Bake Fireworks Oreo Cheesecake
Ingredients
Equipment
Method
- Mix the crushed Oreo cookies with the melted unsalted butter until the texture resembles wet sand, then press firmly into the bottom of a 9-inch springform pan. Refrigerate while you make the filling, so the crust firms up.
- Beat the softened cream cheese, powdered sugar, and vanilla extract until completely smooth with no lumps. Scrape down the sides as needed to keep the mixture lump-free.
- Whip the heavy whipping cream to stiff peaks in a separate bowl, then fold gently into the cream cheese mixture in two additions. Keep the fold light so the filling stays airy.
- Pour the filling over the chilled crust and smooth the top with an offset spatula. Tap the pan lightly to remove any air pockets.
- Cover and refrigerate for at least 6 hours or overnight until fully set. The center should jiggle minimally when the cheesecake is ready.
- Before serving, pipe whipped cream around the edge, scatter the red and blue star sprinkles across the center, and dust with crushed Oreos in a fireworks burst pattern. Slice with a clean, warm knife for sharp edges.