Blackberry crisp ice cream hits the sweet spot between bright fruit and buttery crunch. The blackberry swirl stays tart enough to cut through the rich custard, and the oat crisp pieces keep their texture instead of dissolving into the base. Every scoop tastes like a spoonful of frozen berry crisp, only smoother and more luxurious.
What makes this version work is the way the fruit and custard stay separate until the very end. The berries cook down just enough to turn jammy, but some whole pieces stay in the mix so you get little bursts of fruit instead of a uniform purple puree. The custard base is cooked gently to keep it clean and creamy, then chilled fully before churning so it freezes with a softer, silkier finish.
You’ll find the trick for keeping the oat crumble crunchy, the best way to layer the fruit without overmixing it, and a few useful swaps if you need to work with frozen berries or skip the egg yolks.
The blackberry layer stayed swirled instead of icy, and the oat pieces were still crisp after freezing overnight. My husband kept sneaking spoonfuls straight from the container.
Save this blackberry crisp ice cream for the days when you want deep berry swirls and oat crumble in every cold, creamy scoop.
The Part That Keeps the Blackberry Swirl from Turning Icy
The biggest mistake in fruit ice cream is adding a watery puree and expecting the freezer to forgive it. It won’t. Blackberries need a short simmer with sugar and lemon juice so some of their liquid cooks off and the flavor tightens up before they go into the ice cream. That gives you a swirl that stays soft and jammy instead of freezing into hard shards.
The other thing that matters is restraint. Don’t fully blend the berries smooth unless that’s the texture you want, because a few whole berries make the finished ice cream taste more like crisp topping and fruit filling than candy. The custard base and the fruit should both be cold before layering, or the mix-in can melt the churned ice cream too fast and make it grainy at the edges.
What Each Ingredient Is Actually Doing in This Scoop
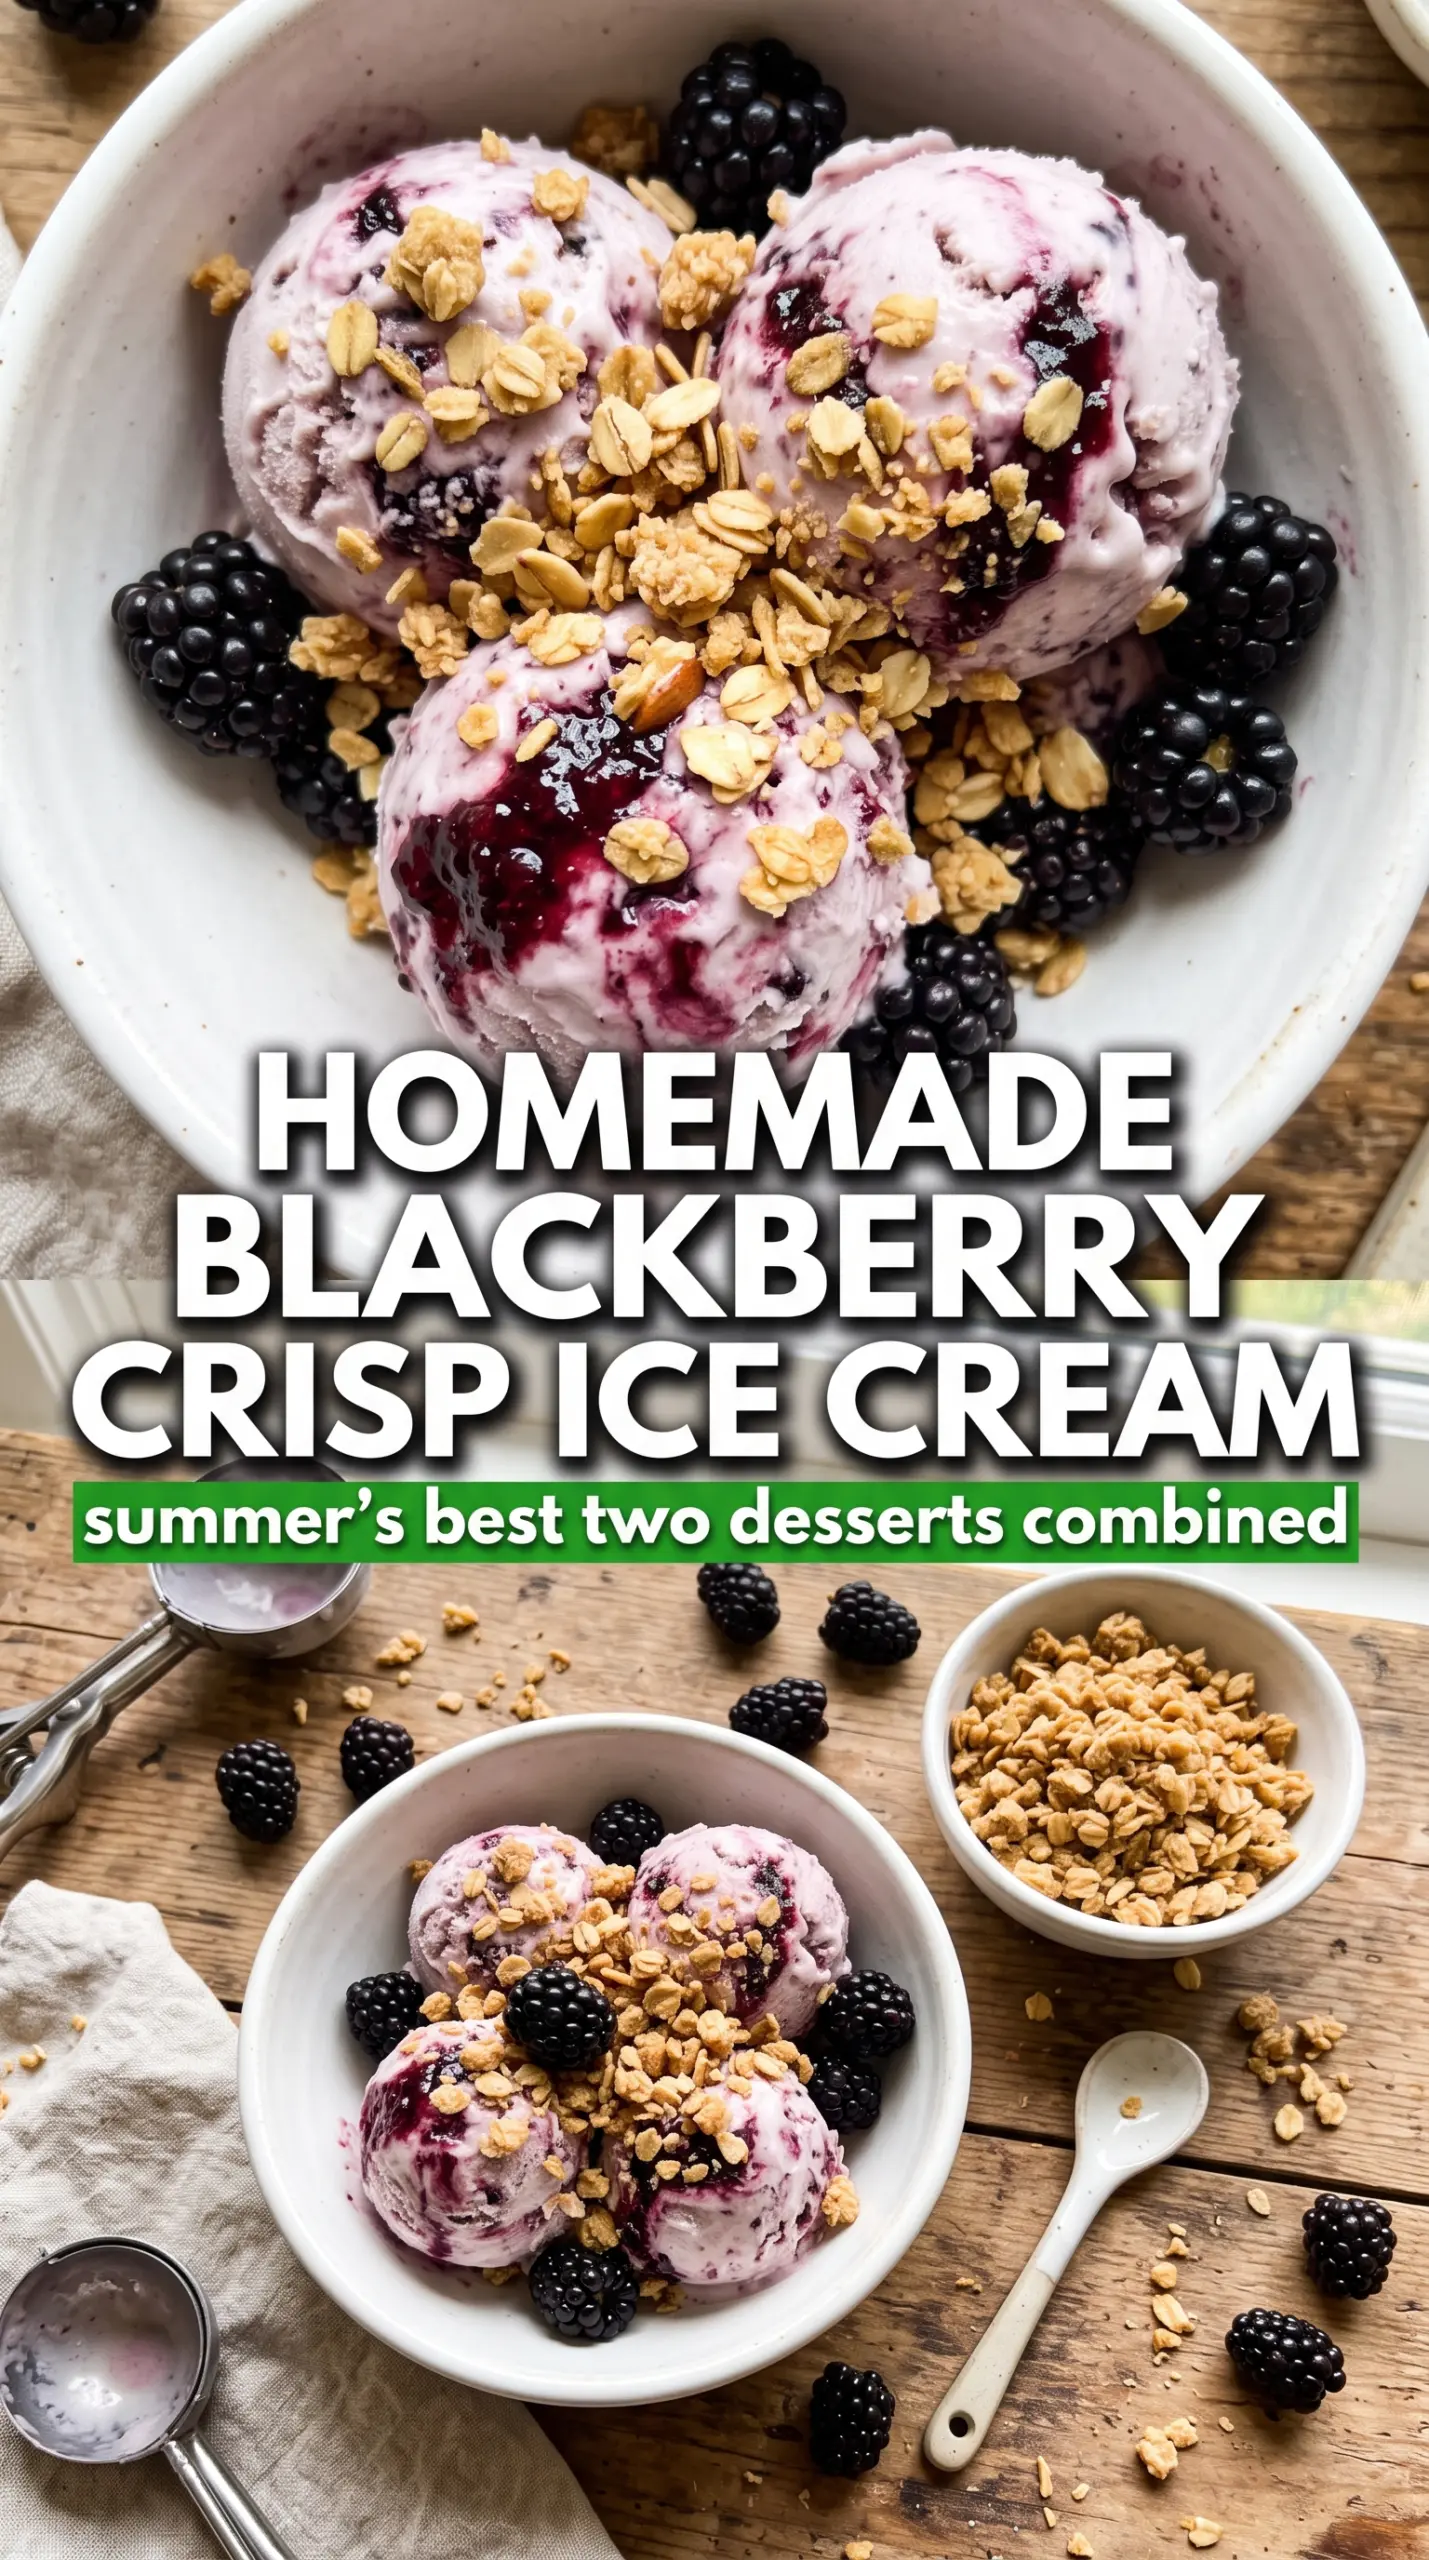
- Blackberries — Fresh berries give the brightest flavor and the prettiest swirl. Frozen berries work too, and they’re a smart backup, but they usually release a little more liquid, so simmer them a minute or two longer until the mixture looks glossy and spoonable, not thin.
- Lemon juice — This sharpens the fruit and keeps the blackberry layer from tasting flat. It also helps the jammy filling stay lively after freezing, when cold desserts naturally mute acidity.
- Heavy cream and whole milk — This is the base that gives the ice cream its body. Heavy cream matters here; swapping in low-fat dairy makes the texture icier and less plush.
- Egg yolks — The yolks make the custard rich and help the finished ice cream scoop cleanly. Temper them slowly and cook the base gently to 175F; if the heat climbs too fast, you’ll get scrambled bits instead of a smooth custard.
- Oats, flour, butter, and brown sugar — These turn into the crisp element that makes this taste like blackberry crisp instead of plain berry ice cream. Let the crumble cool completely before mixing it in, or it will soften and disappear into the base.
- Vanilla and salt — Vanilla rounds out the custard, and salt keeps the sweetness from getting heavy. Salt matters less as a standalone flavor here and more as the thing that makes the berries and cream taste more distinct.
Building the Swirl and Crunch Without Melting the Base
Cooking the Blackberries Down
Combine the blackberries, half the sugar, and lemon juice in a saucepan and cook until the berries collapse and the juices look glossy and thick. You want a jammy spoonful, not a soupy sauce. If there’s too much liquid left, the swirl will freeze into hard flecks instead of staying soft and spoonable. Cool it with some whole berries still intact so the final ice cream has texture, not just color.
Baking the Crisp Topping
Work the oats, flour, butter, and brown sugar together until you have uneven crumbles, then bake until the pieces are golden and smell toasted. Pull them before they get too dark, because they keep cooking as they cool. Once they’re completely cool, break them into bite-size chunks. Warm crumble will steam inside the ice cream container and go soft fast.
Making the Custard Base
Heat the cream and milk until steaming, then whisk some of that hot dairy into the yolks and sugar before everything goes back into the pan. That slow tempering keeps the yolks smooth. Cook over medium-low heat and stir constantly until the mixture lightly coats a spoon and reaches 175F. If you see any graininess, pull the pan off the heat immediately and strain it before chilling.
Churning and Layering
Churn the chilled custard until it’s thick and looks like soft-serve. Transfer it to a freezer container in layers with the blackberry mixture and crisp pieces instead of stirring everything together all at once. A light hand keeps the swirl distinct and stops the crumble from sinking. Freeze until firm enough to scoop, usually several hours, and give it a few minutes on the counter before serving if it comes out very hard.
How to Adapt This for Different Kitchens and Different Diets
Use frozen blackberries when fresh aren’t in season
Frozen berries work well, but they usually give off more water. Cook them a little longer so the filling thickens to a spoonable jam, and let the mixture cool completely before layering it into the ice cream.
Make it gluten-free with one swap
Use a gluten-free all-purpose flour blend in the crisp topping in place of the regular flour. The crumble stays crunchy and buttery, though the texture may be a touch more delicate once frozen.
Skip the eggs for a lighter no-custard version
You can leave out the yolks and use an eggless ice cream base, but the texture will be a little icier and less rich. If you go that route, chill the dairy mixture well and churn it until very thick so it freezes as smoothly as possible.
Storage and Reheating
- Refrigerator: Ice cream doesn’t store in the refrigerator. Keep the finished batch covered in the freezer instead.
- Freezer: Freeze in an airtight container for up to 2 weeks for the best texture. After that, the crumble starts to soften and the blackberry swirl can pick up ice crystals.
- Reheating: Not applicable, but for serving, let the container sit at room temperature for 5 to 10 minutes so the scoop releases cleanly. If it’s frozen rock-hard, don’t microwave it; that melts the edges before the center is usable.
Answers to the Questions Worth Asking
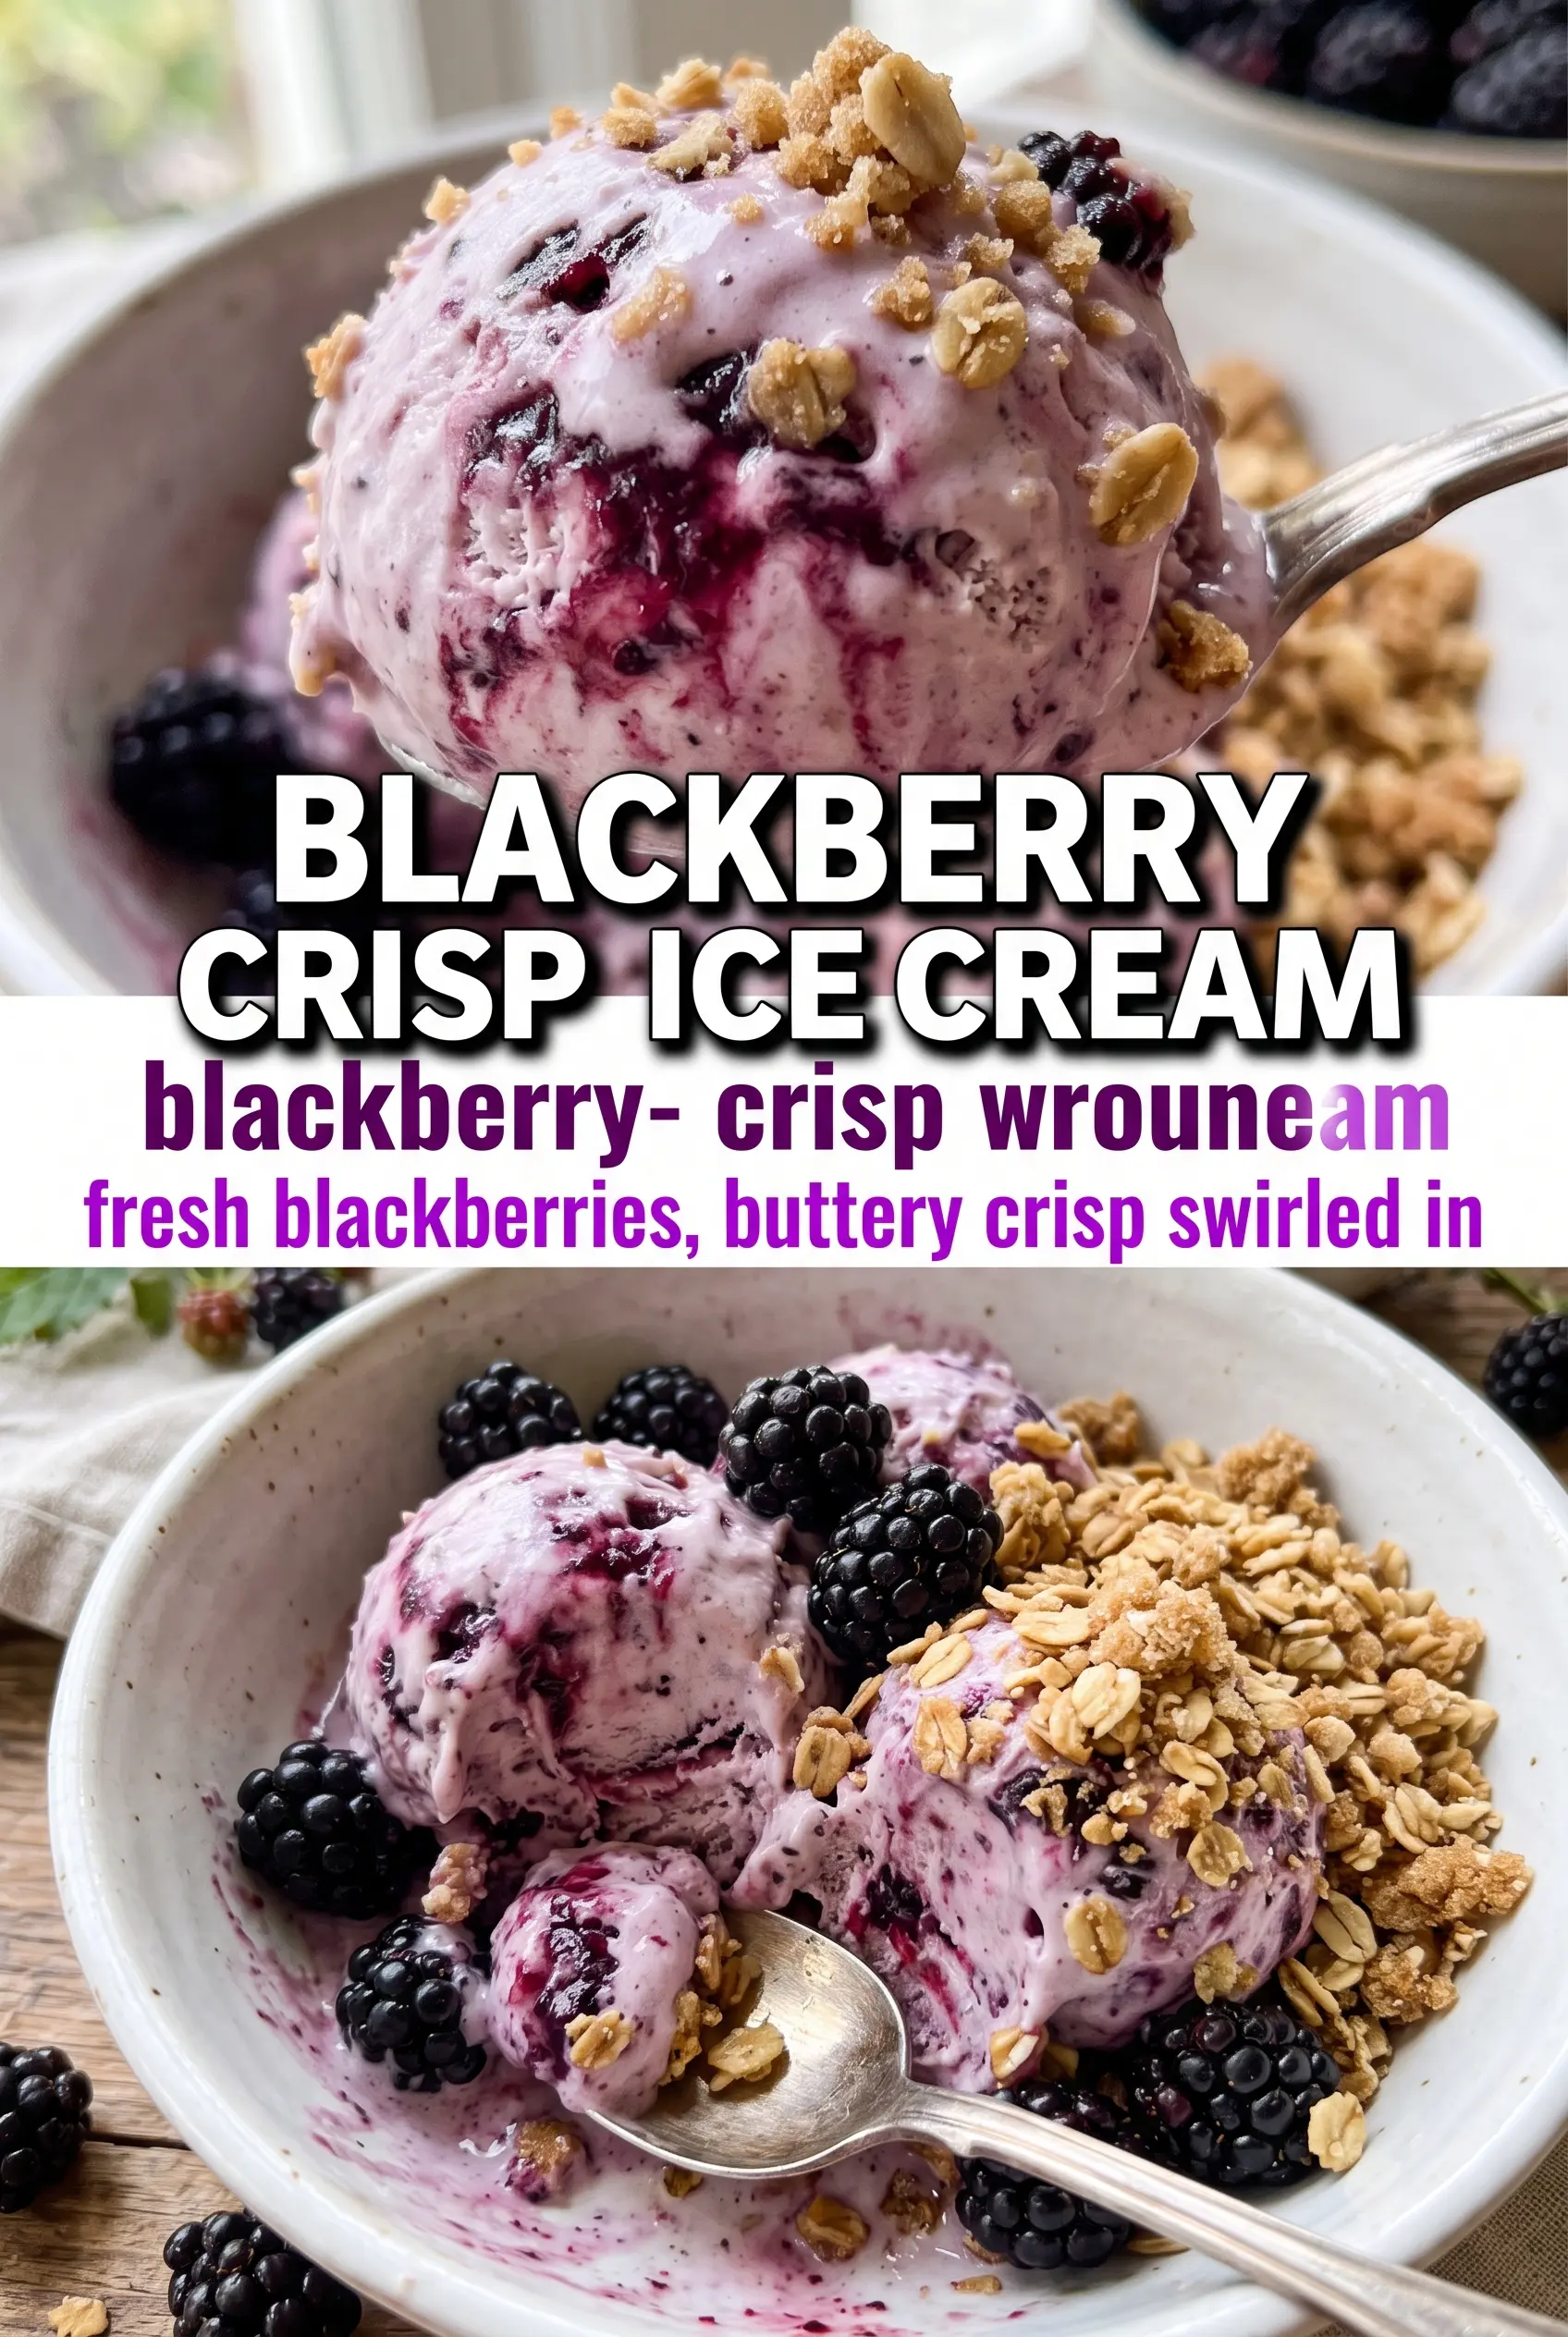
Homemade Blackberry Crisp Ice Cream
Ingredients
Equipment
Method
- Simmer the blackberries with 1/4 cup sugar and the lemon juice for 8 minutes until jammy, stirring often so the mixture thickens. Cool completely, leaving some whole berries.
- Preheat the oven to 350F and mix the oats, flour, butter, and brown sugar into crumbles. Bake at 350F for 12-15 minutes until golden, then cool and break into smaller crisp pieces.
- Heat the heavy cream and whole milk until steaming but not boiling, then reduce heat. Whisk the hot dairy into egg yolks beaten with the remaining 1/4 cup sugar.
- Cook the custard, stirring, until it reaches 175F and coats the back of a spoon. Strain it, then stir in vanilla and salt.
- Cool the custard to room temperature and refrigerate for 4 hours so it churns cold.
- Churn the chilled custard in an ice cream maker until it reaches soft-serve consistency. Transfer to a container while layering in blackberry compote and oat crisp pieces.
- Freeze until firm, so the blackberry swirls set and the oat crisp stays crunchy in the scoops.


