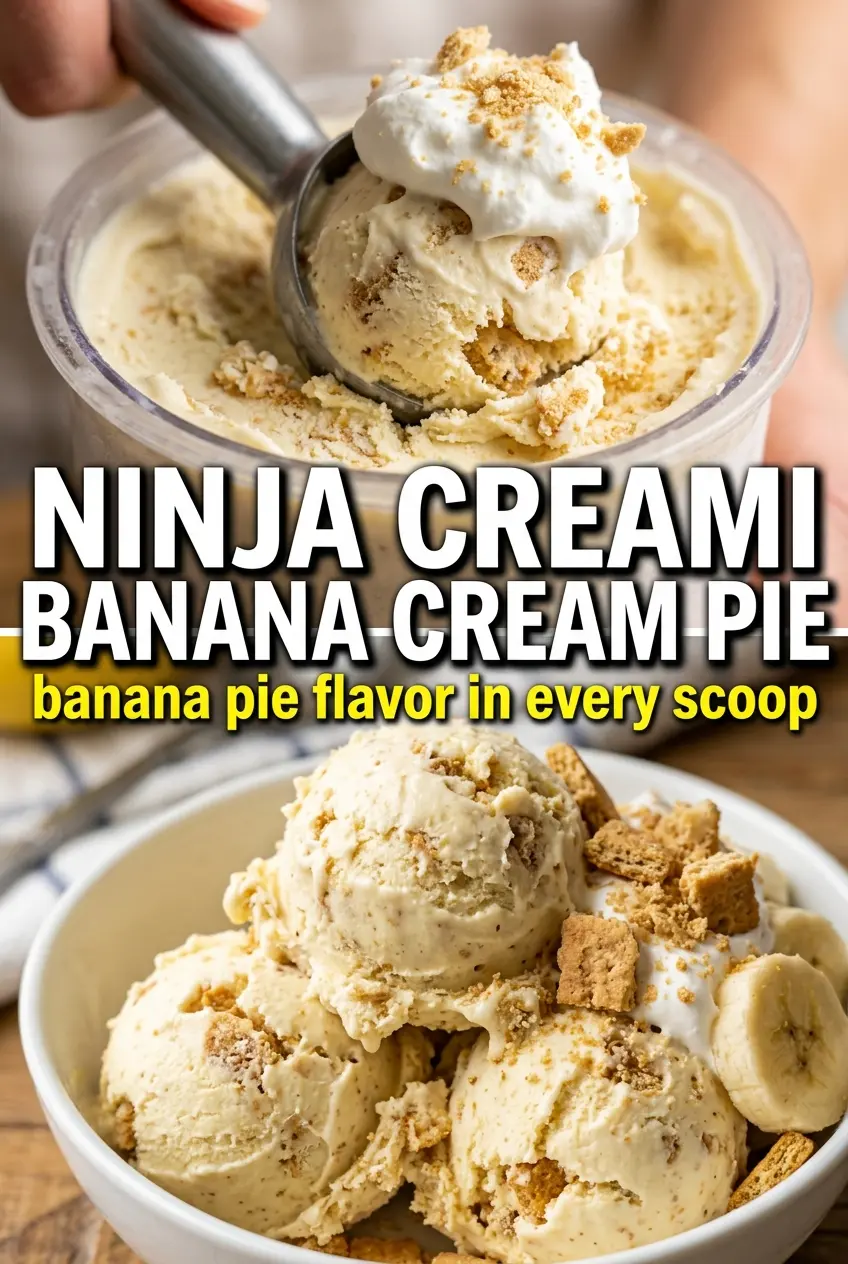
Banana cream pie ice cream tastes like the filling of the pie went straight into the freezer and came out even silkier. The banana stays front and center, but the pudding mix and cream cheese give it that custardy, pie-filling texture that makes each spoonful feel thick instead of icy. The Nilla wafer mix-in brings the whole thing home with that classic crumbly vanilla-cookie finish.
What makes this version work is the balance. A very ripe banana gives you the real banana flavor, but the instant pudding mix helps the base freeze with a smoother, creamier body in the Ninja Creami. The cream cheese is small but important too; it rounds out the sweetness and keeps the flavor tasting like banana cream pie, not just blended banana milk.
Below, I’m breaking down the ingredient choices, the one freezing step you can’t rush, and the best way to keep the mix-ins from disappearing into the base. If you’ve had Creami pints turn crumbly or chalky, the notes here will help you avoid that.
The base came out creamy on the first spin, and the Nilla wafer mix-in gave it that real banana cream pie taste instead of just banana ice cream. My kids kept sneaking spoonfuls right out of the pint.
Love that banana-vanilla custard texture? Save this Ninja Creami Banana Cream Pie Ice Cream for the next time you want a pie-inspired dessert with Nilla wafer crunch.
Why This Creami Base Stays Smooth Instead of Icy
The biggest mistake with fruit-based Ninja Creami pints is underbuilding the base. Banana brings flavor, but it doesn’t bring enough fat or structure on its own, so the texture can freeze hard and a little crumbly if you lean on banana alone. This recipe fixes that by pairing whole milk and heavy cream with instant pudding mix, which gives the frozen base more body before it ever hits the machine.
Softened cream cheese matters more than people think. It disappears into the mix when you blend it well, but it adds the slight tang and density that make the final ice cream taste like banana cream pie filling instead of a banana smoothie frozen in a pint. If your last Creami came out sandy after the first spin, that usually means the base was too lean or the ingredients weren’t fully emulsified before freezing.
- Very ripe banana — This is where the banana flavor comes from, so use one with plenty of brown spots. A pale banana will taste flat after freezing.
- Instant vanilla pudding mix — This gives the base the custard-like set that makes the texture scoopable. Cook-and-serve pudding won’t work the same way here.
- Whole milk and heavy cream — The fat keeps the pint from freezing into a dry, icy block. You can use 2% milk in a pinch, but the final texture won’t be as rich.
- Cream cheese — Just a spoonful adds body and a pie-filling tang. Blend it until completely smooth so you don’t end up with tiny cream cheese flecks in the frozen base.
Building the Banana Cream Pie Flavor Before It Freezes
Blending the Base Until It Disappears
Blend the banana, milk, cream, pudding mix, sugar, cream cheese, vanilla, and salt until the mixture looks completely uniform and silky. You shouldn’t see banana strands or cream cheese bits anywhere in the pitcher. If the base looks grainy now, it’ll freeze grainy later, and the Creami can only do so much to fix that. Scrape down the sides and blend again if you need to.
Freezing the Pint Flat and Undisturbed
Pour the base into the pint container and freeze it on a level surface for a full 24 hours. The surface should be flat and the mixture should be rock solid all the way through before you spin it. A pint that’s even a little soft in the center will turn slushy instead of creamy, and the machine won’t process it the right way. Don’t rush this part; it’s the step that gives the texture its structure.
Spinning, Respinning, and Adding the Cookies
Run the frozen pint on the Ice Cream setting. If the texture comes out powdery or crumbly after the first spin, add 1 tablespoon milk and re-spin until it loosens into a creamy texture. After that, use the Mix-In function for the crushed Nilla wafers so they stay in distinct little pieces instead of dissolving into the base. Save the banana slice for the top and serve right away while the texture is at its best.
How to Adapt This Ninja Creami Pint Without Losing the Pie Character
Dairy-Free Version
Use full-fat canned coconut milk in place of the milk and cream, then swap in a dairy-free cream cheese. The ice cream will still be rich, but it’ll pick up a light coconut note, so keep the vanilla strong and don’t skip the salt.
No Pudding Mix on Hand
You can leave it out, but expect a firmer, less custardy texture. To get closer to the original body, add a little extra cream cheese and blend thoroughly before freezing, then plan on using a respin with milk.
Extra Pie Crunch
If you want a stronger crust-like finish, save a few extra crushed Nilla wafers and sprinkle them on top after spinning. Mixing too many in at the end can make the pint lose that creamy contrast, so keep most of the crunch on top.
Storage and Re-Spinning
- Freezer: Store the unspun pint tightly covered for up to 2 weeks. It will freeze harder over time, so expect to respin with a splash of milk if you don’t eat it right away.
- Reheating: Let the pint sit at room temperature for 5 to 10 minutes before respinning if it freezes too hard. Don’t microwave it; that gives you melted edges and a cold center.
Questions I Get Asked About This Recipe
Ninja Creami Banana Cream Pie Ice Cream
Ingredients
Equipment
Method
- Blend very ripe banana, whole milk, heavy cream, vanilla pudding mix (instant), granulated sugar, cream cheese, vanilla extract, and salt until completely smooth, about 30-60 seconds on high. Stop and scrape the blender if any streaks remain for a uniform custard base.
- Pour the mixture into the Ninja Creami pint container, cover, and freeze for 24 hours to fully set.
- Process on the Ice Cream setting according to your Ninja Creami model for a thick, creamy texture. If the mix looks too soft or not fully churned, re-spin with 1 tablespoon milk.
- Use the Mix-In function to fold in crushed Nilla wafers until evenly dispersed.
- Garnish with a banana slice and serve immediately for the best texture and aroma.


