Cold, creamy vanilla ice cream made in a mason jar has a kind of magic that never gets old. It’s the sort of treat that feels playful and a little bit clever, but the result is still a proper scoopable dessert with a soft, rich texture and a clean vanilla finish. The best part is that you don’t need a machine, a stand mixer, or even a separate bowl to get there.
This version works because the cream starts thickening as soon as it’s shaken hard enough to pick up a little body, and the sugar helps the mixture stay smooth instead of icy. The mason jar gives you just enough room to move the liquid around without splashing, and once it’s frozen, the whole thing turns into a single-serving dessert that’s easy to grab, freeze, and eat straight from the jar.
Below, I’ve included the small details that matter most: how to tell when the cream has shaken enough, when to add mix-ins, and what to do if you want a firmer or softer final texture.
The texture was shockingly creamy for something I made in a jar, and the vanilla stayed clean instead of tasting watered down after freezing. My kids had a blast shaking it, and it set up perfectly after about 4 hours.
Save this mason jar ice cream for the nights when you want a homemade vanilla scoop without pulling out the ice cream maker.
The Part People Get Wrong When They Shake Ice Cream Too Long
The biggest mistake with mason jar ice cream is assuming more shaking always means a better result. Once the cream starts to thicken, the jar only needs enough movement to encourage air into the mixture and help the sugar dissolve. If you shake it hard past that point, you can push the mixture toward a grainy, overworked texture instead of a smooth one.
The other thing that matters is jar size. A 16-ounce mason jar gives the cream enough space to move without turning into a churned foam bomb. If the jar is packed too full, the lid can leak and the mixture won’t thicken evenly, which is usually why people end up with a loose, icy freeze instead of a creamy one.
- Heavy cream — This is what gives the ice cream its body. Half-and-half won’t set up the same way, and milk won’t give you the richness or the final texture you want.
- Sugar — Granulated sugar dissolves cleanly and helps keep the finished ice cream from freezing into a hard block. Honey or maple syrup will change the flavor and the freeze slightly, so use them only if you want that taste.
- Vanilla extract — Use the good stuff here if you can. Since the ingredient list is short, the vanilla carries the whole flavor.
- Salt — Just a pinch wakes up the cream and keeps the sweetness from tasting flat.
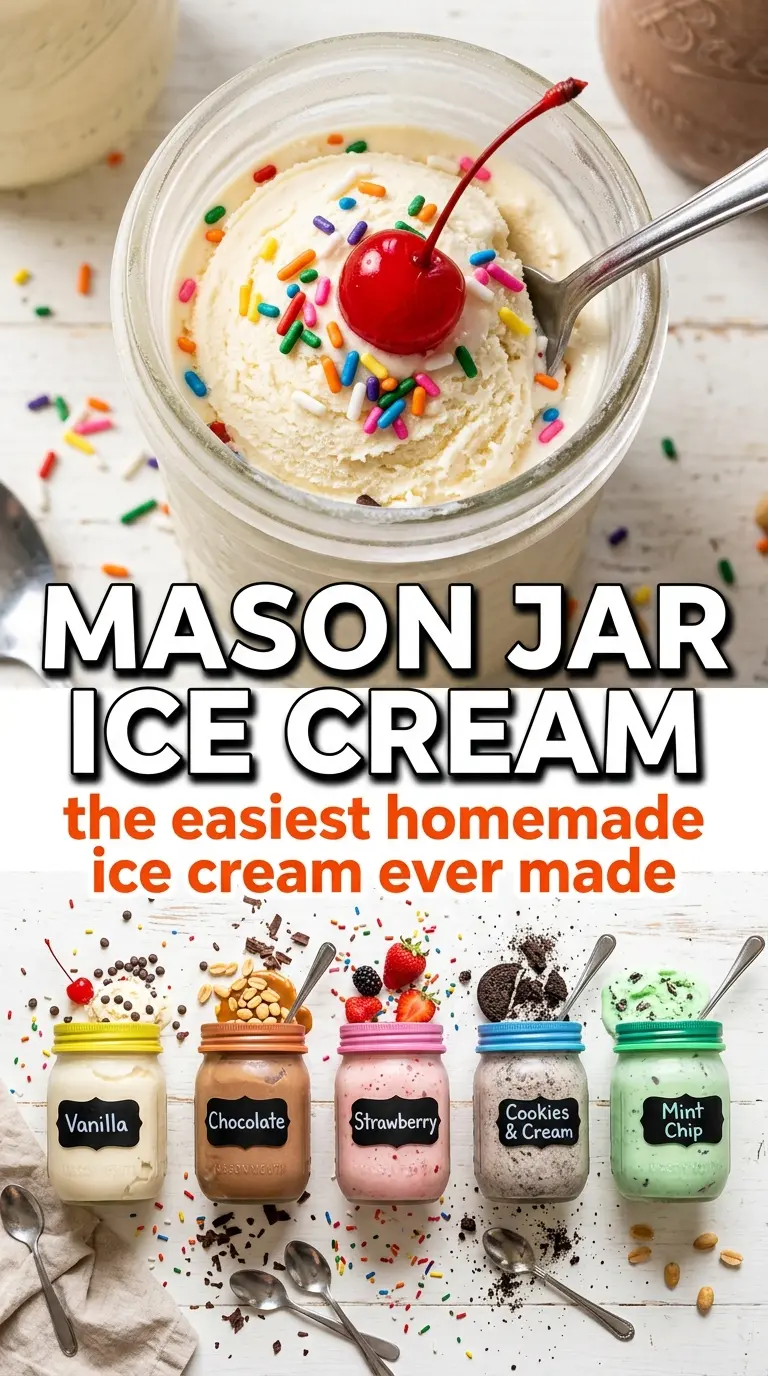
- Mix-ins — Add sprinkles, mini chocolate chips, or crushed cookies before freezing if you want them suspended throughout. Stir them in too late and they’ll just sit on top or sink in clumps.
What Each Ingredient Is Actually Doing in This Ice Cream
- Base ingredient (cream, milk, or custard) — This provides the foundation and richness. Quality matters.
- Sweetener (sugar, honey, or condensed milk) — This sweetens and prevents ice crystals. The ratio is critical.
- Flavor element (vanilla, fruit, chocolate, or other) — This defines the ice cream personality. Use quality ingredients.
- Egg yolks (if making custard base) — These create richness and silky texture. Optional but elevates ice cream.
- Churning (if using ice cream maker) — This incorporates air and prevents ice crystals. Critical for smooth texture.
- Freezing temperature and time — Proper freezing prevents rock-hard texture. Store at 0°F or below.
- Mix-ins (chocolate, cookies, fruit, or swirls) — These add texture and prevent one-dimensional flavor. Add near end of churning.
- Serving temperature (slightly soft, not rock hard) — This provides creamy mouthfeel. Remove from freezer 5 minutes before serving.
Shaking, Freezing, and Knowing When It’s Ready
Combine the Base in the Jar
Add the cream, sugar, vanilla, and salt straight into a 16-ounce mason jar. Leave a little headspace at the top so the mixture can move around when you shake it. If the jar is too full, the cream won’t agitate properly and the lid is more likely to loosen.
Shake Until the Cream Thickens
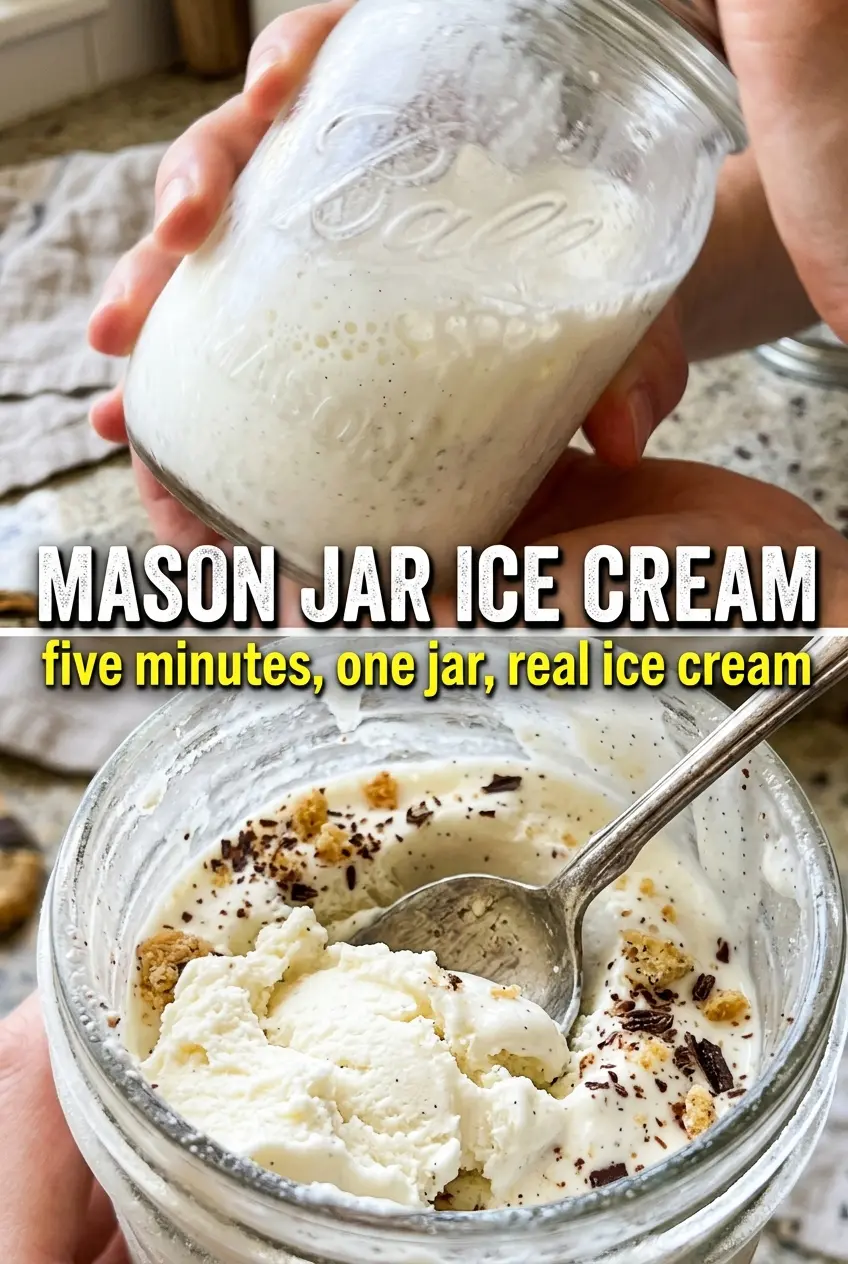
Seal the lid tightly and shake vigorously for 3 to 5 minutes. At first the mixture sounds loose and sloshy, then it starts to feel heavier as the cream thickens. Stop when the contents look slightly foamy and coat the inside of the jar more than they did at the start; if you keep going far beyond that, you’ll lose the smooth texture you’re trying to build.
Freeze Until Firm
Place the jar in the freezer for about 4 hours. It should be firm enough to scoop but still soft around the edges if you want that just-churned feel. If it freezes rock solid, let it sit on the counter for a few minutes before eating instead of digging in right away.
Add Mix-Ins at the Right Time
If you want sprinkles, mini chips, or crushed cookies, stir them in before the freezer step. That keeps them evenly distributed instead of floating on top after the mixture firms up. For bigger mix-ins like cookie pieces, keep them small so they don’t turn the texture chunky in an awkward way.
Chocolate Chip Birthday Cake Version
Stir in mini chocolate chips and a spoonful of sprinkles before freezing. The chips stay evenly suspended, and the sprinkles give you that birthday-cake look without changing the base texture much.
Oreo Cookies-and-Cream Jar
Fold in finely crushed Oreos before freezing for a cookies-and-cream version. Keep the pieces small so the ice cream stays scoopable instead of turning chunky and hard to eat from the jar.
Dairy-Free Coconut Cream Swap
Use full-fat coconut cream in place of the heavy cream for a dairy-free version. The result is a little more coconut-forward and slightly less airy, but it still freezes into a creamy single-serving dessert.
Make It Sweeter or Less Sweet
Cut the sugar back by a teaspoon if you want a less sweet finish, or add an extra teaspoon if you’re using plain mix-ins and want a more dessert-like result. Just don’t remove it entirely, since sugar helps keep the frozen texture softer.
Storage and Reheating
- Refrigerator: Not recommended. This is meant to be frozen, and it won’t hold its shape in the fridge.
- Freezer: Best eaten the same day, but it can stay frozen for up to 1 week. After that, the texture gets icier and loses some of its creaminess.
- Reheating: Let the jar sit at room temperature for 3 to 5 minutes before eating. That short rest softens the edges without melting the whole dessert, which is the mistake people make when they wait too long.
Answers to the Questions Worth Asking
Mason Jar Ice Cream
Ingredients
Method
- Add the heavy cream, granulated sugar, vanilla extract, and salt to a 16-oz mason jar.
- Seal the lid tightly on the mason jar.
- Shake the jar vigorously for 3-5 minutes until the cream thickens noticeably.
- Place the sealed jar in the freezer for 4 hours until firm.
- Stir in optional mix-ins before freezing if desired.
- Let the jar sit at room temperature for 3-5 minutes before eating directly from the jar.


