Bright pineapple flavor gives this ice cream a clean, tangy edge that keeps every spoonful from feeling heavy. The custard base stays rich and smooth, but the pineapple cuts through with enough sharpness to keep the finish lively. Churned with real fruit, it turns pale yellow and creamy instead of icy or bland, which is exactly why it earns a place next to the best fruit-forward frozen desserts.
The key is cooking the pineapple before it goes into the custard. That short simmer pulls out juice, softens the fruit, and concentrates the flavor so the ice cream tastes like pineapple all the way through instead of like milk with a hint of fruit. The custard also needs to cook gently; if the heat runs too high after the yolks go in, the texture can turn grainy fast. Strain it, chill it fully, then churn it cold so the machine can do its job properly.
Below, I’ve included the small details that matter most here: how chunky to leave the pineapple, what to watch for during custard cooking, and a few ways to adapt the base if you want to lean even more tropical.
The pineapple flavor came through beautifully, and the custard churned up smooth instead of icy. I loved that the fruit was cooked first because the ice cream stayed creamy with no hard pineapple bits.
Save this pineapple custard ice cream for the days when you want a bright tropical dessert with a silky churn and real fresh fruit flavor.
The Pineapple Needs a Head Start, Not the Custard
Fresh pineapple brings brightness, but it also carries a lot of water. If you fold it into the base raw, the finished ice cream tastes thinner and the fruit can freeze into hard little bits instead of melting smoothly on the tongue. Cooking it first concentrates the flavor and gives you a puree that blends into the custard without watering it down.
The other common trouble spot is the egg yolks. Once they’re in the pan, the mixture needs gentle heat and steady whisking. If the custard starts to bubble, it can curdle around the edges before you notice. Stop at 175°F, strain it, and you’ll get a base that’s smooth enough to churn into that soft, scoopable texture people want from homemade ice cream.
What the Fruit, Cream, and Yolks Are Each Doing Here
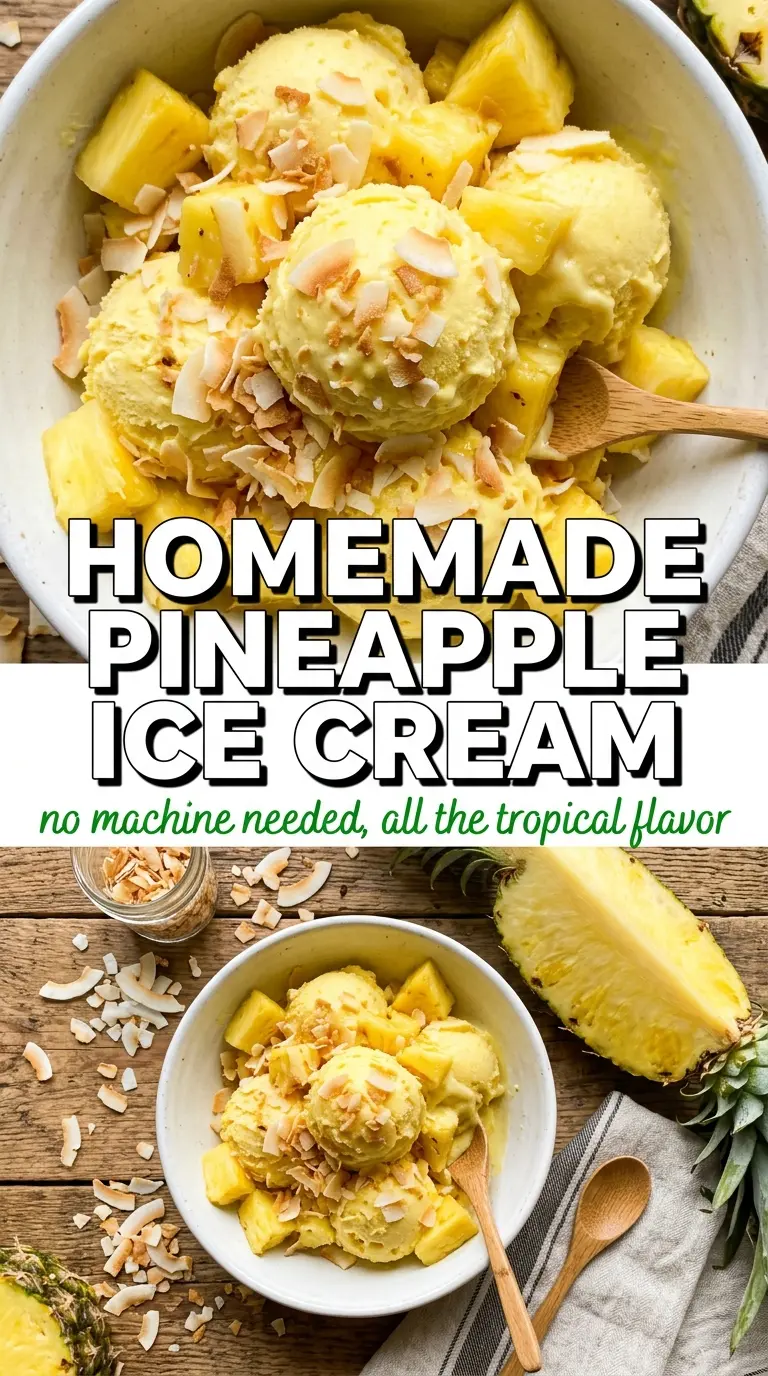
- Fresh pineapple — This is the flavor anchor. Fresh fruit tastes brighter than canned here, and simmering it with sugar and lemon juice deepens that sweet-tart note. If you only have canned pineapple, drain it well and expect a softer, slightly less vivid finish.
- Heavy cream — Cream gives the ice cream its rich body and keeps the texture plush after freezing. There isn’t a good low-fat substitute if you want the same scoopable result, because the fat is doing real work in the custard.
- Whole milk — Milk lightens the base just enough so the pineapple can stay front and center. Don’t swap it for skim milk; the ice cream will freeze harder and lose that smooth mouthfeel.
- Egg yolks — The yolks thicken the base into a custard that freezes creamier than a no-egg version. Temper them slowly or they’ll scramble, and if you want a cleaner texture, strain the custard before chilling.
- Lemon juice — A little citrus keeps the pineapple tasting sharp after freezing. Without it, the fruit can taste flatter once cold, especially after the sugar is fully dissolved.
Building a Smooth Custard Before the Churn
Cooking Down the Pineapple
Start by simmering the diced pineapple with part of the sugar and the lemon juice until the fruit softens and the liquid turns syrupy. You want concentrated fruit, not a wet compote. If there’s still a lot of free juice in the pan, keep cooking a few more minutes; extra moisture is what makes homemade ice cream icy instead of creamy.
Tempering the Yolks
Whisk the yolks with the remaining sugar until they look pale and a little thick, then stream in the hot dairy slowly while whisking constantly. That gradual addition keeps the eggs from cooking too fast. If you dump the milk in all at once, the yolks can seize and leave you with bits of scrambled egg in the base.
Cooking to the Right Thickness
Return the mixture to the pan and cook over low to medium-low heat until it reaches 175°F and lightly coats the back of a spoon. The custard should feel slightly thicker, but it won’t be pudding-thick yet. Pull it off the heat as soon as it reaches temp; if you wait for a boil, the texture turns grainy and the dairy can split.
Chilling Before Churning
Stir in the vanilla, salt, and pineapple puree, then cool the custard completely before it goes into the fridge. Churn only after it has chilled for several hours and feels cold all the way through. If the base is even a little warm, the machine won’t whip enough air into it and the final ice cream will come out dense.
How to Adjust the Sweetness, Fruit, or Dairy Without Losing the Creamy Texture
Dairy-Free Pineapple Ice Cream
Use full-fat canned coconut milk in place of the cream and milk for a tropical version with a coconut note. It won’t taste exactly the same, and it won’t be quite as custardy, but the texture stays rich if you chill the base thoroughly before churning.
Extra Pineapple, Stronger Fruit Flavor
If you want the pineapple to stand out even more, reduce the cooked fruit a little longer before blending so it turns almost jammy. That gives you a deeper fruit flavor, but don’t add more raw pineapple to the custard or the texture will turn watery after freezing.
No Ice Cream Maker
You can still make this, but the texture won’t be as smooth. Freeze the custard in a shallow dish and stir it every 30 to 45 minutes until firm to break up ice crystals; expect something closer to a dense frozen dessert than true churned ice cream.
Storage and Reheating
- Refrigerator: The custard base can sit covered in the fridge for up to 2 days before churning. Once churned, keep the ice cream in a sealed container and expect the texture to firm up more after the first day.
- Freezer: It freezes well for about 2 weeks if pressed with parchment or plastic wrap directly on the surface. After that, the pineapple flavor starts to fade and ice crystals become more noticeable.
- Reheating: Let it stand at room temperature for 5 to 10 minutes before scooping. If you try to dig in straight from the freezer, the custard base can feel rock hard and the spoon will break up the surface instead of making clean scoops.
Questions I Get Asked About This Recipe
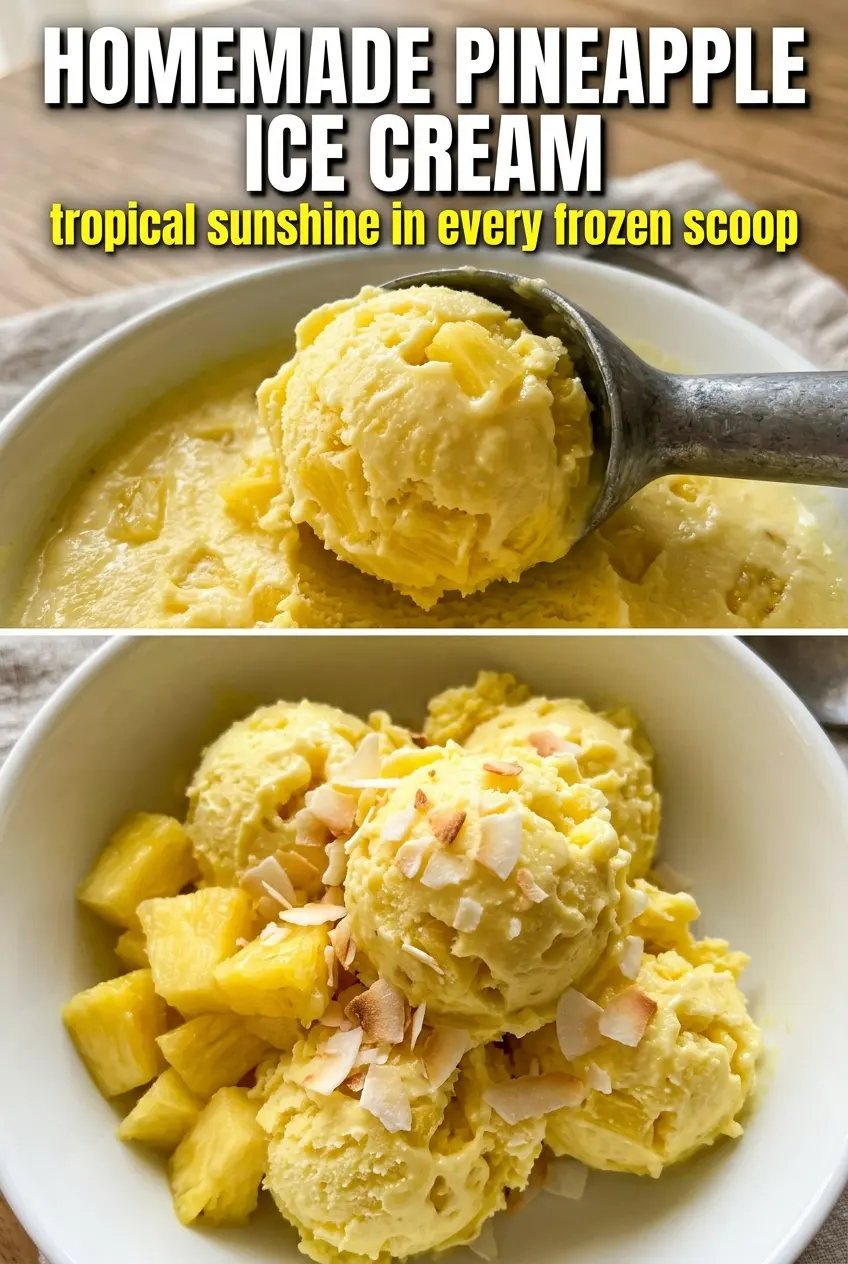
Homemade Pineapple Ice Cream
Ingredients
Equipment
Method
- Simmer the finely diced fresh pineapple with 1/4 cup sugar and lemon juice for 10 minutes, until the pineapple softens and the juices look more concentrated with glossy syrupy bubbles.
- Cool the pineapple mixture, then blend until it becomes a chunky puree with visible small pieces.
- Heat the heavy cream and whole milk until steaming, with small bubbles forming at the edges.
- Whisk the egg yolks with the remaining 1/2 cup sugar until smooth and slightly lighter in color.
- Slowly whisk the steaming cream mixture into the egg yolks in a thin stream to temper, keeping the mixture silky and lump-free.
- Cook the custard to 175F, stirring until it thickens enough to coat the back of a spoon.
- Strain the custard, then stir in the vanilla extract, salt, and the pineapple puree until evenly combined and bright yellow.
- Cool completely, then refrigerate for 4 hours until cold all the way through.
- Churn in an ice cream maker until thickened like soft-serve with a pale yellow color and pineapple pieces suspended throughout.
- Freeze until firm so the texture sets into scoopable ice cream.


