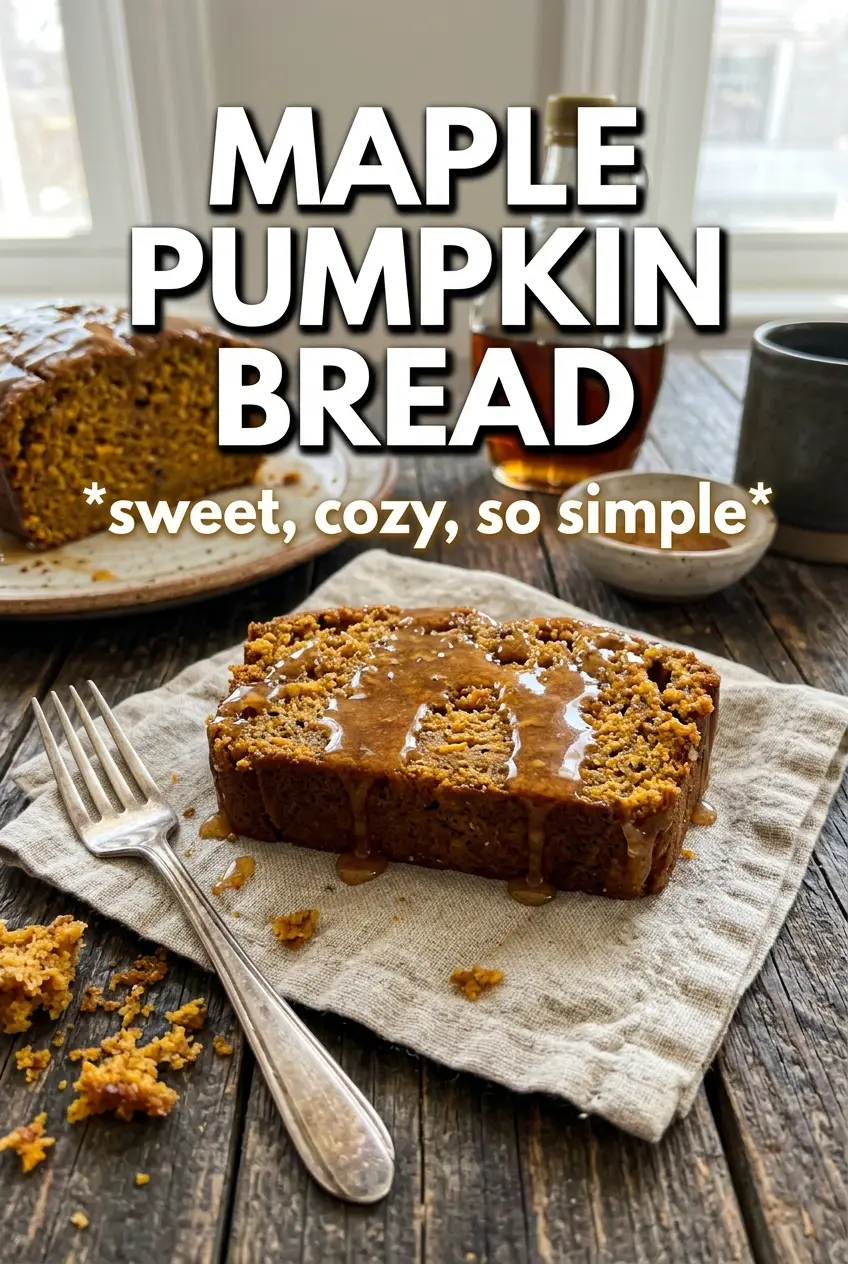
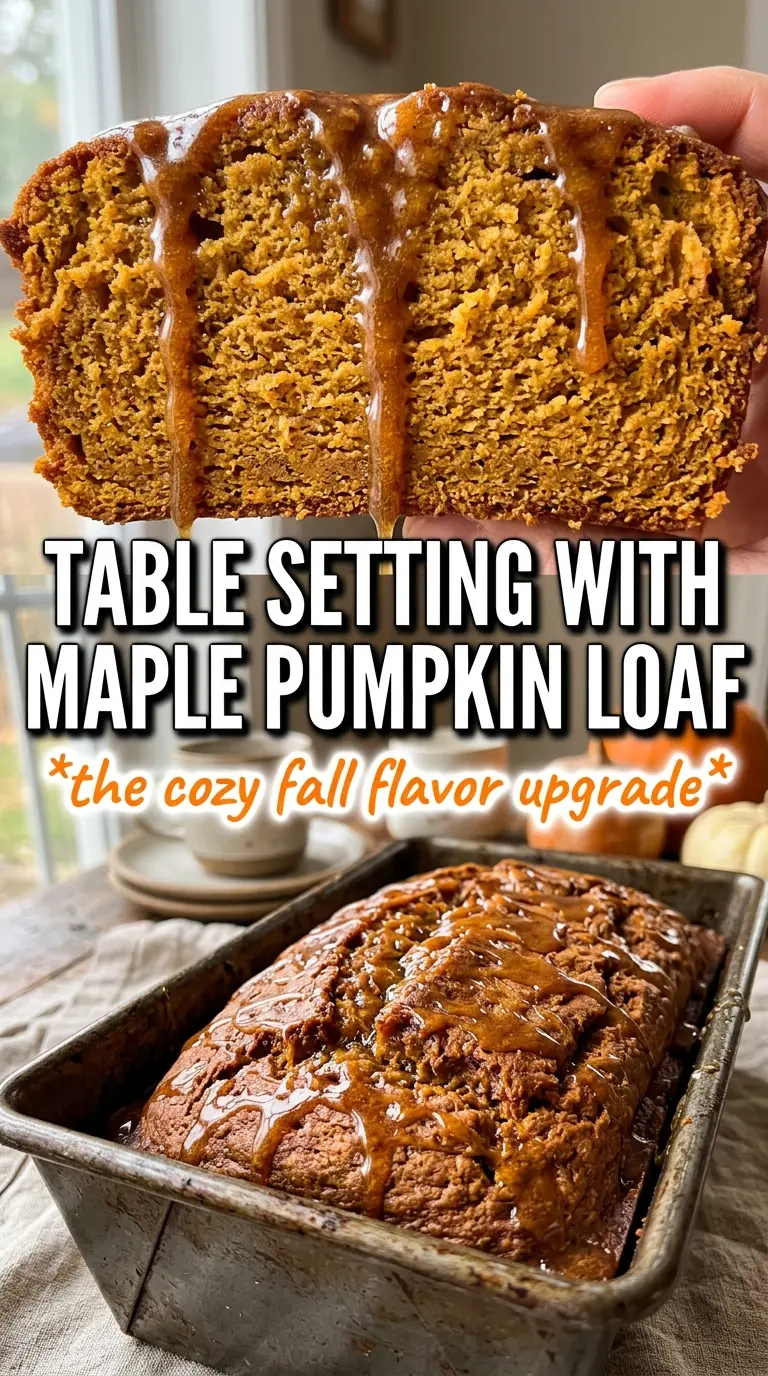
Maple pumpkin bread lands with a soft, plush crumb and a deep, warm sweetness that tastes bigger than the ingredient list looks. The loaf bakes up moist without feeling heavy, and the maple glaze on top gives each slice that sticky, bakery-style finish people notice right away. It’s the kind of bread that disappears fast because it works for breakfast, a snack, or an after-dinner slice with coffee.
The trick here is balancing pumpkin puree, maple syrup, and sour cream so the loaf stays tender instead of turning dense. Pumpkin brings moisture, but it also needs enough structure from flour and just enough baking soda to lift the batter. The maple extract pushes the flavor past “just pumpkin bread” and into something with a clear maple note, while the pepitas add a little crunch that keeps each bite interesting.
Below, I’ll walk through the part that matters most: how to keep the crumb soft, how to know when the loaf is actually baked through, and how to glaze it so it sets instead of sliding off the sides.
The loaf came out incredibly moist with a tight, tender crumb, and the maple glaze set up beautifully instead of soaking in. I loved the pumpkin seeds on top for a little crunch.
Save this maple pumpkin bread for the kind of breakfast that needs a thick glaze, warm spice, and a soft slice that holds together beautifully.
The Loaf That Stays Tender Instead of Turning Heavy
Most pumpkin breads go wrong in one of two ways: they bake up gummy in the middle, or they turn dry at the edges before the center is set. This version avoids both by pairing pumpkin puree with sour cream and oil, which keep the crumb soft and moist without needing a lot of mixing or a long bake. The maple syrup adds flavor, but it also brings extra liquid, so the batter needs just enough flour to hold everything together.
The other detail that matters is the maple extract. Without it, the bread tastes like pumpkin spice with a little sweetness. With it, the maple comes through in the finished loaf and in the glaze, which is what makes this taste like a deliberate maple pumpkin bread instead of a standard quick bread with syrup stirred in.
What Each Ingredient Is Actually Doing in This Loaf
- Pumpkin puree — This is the base of the loaf’s moisture and color. Use plain pumpkin puree, not pumpkin pie filling, or you’ll throw off both the sweetness and the spice balance.
- Pure maple syrup — It gives the bread its maple character and a rounder sweetness than sugar alone. The real stuff matters here; pancake syrup won’t give the same depth or finish.
- Sour cream — This keeps the crumb tender and gives the loaf a little richness that helps it slice cleanly once cooled. Plain Greek yogurt works in a pinch, but the bread will be slightly tangier and a touch less plush.
- Maple extract — This is what makes the maple flavor noticeable after baking. If you skip it, the loaf still works, but the maple note gets quieter.
- Vegetable oil — Oil keeps quick breads soft for days. Melted butter can be used, but the crumb will be a bit firmer and less supple.
- Pepitas — They’re optional, but they add a nice contrast on top and keep the loaf from looking flat. Add them before baking so they cling to the batter and toast lightly in the oven.
Mixing the Batter Without Overworking the Crumb
Whisk the dry ingredients first
Start by whisking the flour, baking soda, pumpkin pie spice, cinnamon, and salt together until the color looks even. That step matters more than it sounds like it should, because baking soda that isn’t distributed well leaves you with uneven rise and little bitter pockets. You want the spice mixture to look fully blended before it meets the wet ingredients.
Build the wet mixture until smooth
In a separate bowl, whisk the pumpkin puree, maple syrup, brown sugar, oil, eggs, vanilla, maple extract, and sour cream until the mixture looks glossy and uniform. The brown sugar should break down into the batter, not sit in gritty streaks. If the mixture looks split at first, keep whisking; the sour cream and oil will come together once everything is fully combined.
Fold just until no dry flour remains
Add the dry ingredients to the wet mixture and fold gently with a spatula. Stop as soon as the flour disappears. If you beat the batter hard at this stage, you’ll build a tighter, tougher loaf instead of that soft, even crumb quick bread is supposed to have. The batter should be thick and spoonable, not runny.
Bake until the center sets
Pour the batter into the greased loaf pan, scatter the pepitas over the top, and bake until the top is domed and deeply set and a tester in the center comes out with only a few moist crumbs. At 60 minutes, start checking the loaf every few minutes because ovens vary more than recipe timers do. If the top is browning too quickly before the center is done, lay a loose piece of foil over it for the last stretch.
Cool before glazing
Let the loaf cool completely before adding the maple glaze. If you glaze it while it’s warm, the icing melts into the top instead of setting in that pretty, drizzly layer. The glaze should be thick enough to ribbon off a spoon, not watery; if it runs straight off the loaf, add a little more powdered sugar.
How to Adapt This for Different Kitchens and Occasions
Dairy-Free Version
Swap the sour cream for an unsweetened dairy-free yogurt with a thick texture. You’ll keep most of the moisture and tenderness, though the crumb may be a little less rich. The glaze can still be made with plant milk; just add it slowly so it doesn’t get too thin.
Walnut or Pecan Topping
If you want a more dessert-like loaf, scatter chopped walnuts or pecans over the batter instead of pepitas. They toast into the top and add a richer, buttery crunch. Pepitas stay cleaner and more subtle; nuts bring a stronger toasty note.
Gluten-Free Swap
Use a 1:1 gluten-free all-purpose flour blend that already includes xanthan gum. The loaf will still bake up nicely, but it may need the full bake time and a longer cooling time before slicing. Don’t use almond flour here; it won’t give the structure this batter needs.
Storage and Reheating
- Refrigerator: Store sliced or whole in an airtight container for up to 5 days. The loaf stays moist, but the glaze will soften a bit over time.
- Freezer: Freeze unglazed slices wrapped tightly in plastic and placed in a freezer bag for up to 3 months. Glaze after thawing for the cleanest texture.
- Reheating: Warm a slice briefly in the microwave or toaster oven until just heated through. Don’t overheat it or the crumb can turn dry at the edges before the center warms.


