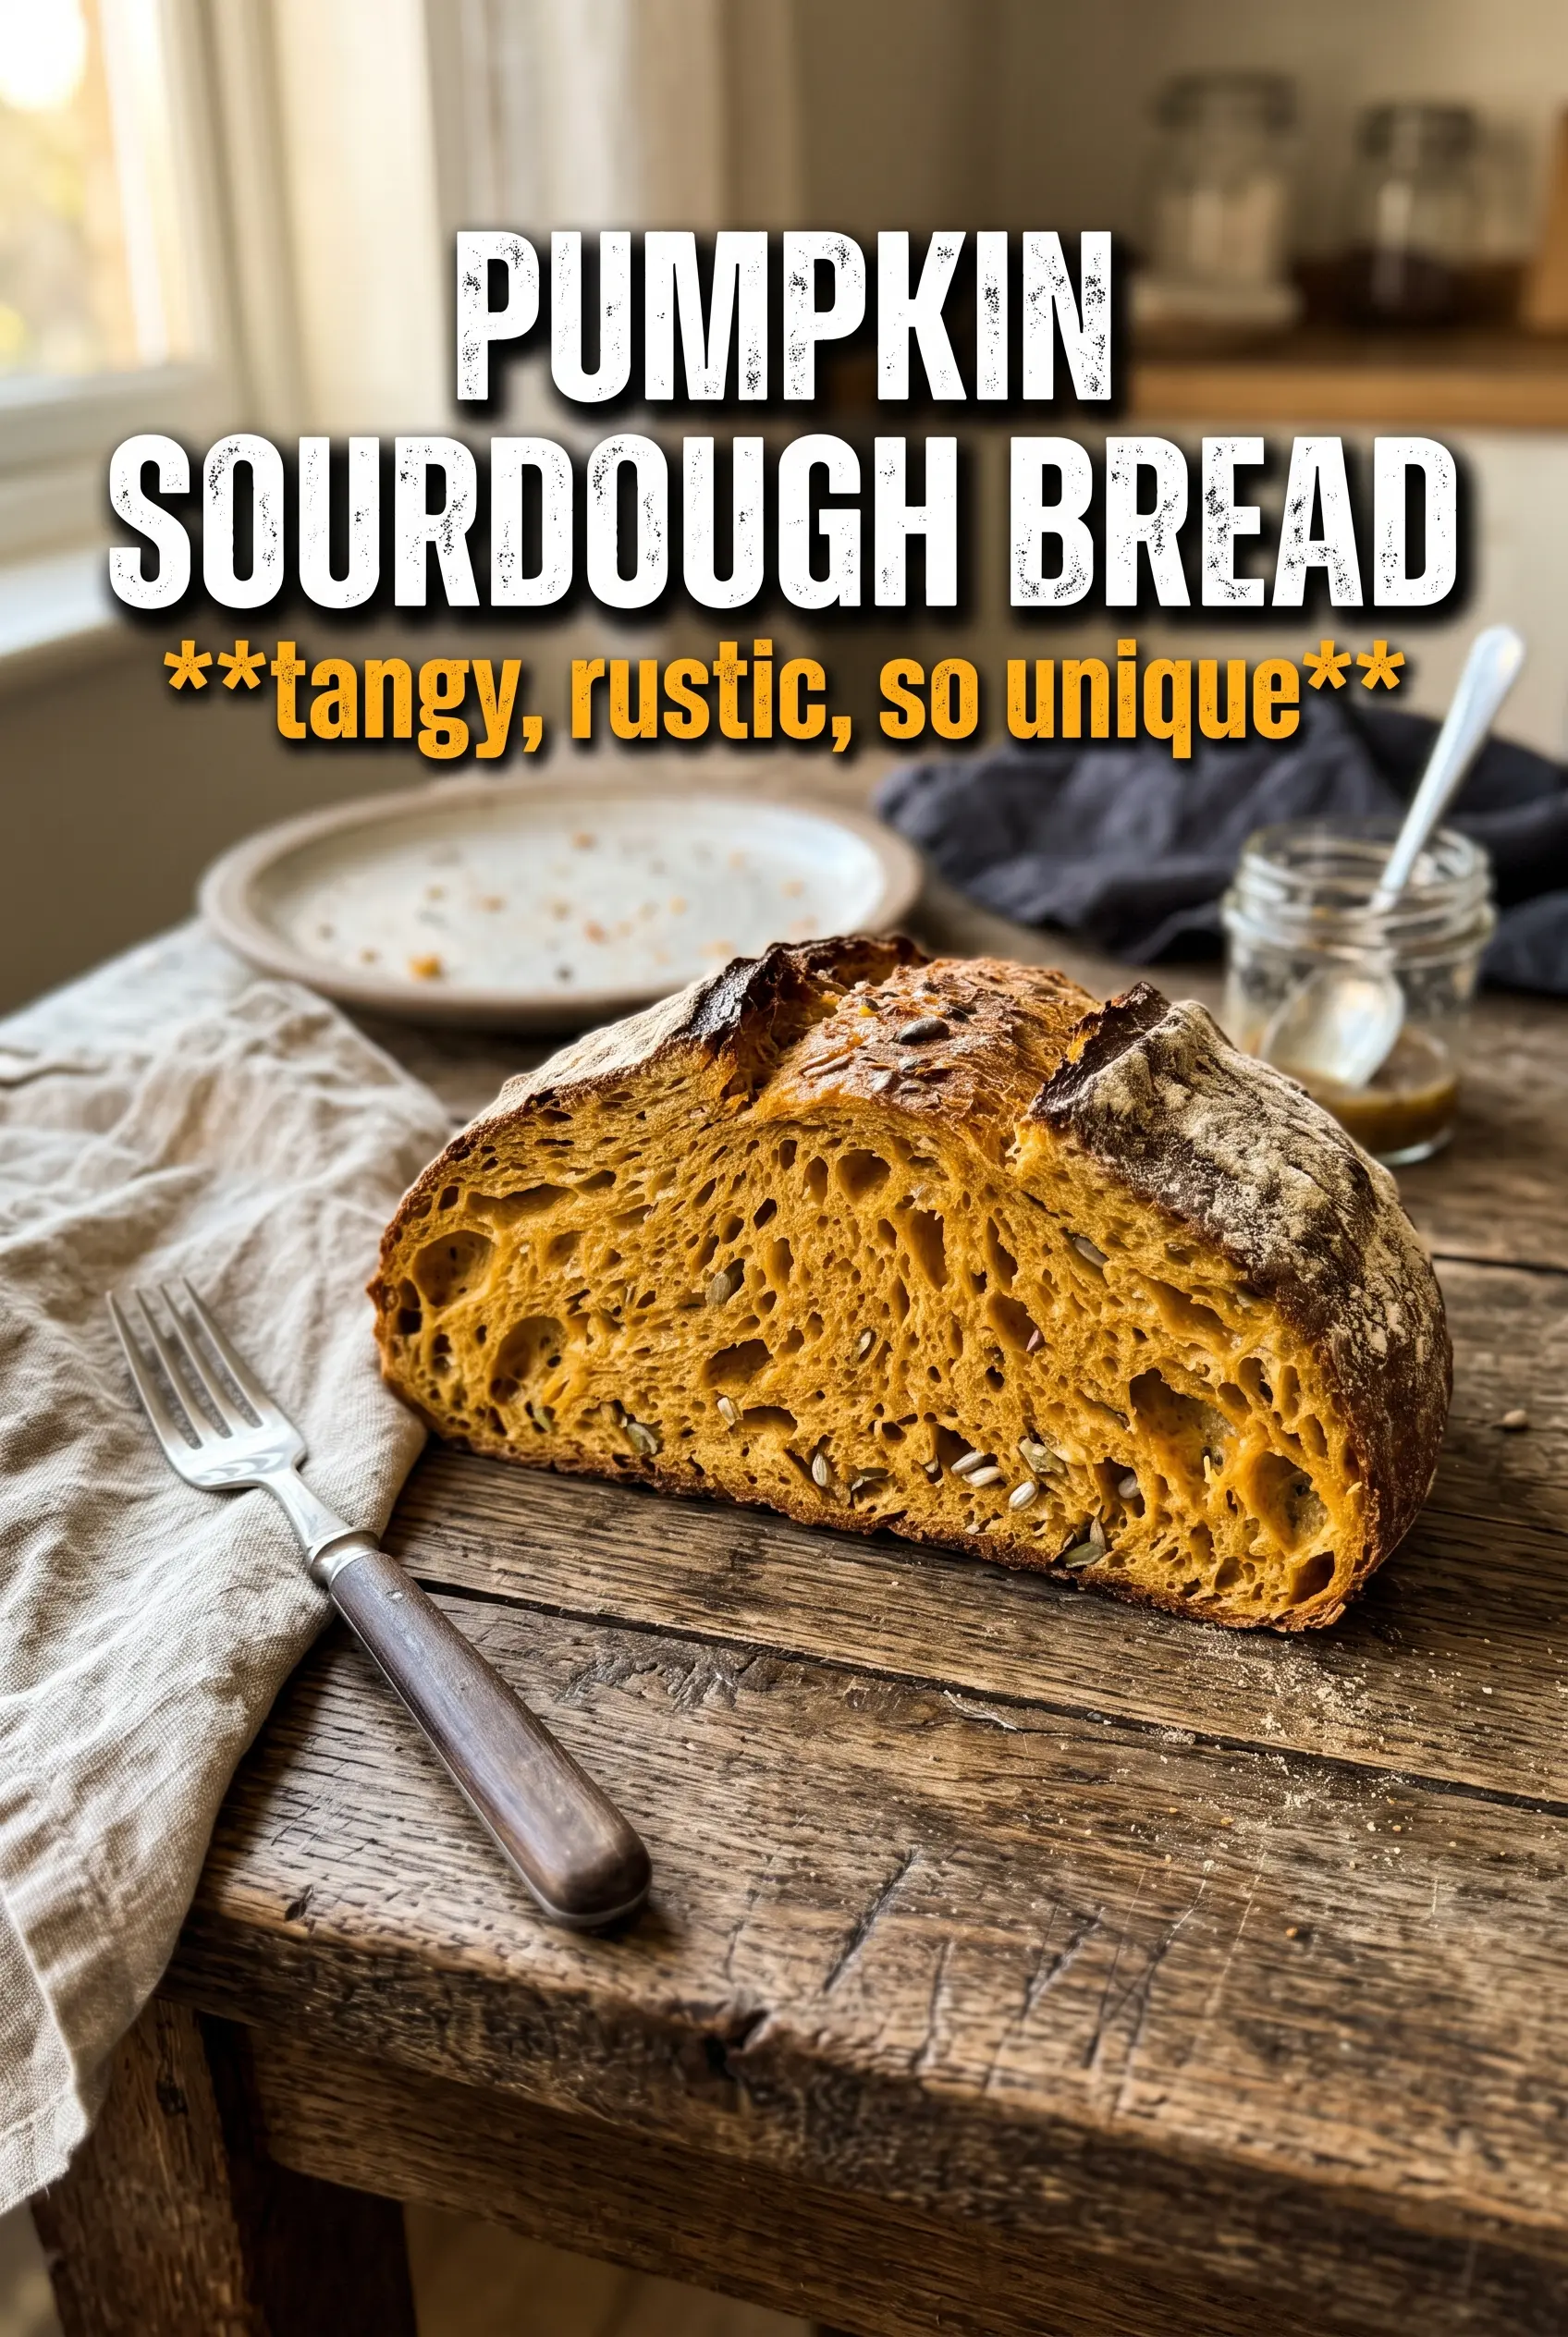
Pumpkin sourdough bread bakes up with a soft, custardy crumb, a crackling crust, and just enough warm spice to make the loaf feel special without tasting like dessert. The pumpkin brings color and tenderness, but the real payoff is the way it rounds out the sourdough’s tang and keeps the bread moist for days. Slice it thick, toast it, and you get that sweet-savory balance that works with butter, jam, or a sharp slice of cheese.
The trick is treating pumpkin puree like part of your hydration, not just an add-in. It carries a lot of moisture, so the dough can look loose at first, then tighten as the flour hydrates and the gluten builds. I also like a small amount of whole wheat for structure and flavor, plus maple syrup to help the crust take on a deep burnished color in the hot Dutch oven. The spices stay restrained here. You want pumpkin bread, not pumpkin pie in loaf form.
Below you’ll find the exact timing cues I use for a strong bulk ferment, a cold proof that makes scoring easier, and the bake that gives the loaf its deep golden shell. If your sourdough usually turns out flat or dense, the details here will help more than a longer ingredients list ever could.
The dough felt soft and a little sticky at first, but after the folds it turned smooth and strong, and the loaf came out with the best open crumb I’ve gotten from a pumpkin bread.
Like this rustic pumpkin sourdough loaf? Save it to Pinterest for the mornings when you want a crusty, spiced bread with a soft, tangy crumb.
The Part That Keeps Pumpkin Sourdough from Baking Up Dense
Pumpkin puree changes the dough in a way that catches a lot of people off guard. It adds moisture, but it also adds thickness, so the dough can feel heavier than a standard sourdough even when the hydration is right. If you keep adding flour because the dough seems soft, you’ll end up with a tight loaf that never opens up properly in the oven. Trust the early stickiness. It usually settles once the autolyse and folds do their work.
The other thing that matters here is fermentation control. Pumpkin and maple syrup both push the dough toward browning, which is great in the oven, but a rushed bulk ferment gives you a loaf that spreads instead of rising. You want the dough to look airy, jiggly, and noticeably expanded before shaping. If it still feels heavy and compact, give it more time.
- Pumpkin puree — Use plain canned pumpkin puree, not pumpkin pie filling. Pie filling is sweetened and spiced, and it throws off both the hydration and the flavor balance.
- Bread flour — This gives the loaf the strength it needs to hold onto gas during the long ferment. All-purpose flour can work, but the crumb will be softer and the structure a little less bold.
- Whole wheat flour — Just a small amount adds nutty depth and helps the dough feel more substantial. More than that starts to weigh the loaf down, so I’d keep the ratio here.
- Active sourdough starter — It needs to be bubbly and at peak rise. A sluggish starter won’t have the lift to carry the dense pumpkin dough through the oven spring.
What Each Ingredient Is Actually Doing in This Recipe
- Primary ingredient (the star) — Quality matters most. Choose the best you can find.
- Cooking medium (oil, butter, or broth) — This carries flavors and prevents dryness.
- Seasonings (salt, pepper, spices, herbs) — Layer flavors so nothing overpowers. Build depth gradually.
- Aromatics (garlic, onion, herbs) — Cook with fat to bloom flavors. Become the foundation.
- Supporting ingredients — Complement the main ingredient without overpowering it.
- Sauce or liquid (if applicable) — Brings flavors together. Balance richness with acid.
- Acid (lemon, vinegar, wine, or other) — Brightens and prevents flat-tasting results.
- Final finish (garnish, glaze, or sauce) — Prevents one-dimensional taste and adds visual appeal.
How to Build the Dough So It Holds Its Shape
Autolyse Before the Salt Goes In
Mix the flours, starter, water, pumpkin puree, maple syrup, and spices first, then let the dough rest for 30 minutes before adding the salt. That rest gives the flour time to hydrate and keeps the dough from feeling rough and torn when you start folding. At this point it may look shaggy and a little uneven. That’s fine. The goal is not a polished dough yet, just a hydrated one that’s ready for gluten development.
Stretch, Fold, and Wait for the Dough to Tighten
After the salt goes in, do four sets of stretch and folds, spaced 30 minutes apart. Each round should make the dough feel stronger and more elastic, with a smoother surface and more resistance when you lift it. If it tears badly, the dough hasn’t rested enough between folds. Wet your hands lightly and handle it gently; pumpkin dough can feel delicate before the gluten fully develops.
Bulk Until It Looks Alive
Let the dough bulk ferment at room temperature until it has doubled and looks bubbly on the surface, usually 4 to 6 hours depending on your kitchen. The best cue is not the clock but the feel: the dough should wobble slightly when you move the bowl and show visible air pockets at the edges. If you shape too early, the loaf will be tight. If you wait until it collapses, the dough will lose strength and spread in the oven.
Cold Proof for Cleaner Scoring
Shape the loaf, place it seam-side up in a well-floured banneton, and refrigerate it overnight. The cold proof firms the dough so the score opens cleanly instead of dragging, and it also deepens the flavor. Rice flour is worth using here because it resists sticking better than regular flour. If your banneton dusting is light, the dough can weld itself to the liner and tear when you turn it out.
Hot Oven, Covered Start, Full Color Finish
Preheat the Dutch oven to 500°F for the full 45 minutes before baking. That fierce heat gives the loaf its initial lift and helps the crust set fast. Bake covered first so the loaf can expand, then uncover it and finish until the crust is deeply golden and the sides sound hollow when tapped. Let it cool completely before slicing, or the crumb can look gummy even when the bread is baked through.
How to Adapt Pumpkin Sourdough Bread Without Losing the Good Parts
Dairy-Free as Written
This loaf is naturally dairy-free, so there’s nothing to swap. The richness comes from pumpkin puree and the long fermentation, which keeps the crumb tender without butter or milk. That makes it a good bread to serve with both sweet and savory toppings.
Make It More Whole Grain
You can increase the whole wheat flour a little, but don’t push it too far if you still want a tall boule. More whole grain means more flavor and a slightly tighter crumb, so the loaf will taste heartier and feel less airy. If you go higher than 100g whole wheat, add a small splash more water only if the dough feels stiff after the first rest.
Swap the Maple for Honey
Honey works if that’s what you have, and it will brown the crust a little faster than maple syrup. The loaf will taste slightly floral instead of woodsy, but the sweetness level stays in the same range. Keep an eye on the final bake so the crust doesn’t get too dark before the center is fully set.
Brown Sugar Instead of Maple Flavor
If you want a deeper caramel note, replace the maple syrup with an equal amount of brown sugar dissolved into the water. You lose a little of the rounded maple flavor, but you gain a warmer, more old-fashioned sweetness. The dough may feel a touch less glossy, but it will still ferment and brown well.
Storage and Reheating
- Refrigerator: Store sliced or whole loaf in a paper bag inside a loose airtight container for up to 4 days. The crust softens a bit, but the crumb stays moist.
- Freezer: This bread freezes well. Slice it first, wrap tightly, and freeze for up to 2 months so you can toast pieces straight from frozen.
- Reheating: Toast slices from frozen or warm a whole loaf in a 300°F oven for 10 to 15 minutes. Don’t microwave it if you want to keep the crust from turning leathery.


