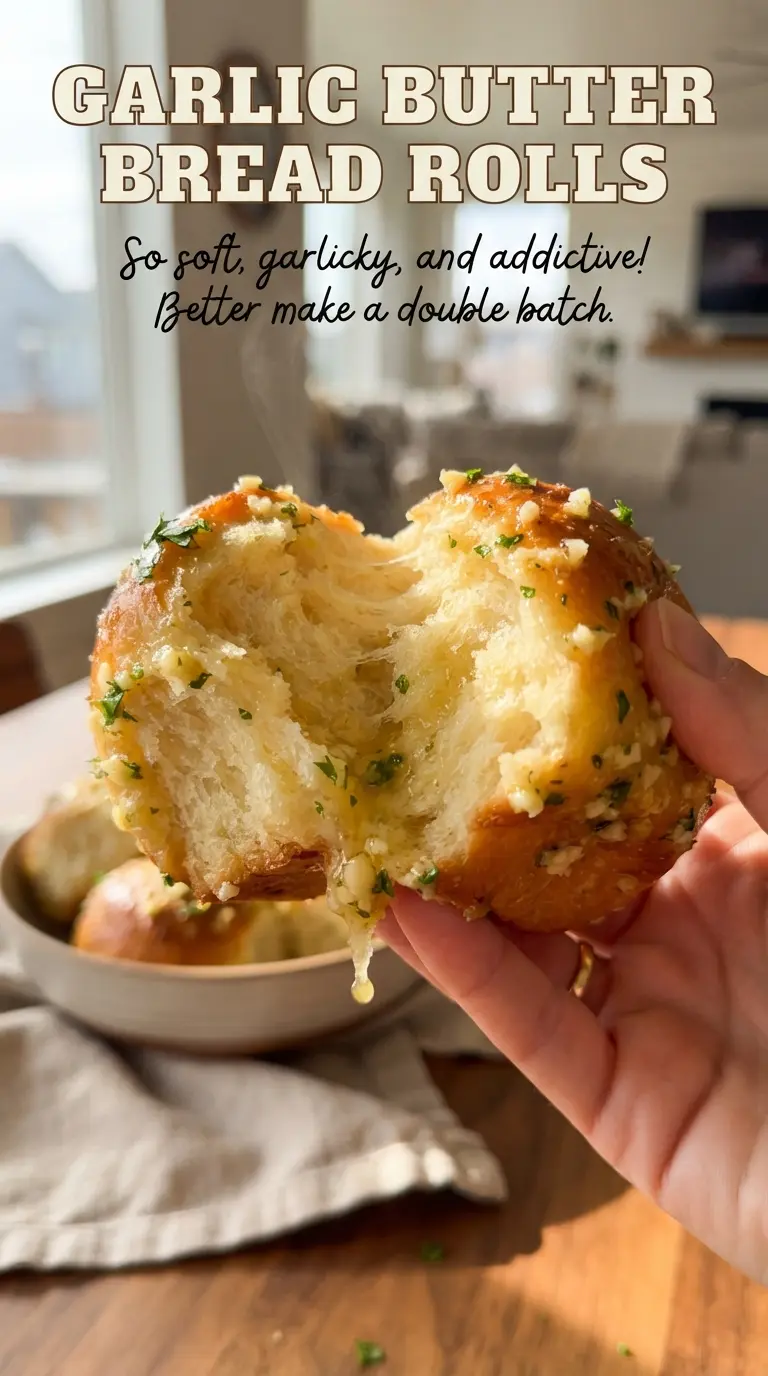
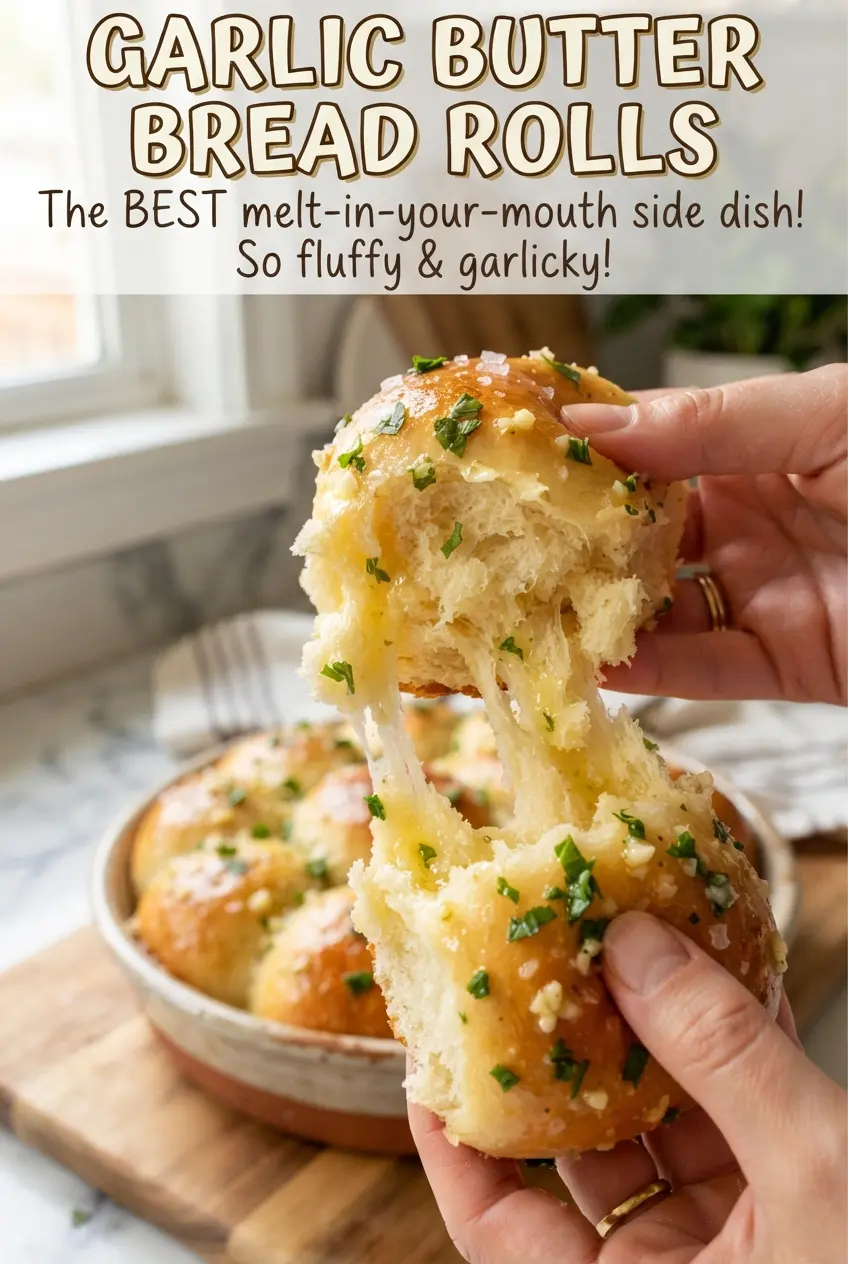
Garlic butter bread rolls bake up soft, fluffy, and pull-apart tender with golden tops and a glossy finish that makes them disappear fast from the pan. The dough stays light because it’s enriched with milk, butter, and egg, while the garlic butter brushed on at the end soaks into the warm rolls instead of drying out in the oven.
The trick is giving the dough enough time to rise until it looks visibly puffy, then baking just until the tops turn golden. That keeps the centers airy instead of dense. The garlic goes into melted butter after baking, which keeps it fragrant and sweet instead of harsh or bitter.
Below you’ll find the small details that make these rolls worth repeating, including the best way to get them evenly browned and how to keep the tops soft while still getting that buttery, savory finish.
The dough rose beautifully and the garlic butter soaked into the rolls without making them soggy. The center stayed fluffy and the bottoms browned just enough in the pan.
Save these garlic butter bread rolls for the next time you need a soft, pull-apart side with a glossy garlic-parsley finish.
The Difference Between Soft Rolls and Dense Dough
Most homemade rolls turn heavy when the dough is rushed or overloaded with flour. This dough needs to stay slightly tacky before the first rise, because that’s what gives you a soft crumb instead of a dry, bready one. Add flour gradually and stop as soon as the dough pulls away from the bowl and feels smooth under your hands.
The other place people go wrong is the rise. If the dough hasn’t truly doubled, the rolls will bake up tight and squat. In a greased 9×13-inch pan, the balls should crowd just enough to support one another as they rise, which is what creates those soft sides that tear apart in little clouds of bread.
What the Milk, Butter, and Garlic Each Do Here
- Warm milk — Milk gives the rolls a softer, richer crumb than water would. Keep it around 110°F; if it’s too hot, it can slow or kill the yeast, and if it’s too cool, the first rise drags on.
- Instant yeast — Instant yeast keeps this recipe moving without a proofing step. If you only have active dry yeast, use the same amount and let the milk-yeast mixture sit a few extra minutes until it looks foamy and active before adding the egg and flour.
- Butter — Butter in the dough makes the rolls tender, and the melted butter brushed on top gives them that glossy finish. Use real butter here; margarine won’t give the same flavor or sheen.
- Garlic and parsley — Fresh garlic tastes clean and bold once it’s stirred into warm butter, while parsley keeps the topping from tasting one-note. Garlic powder works in a pinch, but the finished rolls lose that fresh, savory bite.
Building the Dough, Then Finishing with Garlic Butter
Waking Up the Yeast
Whisk the warm milk, yeast, and sugar together and let it sit until foamy, about 5 minutes. That foam tells you the yeast is alive and already working. If the mixture stays flat, the milk was probably too hot or the yeast is old, and the dough won’t rise the way it should.
Mixing Until Smooth and Elastic
Add the egg, melted butter, salt, and flour, then knead until the dough turns smooth and elastic, 6 to 8 minutes. It should feel soft and spring back slowly when pressed. If it clings to your hands in a sticky mess, add flour by the tablespoon; if it feels stiff right away, the rolls will bake up dry.
Shaping for the Pull-Apart Finish
Let the dough rise until doubled, then divide it into 12 even pieces and roll each one into a tight ball. Tension matters here, because loose shaping leads to uneven rolls with wrinkled tops. Nestle them into the greased pan with a little space around the edges, then let them rise again until puffy and touching.
Baking to a Light Gold
Bake at 375°F until the tops are golden brown and the rolls sound set when tapped, about 18 to 20 minutes. Pull them before they get dark, because the carryover heat in the pan keeps them baking after they come out. If the tops brown too fast, tent loosely with foil for the last few minutes.
Brushing on the Garlic Butter
Stir the melted butter with the garlic and parsley, then brush it generously over the hot rolls the moment they come out of the oven. The heat softens the garlic just enough and helps the butter soak into the tops without making them greasy. Finish with flaky sea salt while the butter is still wet so it sticks where it matters.
How to Adapt These Rolls for Different Tables
Dairy-Free Rolls That Still Stay Soft
Swap the milk for unsweetened oat milk and use a plant-based butter with a neutral flavor. The rolls will still rise and bake up tender, though the finished crumb won’t be quite as rich. Brush the tops the same way after baking so they still get that glossy finish.
Herb Swap for What’s in the Fridge
Parsley keeps the topping fresh and bright, but chives or finely chopped rosemary work if that’s what you have. Rosemary brings a stronger, woodsy note, so use less than you would parsley. Chives land closer to the original and keep the butter topping mellow.
Making Them Ahead for Dinner
Shape the rolls, place them in the pan, and cover tightly before the second rise if you want to pause the process. Chill them for a few hours, then bring them back toward room temperature and let them puff before baking. That keeps the texture light instead of dense from overproofing in the fridge.
Storage and Reheating
- Refrigerator: Store in an airtight container for up to 3 days. The tops soften a little, but the rolls stay tender.
- Freezer: Freeze baked rolls tightly wrapped for up to 2 months. Freeze before or after brushing with garlic butter; either way works, though fresh brushed butter tastes best.
- Reheating: Warm in a 300°F oven, covered loosely with foil, until heated through. The biggest mistake is microwaving too long, which turns the crumb rubbery and the tops tough.
Answers to the Questions Worth Asking
Garlic Butter Bread Rolls
Ingredients
Equipment
Method
- Whisk warm milk (110F), instant yeast, and sugar together, then let sit 5 minutes until foamy and active.
- Add the egg, melted butter, salt, and all-purpose flour, then knead 6-8 minutes until smooth and elastic, with the dough pulling back as you press it.
- Cover the dough and let rise 1 hour until doubled in size, visibly puffing and filling the container.
- Divide the dough into 12 balls, place them in a greased 9x13-inch pan, cover, and let rise 30 minutes until puffy.
- Preheat the oven to 375F and bake for 18-20 minutes until the tops are golden brown.
- Stir melted butter with minced garlic and chopped parsley, then brush generously over the hot rolls so the butter glistens as it soaks in.
- Sprinkle flaky sea salt over the rolls and serve warm for the best soft, steaming pull-apart texture.