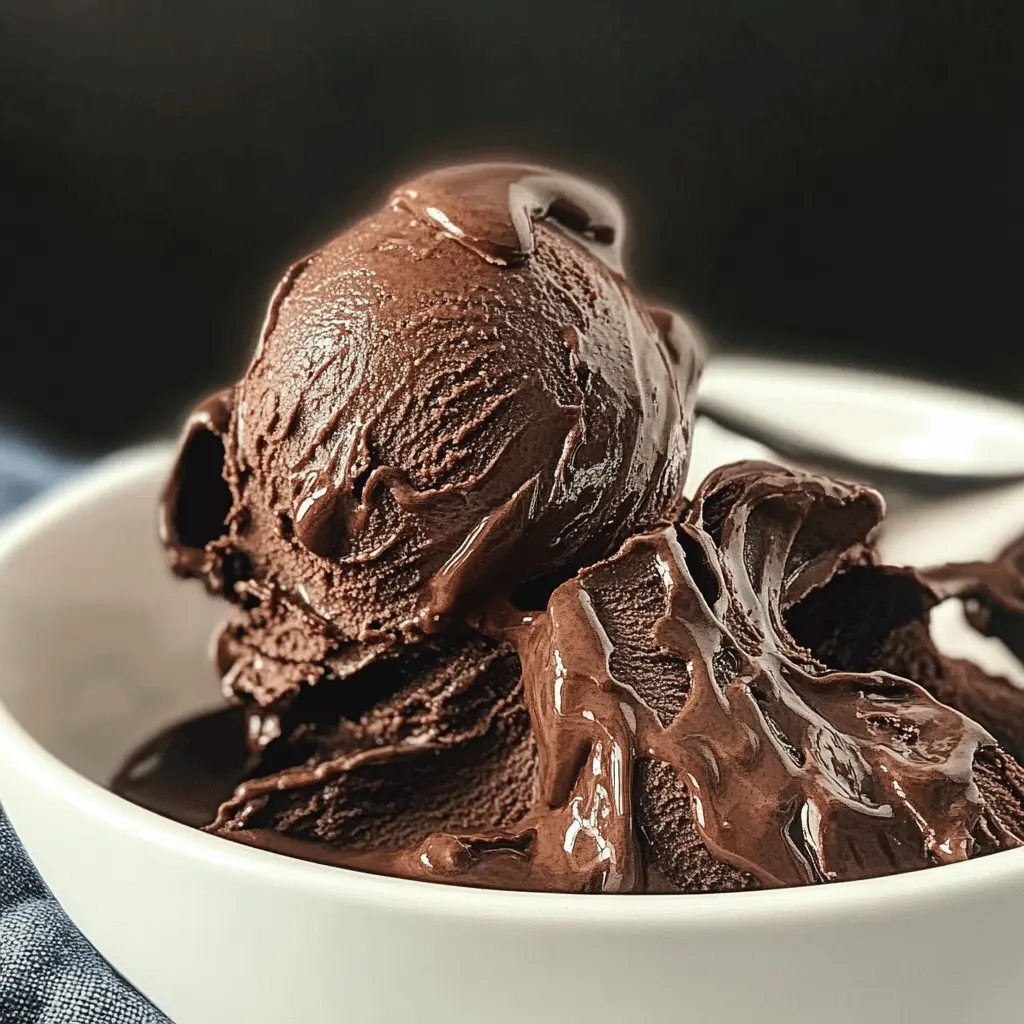
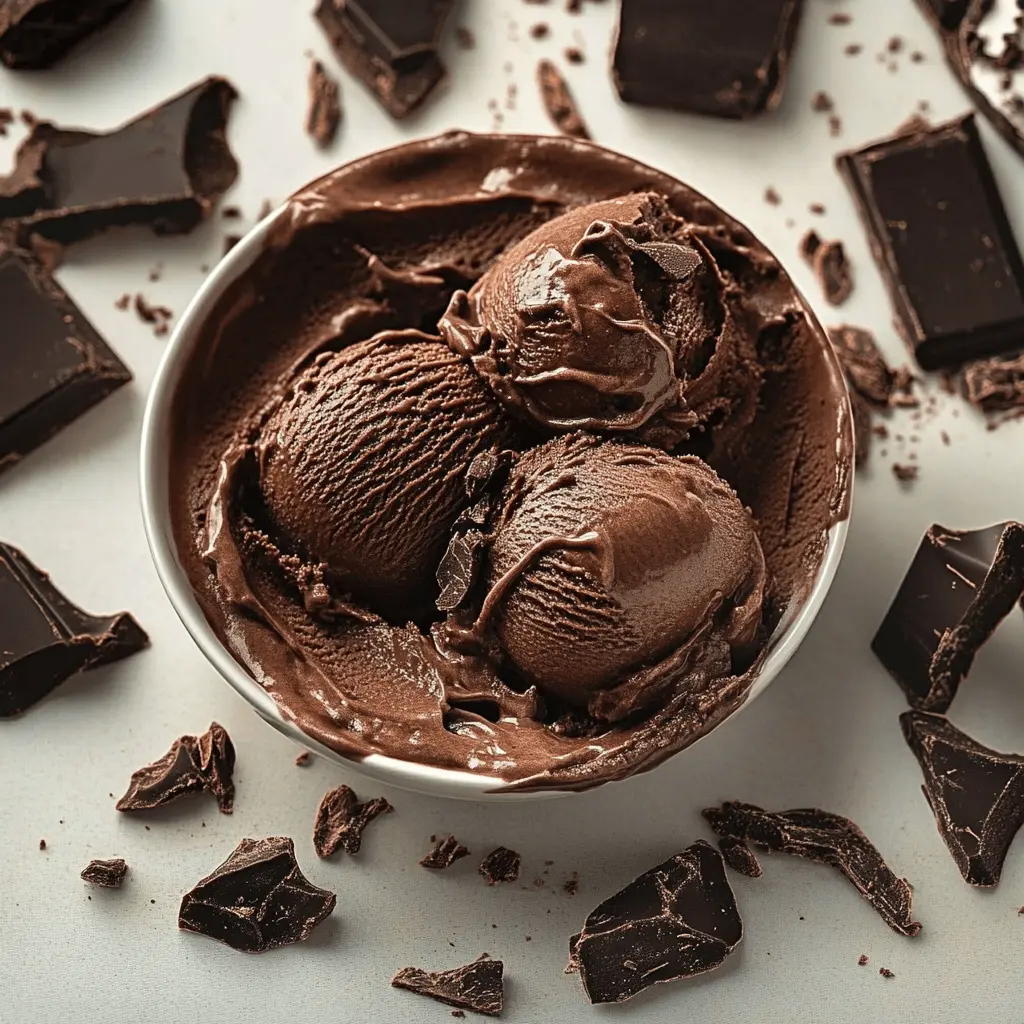
This Easy Homemade Dark Chocolate Gelato is creamy, rich, and oh-so-chocolatey! With just a few simple ingredients, you can whip up a delicious treat that will satisfy any sweet tooth.
I love how this gelato is perfect for a hot day or just whenever I’m craving chocolate. Plus, who can resist that smooth texture? Making it at home feels like a little magic in the kitchen! 🍦
Key Ingredients & Substitutions
Whole Milk: Whole milk adds creamy richness. If you’re looking for a lighter option, 2% milk works too, though it might be less creamy.
Heavy Cream: This ingredient is key for the smooth texture of gelato. You can substitute it with coconut cream for a dairy-free option, but the flavor will change slightly.
Dark Chocolate: Use a high-quality dark chocolate (70% or higher). If you’re a milk chocolate fan, you could swap it, but it will change the gelato’s intensity. You can also use dairy-free chocolate for a vegan version.
Egg Yolks: These help make the gelato creamy. If you want to avoid eggs, consider using cornstarch to thicken, but it may alter the texture slightly.
Sugar: If you’re cutting back on sugar, try using honey or maple syrup. Just keep in mind that it will affect the texture and might result in a slightly different flavor.
How Can I Achieve the Perfect Gelato Texture?
The texture of gelato is all about slow cooking and proper churning. Here’s what you need to do:
- When heating the milk mixture, avoid boiling; instead, aim for hot but not bubbling. This keeps it creamy.
- Tempering the eggs is key — take your time pouring the hot milk into the yolks to avoid scrambling them.
- Chilling is essential! Let the mixture cool for at least 4 hours, or overnight, to meld flavors and help it churn better.
- While churning, keep an eye on consistency; stop once it’s soft-serve-like, then scoop into a container.
Following these steps will help you achieve that wonderfully creamy and smooth texture that makes gelato special. Enjoy!
Easy Homemade Dark Chocolate Gelato
Ingredients You’ll Need:
- 2 cups whole milk
- 1 cup heavy cream
- 3/4 cup granulated sugar
- 4 ounces dark chocolate (70% cacao or higher), chopped
- 3 large egg yolks
- 1/4 teaspoon salt
- 1 teaspoon pure vanilla extract
- Optional: dark chocolate shavings or curls for garnish
How Much Time Will You Need?
This recipe takes about 30 minutes of active preparation time, plus at least 4 hours to chill in the refrigerator and an additional 2 hours to firm up in the freezer. So, plan for around 6.5 hours total before you can enjoy your delicious gelato!
Step-by-Step Instructions:
1. Prepare the Cream Mixture:
In a medium saucepan, combine the whole milk, heavy cream, and half of the sugar. Heat over medium heat while stirring occasionally until the mixture is hot but not boiling. This is important because boiling can change the texture of the gelato.
2. Melt the Dark Chocolate:
Place the chopped dark chocolate in a heatproof bowl. Pour a bit of the hot milk mixture over the chocolate, stirring until it’s melted and smooth. This creates a rich chocolate base for your gelato, so make sure it’s fully melted!
3. Prepare the Egg Mixture:
In another bowl, whisk the egg yolks with the remaining sugar and salt until the mixture is pale and slightly thickened. This helps to create a creamy texture in your gelato.
4. Temper the Eggs:
Slowly pour about half of the hot milk mixture into the egg yolks, whisking constantly. This process is called tempering, and it prevents the eggs from curdling when added to the hot mixture.
5. Cook the Custard:
Pour the egg yolk mixture back into the saucepan with the remaining milk mixture. Cook over low heat, stirring constantly with a wooden spoon or spatula, until the custard thickens enough to coat the back of a spoon (about 170°F or 77°C). Remember, do not let it boil!
6. Combine Chocolate and Vanilla:
Remove the saucepan from heat and stir in the melted chocolate mixture along with the vanilla extract until everything is fully combined and smooth. You’re going to love the rich aroma!
7. Strain the Mixture:
Pour the custard mixture through a fine-mesh sieve into a clean bowl to catch any curdled bits. This ensures your gelato will be velvety smooth.
8. Chill the Custard:
Cover the bowl with plastic wrap, pressing it directly onto the surface of the custard to avoid a skin from forming. Place it in the refrigerator to chill for at least 4 hours or overnight. The longer, the better – this helps develop the flavor!
9. Churn the Gelato:
Once chilled, churn the custard in an ice cream maker according to the manufacturer’s instructions until it reaches a soft-serve consistency. This step is what gives the gelato its creamy texture!
10. Freeze and Serve:
Transfer the gelato into an airtight container and freeze it for at least 2 hours to firm up. When you’re ready to indulge, scoop the gelato into bowls and garnish with dark chocolate shavings or curls if desired.
Enjoy your homemade dark chocolate gelato — rich, creamy, and decadently chocolatey! Perfect for any chocolate lover! 🍫
Frequently Asked Questions (FAQ)
Can I Use Milk Alternatives in This Recipe?
Yes, you can substitute whole milk with almond milk or coconut milk for a dairy-free option. However, keep in mind that this may alter the creaminess and flavor of the gelato. For the heavy cream, opt for coconut cream for a vegan version!
How Do I Store Leftover Gelato?
Store any leftover gelato in an airtight container in the freezer. It will maintain its best quality for about 2 weeks. To soften it before serving, let it sit at room temperature for a few minutes.
Can I Make This Gelato Without an Ice Cream Maker?
Absolutely! If you don’t have an ice cream maker, pour the chilled mixture into a shallow dish and freeze it. Every 30 minutes, stir the mixture with a fork to break up ice crystals until it reaches a creamy consistency, usually for about 2-3 hours.
What Can I Use Instead of Egg Yolks?
If you prefer to make an egg-free version, try using cornstarch as a thickener. Mix 2 tablespoons of cornstarch with a little cold milk to create a slurry, then add it to the hot mixture to thicken as the custard cooks. This will create a slightly different texture but will still be delicious!