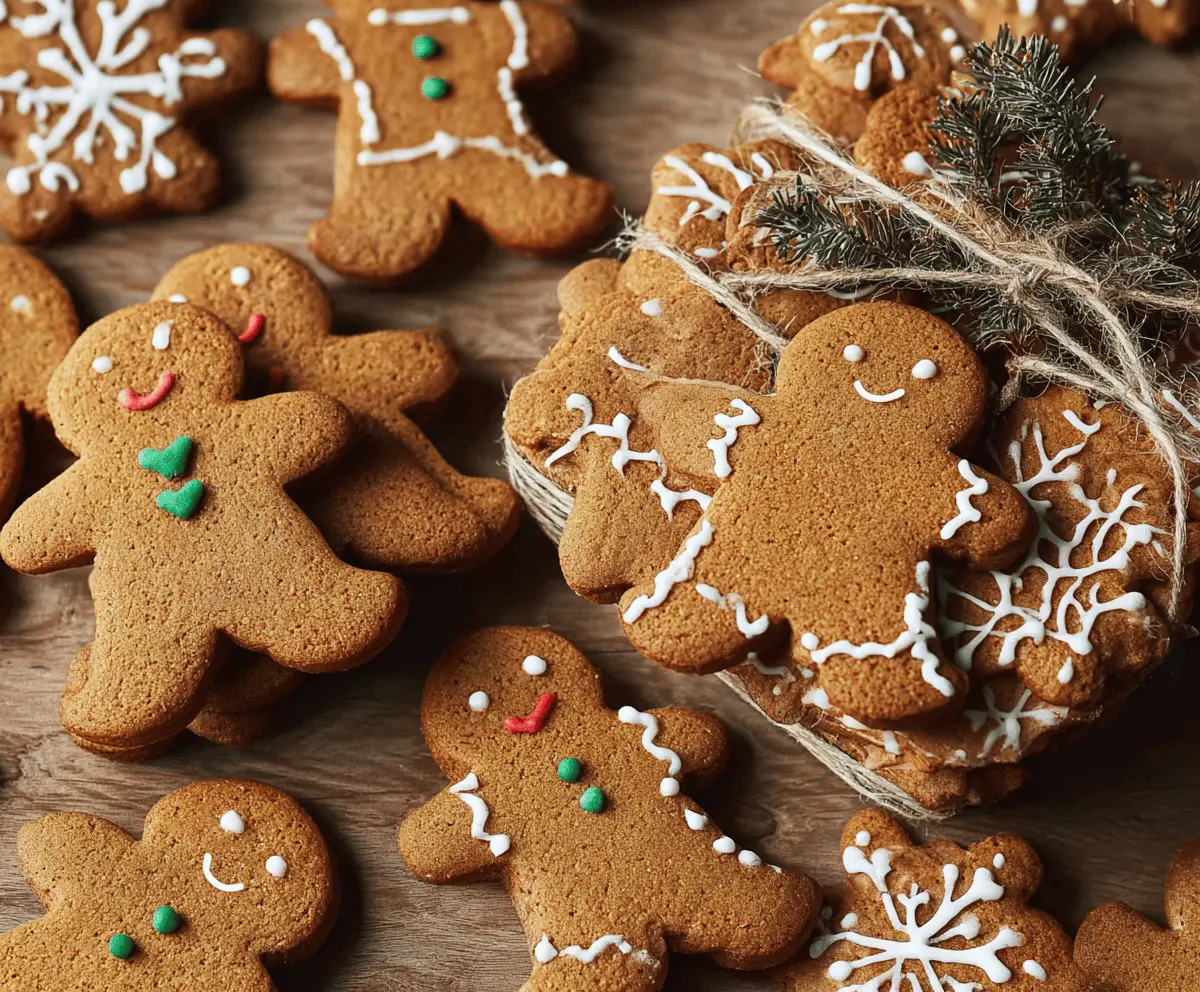
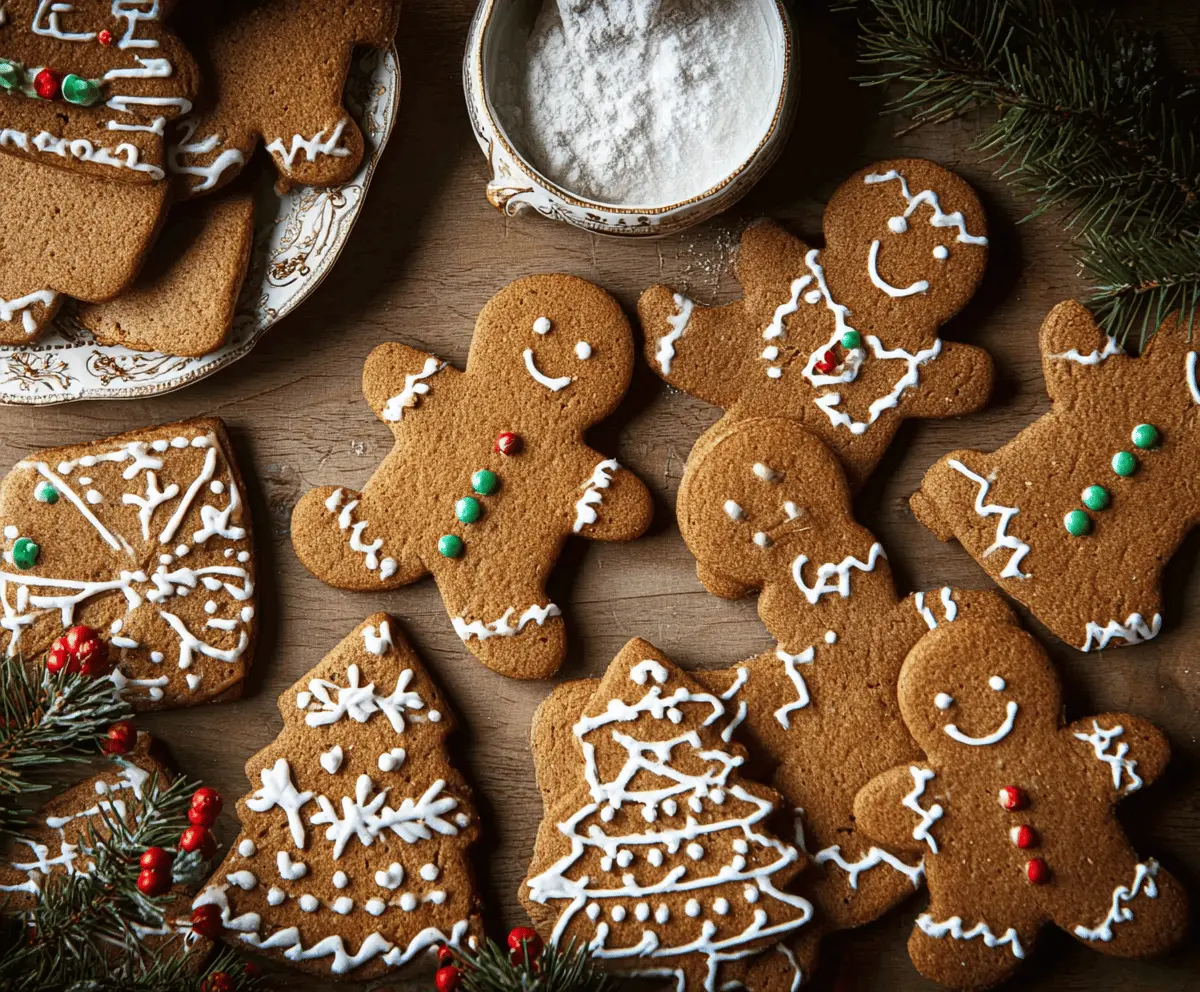
Gingerbread biscuits are sweet little treats packed with warm spices like ginger and cinnamon. They are perfect for the holidays or just to enjoy with a cup of tea!
I love how these biscuits make the house smell amazing while baking. Plus, decorating them is a fun way to get creative—just watch out for the icing; it can get a little sticky! 😄
Key Ingredients & Substitutions
All-Purpose Flour: This is the main foundation for gingerbread biscuits. If you’re looking for a gluten-free option, you can use a gluten-free flour blend. Just be sure it includes xanthan gum to help with the structure!
Ground Ginger: Fresh ginger can be substituted if you prefer a more intense flavor. Use about 1 tablespoon of freshly grated ginger, but remember to balance it with a bit of sugar, as fresh ginger can be spicier.
Molasses: If you don’t have molasses, dark corn syrup or agave syrup works as a good substitute. Just keep in mind that molasses gives a deeper flavor, but syrup will still add sweetness.
Royal Icing: For a quicker option, you can use store-bought icing tubes if you want to decorate without the hassle of making royal icing from scratch. It’s super convenient, especially for kids!
How Do I Chill Dough Properly for Gingerbread Biscuits?
Chilling the dough is key to getting the right texture in your biscuits. When you cool the dough, it helps prevent spreading and keeps your shapes defined during baking.
- After mixing the dough, divide it into two halves. Flatten each half into a disc—this helps it chill faster.
- Wrap the discs in plastic wrap and place them in the fridge for at least 2 hours. If you have time, letting it chill overnight improves the flavors!
- This step also makes rolling out the dough much easier, so no more sticking to your countertop!
Gingerbread Biscuits
Ingredients You’ll Need:
For the Biscuits:
- 350g (2 1/2 cups) all-purpose flour
- 2 tsp ground ginger
- 1 tsp ground cinnamon
- 1/2 tsp ground cloves
- 1/2 tsp ground nutmeg
- 1/2 tsp baking soda
- 1/4 tsp salt
- 115g (1/2 cup) unsalted butter, softened
- 150g (3/4 cup) brown sugar, packed
- 1 large egg
- 80ml (1/3 cup) molasses or dark corn syrup
- 1 tsp vanilla extract
For Decoration (optional):
- Royal icing (made from egg whites, powdered sugar, and lemon juice or meringue powder)
- Colored sprinkles or candy pieces
Time Needed:
The total time required is about 3 hours, which includes 15 minutes for prep and at least 2 hours for chilling the dough. Baking the biscuits takes around 10 minutes, plus cooling time before decorating. It’s a perfect recipe for a cozy afternoon in the kitchen!
Step-by-Step Instructions:
1. Mix the Dry Ingredients:
In a medium bowl, whisk together the flour, ground ginger, cinnamon, cloves, nutmeg, baking soda, and salt. This will blend all the spices and ensure the baking soda is evenly distributed.
2. Cream Butter and Sugar:
In a large bowl, use an electric mixer to cream the softened butter and brown sugar together until the mixture is light and fluffy. This usually takes about 2-3 minutes.
3. Add Wet Ingredients:
Beat in the egg, molasses, and vanilla extract until everything is well blended. Make sure to scrape down the sides of the bowl to incorporate all the ingredients.
4. Combine Dry and Wet Mixtures:
Gradually add the dry ingredients to the wet mixture. Mix slowly until a stiff dough forms. You might have to finish mixing by hand with a spatula to ensure it’s fully combined.
5. Chill the Dough:
Divide the dough in half and flatten each half into a disc. Wrap each disc in plastic wrap and chill in the refrigerator for at least 2 hours or overnight. Chilling helps the biscuits keep their shape when baking.
6. Preheat and Prepare:
Preheat your oven to 180°C (350°F). Line your baking sheets with parchment paper to prevent sticking.
7. Roll Out the Dough:
Once chilled, take one disc of dough out of the fridge. On a lightly floured surface, roll it out to about 1/4 inch thick. Keep the other disc in the fridge until you’re ready to use it.
8. Cut Out Shapes:
Use cookie cutters to cut out shapes from the dough. Traditional shapes include gingerbread men and snowflakes. Place the cutouts about 2 inches apart on the prepared baking sheets.
9. Bake the Biscuits:
Bake in the preheated oven for 8-10 minutes, or until the edges are set and slightly browned. Keep an eye on them to make sure they don’t over-bake!
10. Cool the Biscuits:
Remove the baking sheets from the oven and let the biscuits cool on the sheet for about 5 minutes. Then transfer them to a wire rack to cool completely.
11. Decorate and Enjoy:
Once the biscuits are completely cooled, it’s time for the fun part! Decorate them with royal icing and any sprinkles or candies you like. Allow the icing to dry fully before stacking or serving.
Enjoy your delicious and festive gingerbread biscuits with friends and family!
Can I Make These Biscuits Without Molasses?
Yes, you can use dark corn syrup or honey as a substitute if you don’t have molasses on hand. Just keep in mind that molasses provides a distinct flavor and color that might be different with these alternatives.
What Should I Do If My Dough Is Too Sticky?
If your dough feels too sticky to handle, try adding a tablespoon of flour at a time until it reaches a manageable consistency. Make sure to chill the dough again if you add too much flour, as it might affect the texture of your biscuits.
How Do I Store Leftover Gingerbread Biscuits?
Store any leftover biscuits in an airtight container at room temperature for up to a week. For longer storage, you can freeze them! Just make sure they’re fully cooled and layered between parchment paper before placing them in a freezer-safe bag or container.
Can I Make the Dough Ahead of Time?
Absolutely! You can prepare the dough in advance and keep it wrapped in plastic wrap in the refrigerator for up to a week. This is a great time-saver if you want to spread out your baking time around the holidays!