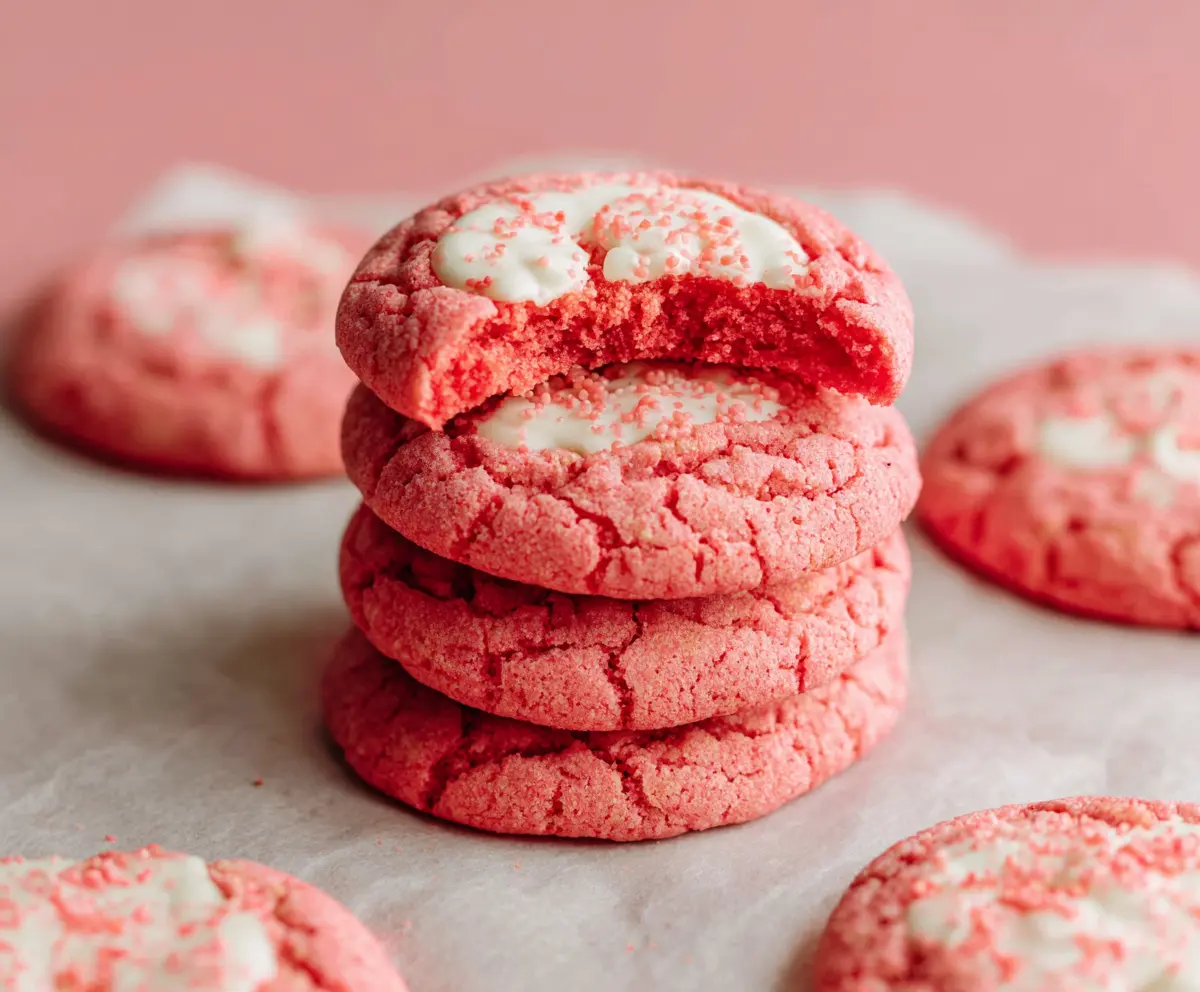
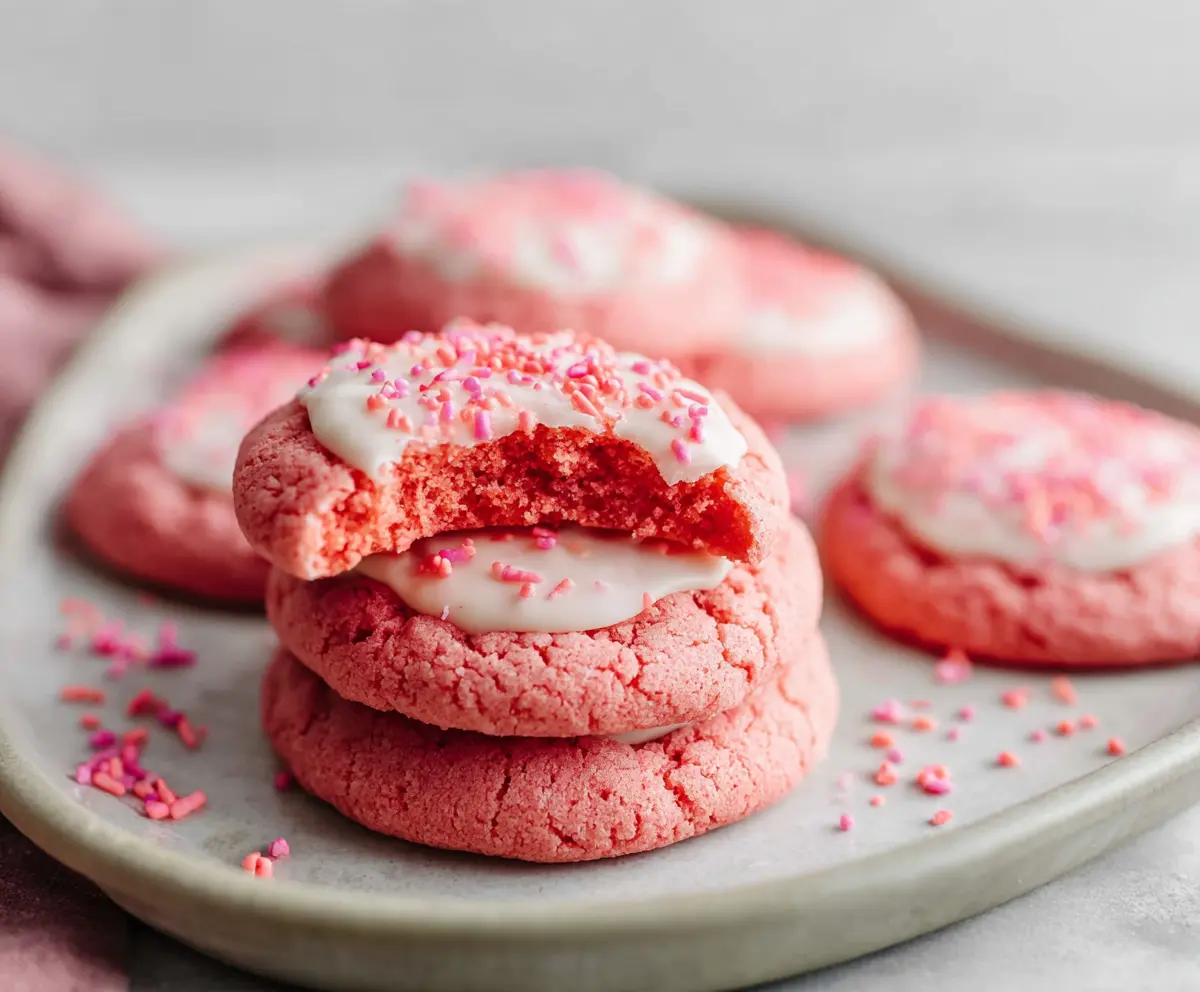
These Crumbl Pink Velvet Cookies are soft, cute, and oh-so-delicious! With a vibrant pink color and a hint of vanilla, they’re perfect for any celebration.
I love how they’re topped with a creamy frosting that makes them even more enjoyable. Seriously, who can resist that sweet swirl? 😍 Plus, they’re super fun to make and share!
Key Ingredients & Substitutions
All-purpose flour: This is your base for the cookies. If you’re looking for a gluten-free option, you can substitute with a gluten-free flour blend. Just check if it includes xanthan gum, which helps with texture.
Sour cream: It adds moisture and a slight tang to the cookies. Greek yogurt can be a great substitute if you don’t have sour cream on hand. It will keep the same creamy texture.
Gel food coloring: The gel type gives vibrant color, essential for that pink look. If you don’t have it, liquid food coloring works, but you’ll need more to achieve the same intensity. Alternatively, you can skip the color for classic vanilla cookies.
Cream cheese: This is key for the frosting’s flavor. If you want a lighter option, use whipped cream cheese. For a dairy-free version, look for vegan cream cheese alternatives.
How Do I Get the Perfect Cookie Texture?
Getting that perfect soft texture requires a few simple tricks. Here are the steps to follow:
- Be sure to cream the butter and sugar together until light and fluffy; this adds air and creates a soft cookie.
- Don’t overmix once you add the dry ingredients. Mix just until you don’t see any flour to keep the dough tender.
- Watch the baking time! Pull them out when the edges are set but the centers look a little underbaked. They’ll firm up as they cool.
These steps ensure your cookies stay soft and chewy while packed with flavor. Happy baking!
Crumbl Pink Velvet Cookies
Ingredients You’ll Need:
For the Cookies:
- 1 1/4 cups all-purpose flour
- 1/2 teaspoon baking powder
- 1/4 teaspoon baking soda
- 1/4 teaspoon salt
- 1/2 cup unsalted butter, softened
- 3/4 cup granulated sugar
- 1 large egg
- 1 tablespoon sour cream
- 1 teaspoon vanilla extract
- 1 1/2 teaspoons red or pink gel food coloring
For the Frosting:
- 4 oz cream cheese, softened
- 1/4 cup unsalted butter, softened
- 1 teaspoon vanilla extract
- 1 1/2 cups powdered sugar
For Garnish:
- Pink or red sanding sugar or sprinkles
How Much Time Will You Need?
This recipe will take about 15 minutes to prepare and approximately 10-12 minutes to bake. Plus, you’ll need some extra time for the cookies to cool and for you to frost them. Overall, expect to spend about 45 minutes from start to finish.
Step-by-Step Instructions:
1. Preheat the Oven:
Start by preheating your oven to 350°F (175°C). This ensures it’s hot enough to bake those cookies perfectly! Don’t forget to line a baking sheet with parchment paper or a silicone baking mat for easy cleanup.
2. Mix the Dry Ingredients:
In a medium bowl, whisk together the all-purpose flour, baking powder, baking soda, and salt. This helps to evenly distribute the leavening agents in your cookies. Once mixed, set this bowl aside for later.
3. Cream the Butter and Sugar:
Grab a large bowl and cream together the softened butter and granulated sugar using a mixer until it’s light and fluffy—about 2-3 minutes. This step is key for creating a soft cookie texture!
4. Combine Wet Ingredients:
Add in the egg, sour cream, vanilla extract, and red or pink gel food coloring to your butter-sugar mixture. Mix everything together until it’s fully combined and the batter turns a lovely uniform pink color.
5. Combine Wet and Dry Ingredients:
Gradually add the bowl of dry ingredients to the wet ingredients. Mix on low speed until just combined, making sure not to overmix. You want your dough to be soft and fluffy!
6. Scoop the Dough:
Using a cookie scoop or tablespoon, drop dough balls onto your prepared baking sheet, spacing them about 2 inches apart. This gives them room to spread while baking!
7. Bake:
Bake the cookies in your preheated oven for about 10-12 minutes. Keep an eye on them! You want the edges to be set, and the tops should have little cracks while the centers remain soft.
8. Cool the Cookies:
Once baked, allow the cookies to cool on the baking sheet for about 5 minutes. Then, transfer them to a wire rack to cool completely before frosting.
9. Prepare the Frosting:
While your cookies cool, make the frosting! In a separate bowl, beat together the softened cream cheese and butter until it’s smooth and creamy. Add the vanilla extract, and then gradually sift in the powdered sugar, mixing until the frosting is fluffy and spreadable.
10. Frost the Cookies:
Once the cookies are completely cool, generously spread or pipe the creamy frosting onto the center of each cookie. Be creative!
11. Add the Finishing Touch:
Just before serving, sprinkle pink or red sanding sugar or sprinkles on top of each frosted cookie for that festive, delicate finish.
12. Enjoy!
Now it’s time to dig in! These tender cookies with their delicious cream cheese frosting will be the hit of any gathering. Enjoy every bite!
These cookies are a delightful treat bursting with flavor and color, making them a wonderful addition to any occasion. Happy baking!
Can I Use Different Food Coloring?
Absolutely! While gel food coloring gives the best results for vibrant colors, you can use liquid food coloring as well. Just keep in mind that you may need to add more to achieve the same intensity of pink.
What Should I Do If My Cookies Spread Too Much?
If your cookies spread too much during baking, it might be due to warm dough or not enough flour. Make sure to chill the dough for about 30 minutes before baking, and double-check your measurements. You can adjust by adding a little more flour next time if necessary.
How Do I Store Leftover Cookies?
Store any leftover cookies in an airtight container at room temperature for up to 3 days. If you expect them to last longer, you can refrigerate them for up to a week or freeze them for up to a month. Just make sure to separate layers with parchment paper when freezing!
Can I Make These Cookies Without Cream Cheese?
Yes! If you’re not a fan of cream cheese, you can use a simple buttercream frosting by mixing softened butter with powdered sugar and a splash of milk or cream for consistency. Flavor it with vanilla extract to keep it delicious!