Golden shortbread, a thick layer of glossy dulce de leche, and a dark chocolate cap make these bars the kind of dessert people hover over before they’re even sliced. The crust stays sandy and buttery enough to hold the filling, but once it’s baked just long enough to set, it gives the bars that clean bite-and-chew contrast that keeps them from turning heavy. The chocolate finish adds a little bitterness so the caramel doesn’t read one-note.
The trick is working with the crust while it’s still warm. That helps the dulce de leche spread without tearing the base, and it also gives the topping a chance to settle into the top layer instead of sliding around. A short second bake is enough to soften everything together without boiling the caramel, which is how you keep the bars gooey instead of sticky-hard.
Below, you’ll find the timing that gives you neat squares, the swap I’d use if all you have is a different kind of caramel, and the one cooling step that keeps the layers from collapsing when you cut them.
The crust held together beautifully and the dulce de leche stayed soft instead of running everywhere. I chilled them overnight and the chocolate sliced cleanly with the caramel still perfectly gooey.
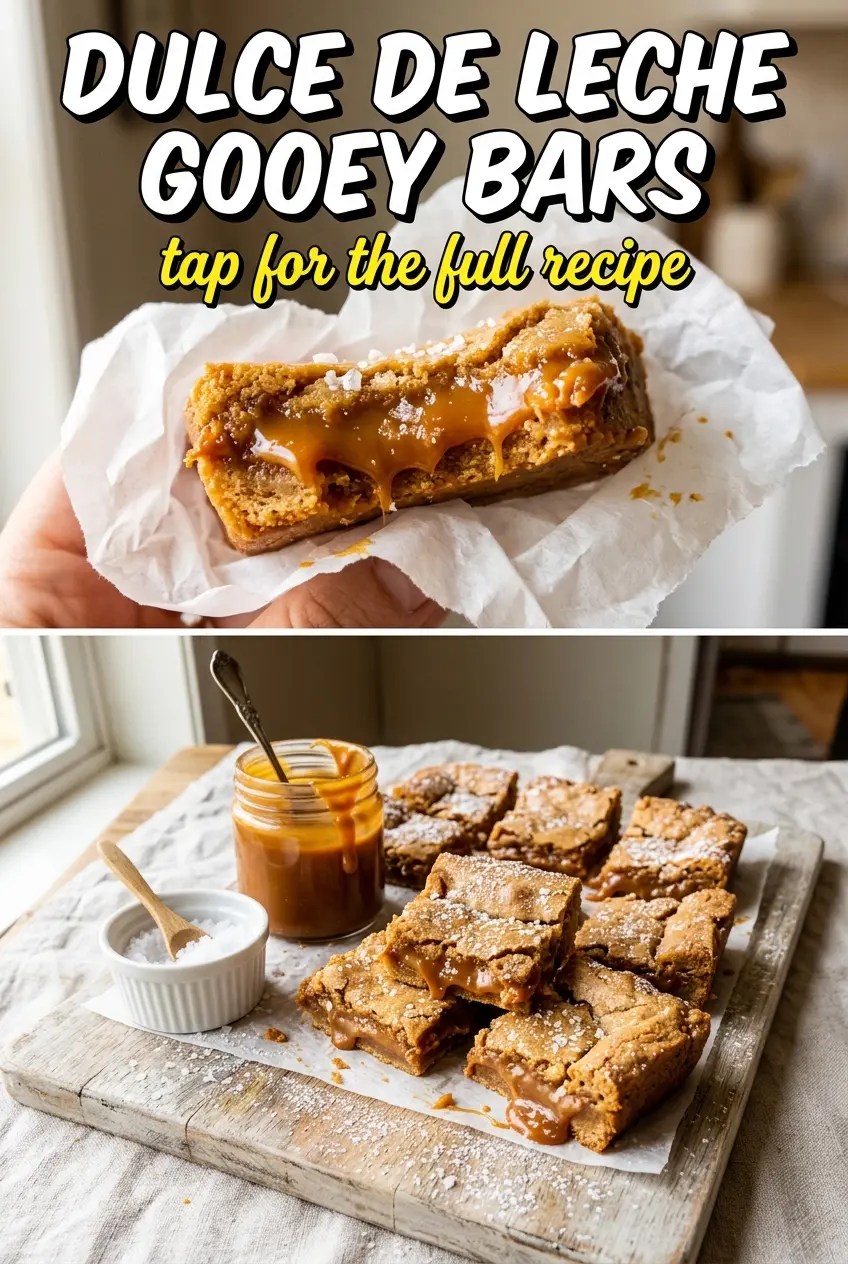
These dulce de leche gooey bars are all about that buttery shortbread base and the soft caramel layer in the middle — save this one for when you want a dessert that slices cleanly but still oozes a little.
The Shortcut That Keeps the Caramel Layer Smooth Instead of Clawing at the Crust
Most gooey bar recipes fall apart at the layering stage because the crust is either too fragile or the filling is too cold to spread without dragging crumbs through it. Here, the crust gets baked first until it’s just set and lightly golden, which gives it enough structure to support the dulce de leche without turning into a paste. Warm crust is your friend here. It lets the caramel glide across the surface in an even layer and helps the next bake fuse everything together.
The second thing that matters is restraint. Dulce de leche already has body, so you don’t need to cook it down. If you leave it in the oven too long, the sugars tighten up and the bars lose that soft pull in the center. Pull them when the chocolate is set on top and the filling still looks faintly soft underneath.
What Each Ingredient Is Doing in These Bars
The ingredient list is short, which means each one has a job you can actually notice.
- All-purpose flour — This gives the crust enough structure to slice into neat bars without turning cakey. Bread flour would make the base tougher, and cake flour would be too delicate.
- Butter — In the crust, butter carries the shortbread texture and keeps it tender. In the topping, the extra butter helps the chocolate melt into a smoother layer and keeps it from setting too hard. Use real butter here; the flavor carries the whole dessert.
- Granulated sugar — Just enough to help the crust brown and give it a light snap. There isn’t much sugar in the base, so don’t cut it too far or the crust can taste flat.
- Dulce de leche — This is the heart of the recipe, so use a thick, spoonable version. If yours is very stiff, warm the unopened can in hot water first or microwave the contents in short bursts after opening so it spreads evenly.
- Dark chocolate chips — The slight bitterness keeps the bars from tasting one-dimensional. Chips are fine here because they melt predictably, though chopped dark chocolate gives a smoother finish if that’s what you have.
- Fleur de sel — The final pinch wakes everything up. Regular fine salt works in a pinch, but flaky salt gives you those tiny bursts of contrast on the finished bars.
The 20 Minutes That Matter Most
Building the Shortbread Base
Mix the flour, softened butter, sugar, and salt until the dough looks crumbly but starts to clump when pressed. That texture tells you the butter is evenly distributed without being overworked. Press it firmly into the pan so it compacts into a real base instead of a loose crust that crumbles when cut. Bake until the edges are lightly golden and the center looks set, not pale and wet.
Spreading the Dulce de Leche
Spread the dulce de leche over the warm crust in an even layer. If it fights you, it’s too cold, and cold caramel is what tears the crust apart. Use an offset spatula or the back of a spoon, and work from the center outward so you don’t drag the crust up into the filling. You’re looking for a thick, glossy layer that reaches all the corners.
Setting the Chocolate Top
Melt the chocolate chips with the butter until smooth, then drizzle or spread it over the caramel. The butter helps the chocolate stay sliceable instead of cracking into hard shards. Bake just long enough for the surface to look set and matte. If the chocolate looks dry and the caramel starts bubbling hard around the edges, it’s gone too far.
Cooling Before the Cut
Let the bars cool completely, then chill them for at least 30 minutes before slicing. That rest is what gives you tidy squares with distinct layers. If you cut them warm, the caramel will ooze out and the chocolate layer will smear. A hot knife helps, but the real fix is patience.
How to Adapt These Bars Without Losing the Gooey Center
Gluten-Free Version
Use a 1:1 gluten-free baking flour that includes xanthan gum. The crust will still hold together, though it may bake up a little more delicate, so press it firmly into the pan and let it cool before lifting the squares. The filling doesn’t need any changes.
Dairy-Free Adaptation
Use plant-based butter in the crust and for melting the chocolate. The result will still be rich, but the flavor will be a little less buttery and a touch more neutral. Check the dulce de leche carefully, since some dairy-free versions are sold under caramel-style labels rather than traditional dulce de leche.
Extra Bittersweet Chocolate Finish
Swap the dark chocolate chips for a 70% bar if you want a sharper contrast against the caramel. You’ll get a less sweet bar with a firmer top layer and a more grown-up finish. That works especially well if you’re serving these after a heavy meal.
Storage and Reheating
- Refrigerator: Store in an airtight container for up to 5 days. The caramel firms up when cold, so expect a denser bite straight from the fridge.
- Freezer: These freeze well. Wrap the cut squares individually, then pack them in a freezer bag for up to 2 months. Thaw in the fridge so the chocolate doesn’t sweat.
- Reheating: No real reheating is needed, but if you want a softer center, let a bar sit at room temperature for 15 to 20 minutes. Microwaving will melt the chocolate top before the caramel softens.
Questions I Get Asked About This Recipe
Dulce de Leche Gooey Bars
Ingredients
Equipment
Method
- Preheat oven to 350°F and line an 8x8 baking dish if needed. Mix all-purpose flour, softened butter, granulated sugar, and salt until crumbly, with small bits of butter throughout.
- Press the crumbly mixture firmly into the 8x8 baking dish to form an even layer. Bake at 350°F for 12-15 minutes until the crust is golden, with lightly browned edges.
- Spread dulce de leche over the warm crust in an even layer so it reaches the corners. Keep the dish warm enough that the caramel spreads smoothly.
- Melt dark chocolate chips with 2 tablespoons butter until glossy, then drizzle or spread over the dulce de leche. Bake at 350°F for 8-10 minutes until the chocolate is set and no longer looks wet.
- Cool the bars completely at room temperature. This prevents the caramel from streaking when you slice.
- Refrigerate for at least 30 minutes to firm up the gooey center. Cut into 16 squares, sprinkle with fleur de sel, and serve at room temperature or chilled.