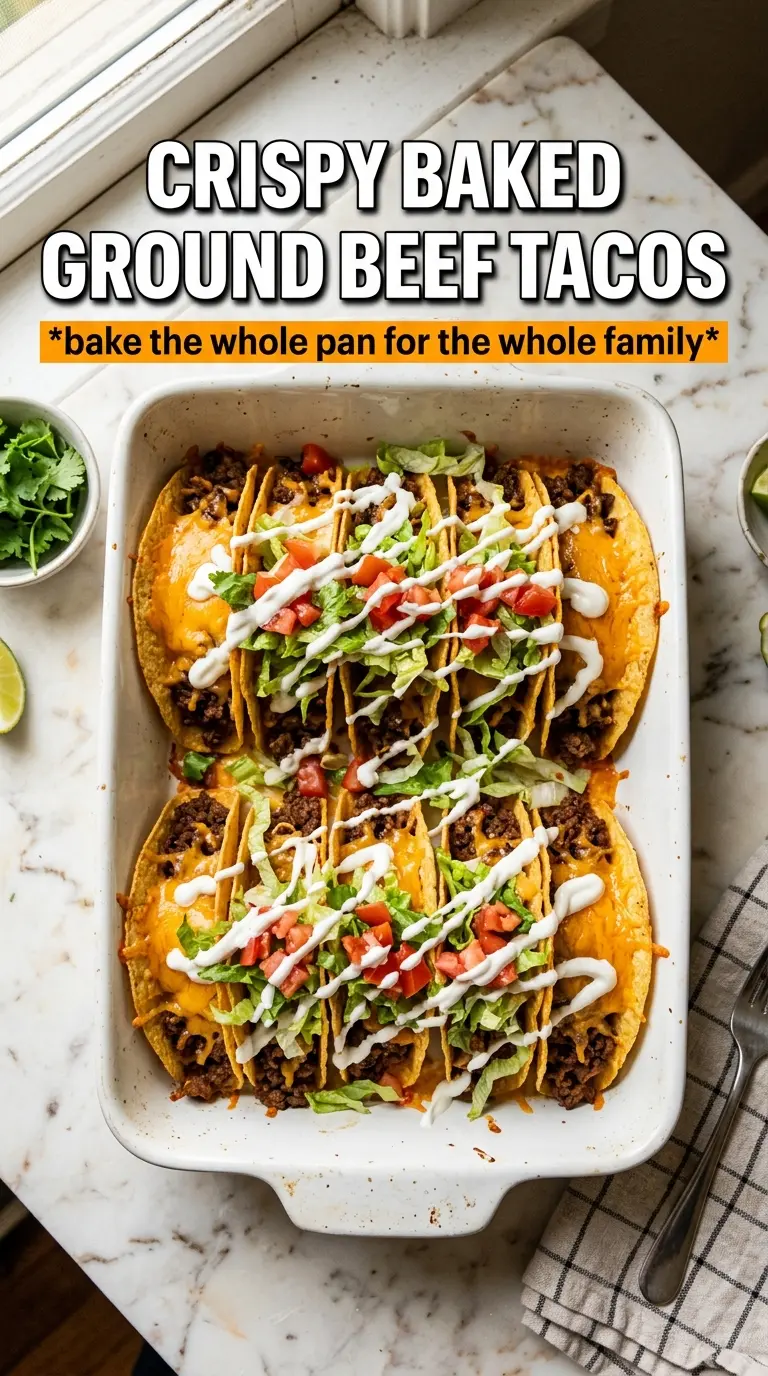
Crispy baked ground beef tacos hit that sweet spot between fast and satisfying: crunchy shells, juicy seasoned beef, and cool toppings that keep each bite from feeling heavy. The oven does the work of turning simple corn tortillas into golden, shatter-crisp taco shells, and the filling stays bold enough to stand up to all that texture.
The key is keeping the tortillas lightly coated with oil and tucked into that folded shape long enough to dry out and crisp instead of going soft. The beef also matters more than people think. Browning it well before the seasoning goes in gives you a deeper, beefier base, and a short simmer with water helps the seasoning cling without leaving the filling dusty or dry.
Below, you’ll find the small details that make these tacos work on a weeknight: how to keep the shells from cracking in the oven, which toppings hold up best, and what to do if you want to stretch the filling a little further without losing that classic taco taste.
The tortillas turned out crisp all the way through, and the beef stayed juicy instead of falling out when we bit into them. My kids kept asking for “the crunchy tacos” again the next night.
Save these crispy baked ground beef tacos for nights when you want crunchy shells, seasoned beef, and almost no cleanup.
The Trick to Crispy Taco Shells Without Frying
The mistake with baked tacos is usually steam. If the tortillas sit flat or overlap too much, they soften before they have a chance to crisp, and you end up with warm taco-shaped wraps instead of real crunch. Folding them over the oven rack or arranging them in a way that keeps the opening propped helps air move around the tortillas so both sides dry out evenly.
Oil matters here, but only in a thin coat. Too much and the tortillas can turn greasy before they crisp; too little and they stay dry and brittle instead of golden and sturdy. Corn tortillas handle this method better than flour because they bake up with more structure and a cleaner snap.
- Arrange with space. The hot air needs room to move around each shell.
- Bake until deeply golden. Pale tacos usually mean soft tacos.
- Serve right away. Crispy shells are at their best the minute they come out of the oven.
What Each Ingredient Is Actually Doing in These Tacos
- Ground beef — Use an 80/20 or similar blend if you can. It brings enough fat for flavor, and draining the excess after browning keeps the filling from turning greasy. Leaner beef works too, but it tastes drier unless you keep the simmer short.
- Taco seasoning — A packet gives you salt, cumin, chili powder, garlic, and thickening agents in one shot. Homemade seasoning works, but add a pinch more salt and let it bloom in the hot beef before the water goes in.
- Corn tortillas — These are the backbone of the crisp texture. Fresh tortillas bake more evenly than stale ones, and the light oil coating keeps them from cracking before they set.
- Cheddar cheese — Sharp cheddar melts well and gives enough tang to balance the beef. A Mexican blend also works, but pre-shredded cheese often melts a little less smoothly because of the anti-caking coating.
- Sour cream and salsa — These finish the tacos with coolness and brightness. Add them after baking so the shells stay crisp instead of getting soggy from the start.
How to Build the Filling and Shells So Nothing Turns Soggy
Browning the Beef Properly
Cook the ground beef over medium-high heat and leave it alone long enough to get some browned bits before you start breaking it down completely. That color is where the flavor lives. If you rush this stage and the meat stays gray, the filling will taste flat no matter how much seasoning you add.
Seasoning and Simmering
Once the fat is drained, stir in the taco seasoning and water and let it simmer until the liquid reduces and coats the meat. You want the mixture moist, not soupy. If there’s too much liquid left, it will run out of the tacos and soften the shells from the inside.
Baking the Shells
Brush both sides of each tortilla lightly with olive oil, then fold them into shape and bake until they look dry, crisp, and lightly browned at the edges. The shells should feel firm when you lift them. If they still bend easily, they need another minute or two in the oven.
Filling at the Last Minute
Fill the shells right before serving so the cheese stays melty and the tortillas stay crisp. Start with beef, then cheese, then lettuce, tomatoes, onion, sour cream, and salsa. If you assemble them too early, the steam from the hot beef starts softening the shell almost immediately.
How to Adapt These Tacos for Different Nights and Diets
Make Them Dairy-Free
Skip the cheddar and sour cream, or replace them with dairy-free versions that melt and drizzle well. The tacos still work because the beef and seasoning carry the dish, but you’ll lose a little of the cooling richness that balances the spice.
Use a Different Protein
Ground turkey or chicken can step in for the beef, but they need a little extra help. Add a splash more oil in the pan and don’t overcook them before seasoning, or the filling will turn crumbly and dry.
Make Them Gluten-Free
These are naturally gluten-free as long as your taco seasoning doesn’t include wheat-based fillers. Corn tortillas keep the structure crisp and make this the easiest version to serve to a mixed crowd.
Storage and Reheating
- Refrigerator: Store the beef and toppings separately for up to 3 days. The shells soften once assembled, so keep them unfilled if you want any crunch left.
- Freezer: The seasoned beef freezes well for up to 2 months. The baked shells don’t freeze well after assembly, so make those fresh.
- Reheating: Reheat the beef in a skillet over low heat with a splash of water. Re-crisp the shells in the oven for a few minutes instead of microwaving them, which turns them chewy fast.
Answers to the Questions Worth Asking

Crispy Baked Ground Beef Tacos
Ingredients
Equipment
Method
- Heat a skillet over medium-high heat and add ground beef, breaking it apart as it cooks for about 8 minutes until browned.
- Drain excess fat, then stir in taco seasoning, water, and salt and pepper to taste. Simmer for 5 minutes until thick and evenly coated.
- Preheat the oven to 400°F. Brush both sides of each corn tortilla lightly with olive oil.
- Fold tortillas in half and arrange them on a sheet pan so they hold their shape. Bake at 400°F for 8-10 minutes until crisp and golden.
- Fill each crispy baked taco shell with seasoned ground beef.
- Top with shredded cheddar cheese, then add shredded lettuce, diced tomatoes, and diced onion.
- Drizzle with sour cream and salsa, then serve immediately for maximum crunch.