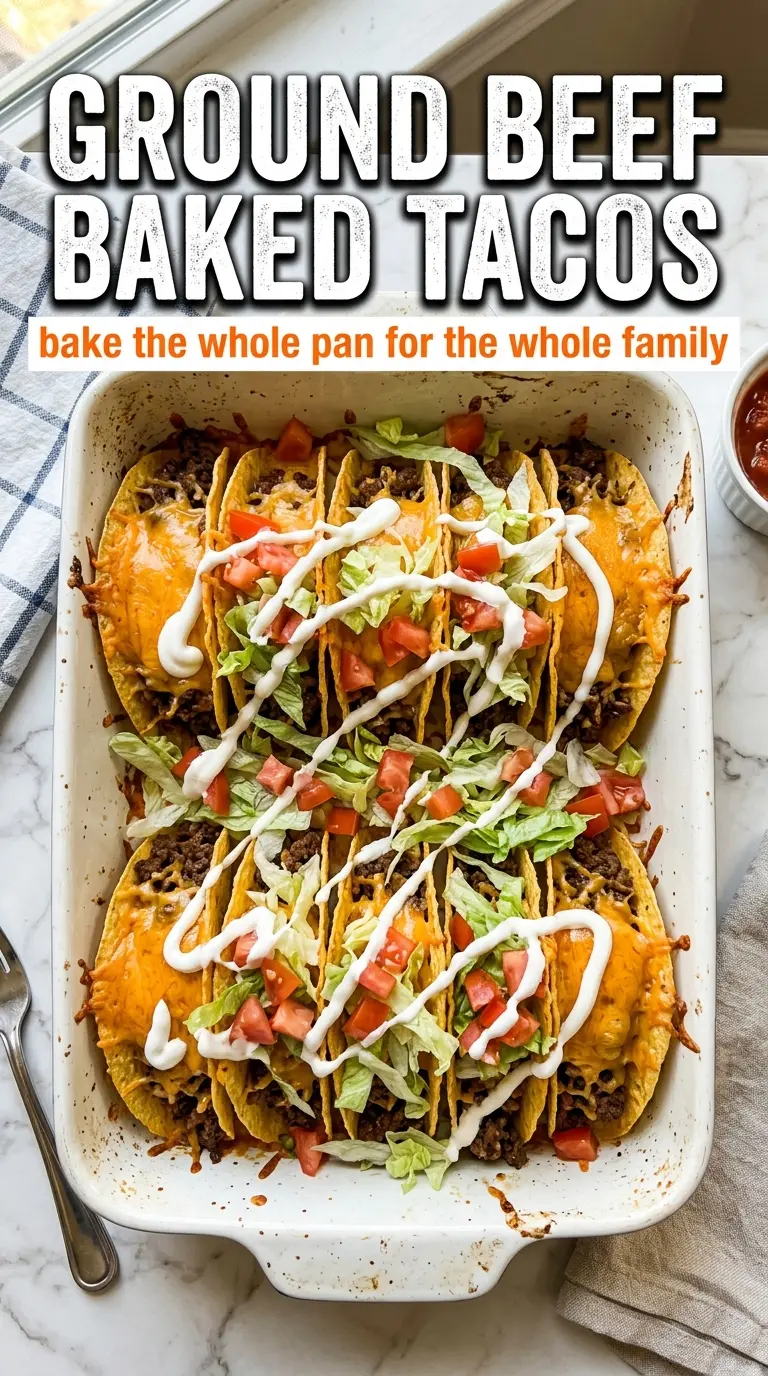
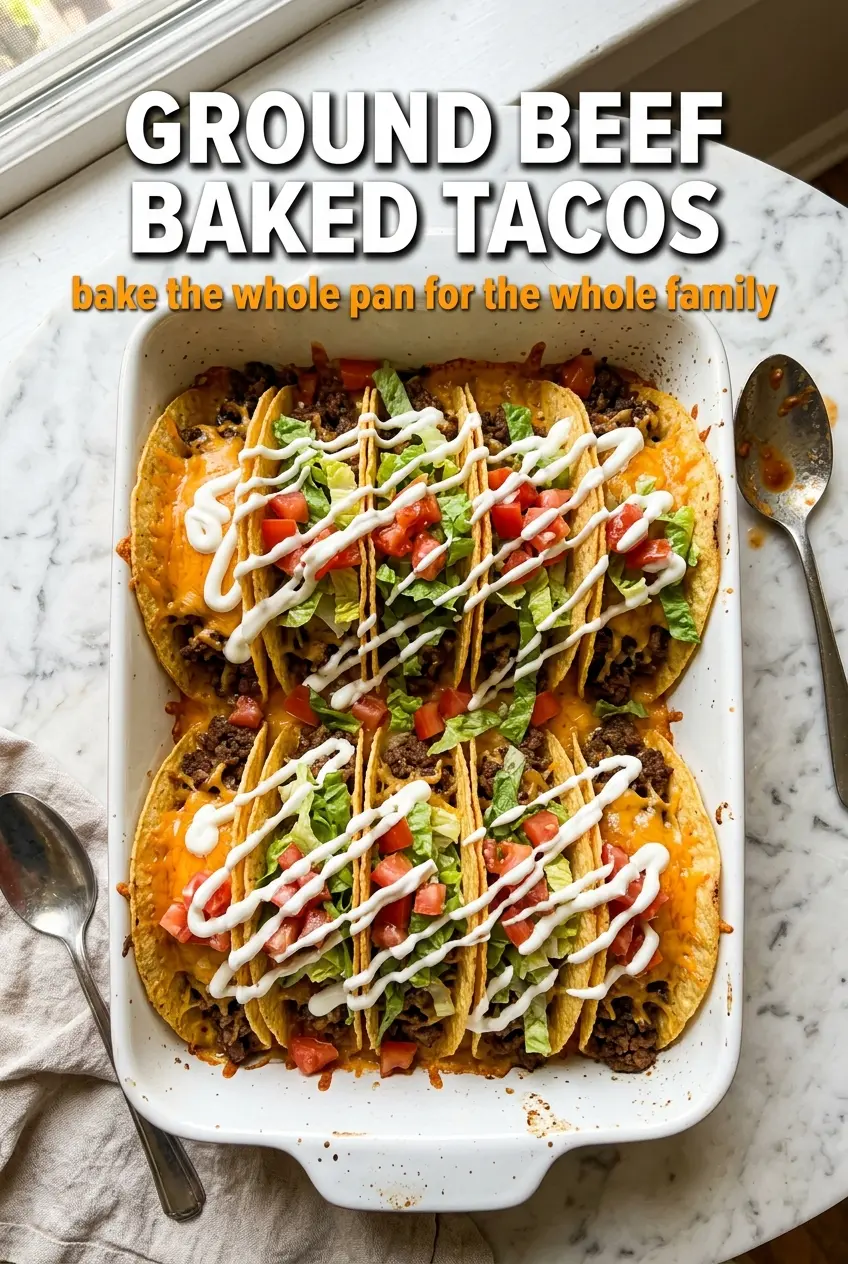
Crispy baked taco shells turn this ground beef dinner into something that feels a little more pulled together than a standard taco night, without asking for much more effort. The beef gets tucked into the shells before baking, so the cheese melts right on top and the shells toast up enough to hold their shape instead of going soft the second they hit the table.
The trick here is keeping the filling seasoned but not wet. A quick simmer with taco seasoning and just enough water gives the beef a light saucy coating that stays in the shell without dripping all over the pan. Baking them upright lets the cheese melt evenly while the shells stay crisp, which is exactly what makes these tacos work for a crowd.
Below, I’ve included the one step that keeps the shells from tipping, a few smart ingredient notes, and the best way to adapt these if you want to stretch the filling or swap the toppings around.
The beef stayed nicely seasoned and the shells got crisp in the oven without falling apart. I loved that the cheese melted over the top instead of ending up under the toppings.
Crispy ground beef baked tacos are the kind of easy dinner worth keeping on repeat for nights when you want all the taco crunch without standing over the stove.
The Trick to Keeping Baked Taco Shells Crispy
The mistake that ruins baked tacos is moisture. If the beef mixture is too loose, it slides to the bottom of the shell and softens everything before the cheese even has a chance to melt. This version keeps the filling thick and spoonable, so the shells stay crisp and the tacos hold together when you lift them from the pan.
Standing the shells upright in a baking dish matters more than it sounds. It keeps the fillings from spilling out and gives the cheese a chance to melt across the top instead of disappearing into the pan. A short bake is enough here; push it too long and the shells can go from crisp to brittle.
What the Filling and Toppings Are Doing Here
- Ground beef — The beef gives these tacos their hearty base. An 80/20 blend has enough fat for flavor, but you’ll want to drain excess grease after browning so the shells don’t turn slick at the bottom.
- Taco seasoning — This is where the main flavor lives, so use one you actually like. Homemade or store-bought both work; if yours is saltier than average, start with a little less and taste before adding more.
- Water — It seems minor, but it helps the seasoning cling to the meat and keeps the filling from tasting dusty. Don’t skip the simmer, because that short cook gives the seasoning time to bloom and coat the beef.
- Hard taco shells — The shells need to be sturdy enough to stand up in the baking dish. If yours are a little fragile, pack a bit of crumpled foil around them so they don’t tip while baking.
- Cheddar cheese — Sharp cheddar gives the best contrast against the seasoned beef, and it melts fast enough for the short bake time. Pre-shredded works fine, though freshly shredded melts a little smoother.
- Tomatoes, lettuce, sour cream, jalapeño, salsa — These finish the tacos after baking, which keeps the fresh toppings bright and the shells crisp. Add them after the tacos come out of the oven, not before, or the lettuce will wilt and the sour cream will slide off.
Building the Tacos So They Bake Instead of Collapse
Browning the Beef Properly
Cook the beef over medium-high heat until it loses all pink color and starts to pick up a little browning in the pan. Break it into small crumbles as it cooks so it sits neatly in the shells later. If there’s a lot of fat in the skillet, drain it off before seasoning or the filling will taste greasy and the tacos can get soggy at the base.
Letting the Seasoning Coat, Not Pool
Stir in the taco seasoning and water, then let the mixture simmer for 2 to 3 minutes until the liquid reduces and clings to the meat. That short simmer is what keeps the filling from running out of the shells. If it still looks watery, give it another minute before you start assembling.
Filling and Baking Upright
Set the taco shells in a baking dish so they’re snug and supported on both sides. Spoon the beef in first, then top with cheese so it melts over the meat as the shells crisp. Bake just until the cheese is melted and the edges of the shells look toasted; if you wait until they’re deeply browned, they’ll break when you bite into them.
Finishing With Fresh Toppings
Add the tomatoes, lettuce, sour cream, jalapeño, and salsa after baking so the contrast stays clean and fresh. The heat from the beef and cheese is enough to soften the toppings slightly without cooking them down. That keeps each bite crisp, creamy, and bright instead of muddy.
How to Adjust These Tacos for Different Nights
Make Them Spicier
Add extra diced jalapeño to the filling or stir a little hot sauce into the beef after the seasoning goes in. That gives the tacos more heat without changing the texture. If you want a sharper finish, use pepper jack instead of some or all of the cheddar.
Use Ground Turkey or Chicken
Ground turkey or chicken works well here, but both need a little extra help with flavor because they’re leaner than beef. Add a splash of oil when browning and don’t skip the simmer with the seasoning and water. The tacos will taste lighter and a little less rich, but they still bake up crisp.
Make It Gluten-Free
Choose hard taco shells and taco seasoning labeled gluten-free, since both can sometimes contain wheat-based additives. The method stays the same. You get the same crisp baked texture without changing the rest of the recipe.
Stretch the Filling for a Bigger Crowd
Stir in a little black beans or cooked rice to bulk up the beef mixture without making it feel empty. Rice makes the tacos heartier, while beans give them a softer, more textured bite. Add either after the seasoning simmers so the filling still stays thick enough for the shells.
Storage and Reheating
- Refrigerator: Store the beef separately from the shells and toppings for up to 4 days. The shells soften once filled, so assembled tacos don’t hold their crunch well.
- Freezer: Freeze the cooked beef only for up to 3 months. The shells and fresh toppings don’t freeze well, and the texture gets off fast.
- Reheating: Warm the beef in a skillet or microwave until hot, then refill fresh shells and bake briefly if you want the cheese melted again. Reheating fully assembled tacos usually makes the shells leathery instead of crisp.
Questions I Get Asked About This Recipe
Ground Beef Baked Tacos
Ingredients
Equipment
Method
- Preheat oven to 350°F. Brown ground beef in a skillet over medium-high heat, breaking it into crumbles as it cooks, until no pink remains and the surface starts to brown.
- Drain excess fat from the skillet. Add taco seasoning and water, then stir to combine and simmer for 2-3 minutes until thickened and well coated.
- Arrange taco shells in a baking dish, standing them upright. Divide seasoned beef among the shells, mounding slightly in the center.
- Sprinkle shredded cheddar cheese over each taco so it covers the beef. Bake for 10-12 minutes at 350°F until shells are crispy and cheese is melted with lightly browned edges.
- Top each taco with diced tomatoes and shredded lettuce. Add a dollop of sour cream and top with diced jalapeño for a fresh, layered finish.
- Serve the baked tacos with salsa on the side. Serve immediately while shells stay crisp.