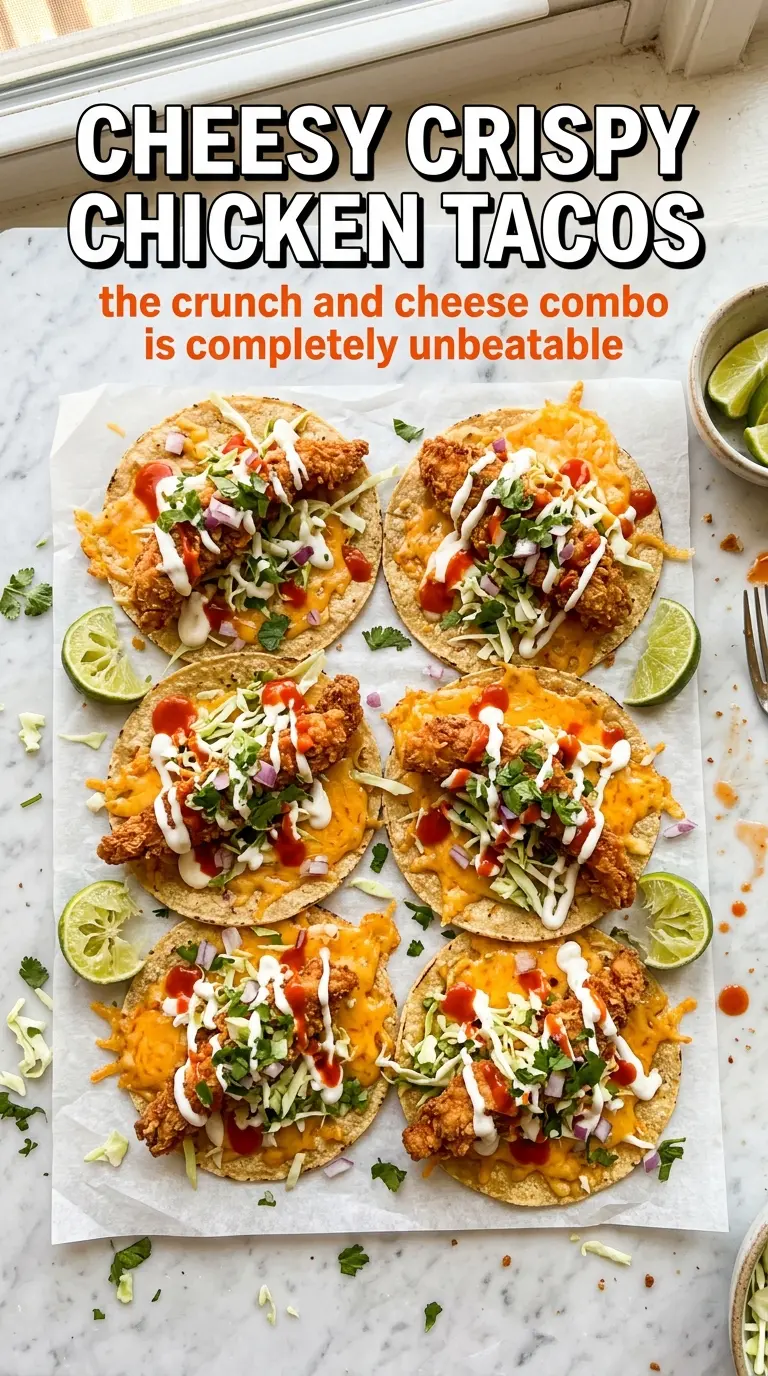
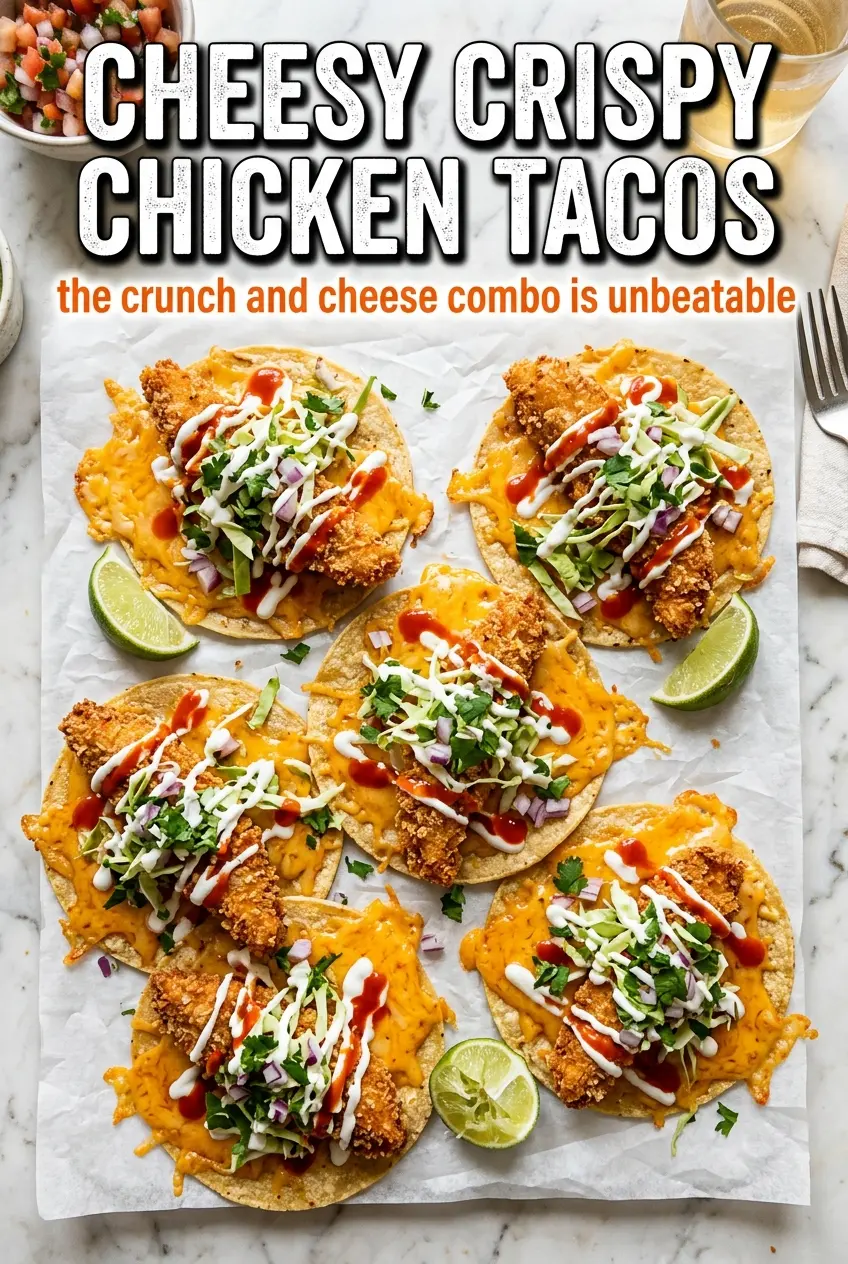
Crispy chicken tacos earn their spot when the first bite gives you shattering edges, juicy chicken, and a pull of melted cheese that ties everything together. The trick is building crunch in two places: a seasoned flour coating on the chicken and a quick skillet finish after the tacos are assembled. That second step is what turns these from ordinary fried chicken tacos into something worth making again.
The chicken fries fast because the pieces are cut small, which keeps the coating crisp before the inside dries out. Oaxaca cheese gives the best stretch, but mozzarella works well if that’s what you’ve got. Warming the filled tortillas in a hot pan matters more than people think; it melts the cheese just enough to glue the taco shut without making the tortilla limp.
Below you’ll find the exact frying cue to watch for, the best cheese swap, and a few ways to adapt these tacos without losing that crunchy, cheesy bite.
The chicken stayed crisp even after I tucked it into the tortillas, and the cheese melted into that perfect stretchy layer. I used mozzarella, and the tacos still came out restaurant-level good.
Save these cheesy crispy chicken tacos for the nights when you want crunchy fried chicken, melted cheese, and a fast skillet finish.
The Trick to Keeping Fried Chicken Crispy Inside a Taco
The fast way to ruin fried chicken tacos is letting the coating sit under steam. Once the chicken comes out of the oil, it needs a short drain on paper towels and then an immediate move into the tortillas. The tortillas themselves should be warm, not hot enough to soften into a floppy wrapper before the cheese has a chance to melt.
The other detail that matters is size. Bite-sized chicken cooks through before the flour coating has time to burn, which keeps the inside juicy and the outside crisp. If your pieces are too large, the tortilla holds too much heat for too long and the crust loses its edge before dinner even hits the table.
What the Cheese and Tortillas Are Really Doing Here
- Chicken breasts — Lean chicken works best here because the quick fry keeps it tender. Cut it into even bite-sized pieces so everything finishes at the same time; uneven pieces mean some bits overcook while others are still pale inside.
- All-purpose flour — This is the shell that turns crisp in the oil. A lighter gluten-free blend can work in a pinch, but it won’t brown quite the same way or give the same sturdy crunch.
- Eggs — The egg coating helps the flour cling to the chicken instead of falling off in the oil. Don’t skip this layer unless you want patchy breading.
- Oaxaca or mozzarella cheese — Oaxaca gives the best melt and stretch, while low-moisture mozzarella is the easiest substitute. Freshly shredded cheese melts cleaner than pre-shredded because it doesn’t have the anti-caking starch coating.
- Corn tortillas — Small corn tortillas hold up better than flour tortillas once the chicken and cheese go in. Warm them first so they fold without cracking, but don’t overheat them or they’ll tear when you add the filling.
Frying, Filling, and Melting Without Losing the Crunch
Season and Coat the Chicken
Start by cutting the chicken into small, even pieces and seasoning them well with salt and pepper. Mix the flour with garlic powder and chili powder, then dip the chicken in egg before dredging it in the seasoned flour. The coating should look dry and shaggy, not paste-like; if it turns gummy, too much egg is clinging to the chicken, so let the excess drip off before breading.
Fry Until the Coating Turns Deep Gold
Heat the oil to 350°F and fry in batches so the temperature stays steady. If you crowd the pan, the oil drops and the chicken starts soaking instead of crisping. You want a steady, active sizzle and a coating that turns deep golden in about 6 to 8 minutes total. Pull a piece and cut into it if you’re unsure; the inside should be opaque and juicy, not dry.
Build the Tacos While the Chicken Is Still Hot
Warm the tortillas, add a small layer of cheese, then the fried chicken, then a little more cheese on top. That layering matters because the cheese melts from both sides and helps lock the filling in place. Fold the tortillas gently; if they crack, they weren’t warm enough. Work quickly here so the chicken heat starts the melting before the tacos even hit the skillet.
Use the Skillet as the Final Melting Step
Set the filled tacos into a hot skillet and warm each side for 1 to 2 minutes, just until the cheese softens and the tortillas take on a light toasty surface. This is not a second fry. If the pan is too hot, the tortilla will scorch before the cheese melts, so keep the heat at a strong medium rather than blasting it on high. Top with lettuce, onion, cilantro, and a squeeze of lime right before serving.
Make Them Spicier Without Changing the Texture
Add a little cayenne to the flour or serve the tacos with hot salsa on the side. Keep the heat in the coating, not the oil, or the spices can scorch and turn bitter. This changes the flavor more than the structure, so the chicken still fries up crisp.
Swap in Chicken Thighs for Richer Meat
Boneless thighs work well if you want a juicier bite and don’t mind a slightly richer finish. Trim them into the same small pieces and fry them the same way; they’ll stay tender a little longer than breasts. The crust still crisps nicely, but the flavor lands deeper and less lean.
Gluten-Free Version That Still Fries Up Crisp
Use a good 1:1 gluten-free flour blend in place of the all-purpose flour. The coating won’t brown quite as evenly, but it will still give you a crisp shell if the oil stays hot and you fry in small batches. Corn tortillas already fit the gluten-free side of the recipe, so this swap works cleanly.
Storage and Reheating
- Refrigerator: Store the fried chicken separately for up to 3 days. The tortillas and toppings are best kept apart so they don’t go soggy.
- Freezer: The fried chicken freezes well for up to 2 months. Freeze it in a single layer first, then move it to a bag or container so the crust doesn’t get smashed.
- Reheating: Reheat the chicken on a rack in a hot oven or air fryer until it’s crisp and hot through. Skip the microwave if you want the coating to stay crunchy; that’s the fastest way to turn it soft.
Answers to the Questions Worth Asking
Cheesy Crispy Chicken Tacos
Ingredients
Equipment
Method
- Cut the boneless chicken breasts into bite-sized pieces, then season with salt and pepper until evenly coated with visible specks.
- In a shallow dish, combine all-purpose flour, garlic powder, and chili powder, stirring until the mixture is uniform in color.
- Dip the seasoned chicken pieces into the beaten eggs, letting excess drip back into the dish so a thin coating remains.
- Dredge the egg-coated chicken in the seasoned flour, pressing lightly so the coating clings and looks slightly dry and lumpy.
- Heat the vegetable oil to 350°F so it shimmers steadily when a small flour pinch is added.
- Fry the chicken in batches until golden and cooked through, about 6-8 minutes total, turning as needed for even browning.
- Drain the fried chicken on paper towels so the surface looks crisp rather than oily.
- Warm the corn tortillas, then place a small portion of shredded Oaxaca or mozzarella cheese in the center of each so it starts to melt from the warmth.
- Add fried chicken on top, then add more shredded cheese over the chicken for stretch after melting.
- Fold the tortillas in half, pressing gently so the filling stays inside.
- Briefly warm the filled tortillas in a hot skillet to melt the cheese, about 1-2 minutes per side, until the cheese looks glossy and strings when separated.
- Top the tacos with shredded lettuce, diced onion, and cilantro so the vegetables look fresh and crisp.
- Serve immediately with lime wedges, squeezing just before eating for bright flavor.