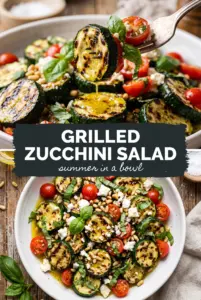
Charred crust, bubbling cheese, and smoky toppings turn grilled pizza into the kind of dinner that disappears as fast as it hits the table. The dough gets those crisp, blistered marks you usually only get from a hot stone or wood-fired oven, but the grill gives you something better: real flavor from direct heat and a little edge from the smoke.
The trick is treating the grill like a hot oven and a searing pan at the same time. The first side cooks on a clean, well-oiled grate so the dough firms up enough to flip without tearing. After that, the toppings go on quickly while the second side finishes underneath the lid, where the cheese melts and the bottom crisps without burning. A light hand with sauce helps, too. Too much and the crust steams before it has a chance to stay crisp.
Below, I’m walking through the part that matters most: how to move the dough on and off the grates without fighting it, how to keep the toppings balanced, and a few ways to adjust the pizza when you want to feed a crowd or work with what’s already in the fridge.
The crust got those perfect grill marks and stayed crisp under the sauce instead of turning soggy. I followed the timing exactly and the cheese melted right as the bottom finished.
Grilled pizza with charred crust and bubbling cheese is the one to keep for fast summer dinners and backyard cooking.
The Grate Is Hot Enough Before the Dough Goes On
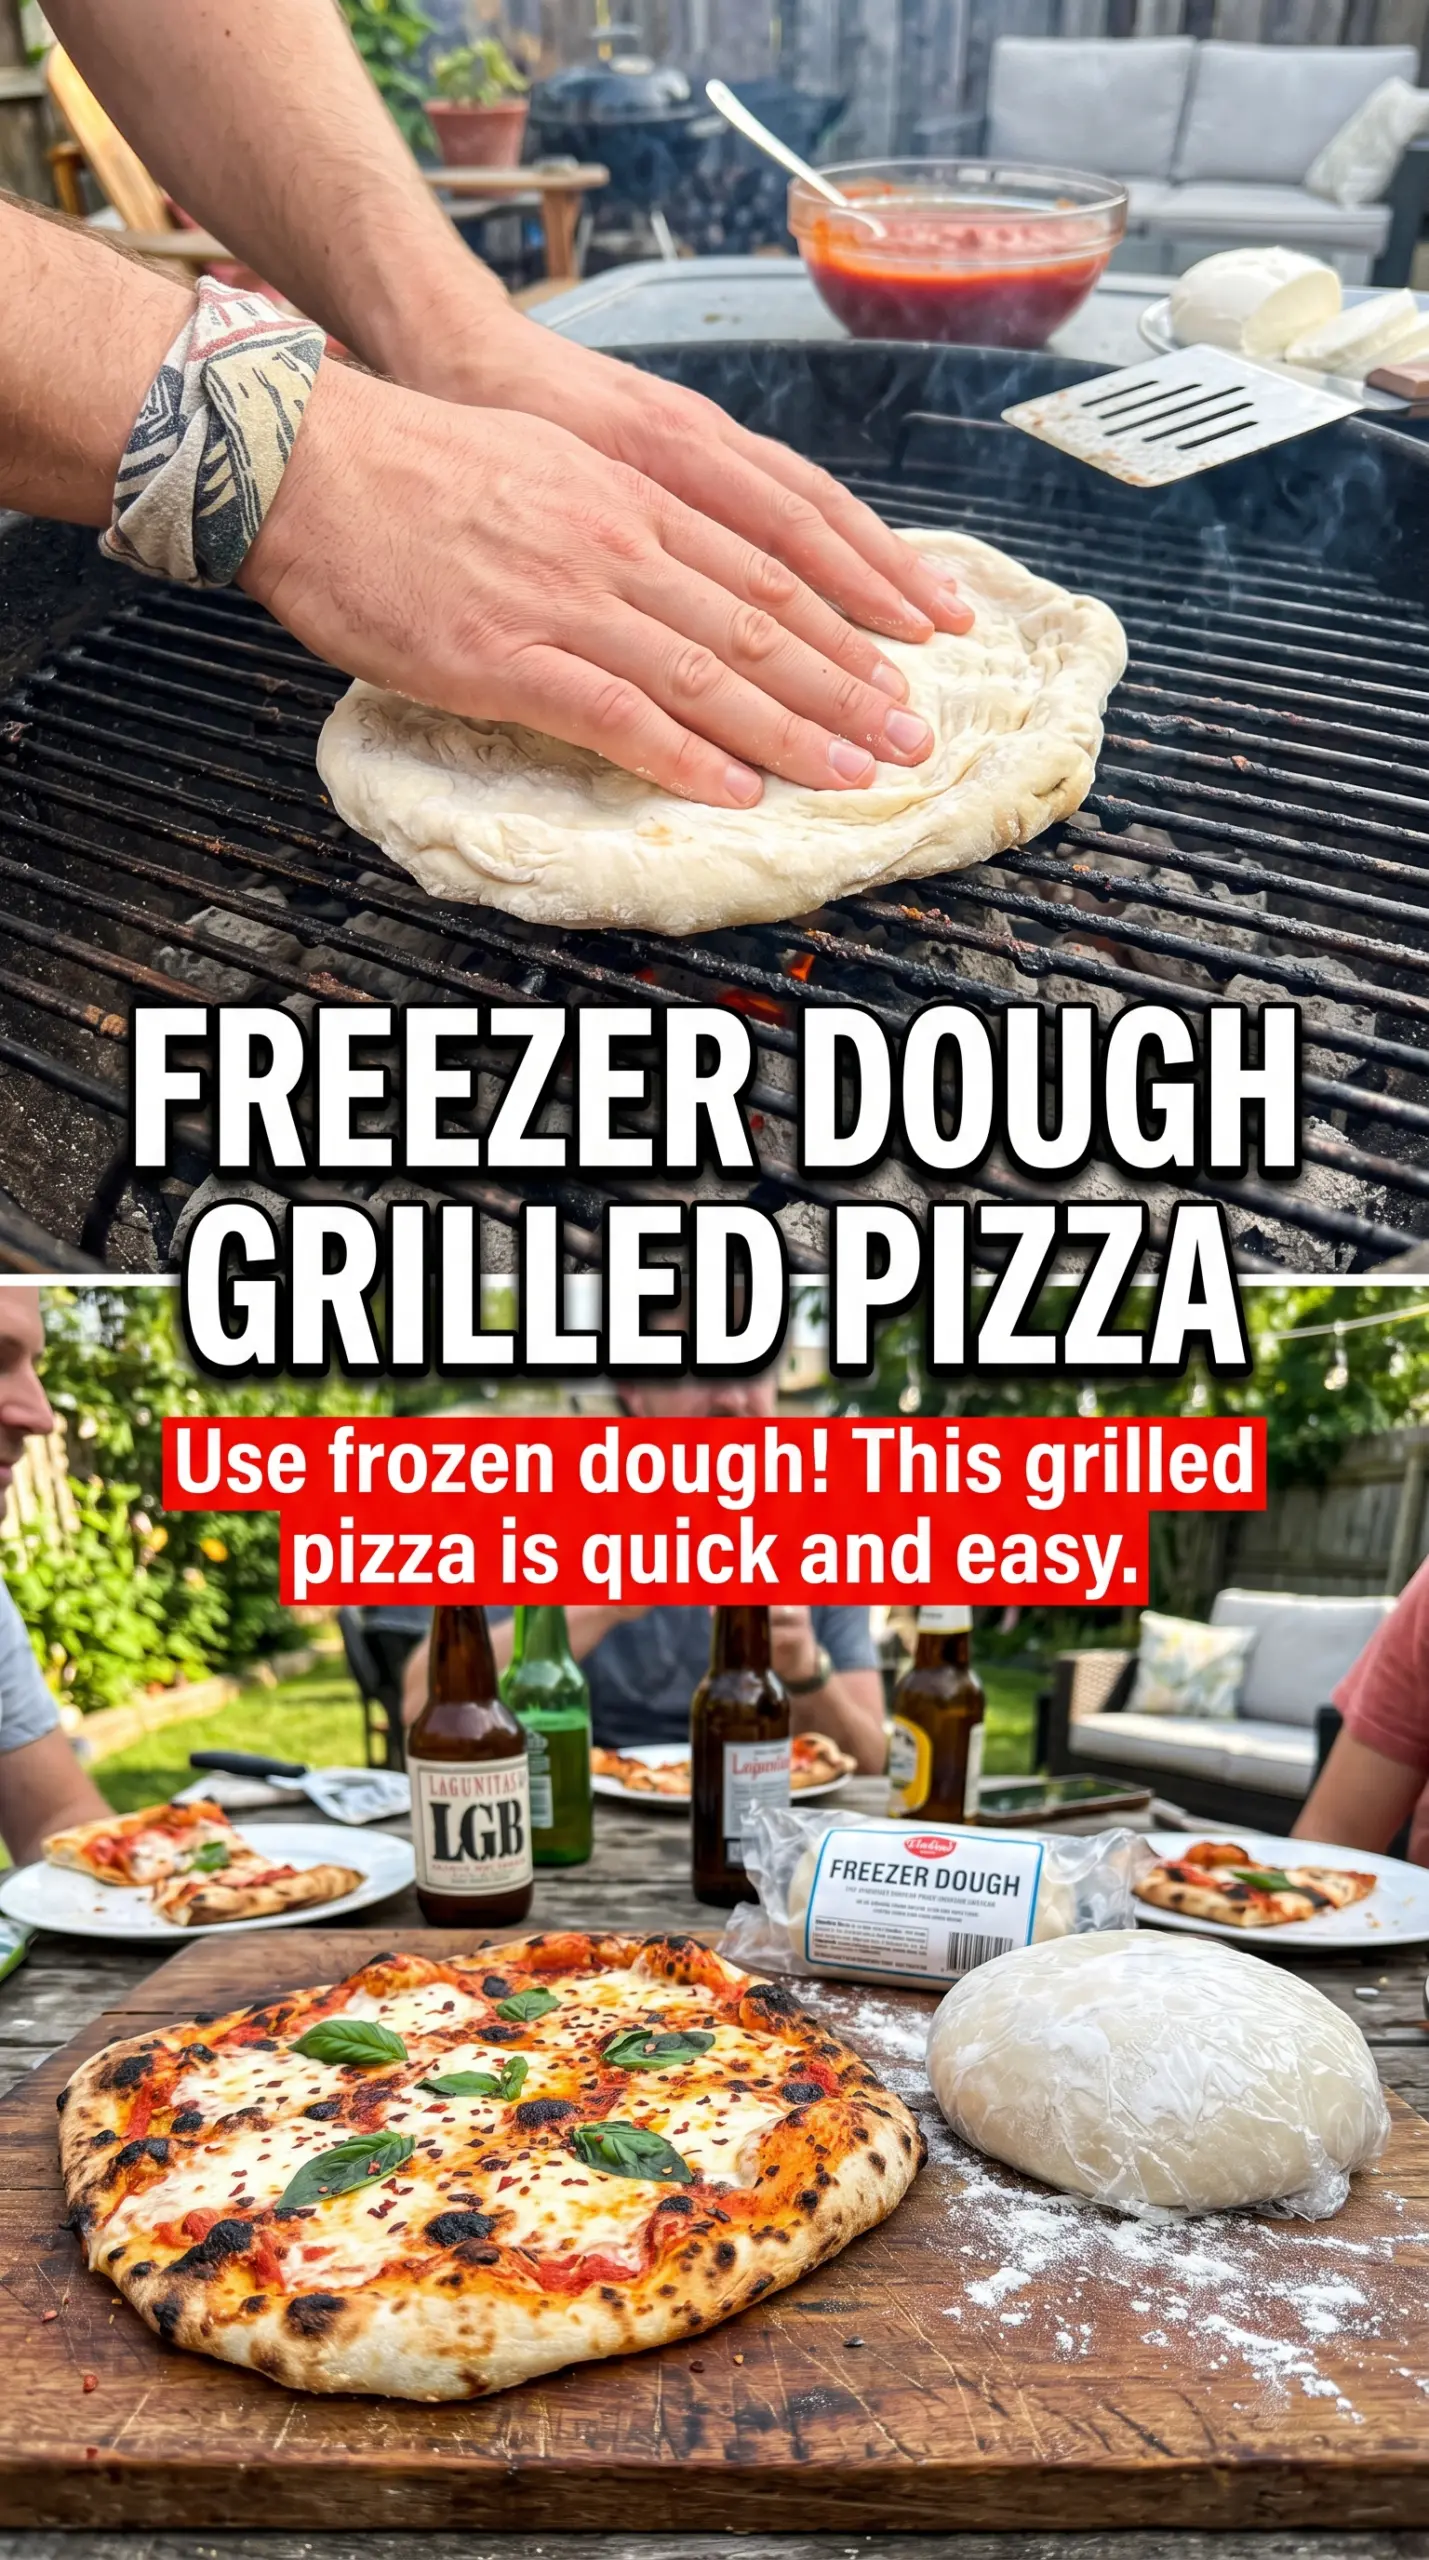
The biggest mistake with grilled pizza is putting the dough on a grill that still needs another minute or two. If the grates aren’t fully hot, the dough sticks before it can sear, and once that happens you end up tearing the crust while trying to rescue it. A medium-high grill with clean grates and a proper oiling gives you the fast set you need, so the dough releases after a short first cook.
Stretch the dough thin, but don’t chase a perfect circle. An uneven edge is fine; what matters is even thickness so the center cooks at the same pace as the rim. The first side should be firm, marked, and slightly puffed before you flip it. If it still looks soft and shiny, give it another 30 seconds.
What the Dough, Oil, and Cheese Are Each Doing Here
- Pizza dough — A standard pound of dough is enough for four thin pizzas that cook fast on the grill. If the dough keeps springing back while you stretch it, let it rest for 10 minutes so the gluten relaxes. That little pause makes the whole process easier.
- Olive oil — This isn’t just for flavor. It helps the dough release from the grates and gives the crust its bronzed surface. Brush it on the side that hits the grill first, not all over the dough, or it can get greasy before the bottom crisps.
- Mozzarella — Shredded mozzarella melts evenly and gives you those stretchy pockets across the top. Fresh mozzarella works, but it carries more moisture, so blot it dry first or the pizza can turn wet in the center.
- Pizza sauce — Use a sauce that’s already thick enough to sit on bread without running. Thin sauce is the fastest way to soften a grilled crust. If yours is loose, simmer it for a few minutes before you start grilling.
- Flour — A light dusting keeps the dough from sticking to the counter while you shape it. Use just enough to handle it cleanly; too much flour on the surface can scorch on the grill and leave a bitter taste.
Getting the Crust Grilled Before the Toppings Go On
Stretching and Staging the Dough
Divide the dough into four pieces and stretch each one thinner than you’d use for an oven-baked pizza. Grilled pizza needs speed, and a thick round takes too long to cook through before the outside colors. Keep the rounds on a lightly floured surface and move them close to the grill so you’re not rushing once the dough is ready.
Setting the First Side
Brush one side with olive oil and place that side down on the hot grates. Don’t move it for 2 to 3 minutes. If you try to lift it too soon, it will stick; once it has those dark marks and the underside looks dry, it’s ready to flip. A good crust will release with a spatula and a little confidence.
Adding the Toppings Fast
Once the crust flips, work quickly. Sauce first, then cheese, then toppings in a light layer so the center doesn’t get overloaded. Close the lid right away to trap heat and melt the cheese while the bottom finishes crisping. If you pile on too many vegetables or too much sauce, the pizza will slide around and steam instead of staying crisp.
Finishing Off the Heat
The pizza is done when the cheese is melted and the bottom is crisp with good char, usually in 3 to 5 minutes. Pull it off as soon as the cheese is bubbling and the edges look set; waiting for perfect browning on top usually means the bottom goes too far. Finish with basil and Parmesan after it comes off the grill so the herbs stay bright and the cheese doesn’t dull in the heat.
How to Adapt Grilled Pizza for Different Fillings and Diets
Dairy-Free Grilled Pizza
Use a good melting dairy-free mozzarella-style cheese and keep the layer a little lighter than you would with regular mozzarella. Some alternatives brown differently, so watch the bottom of the crust rather than waiting for the top to look exactly the same as a traditional pie.
Vegetable-Heavy Pizza
Slice vegetables thin and keep them to a modest layer. Raw mushrooms, peppers, and onions all release moisture on the grill, so a heavy hand can turn the center soft. If you want a lot of vegetables, pre-cook the wettest ones first.
Gluten-Free Dough
Use a gluten-free pizza dough that’s meant for stretching and grilling, then handle it gently since it tends to tear more easily than standard dough. It usually benefits from a little more oil on the grill surface and a slightly shorter first cook so it doesn’t dry out.
Making It Ahead for a Crowd
Shape the dough rounds and set out the toppings before anyone comes outside. Grilled pizza moves fast once the first crust hits the grate, so the best way to serve a group is to stage everything like an assembly line and finish each pie as it’s ordered.
Serving and Holding
This pizza is at its best the minute it comes off the grill, when the crust is crisp and the cheese is still stretchy. If you have to hold a pie for a few minutes, keep it on a wire rack instead of a plate so steam doesn’t soften the bottom.
Answers to the Questions Worth Asking
Grilled Pizza
Ingredients
Method
- Preheat the grill to medium-high heat and oil the grates well so the crust doesn’t stick.
- Divide the pizza dough into 4 portions and stretch each into a thin round, dusting with flour as needed to prevent sticking.
- Brush one side of each dough round with olive oil and place oil-side down on the grill for 2-3 minutes until the bottom is charred.
- Flip the crust and quickly add the pizza sauce, mozzarella cheese, and your choice of toppings to the grilled side.
- Close the grill lid and cook for 3-5 minutes until the cheese is melted and the bottom is crispy.
- Remove the pizza from the grill, top with fresh basil leaves and grated Parmesan cheese, slice, and serve immediately.