Loaded nachos from a campfire pan hit that sweet spot between easy and exciting: crisp chips at the edges, melted cheese in the middle, and smoky toppings that taste like they belong outdoors. When the pan comes off the grill grate bubbling and speckled with browned cheese, it disappears fast.
What makes this version work is the layering. Chips on the bottom get protected by cheese and beans, so they soften just enough without turning to mush. The beef adds heft, the beans keep the filling balanced, and the final cold toppings go on after cooking so the sour cream stays cool and the salsa stays bright. That little bit of contrast is what keeps the whole pan from tasting flat.
Below, I’ve included the timing cues that matter most over a live fire, plus a few smart swaps for making these nachos work with what you packed. Once you’ve made them this way, they’ll earn a permanent spot in your camping meal rotation.
I was worried the chips would turn soggy over the fire, but layering the cheese and beef the way you described kept the bottom from getting soft. The pan was bubbling in about 9 minutes and every bite had that perfect mix of crunchy edges and melty center.
Save these camping grilled nachos for the next night you want a bubbling campfire appetizer with smoky beef, melty cheese, and zero fuss.
Why the Bottom Layer Needs Protection Over the Fire
The biggest mistake with grilled nachos is treating them like oven nachos. Campfire heat comes from below and moves unevenly, so the chips closest to the pan can scorch before the cheese has a chance to melt. Layering half the chips first, then the cheese, beans, and beef, gives the toppings enough weight to anchor everything without exposing every chip to direct heat.
Disposable aluminum pans help here because they conduct heat quickly and keep cleanup simple, but they still need medium fire heat. If the fire is too hot, the chips at the edges will darken before the center loosens up. You want bubbling cheese and just a few toasty spots, not a pan that smells like burned corn tortilla.
What Each Topping Is Doing in the Pan
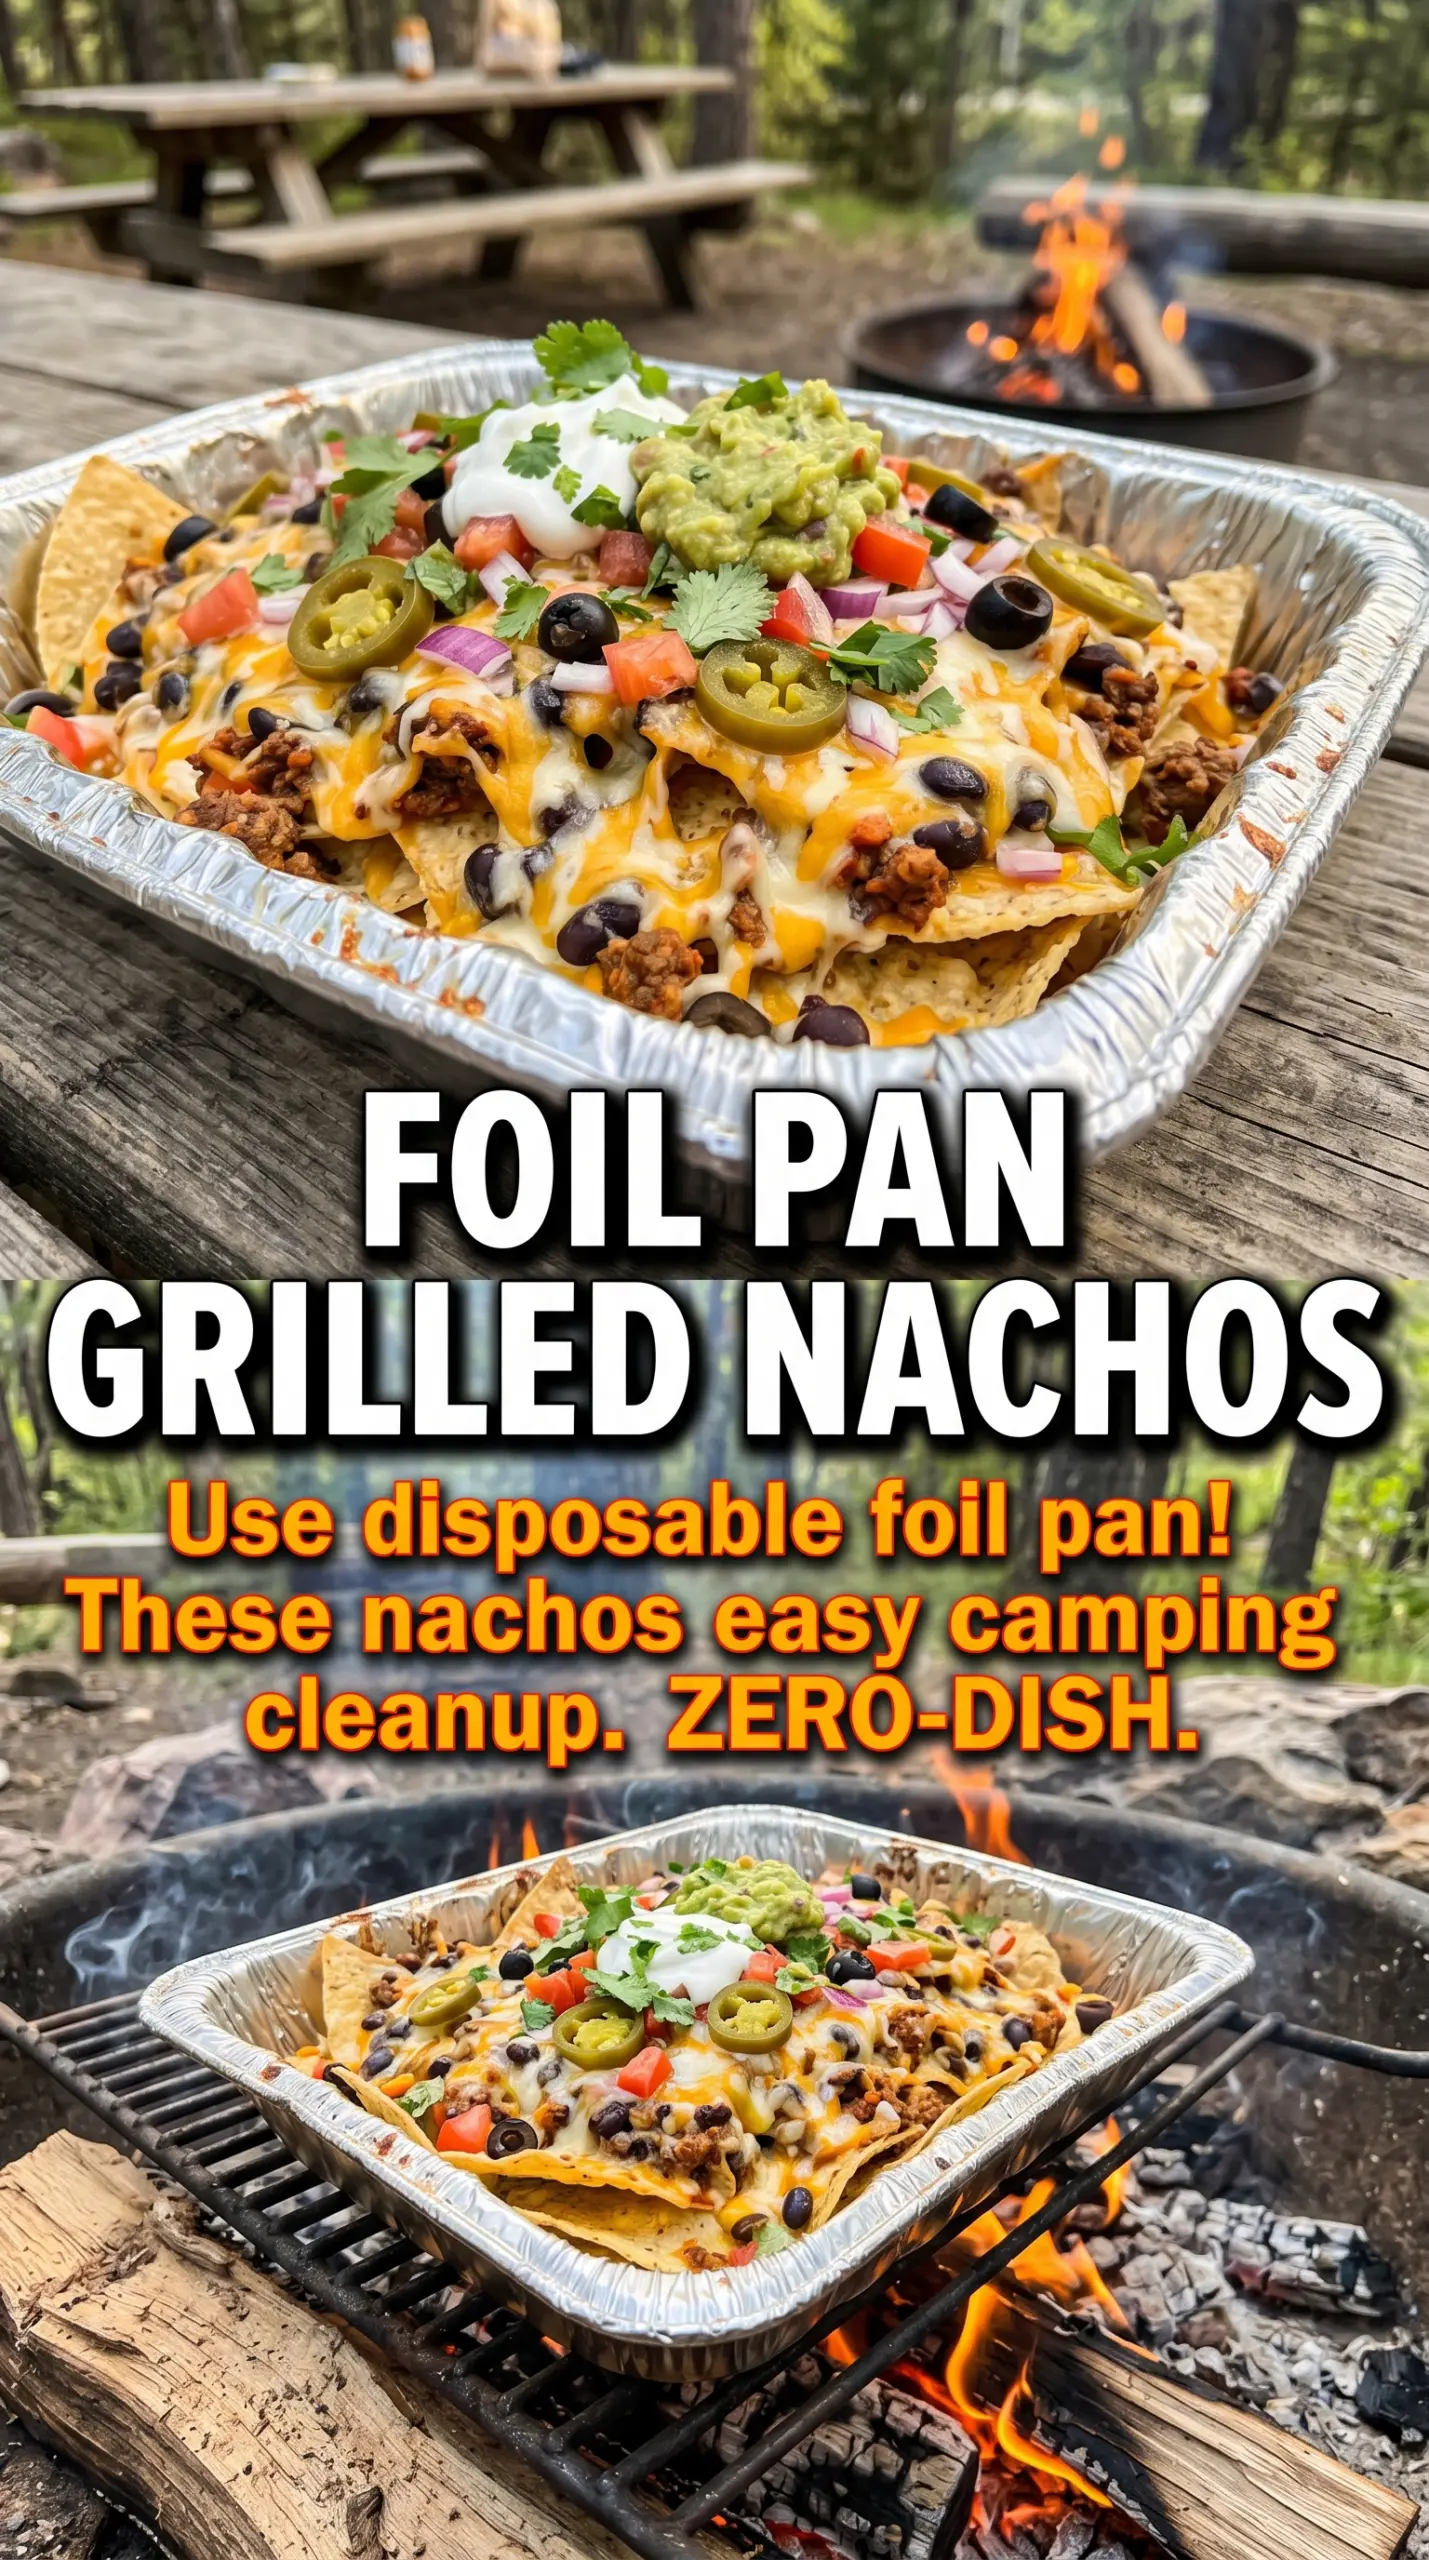
- Tortilla chips — Thick restaurant-style chips hold up best because they keep some crunch under the toppings. Thin chips work in a pinch, but they soften faster and can collapse once the pan starts bubbling.
- Shredded Mexican cheese blend — A blend melts more smoothly than a single cheese and gives you that stretchy, cohesive top layer. Pre-shredded is fine here; the important part is even coverage, not fancy cheese.
- Black beans — They add body and keep the pan from feeling like pure cheese and chips. Drain them well so you don’t drip extra liquid into the nachos, which is the fastest way to end up with soggy chips.
- Cooked seasoned ground beef — This brings the savory, campfire-friendly heartiness that makes the whole pan more than a snack. Cook it before you head out if you can, and keep the seasoning bold because the cheese mutes flavor a little once everything melts together.
- Salsa, sour cream, jalapeño, cilantro, and lime — These go on after cooking because they’re there for contrast: cool, sharp, bright, and fresh. If you add them early, the sour cream breaks down and the cilantro wilts before the pan ever hits the table.
Getting the Cheese Melted Before the Chips Give Up
Building the Layers
Start with half the chips in a large disposable aluminum pan, then scatter on half the cheese, beans, and beef. Repeat with the remaining ingredients so every layer has some protection. Don’t mound everything in one heavy pile or the center will overheat while the edges stay dry.
Cooking Over Medium Campfire Heat
Set the pan on the grill grate over medium heat, not directly in active flames. You’re looking for steady bubbling around the edges and cheese that looks glossy and fully loosened. If the fire flares hard under the pan, move it to a cooler spot immediately; high heat is what burns the bottom before the top melts.
Finishing While the Pan Is Hot
Pull the pan as soon as the cheese is melted and bubbly, then add salsa, sour cream, jalapeños, cilantro, and lime wedges right away. The residual heat finishes the dish without overcooking the toppings. Serve immediately, because once the chips sit under the toppings for too long, the crunch starts fading fast.
How to Adapt These Campfire Nachos for Different Crowds
Make them vegetarian without losing the hearty bite
Leave out the ground beef and add extra black beans, or swap in seasoned pinto beans for a softer, creamier texture. You’ll lose some of the smoky meatiness, so add a little extra cumin or a spoonful of chipotle salsa to keep the pan from tasting flat.
Make them dairy-free with a little planning
Use your favorite dairy-free shredded cheese that melts well and skip the sour cream, or replace it with a cashew-based topping after cooking. The texture won’t be quite as stretchy as the original, but keeping the heat moderate helps the plant-based cheese melt instead of seizing up.
Turn them into a spicier pan
Add pickled jalapeños between the layers or use hot salsa in place of mild. That gives the whole pan more heat from the inside out instead of just on top, which makes every bite taste seasoned instead of simply topped.
Stretch the pan for a bigger group
Use a deeper pan and add an extra layer of chips, cheese, and beans, but keep the meat layer moderate so the chips don’t get buried. The trick is widening the surface area instead of piling the nachos too high, which helps everything melt evenly and keeps the top from sliding off when you serve it.
Storage and Reheating
- Refrigerator: Leftovers keep for 2 days, but the chips soften quickly once the toppings sit together.
- Freezer: These don’t freeze well as assembled nachos; the chips lose all crunch and the sour cream won’t hold up.
- Reheating: Rewarm only the beef, beans, and cheese mixture if you want the best texture, then spoon it over fresh chips. Microwaving the whole pan just gives you limp chips and uneven cheese.
Answers to the Questions Worth Asking
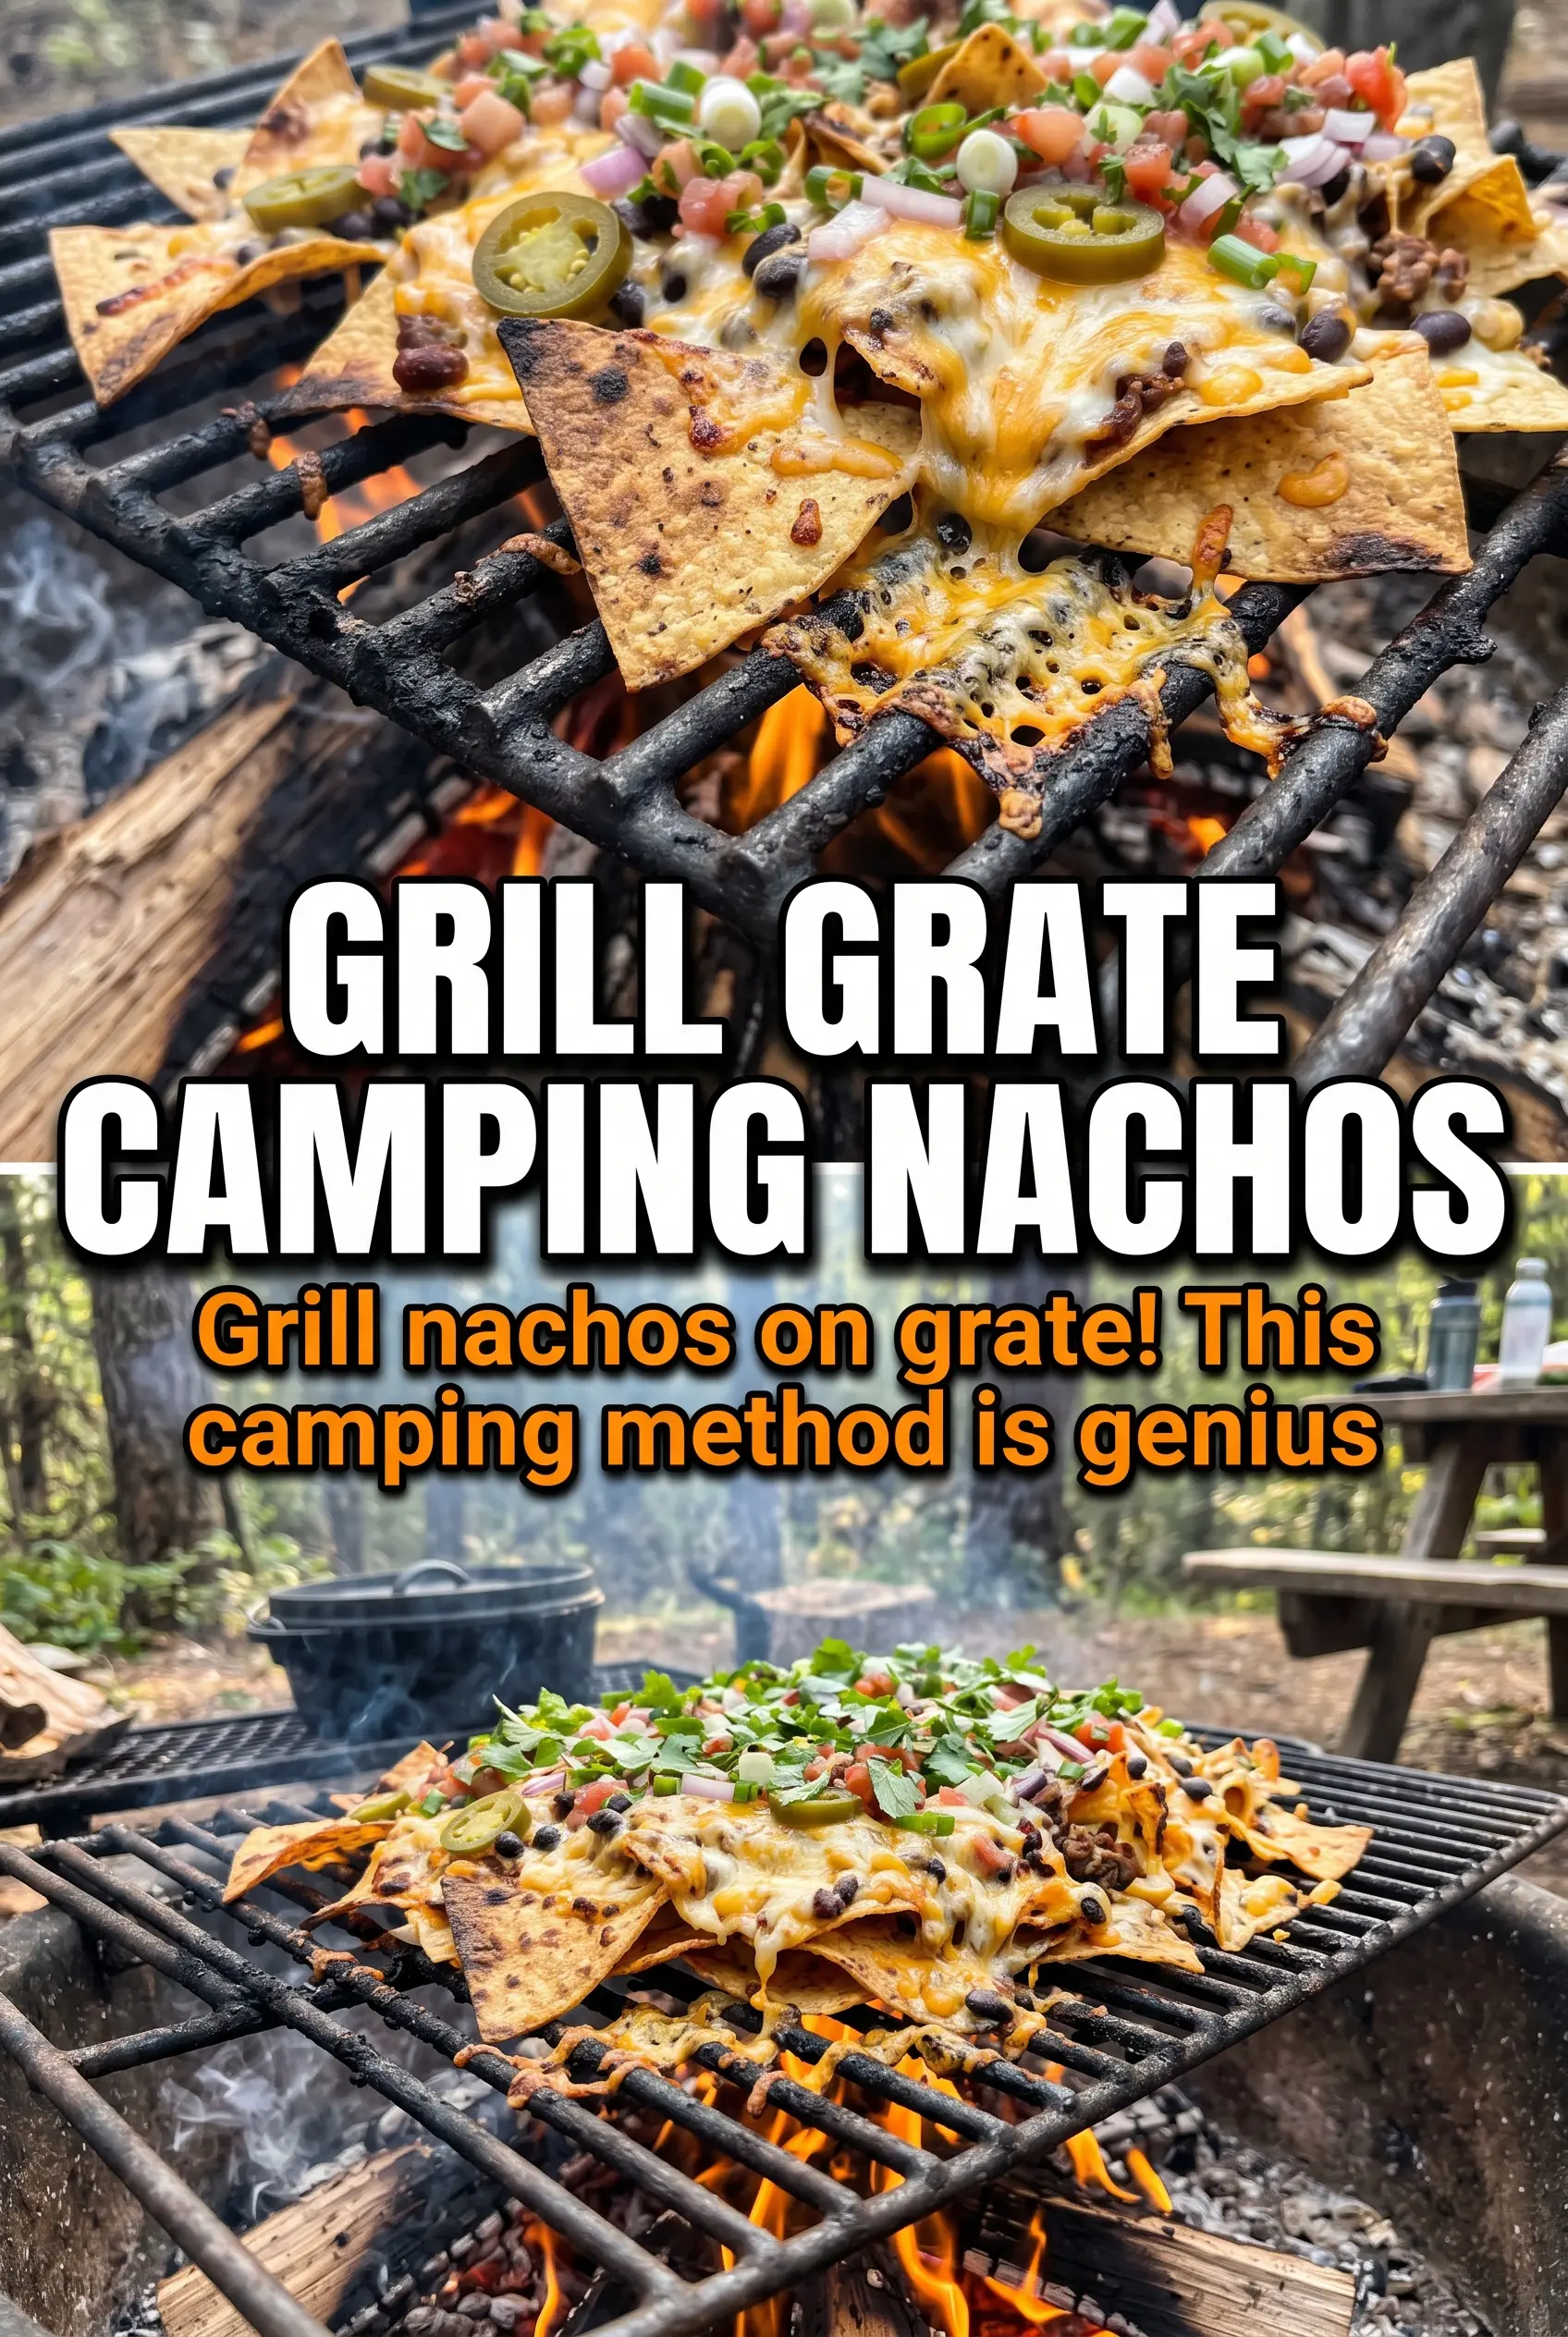
Camping Grilled Nachos
Ingredients
Equipment
Method
- Line a large disposable aluminum pan with half the tortilla chips, spreading them into an even layer so the base is fully covered.
- Layer the pan with half the shredded Mexican cheese blend, then add the drained black beans and the cooked ground beef in an even spread.
- Repeat the layers with the remaining tortilla chips, remaining cheese blend, remaining black beans, and remaining ground beef so everything is covered for melting.
- Place the pan on the grill grate over medium campfire heat, letting the cheese begin to soften and melt at the edges.
- Cook for 8-10 minutes until the cheese is fully melted and actively bubbly with visible bubbling across the surface (no dry, unmelted patches).
- Remove the pan from heat, then top with salsa in small spoonfuls so it doesn’t wash away the cheese.
- Add sour cream, then scatter sliced jalapeños and chopped cilantro for color and heat.
- Serve immediately with lime wedges on the side for squeezing over the top just before eating.


