Grilled campfire quesadillas hit that sweet spot between easy and memorable: crisp, blistered tortillas, melted cheese that stretches when you cut in, and smoky edges that taste like dinner was earned. The grill marks are part of the appeal, but the real win is how fast they come together once the fire is ready. You get a full meal in a tortilla without hauling a bunch of gear or babysitting a pan for half the night.
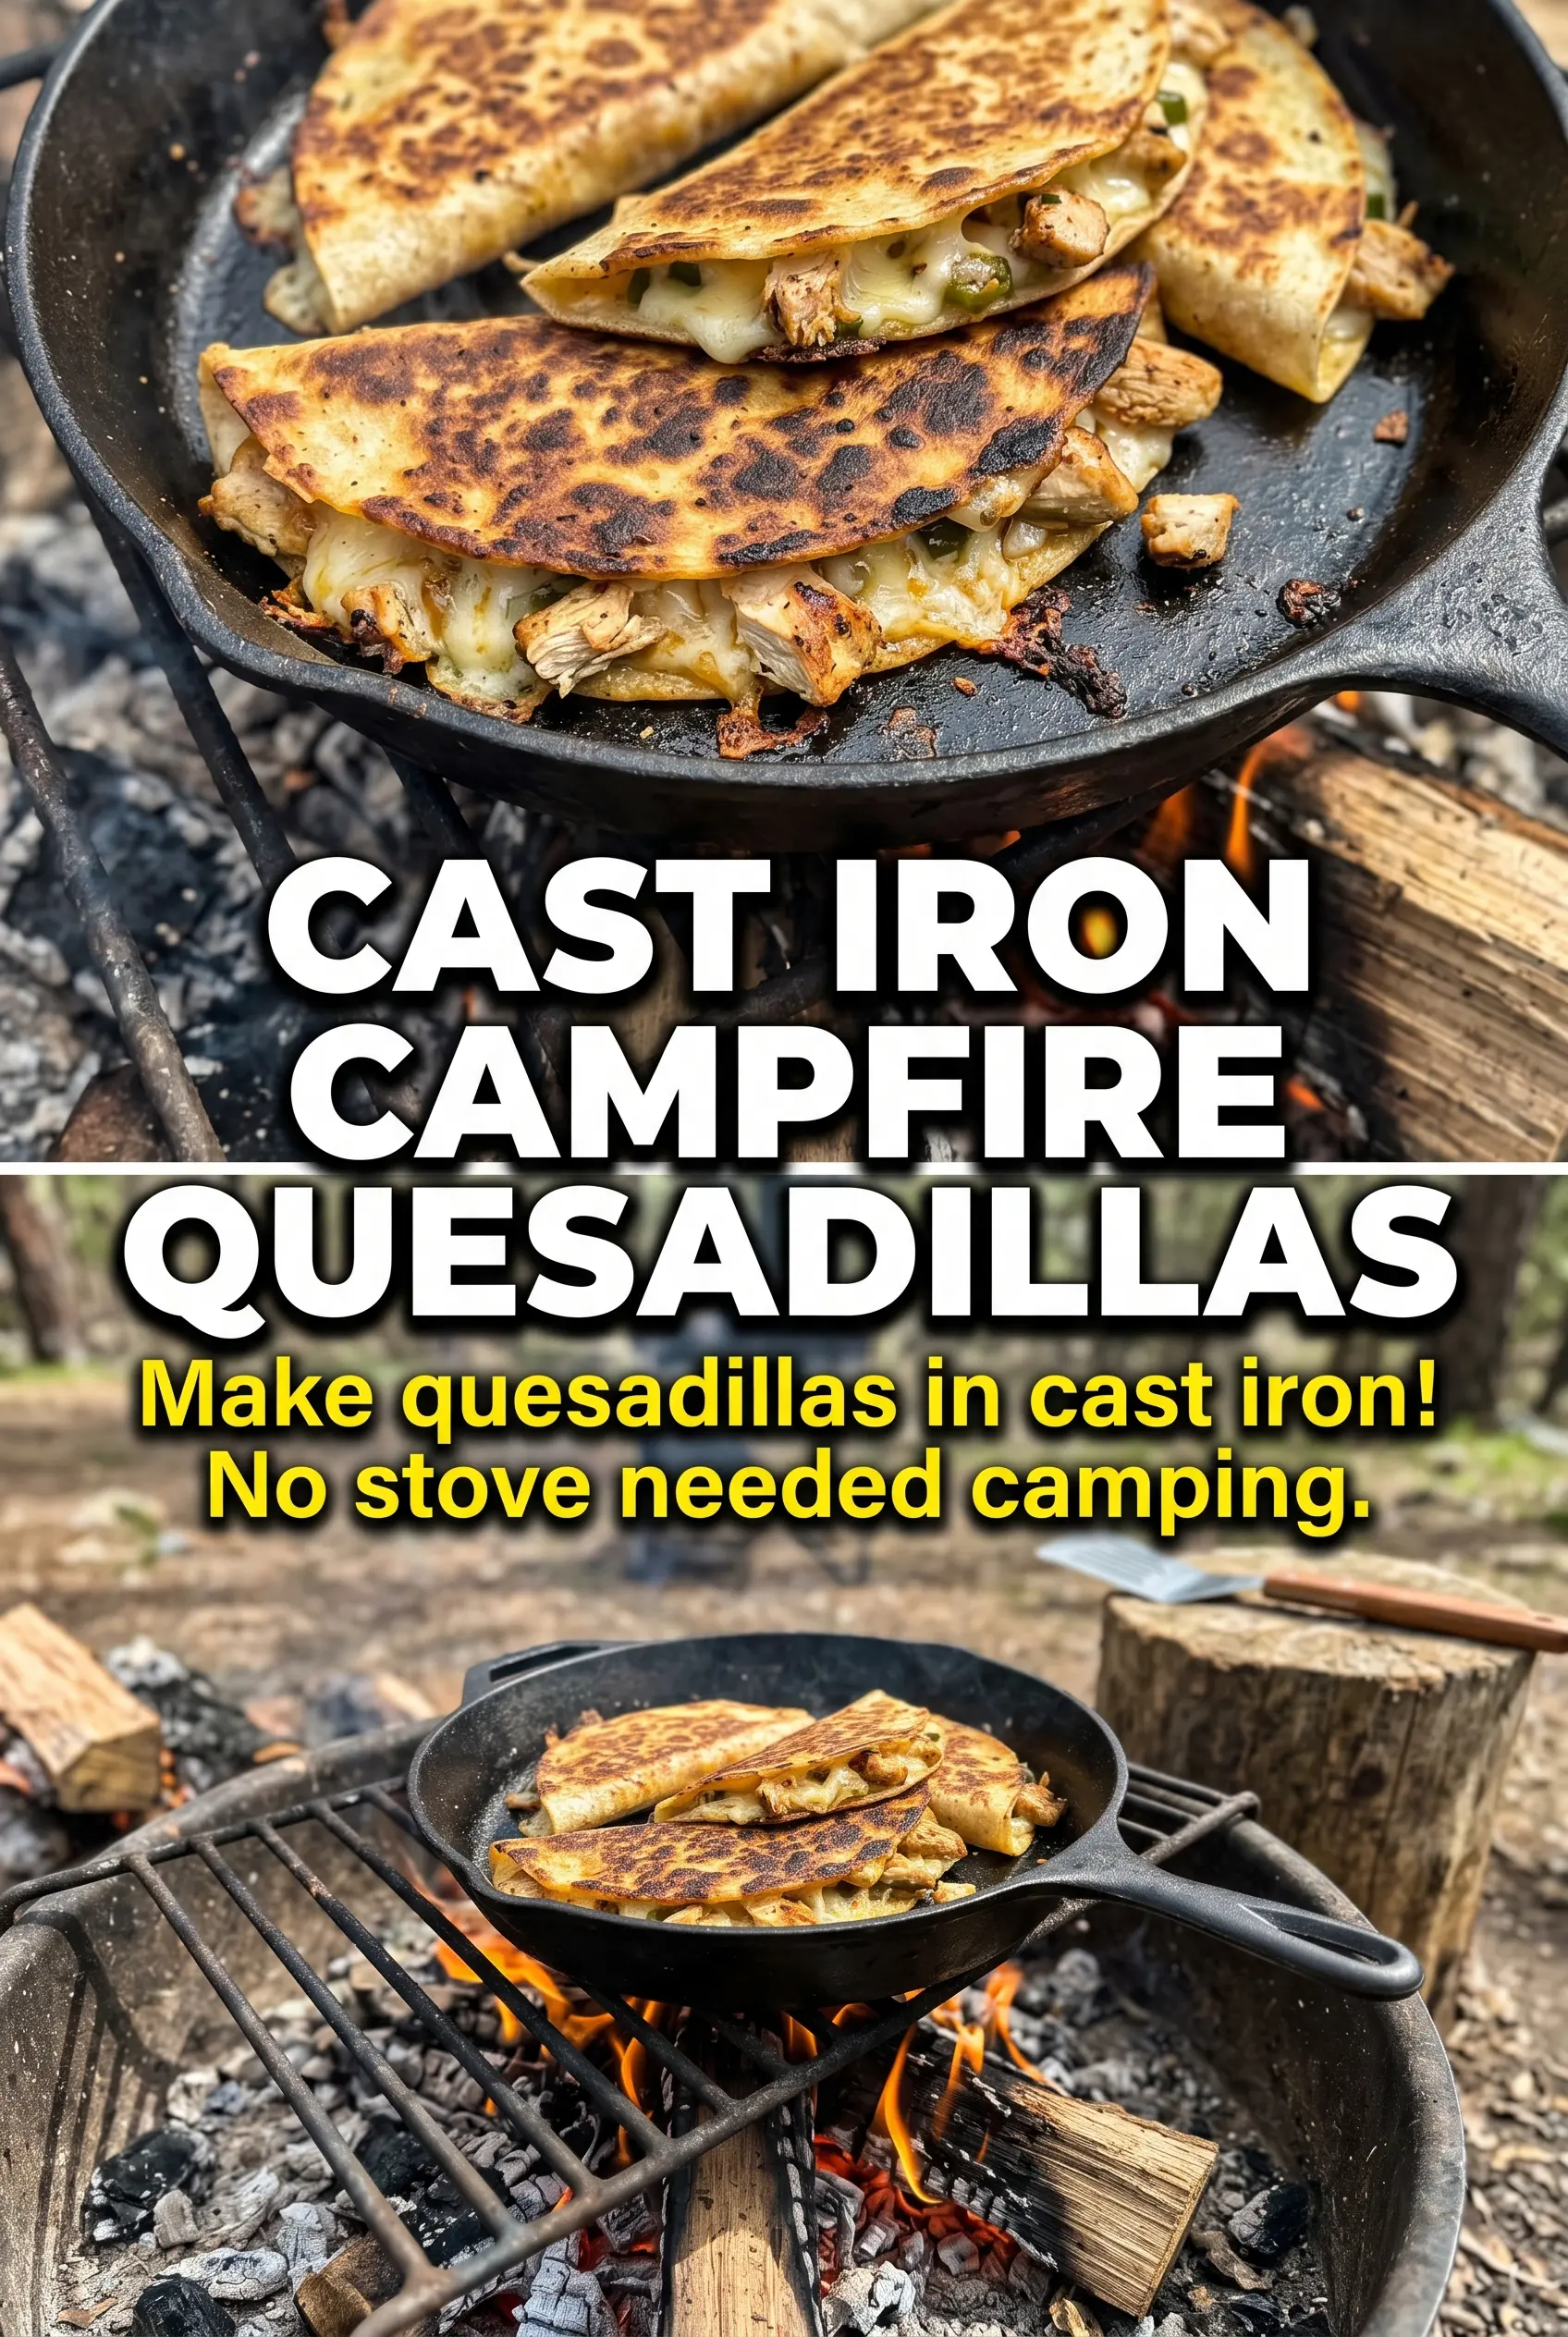
The key is keeping the heat steady enough to toast the tortilla before the cheese burns. A cast iron skillet over the coals gives you the most control, while a grill grate adds more smoke and those deeper charred spots. I also like using a mix of shredded cheese and cooked chicken so the filling stays hearty without turning bulky or spilling out before the tortilla sets.
Below, I’ve included the trick that keeps the quesadillas from tearing when you flip them, plus a few smart swaps for changing up the filling without losing that gooey center.
The tortillas got crisp fast over the fire, and the cheese melted all the way through without the filling falling out. I used a cast iron skillet on the grate, and it turned out like something we’d order at a campground café.
Love the smoky edges and melty center? Save these grilled campfire quesadillas for your next outdoor dinner.
The Trick to Getting a Crisp Tortilla Before the Cheese Leaks Out
The biggest mistake with campfire quesadillas is loading them up too slowly over open heat. Once the tortilla warms, the cheese starts melting fast, and if the filling isn’t already in place, you end up with a half-filled quesadilla and a messy grate. Build it quickly, press it gently, and give the first side enough time to set before you try to flip it.
- Direct heat matters — You want enough heat to brown the tortilla in 3 to 4 minutes, not a roaring flame that scorches it before the cheese softens. If the fire is too hot, move the skillet or grate to a cooler spot.
- Pressing helps — A spatula or grill-safe press keeps the layers together so the cheese melts into the filling instead of sliding around. Don’t smash it flat; just steady it.
- Watch the edges — When the bottom is golden and the cheese starts to ooze at the seams, it’s time to flip. If you wait for a fully browned top before turning it, the first side will overcook.
What the Cheese, Tortilla, and Filling Each Bring to the Pan
- Flour tortillas — Large flour tortillas hold up best over fire because they brown evenly and stay flexible enough to flip without cracking. Smaller tortillas work, but they’re harder to manage once the cheese starts melting.
- Mexican cheese blend — A good shredded blend gives you both melt and stretch. Pre-shredded is fine here, though freshly shredded cheese melts a touch smoother if you’ve got the time.
- Cooked shredded chicken — Pre-cooked chicken keeps the cooking time short and prevents the tortilla from overbrowning before the filling is hot. Rotisserie chicken works well, and it’s the easiest swap if you’re making these at camp.
- Bell pepper, onion, and jalapeño — These add crunch, sweetness, and a little heat, but dice them small so they warm through in the same time it takes the tortilla to crisp. Large chunks tend to poke through and make flipping harder.
- Butter or oil — A thin coat on the cooking surface gives you the browned, fragrant crust that dry tortillas never quite get. Butter adds richer flavor; oil is the better choice if you’re working over a hotter fire.
Building the Layers So They Flip Cleanly Over the Fire
Heating the Cooking Surface
Set a cast iron skillet over the campfire coals or place a grill grate over steady heat and let it preheat fully. The surface should sizzle when a tortilla hits it, but it shouldn’t smoke hard enough to burn the outside before the cheese loosens. If the fire is active and uneven, move the pan around until you find a calmer hot spot. Campfire cooking changes fast, so the first quesadilla is usually your test piece.
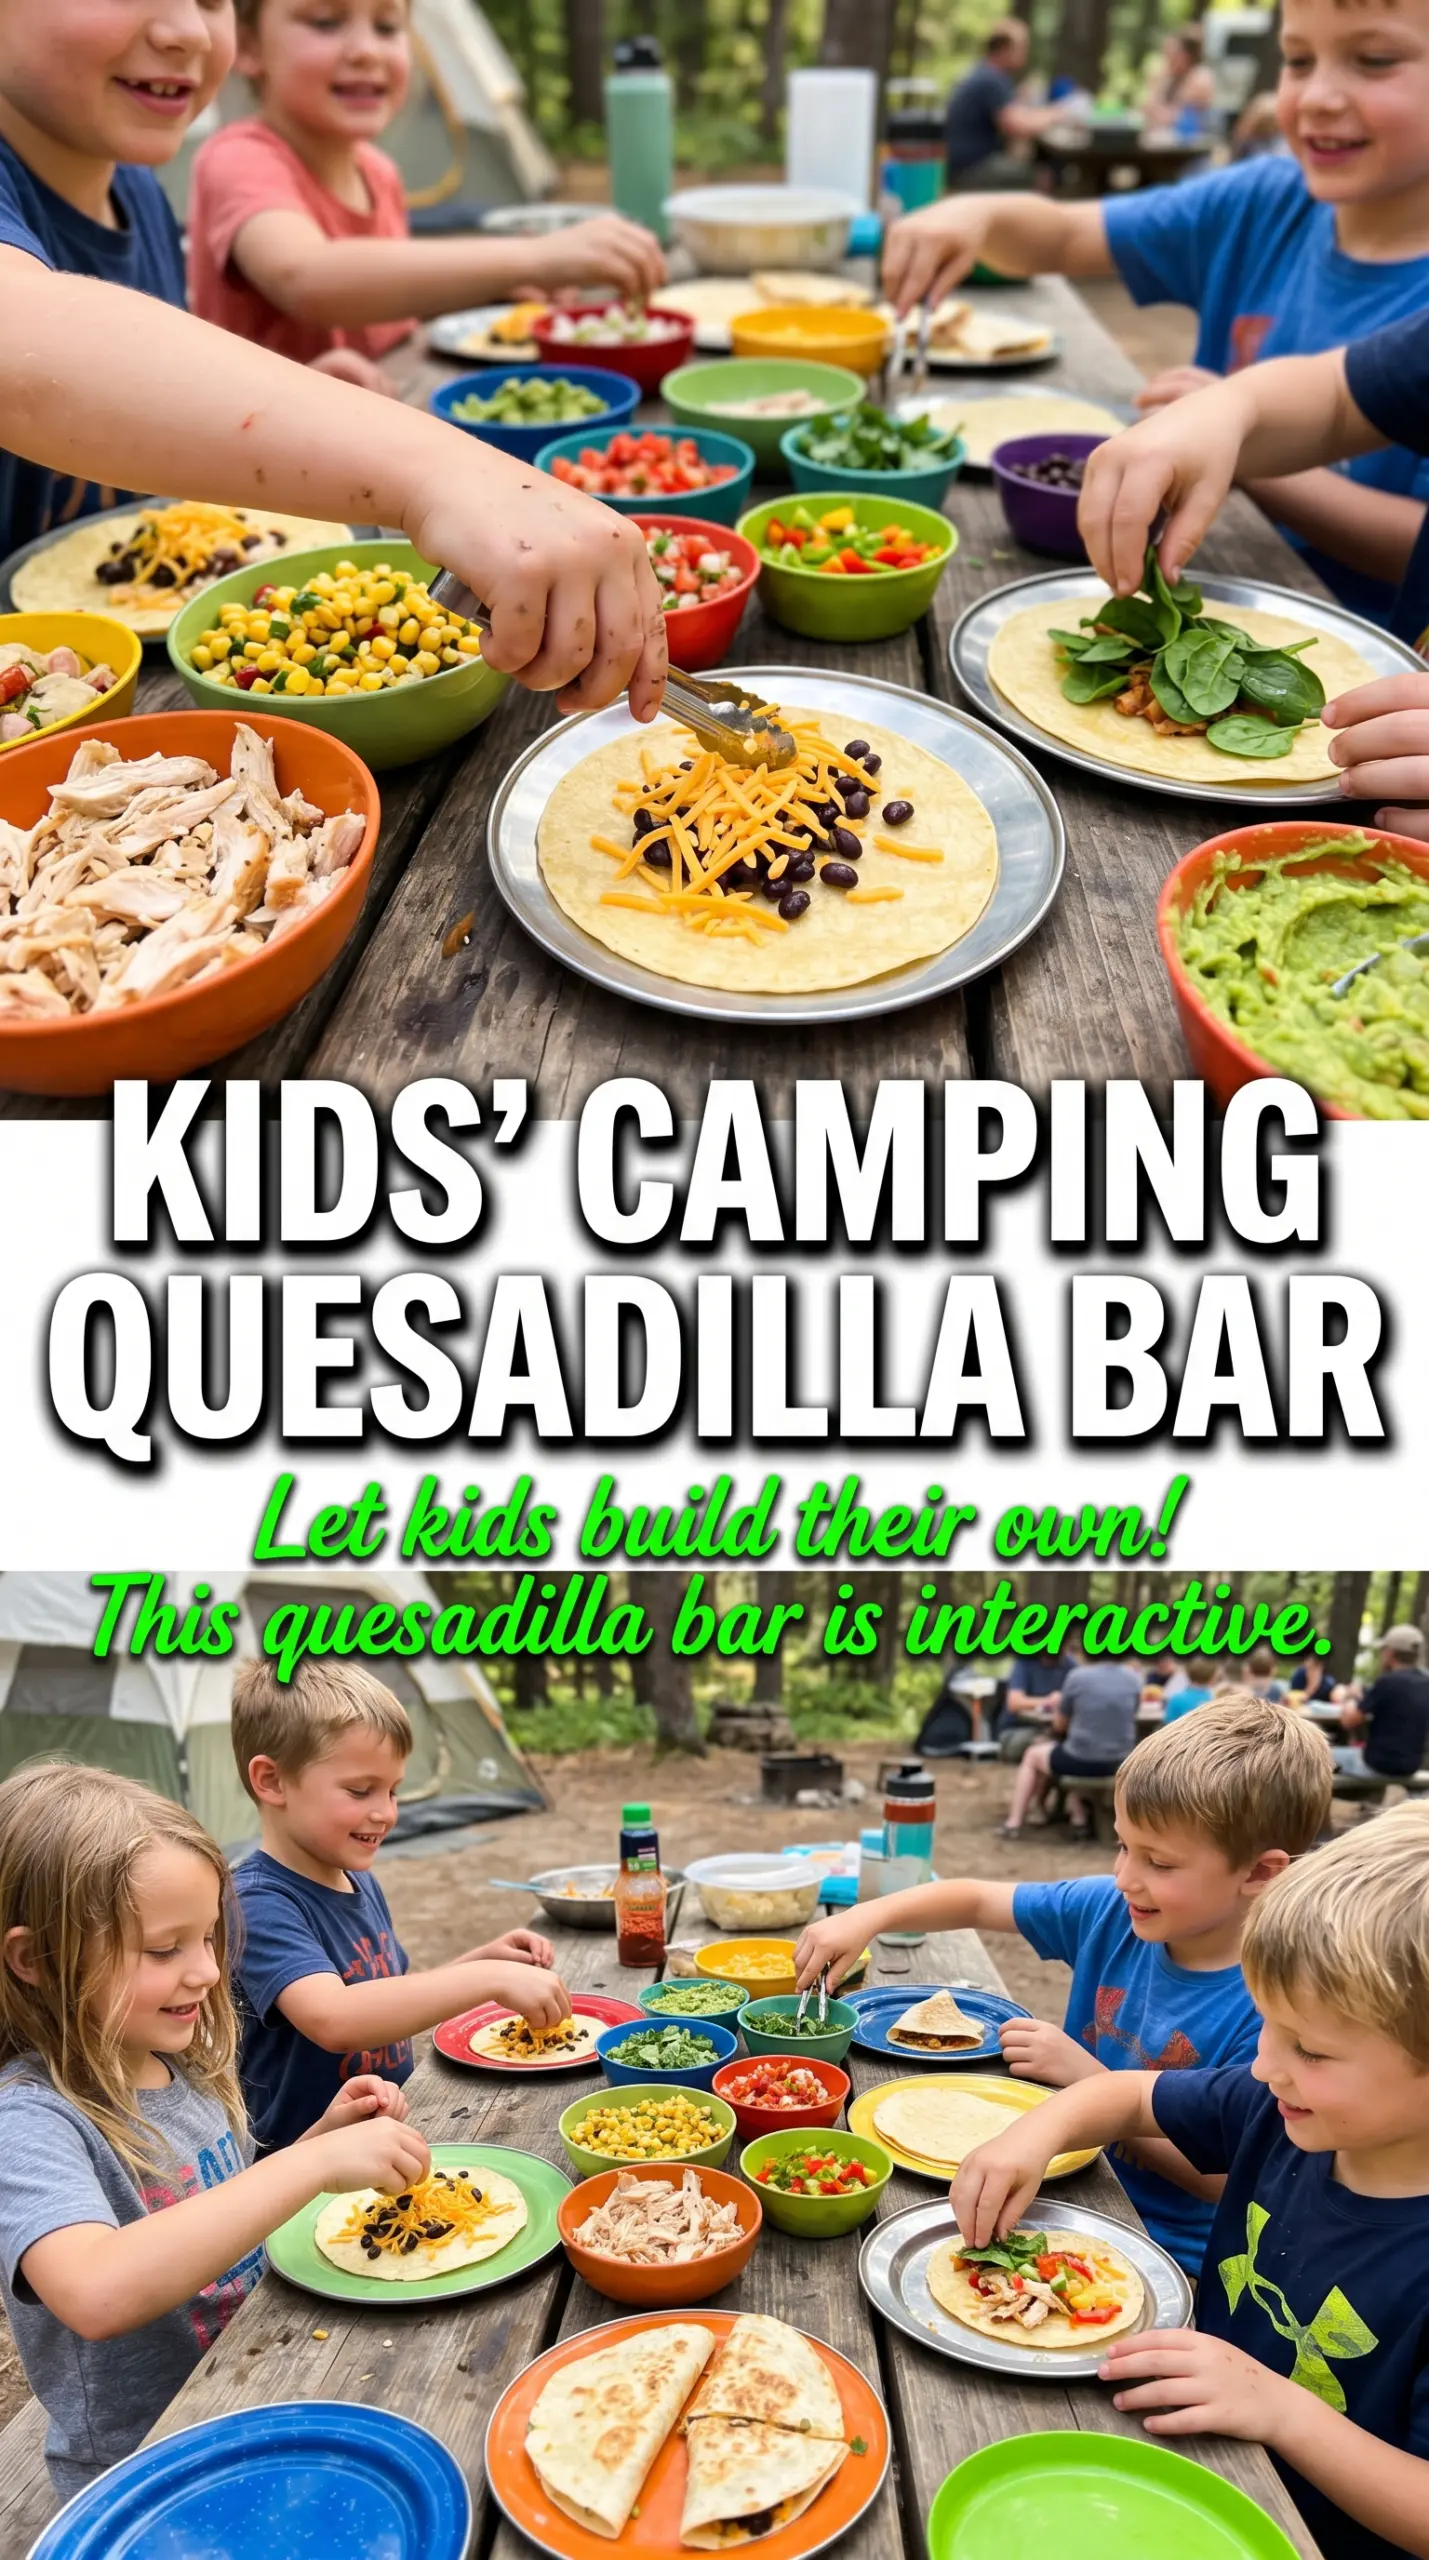
Filling and Pressing
Lay down one tortilla, then add the cheese first so it starts melting against the hot surface, followed by the chicken, vegetables, and jalapeño. Top with the second tortilla and press down gently with a spatula so the filling settles into an even layer. If you pile the center too high, the edges seal before the middle warms and the quesadilla slips when you turn it.
Flipping and Finishing
Cook until the bottom is deep golden with darker grill marks and the cheese begins to peek out at the edges, then flip once. The second side usually cooks a little faster because the filling is already hot, so watch it closely. Pull it off when both sides are crisp and the cheese is fully melted, then let it sit for a minute before cutting. That short pause keeps the filling from running straight onto the board.
Three Ways to Change the Filling Without Losing the Melt
Make it vegetarian
Leave out the chicken and add black beans, sautéed mushrooms, or extra peppers and onions. Beans bring the same satisfying heft without changing the cooking time much, while mushrooms add a deeper, savory note. Keep the filling modest so the tortilla still seals cleanly.
Go dairy-free
Use a dairy-free shred that melts well and brush the tortillas with oil instead of butter. Not all dairy-free cheeses behave the same, so choose one meant for melting rather than a hard-style substitute. The result is still crisp and campfire-friendly, though the pull won’t be as stretchy as the original.
Make it spicier
Swap the jalapeño for serrano slices or add a pinch of chipotle powder to the filling. That gives you a sharper heat that holds up against the cheese instead of disappearing into it. If you’re cooking for a mixed crowd, keep the heat in one half and fold it over before grilling.
Use rotisserie chicken at camp
Rotisserie chicken is the easiest shortcut because it’s already seasoned and tender, which means less prep and less chance of overcooking the filling. Shred it small so it spreads evenly and doesn’t tear the tortilla when you bite in. This swap is the one I use most when I want dinner moving fast.
Storage and Reheating
- Refrigerator: Store leftovers for up to 3 days. The tortillas soften as they sit, but the flavor holds up well.
- Freezer: These freeze better than they look. Wrap wedges tightly and freeze for up to 2 months, though the vegetables will lose a little crunch when reheated.
- Reheating: Reheat in a dry skillet over medium heat or in a 375°F oven until the tortilla crisps again. The biggest mistake is microwaving them, which makes the tortilla rubbery and the cheese greasy.
Questions I Get Asked About This Recipe
Grilled Campfire Quesadillas
Ingredients
Equipment
Method
- Heat a cast iron skillet over campfire heat or place a grill grate above the coals until it’s hot and ready to sizzle when tortillas touch.
- Place one tortilla on the hot surface, then quickly add cheese, chicken, bell pepper, onion, and jalapeños in an even layer.
- Top with the second tortilla and press down gently so the quesadilla sets and the cheese can melt through.
- Cook the quesadilla for 3-4 minutes on the first side until golden and the cheese is actively melting at the edges.
- Flip carefully and cook another 3-4 minutes until the second side is golden and the center cheese melts into a cohesive, stretchy layer.
- Remove from heat, cut into wedges, and serve immediately with salsa, sour cream, and guacamole.