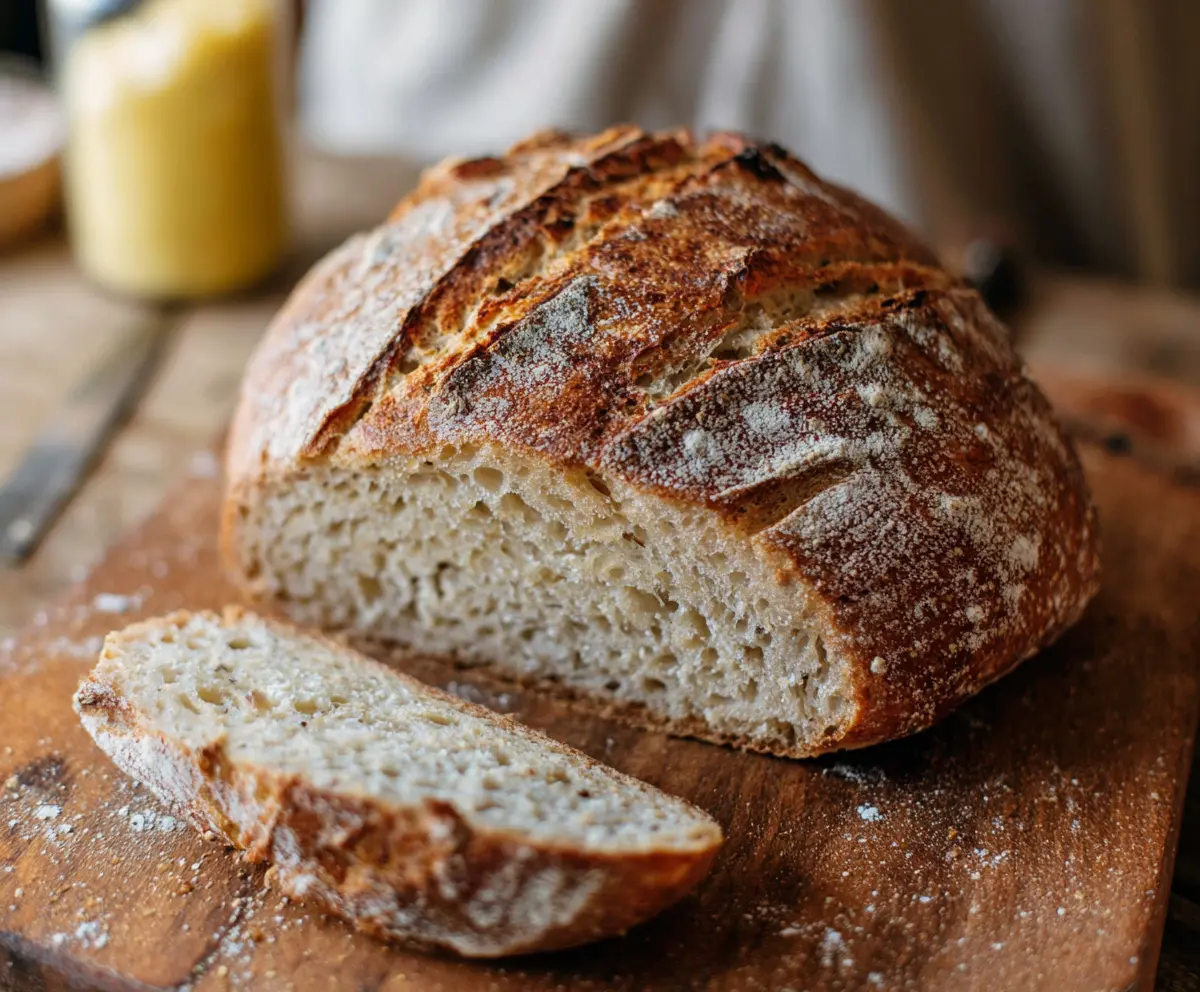
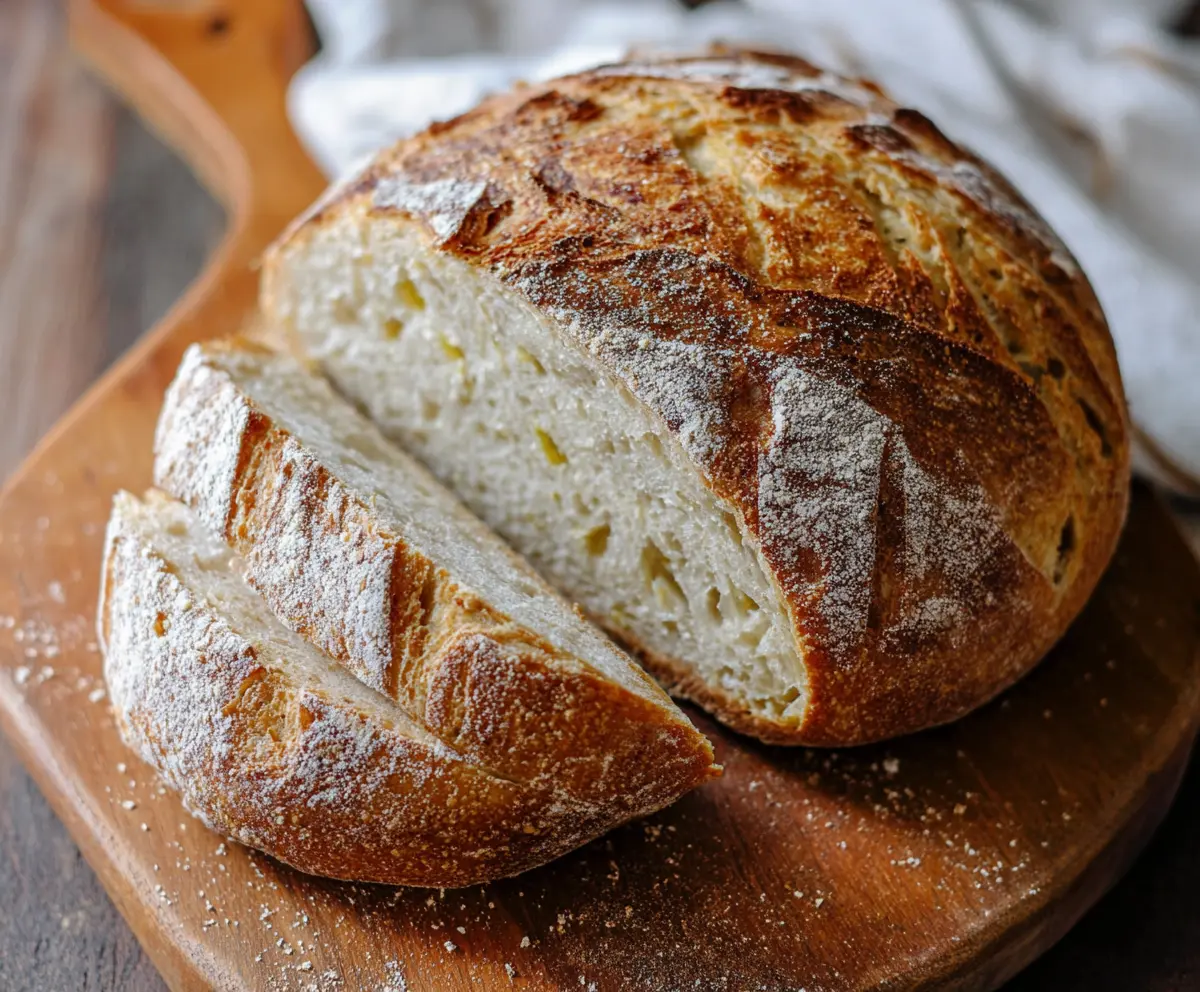
This Artisan Sourdough Bread is perfect for anyone who loves a crusty outside and a soft, chewy inside. It’s made with just a few simple ingredients, letting the sourdough starter shine!
Making bread at home is a fun and relaxing activity. I love watching the dough rise and then smelling the delicious aroma while it bakes. It’s a little bit of magic in your kitchen! 🌟
Key Ingredients & Substitutions
Bread Flour: This gives the bread its structure and chewiness. You can substitute with all-purpose flour if needed, but your loaf may be less airy. I recommend sticking to bread flour for the best results.
Water: Using lukewarm water helps activate the sourdough starter faster. If your water is too hot or cold, it could slow down fermentation. Filtered water can also help if your tap has strong flavors.
Sourdough Starter: It’s vital to use an active, bubbly starter. If you don’t have one, you can try using commercial yeast (about 1-2 teaspoons) mixed with water and flour, but this will change the flavor profile of the bread. I always feed my starter the night before baking!
Salt: Salt isn’t just for flavor; it also strengthens gluten. If you’re watching sodium intake, you can reduce it, but too little can affect the dough’s rise. I like using sea salt for its clean flavor and texture.
Why is the Autolyse Step Important?
The autolyse step is crucial because it hydrates the flour, allowing the gluten to begin forming before you work the dough. This results in a better texture with less effort. Here’s how to make the most of it:
- Mix flour and water until there’s no dry flour left. It doesn’t need to be smooth; just combine!
- Cover the bowl with a damp cloth to prevent moisture loss and let it rest for 30 minutes.
- This gives you a well-developed dough that’s easier to knead and shapes better.
How Do I Properly Stretch and Fold?
Stretching and folding builds gluten structure without heavy kneading. Here’s how to do it right:
- After the first 30 minutes of bulk fermentation, wet your hand to prevent sticking.
- Grab one side of the dough, stretch it upward, and fold it over to the opposite side.
- Rotate the bowl and repeat this process until you’ve gone around all sides (about 4 times).
- Do this every 30 minutes for the first 2 hours, and your dough will be strong and elastic.
With these insights and tips, you’re set up for success with your artisan sourdough bread. Enjoy the process and the delicious results!
How to Make Artisan Sourdough Bread
Ingredients You’ll Need:
For the Dough:
- 500g bread flour (about 4 cups)
- 350g water (about 1 1/2 cups), lukewarm
- 100g active sourdough starter (about 1/2 cup), fed and bubbly
- 10g salt (about 1 3/4 tsp)
For Dusting:
- Extra flour for dusting
How Much Time Will You Need?
This artisan sourdough bread recipe takes approximately 30 minutes of active prep time, followed by 4 to 6 hours of bulk fermentation and a final proofing time of 12 to 18 hours in the refrigerator. Baking will take around 40 to 45 minutes. So, in total, plan for about 18-24 hours for the full process, but most of it is waiting time!
Step-by-Step Instructions:
1. Mix the Dough:
In a large bowl, combine the bread flour and lukewarm water. Use your hands or a dough scraper to mix everything together until no dry flour remains. Cover the bowl with a damp cloth and let it rest for 30 minutes. This step is called autolyse, and it helps hydrate the flour.
2. Add Starter and Salt:
Next, add the active sourdough starter and salt to the dough. Mix everything well using your hands or a dough scraper until it’s fully incorporated. Don’t worry if the dough feels sticky—that’s completely normal!
3. Bulk Fermentation:
Cover the bowl again, and let the dough ferment at room temperature for 4 to 6 hours. For the first 2 hours, you’ll perform a series of stretch and folds every 30 minutes. To do this, lift one side of the dough, stretch it upwards, and fold it over to the other side. Rotate the bowl and repeat until you’ve gone all the way around. This helps develop the gluten.
4. Shape the Dough:
After the fermentation period, lightly flour a clean surface. Turn out the dough onto the surface and shape it into a tight round loaf. To do this, fold the edges of the dough toward the center, then flip it over so the seam is down. Let it rest for about 20 minutes, then reshape it tightly again.
5. Final Proof:
Place the shaped dough seam side up in a lightly floured banneton or in a bowl lined with a kitchen towel dusted with flour. Cover it and let it proof in the refrigerator for 12 to 18 hours. This slow proof adds flavor and improves the texture.
6. Preheat Oven and Dutch Oven:
About 30 minutes before you plan to bake, preheat your oven to 475°F (245°C) with a Dutch oven inside. This will help create a beautiful crust on your bread.
7. Score and Bake:
Carefully remove the hot Dutch oven from the oven. Turn your dough seam side down into it so that the seam is facing the bottom. Use a sharp knife or a razor blade to score the surface of the dough. This allows it to expand during baking.
8. Bake:
Cover the Dutch oven and bake for 20 minutes. Then, remove the lid and bake for an additional 20-25 minutes, or until the crust is deep golden brown and crackly. Your kitchen will smell amazing!
9. Cool:
Once baked, carefully remove the bread from the Dutch oven and transfer it to a wire rack. Allow the bread to cool completely before slicing. This is important, as cooling helps set the crumb.
10. Serve:
Finally, slice your beautifully crusted, airy artisan sourdough bread, and enjoy it on its own, with butter, or with your favorite toppings. Happy baking!
Can I Use All-Purpose Flour Instead of Bread Flour?
While you can use all-purpose flour, bread flour is recommended for its higher protein content, which contributes to a chewier texture and better gluten development. If you do use all-purpose flour, be prepared for a slightly different crumb and crust.
What Should I Do If My Dough Doesn’t Rise?
If your dough isn’t rising, it could be due to an inactive starter or the temperature in your kitchen being too cool. Make sure your sourdough starter is bubbly and active before using it. If it’s cold, try placing the dough in a warmer spot, like on top of the fridge or in an oven with just the light on.
Can I Bake This Bread in a Regular Oven Without a Dutch Oven?
Yes, you can bake the bread in a regular pan, but it won’t have the same steam effect that a Dutch oven provides, which is essential for a nice crust. If you go this route, place a pan of water at the bottom of the oven to create humidity.
How Do I Store Leftover Bread?
To store leftover bread, wrap it in a clean kitchen towel or place it in a paper bag at room temperature for up to 3 days. For longer storage, slice and freeze the bread in a plastic bag for up to 3 months. Just toast slices straight from the freezer when you’re ready to enjoy!