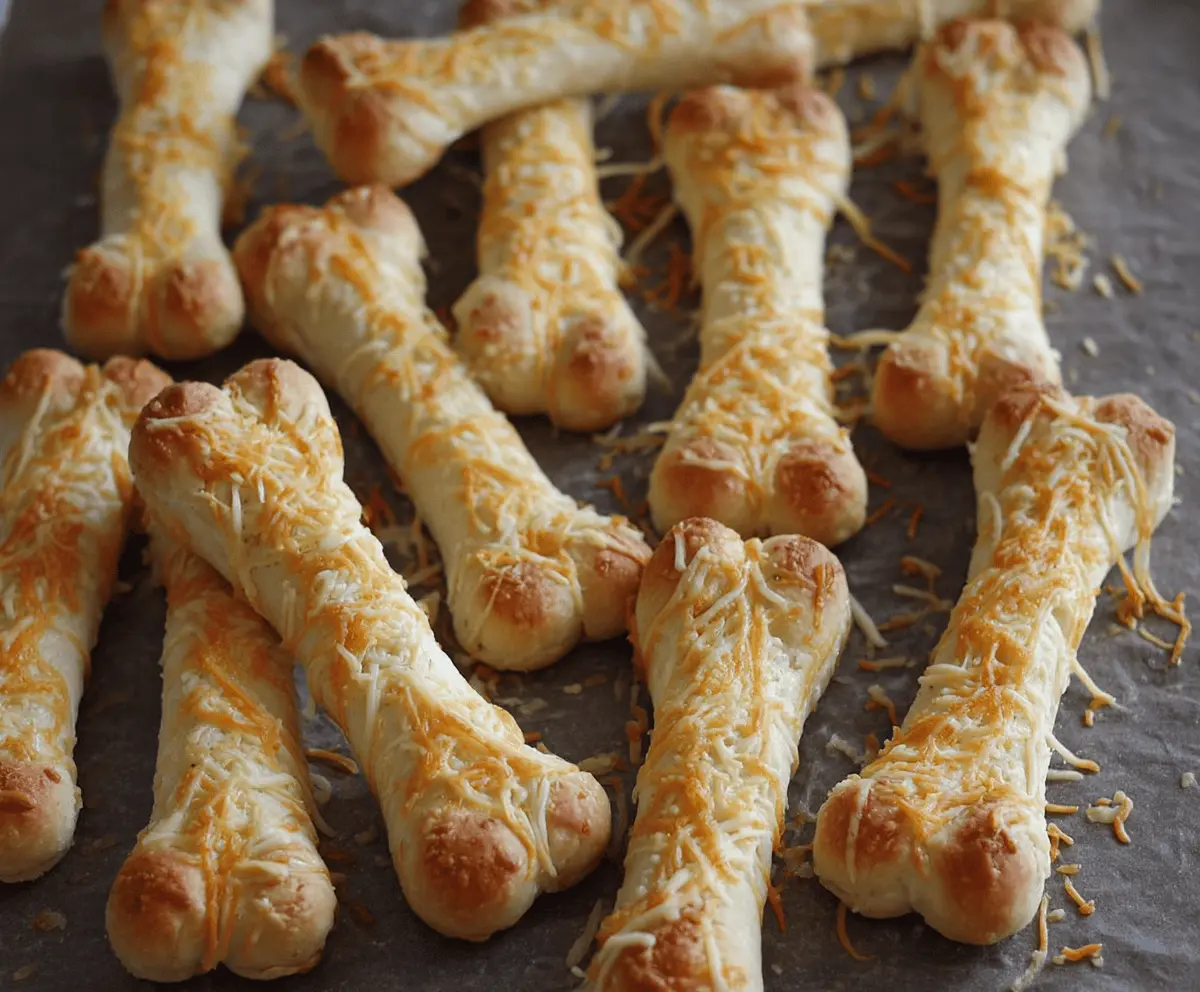
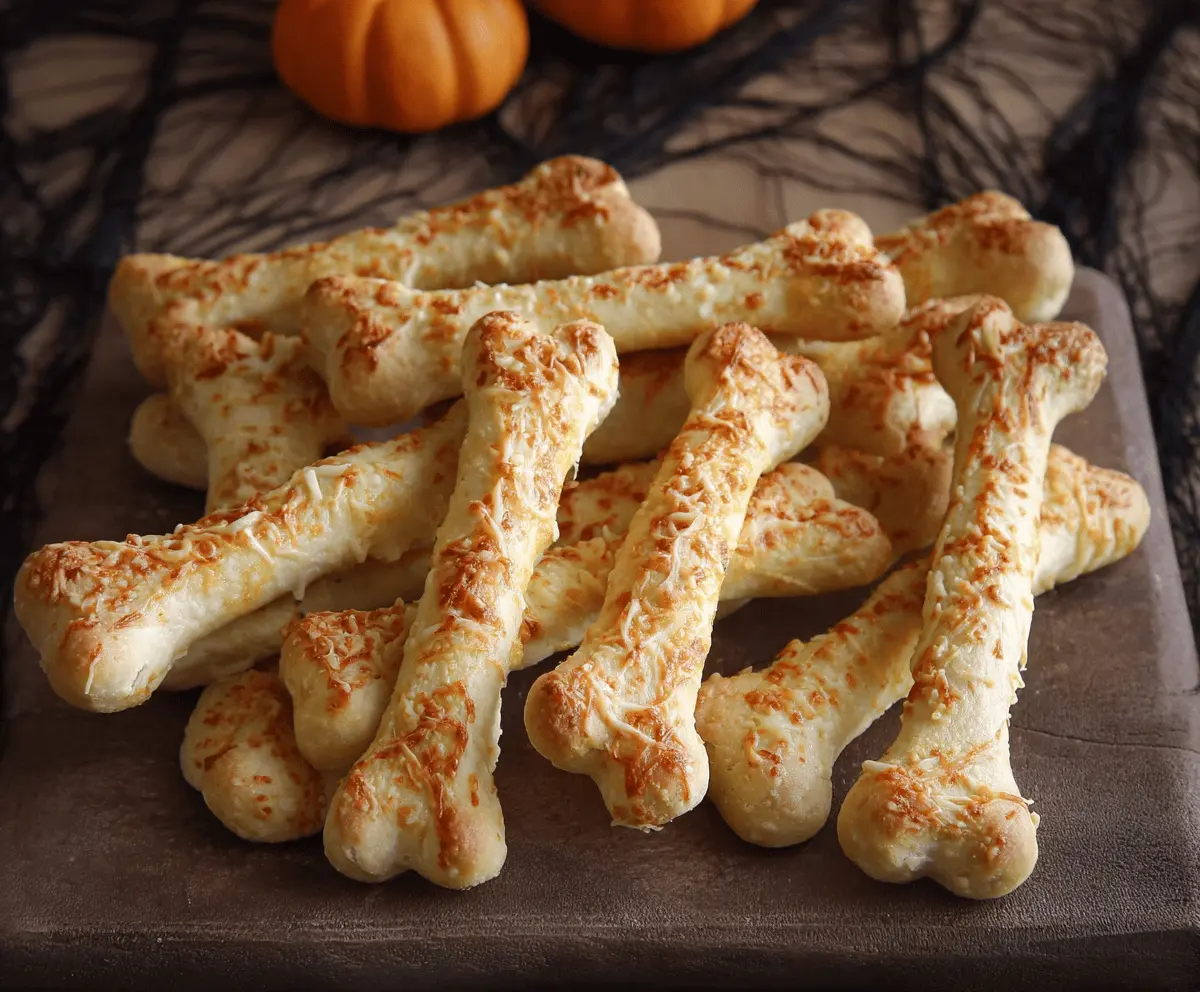
Get ready for a spooky treat with these Cheesy Halloween Breadstick Bones! They’re fun, crispy, and filled with gooey cheese, making them a perfect snack for a Halloween party.
I love how silly and delicious these bones are. You can shape them any way you like—my kids get a kick out of making spooky shapes! Serve them with a side of marinara for extra yummy dipping!
Key Ingredients & Substitutions
Refrigerated breadstick dough: I use Pillsbury, but you can find other brands, too. If you’re feeling adventurous, try making your own dough for a homemade touch!
Mozzarella cheese: This cheese is perfect for its meltiness. However, feel free to replace it with cheddar or a mix of cheeses like Monterey Jack for extra flavor!
Parmesan cheese: Adds a lovely savoriness. If you don’t have any, nutritional yeast can give a cheesy flavor as a dairy-free alternative.
Butter: Unsalted is best for controlling the saltiness. You could use olive oil or a dairy-free butter for a different taste.
How Do You Get Perfect Bone Shapes?
Shaping the breadsticks into bones can be tricky, but it’s easy with a bit of practice! Here’s how to do it:
- Start by gently stretching each breadstick to elongate it. You want them to be a bit thinner than your fist.
- At each end, pinch the dough to create “knobs.” This step gives them that bone look. Don’t worry if it’s not perfect; that adds character!
- Make sure to place them evenly on your baking sheet so they bake nicely without sticking together.
Taking your time with these steps gives you fun and spooky breadstick bones everyone will enjoy!

Cheesy Halloween Breadstick Bones
Ingredients You’ll Need:
- 1 package (8 oz) refrigerated breadstick dough (such as Pillsbury)
- 1 cup shredded mozzarella cheese
- 1/2 cup grated Parmesan cheese
- 2 tablespoons unsalted butter, melted
- 1 teaspoon garlic powder
- 1 teaspoon dried Italian seasoning (optional)
- Marinara sauce, for dipping (optional)
Time Needed:
This spooky snack takes about 15 minutes of prep time and an additional 10-12 minutes to bake. In just about 30 minutes, you’ll have delicious cheesy breadstick bones ready to impress your guests!
Step-by-Step Instructions:
1. Preheat the Oven and Prepare the Baking Sheet:
Start by preheating your oven to 375°F (190°C). While it’s heating up, line a baking sheet with parchment paper or a silicone baking mat to prevent the breadsticks from sticking.
2. Prepare the Breadsticks:
Open your package of refrigerated breadstick dough. Carefully separate the dough into individual sticks. This step is simple and fun—watching the dough unfurl is like magic!
3. Shape the Bones:
Now it’s time to get creative! Gently stretch each breadstick to make them a bit longer and thinner. At each end, pinch the dough to create “knobs” that will look like the ends of bones. Feel free to personalize the shapes; it’s all part of the Halloween fun!
4. Bake the Bones:
Arrange your shaped breadstick bones on the prepared baking sheet. Brush the melted butter over their tops to give them a nice golden color. Then sprinkle both the shredded mozzarella cheese and grated Parmesan cheese generously over the sticks. Add the garlic powder and Italian seasoning on top for that extra flavor kick.
5. Time to Bake:
Pop the baking sheet into your preheated oven and bake for about 10-12 minutes. Keep an eye on them until they turn golden brown and the cheese is melted and bubbly. Your kitchen will smell amazing!
6. Cool and Serve:
When they are done, take the breadsticks out of the oven and let them cool slightly. They’ll be hot and cheesy! Serve warm alongside marinara sauce for dipping, if you like.
Now you’re all set! Enjoy these spooky, cheesy breadstick bones at your Halloween gathering. They’re sure to be a hit!

Can I Use Whole Wheat Breadstick Dough?
Absolutely! Whole wheat breadstick dough can add a nuttier flavor and a bit more fiber to your bones. Just keep an eye on the baking time, as the texture might vary slightly.
How Can I Store Leftover Breadstick Bones?
Any leftovers should be stored in an airtight container in the fridge for up to 3 days. To reheat, simply pop them in the oven at 350°F (175°C) for about 5 minutes to restore their crispiness.
Can I Make These Breadsticks Gluten-Free?
Yes, you can! Look for gluten-free refrigerated breadstick dough, which is readily available at many grocery stores. Just follow the same steps to shape and bake them.
What Other Seasonings Can I Use?
You can get creative with the seasonings! Consider adding onion powder, paprika, or even chili flakes for a spicy kick. Feel free to experiment based on your taste preferences!


