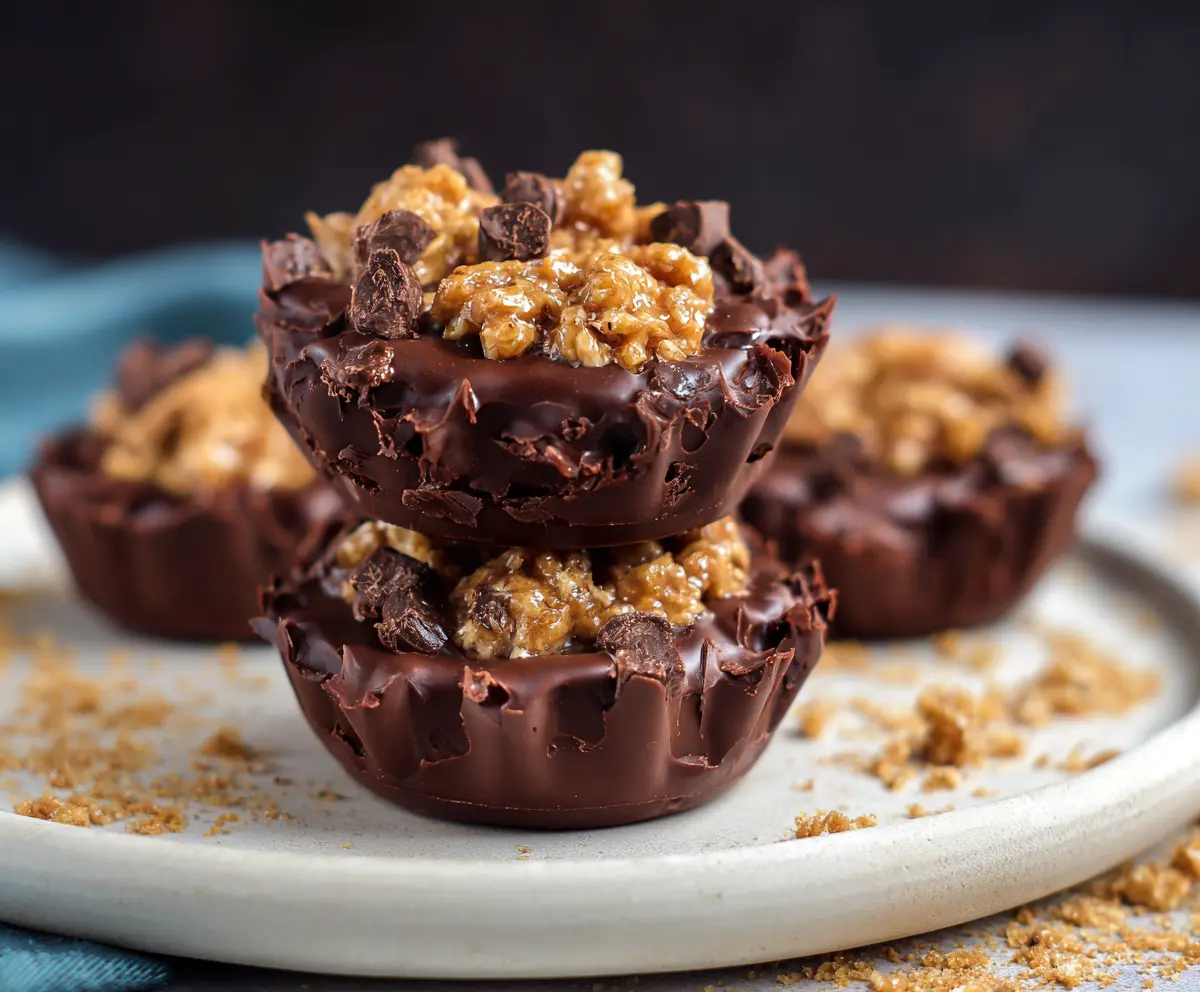
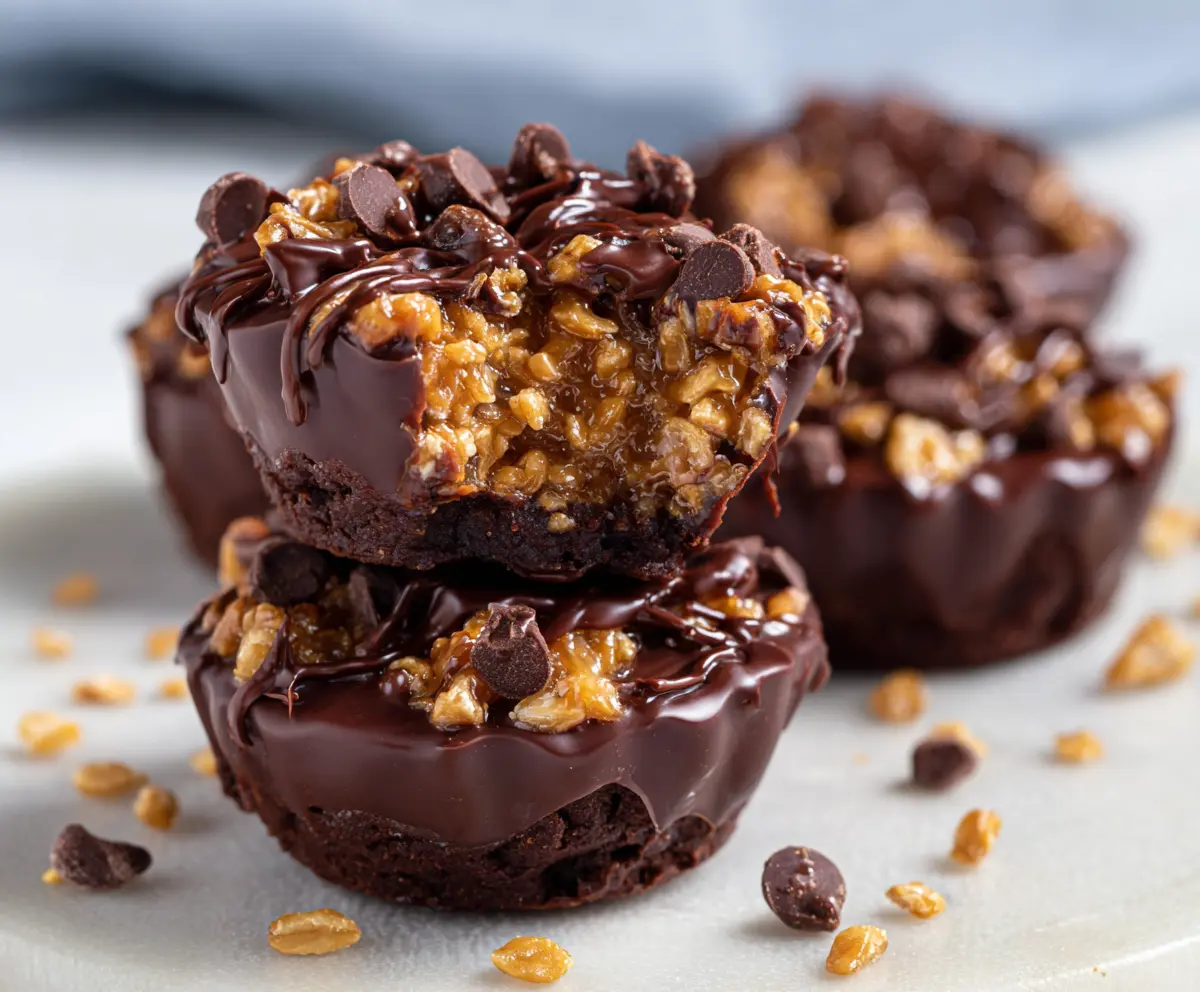
These Chocolate Peanut Butter Crunch Cups are a dream come true for snack lovers! With a rich chocolate coating and a creamy peanut butter filling, they’re both sweet and satisfying.
Honestly, who can resist that crunchy goodness inside? I like to keep them in the fridge for a cool treat when I’m feeling snacky. They make my day a little sweeter! 😋
Key Ingredients & Substitutions
Dark Chocolate: For a richer taste, dark chocolate is best. You could also use milk chocolate or semi-sweet, depending on your sweetness preference. If you’re vegan, try dairy-free chocolate chips!
Peanut Butter: Creamy peanut butter gives the best texture, but if you prefer crunchy, go ahead! Almond butter or sunflower seed butter can be good substitutes for those with nut allergies.
Powdered Sugar: This sweetener helps to creamy up the filling. If you’re looking for a healthier option, you can use coconut sugar, just note it may slightly change the texture.
Crispy Rice Cereal: While this adds a nice crunch, crushed nuts or granola could work, too! Just make sure they’re crunchy for the best texture. If you prefer to skip the crunch, you can omit this entirely.
How Do I Melt Chocolate Without Burning It?
Melted chocolate is a key step, and it’s easy to get it wrong. To avoid burning, do it in intervals. Here’s my quick guide:
- Use a microwave-safe bowl. Microwave for 30 seconds at medium power.
- Stir the chocolate every time. This will help it melt evenly.
- If after a minute it’s not fully smooth, continue with 15-second bursts, stirring in between.
- Stop microwaving when it has a few lumps left; the heat will melt them as you stir.
Following these tips will ensure your chocolate is perfectly melted, making for a delicious coat for your cups!
How to Make Chocolate Peanut Butter Crunch Cups
Ingredients You’ll Need:
For the Cups:
- 1 ½ cups dark chocolate chips or chopped dark chocolate
For the Peanut Butter Filling:
- 1 cup creamy peanut butter
- ⅓ cup powdered sugar
- ¼ cup honey or maple syrup
- A pinch of salt (optional)
For the Crunch:
- ¼ cup crispy rice cereal or crushed crispy peanut butter cookies
- 2 tbsp mini chocolate chips (optional, for topping)
How Much Time Will You Need?
This recipe is quick and easy! It takes about 15 minutes to prepare the ingredients and assemble the cups. After that, you’ll need about 20–30 minutes to chill them in the freezer for setting. Overall, you can enjoy these delicious treats in less than an hour!
Step-by-Step Instructions:
1. Prepare the Molds:
Start by lining a mini muffin tin with paper liners or grease silicone molds lightly. This will help you easily remove the cups once they are ready.
2. Melt the Chocolate:
In a microwave-safe bowl, add the dark chocolate chips. Heat them in the microwave in 30-second intervals, stirring each time until the chocolate is fully melted and smooth. Be careful not to burn it!
3. Form the Chocolate Base:
Spoon about 1 tablespoon of melted chocolate into each mold, using the back of a spoon to spread it to cover the bottom and slightly up the sides. Gently tap the mold on the counter to settle the chocolate evenly. Then, place it in the freezer for about 10 minutes to harden.
4. Make the Peanut Butter Crunch Filling:
While the chocolate is hardening, mix the peanut butter, powdered sugar, honey or maple syrup, and a pinch of salt in a medium bowl. Stir until it’s fully combined and smooth. Fold in the crispy rice cereal or crushed cookies to give it some crunch!
5. Assemble the Cups:
After the chocolate has set, remove the molds from the freezer. Spoon about 1 tablespoon of the peanut butter crunch filling into each chocolate base. Press it in lightly, but be careful not to overflow the sides.
6. Top with Chocolate and Garnish:
Cover the peanut butter layer with the remaining melted chocolate to seal the cups. If desired, sprinkle mini chocolate chips on top for decoration and added crunch. Gently tap the molds again to smooth everything out.
7. Chill to Set:
Place the filled molds back in the freezer for 20–30 minutes until the cups are firm and fully set.
8. Serve:
Once set, remove the cups from the molds. You can enjoy them right away chilled or at room temperature. Store any leftovers in an airtight container in the refrigerator.
Enjoy your rich, crunchy, and indulgent Chocolate Peanut Butter Crunch Cups! They’re sure to be a hit with everyone!
Can I Use Milk Chocolate Instead of Dark Chocolate?
Absolutely! Milk chocolate will give a sweeter flavor and creamier texture. Just keep in mind that it might not pair as well with the peanut butter’s richness, but it will still be delicious!
How Long Can I Store the Chocolate Peanut Butter Crunch Cups?
You can store them in an airtight container in the refrigerator for up to one week. For longer storage, you can freeze them for up to 3 months. Just make sure to wrap them well to prevent freezer burn!
Can I Make These Vegan?
Yes, you can! Use dairy-free chocolate chips and substitute honey with maple syrup or agave nectar. This way, you can enjoy this treat without any animal products!
What Can I Substitute for Peanut Butter?
If you’re looking for a nut-free option, you can use sunflower seed butter or tahini. They provide a similar creamy texture and flavor profile, though the taste will vary slightly.