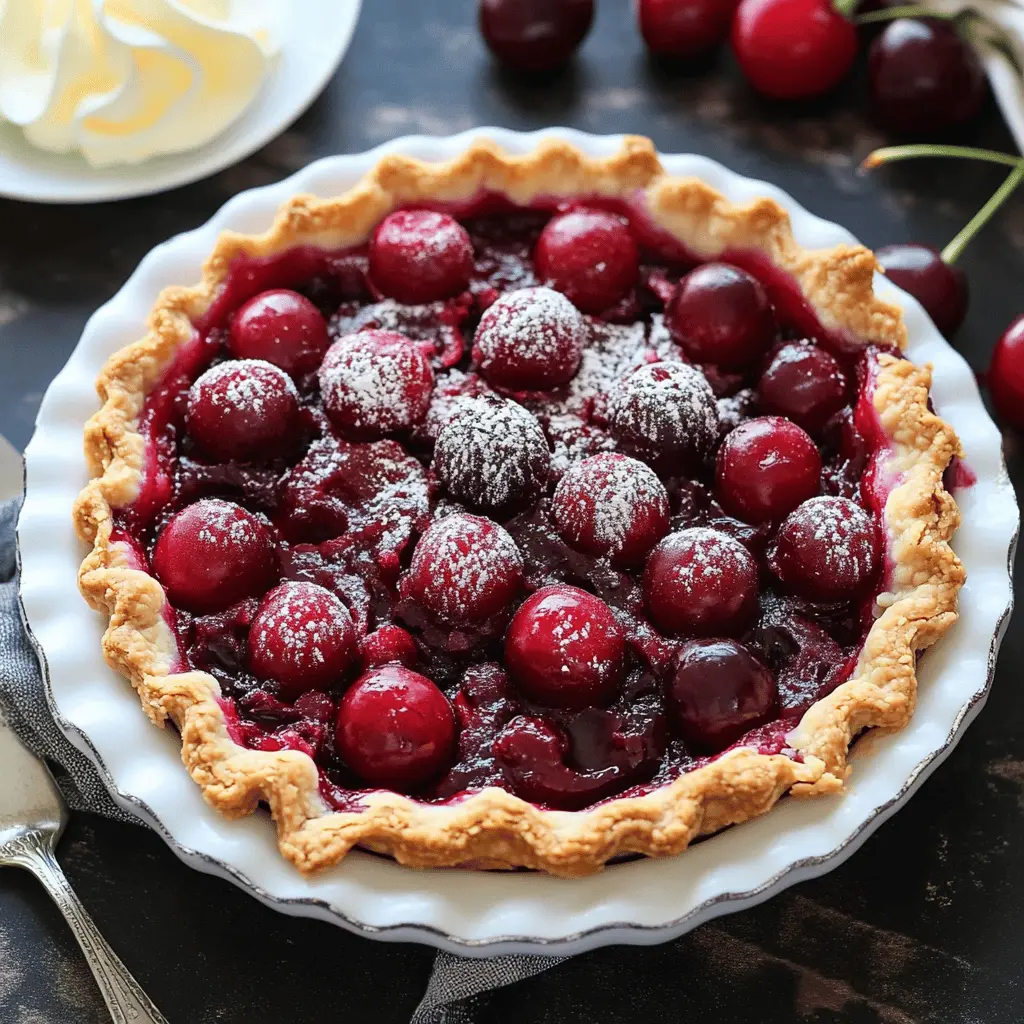
This easy homemade cherry pie is a sweet delight with a flaky crust and juicy cherry filling. You don’t need fancy skills to make it—just love for cherries!
There’s nothing like the smell of pie baking in the oven! I enjoy it warm with a scoop of vanilla ice cream on top. It’s the cherry on top, literally! 🍒
Key Ingredients & Substitutions
Cherries: Fresh cherries are ideal, but frozen or canned cherries work too. If using canned, make sure they are well-drained to avoid a soggy pie. I like using a combination of sweet and tart cherries for a balanced flavor.
Sugar: Granulated sugar is perfect here, but brown sugar can add a deeper flavor. Adjust the amount depending on the sweetness of your cherries—less sugar for sweeter cherries!
Cornstarch: This thickens the filling. If you don’t have cornstarch, use all-purpose flour; just increase the amount slightly. Some people prefer tapioca starch for extra thickness.
Pie Crust: Refrigerated pie crusts save time and are convenient! If you want homemade, you can easily make a basic dough with flour, butter, and water. I often use a mix of butter and shortening for flakiness.
Almond Extract: This is optional, but it enhances the cherry flavor. If you don’t have it, vanilla extract works as a substitute. I find that it gives a lovely twist to the pie.
How Can I Ensure a Perfectly Cooked Pie?
Getting your pie just right is all about managing temperature and time. Start by preheating your oven to ensure even cooking. Keep an eye on your pie as it bakes.
- Bake it until the crust is beautifully golden and the filling is bubbling. If the edges start to brown too quickly, cover them with foil to prevent burning.
- Let the pie cool for at least 2 hours. This allows the filling to set, so it holds its shape when you slice. Trust me; it’s worth the wait!
- For a crispy bottom, place the pie on a baking sheet. This catches drips and helps prevent sogginess.
Follow these steps, and you’ll have a delightful cherry pie that everyone will love!

How to Make Easy Homemade Cherry Pie
Ingredients You’ll Need:
- 2 cups fresh or frozen pitted cherries (or canned, well-drained)
- 3/4 cup granulated sugar
- 2 tablespoons cornstarch
- 1 tablespoon lemon juice
- 1/2 teaspoon almond extract (optional but recommended for cherry flavor)
- 1/4 teaspoon salt
- 1 package refrigerated pie crusts (or homemade double pie crust)
- 1 tablespoon butter, cut into small pieces
- 1 egg, beaten (for egg wash)
- Sugar for sprinkling on top (optional)
- Vanilla ice cream (optional, for serving)
How Much Time Will You Need?
This cherry pie will take about 15-20 minutes to prep and approximately 45-50 minutes to bake. Don’t forget to let it cool for at least 2 hours before slicing! In total, you should plan for around 3 hours from start to enjoying a piece of pie.
Step-by-Step Instructions:
1. Preheat the Oven:
First, set your oven to 425°F (220°C) so that it’s nice and hot for the pie. This helps the crust become golden and flaky!
2. Make the Cherry Filling:
In a large bowl, combine the pitted cherries, granulated sugar, cornstarch, lemon juice, almond extract, and salt. Stir everything together gently until it’s well mixed. The cornstarch is crucial as it helps thicken the cherry juice as it cooks.
3. Prepare the Pie Crust:
Take one pie crust and roll it out slightly if you need to. Fit it into a 9-inch pie pan, and if there are any edges hanging over, trim them a bit. This will be the bottom crust.
4. Fill the Pie:
Pour that delicious cherry filling into your pie crust, spreading it out evenly. Scatter the small pieces of butter over the top of the filling; this adds extra richness to the pie!
5. Add the Top Crust:
Roll out the second pie crust. You can either place it as a full top crust—just remember to cut slits in it for steam to escape—or you can create a fancy lattice pattern if you’re feeling adventurous!
6. Seal the Edges:
Take a pair of scissors or a knife and trim any excess dough from the edges, then crimp or press down to seal the edges of the pie. This helps keep all the yummy filling inside.
7. Brush and Sprinkle:
With your beaten egg, brush the top crust for a nice golden finish while it bakes. You can also sprinkle a bit of sugar on top for an added sweet crunch.
8. Bake the Pie:
Position your pie on a baking sheet (to catch drips) and pop it into the oven. Bake it for about 45-50 minutes or until the crust is golden brown and the filling is bubbling. If you notice the edges browning too quickly, cover them loosely with foil.
9. Cool and Set:
Once baked, remove the pie from the oven and let it cool for at least 2 hours. This cooling time is essential for the filling to set so it doesn’t run all over the plate when you slice it.
10. Serve and Enjoy:
Slice your pie and serve it warm or at room temperature. If you’re feeling indulgent, add a scoop of vanilla ice cream on the side. Enjoy every delicious bite of your homemade cherry pie!
FAQ: Easy Homemade Cherry Pie
Can I Use Frozen Cherries for This Recipe?
Absolutely! Just make sure to thaw them thoroughly and drain any excess liquid before using them in the filling. If they’re still a bit juicy, you may want to increase the cornstarch by a teaspoon to help thicken the filling.
What Can I Substitute for Cornstarch?
If you don’t have cornstarch, you can use all-purpose flour as a thickening agent. Use about 1 tablespoon of flour for every 2 tablespoons of cornstarch called for. Remember, this may slightly alter the texture of the filling.
How Should I Store Leftover Cherry Pie?
Store any leftover pie in an airtight container in the refrigerator for up to 3-4 days. You can also cover it loosely with plastic wrap. To enjoy warm, reheat it slices in the oven at 350°F (175°C) for about 10 minutes.
Can I Make This Pie Ahead of Time?
Yes, you can make the pie a day in advance and store it covered in the refrigerator. It can also be prepared and frozen before baking. Simply wrap the unbaked pie tightly in plastic wrap and freeze for up to 2 months. Bake it straight from the freezer—just add an extra 10-15 minutes to the baking time!