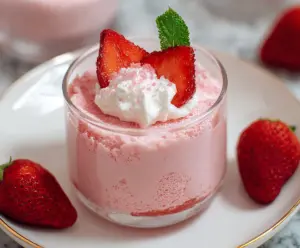
This Easy Homemade Cherry Syrup is a sweet treat made with fresh cherries, sugar, and a hint of lemon. It’s perfect for drizzling on pancakes, ice cream, or even yogurt!
Making it is so simple that I often whip some up while my breakfast is cooking. Just simmer the cherries and sugar together, and you’re golden! 🍒😋
Key Ingredients & Substitutions
Cherries: Fresh, pitted cherries are ideal for this syrup, but you can easily use frozen cherries. Just make sure to thaw them and drain any excess liquid before cooking.
Sugar: Granulated sugar is the classic choice, but you can substitute with brown sugar for a deeper flavor or use a sugar alternative like maple syrup or agave for a different twist.
Lemon Juice: The lemon juice helps balance the sweetness. If you don’t have fresh lemons, bottled lemon juice works too. You could also try lime juice for a zesty change!
Vanilla Extract: While optional, vanilla adds a lovely warmth to the syrup. You could skip it or even try almond extract for a different flavor profile.
How Do You Get the Right Consistency for Your Cherry Syrup?
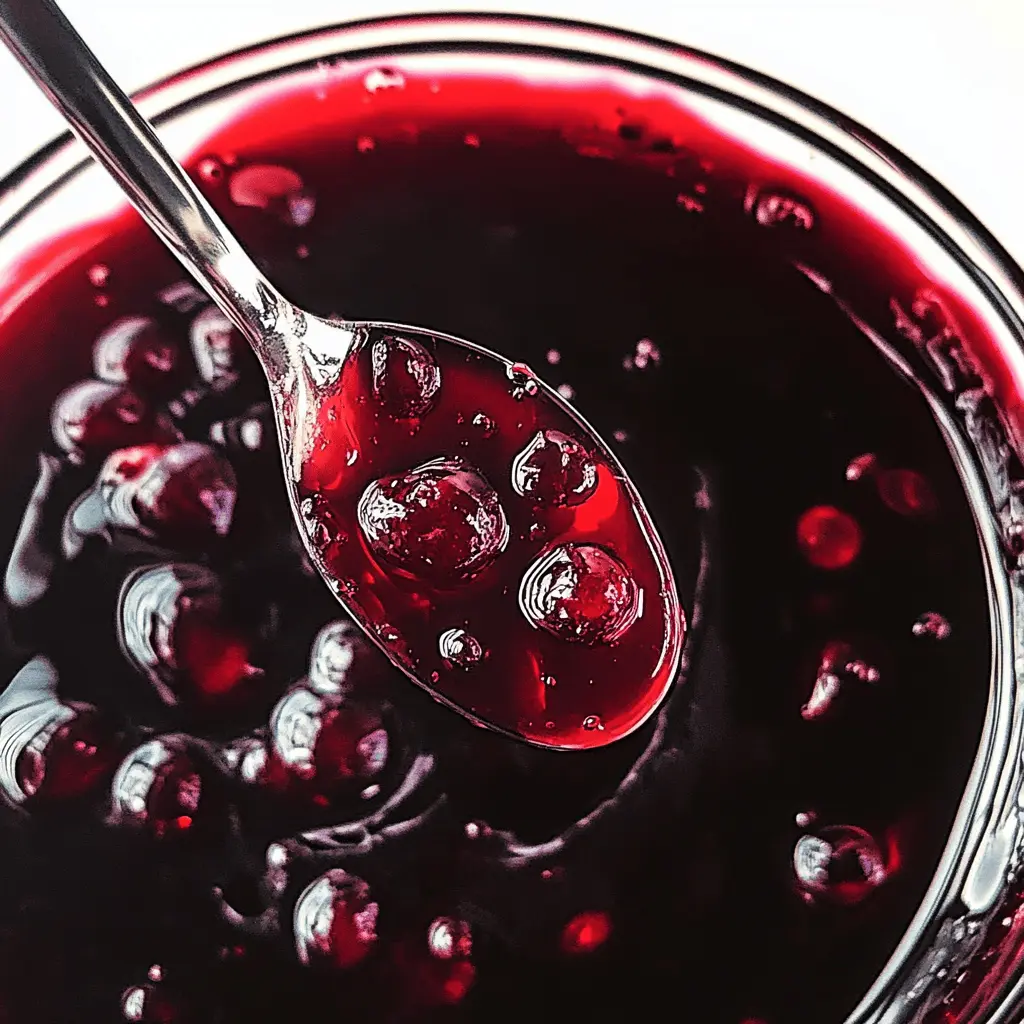
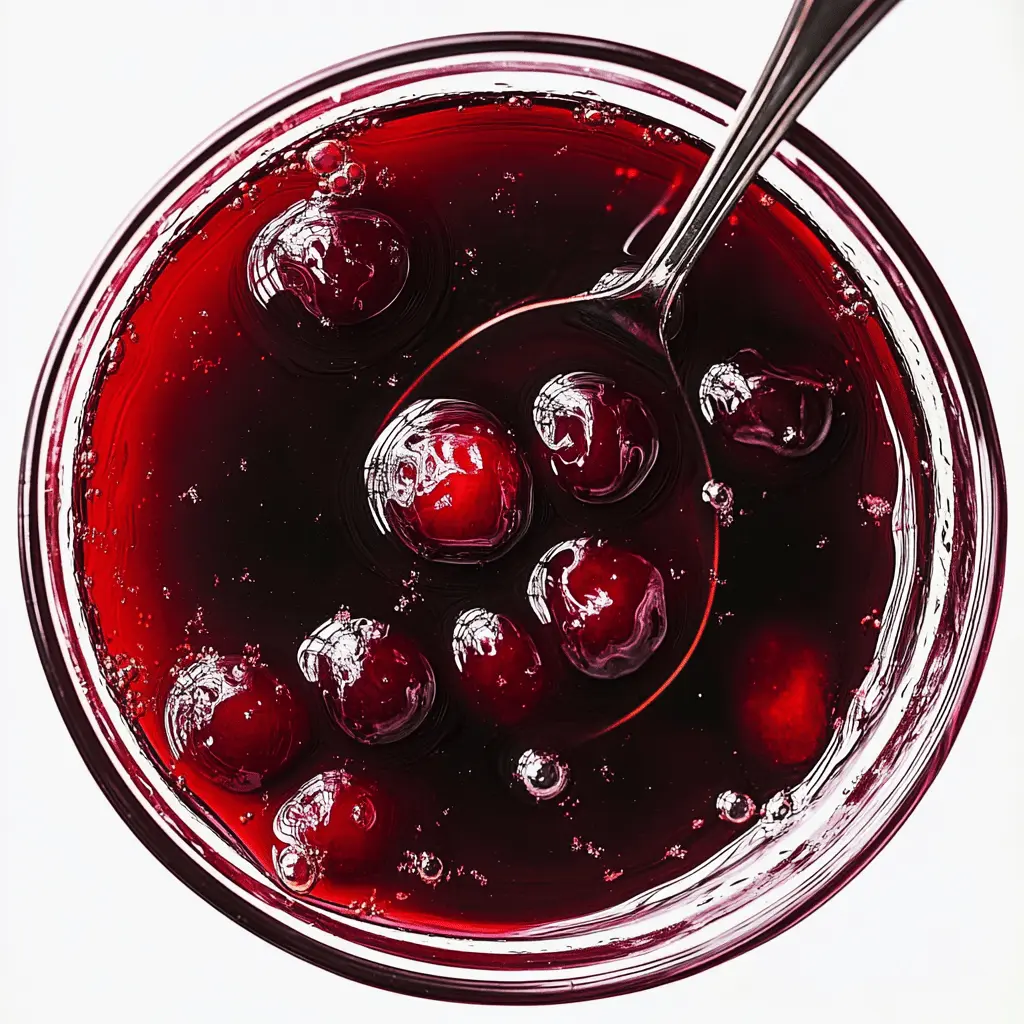
Achieving the right thickness for your syrup is key! Start by simmering the mixture until it reduces and thickens. Remember that it will thicken even more as it cools.
- Simmer for about 15-20 minutes to soften the cherries and dissolve the sugar.
- Mash the cherries for more juice. If you prefer a chunkier syrup, blend less.
- Check consistency: If you run a spoon through it and it leaves a track, you’re good to go! Adjust simmering time for thicker syrup.
Don’t forget to taste and adjust the sweetness or acidity as you go. This way, you’ll craft a syrup that’s just right for you! Enjoy your homemade creation!
Easy Homemade Cherry Syrup
Ingredients:
- 2 cups fresh pitted cherries (or frozen)
- 1 cup granulated sugar
- 1/2 cup water
- 1 tablespoon lemon juice
- 1/2 teaspoon vanilla extract (optional)
Time Needed:
This simple cherry syrup recipe will take about 25-30 minutes from start to finish. You’ll spend around 10 minutes prepping and about 15-20 minutes cooking and simmering. Let’s get started!
Instructions:
1. Combine the Ingredients:
In a medium saucepan, add the pitted cherries, granulated sugar, and water. Give it a good stir to mix everything together. This is where the magic begins!
2. Bring to a Boil:
Place the saucepan over medium-high heat and bring the mixture to a boil. Once boiling, reduce the heat to medium-low. This will help the cherries become soft and flavorful while dissolving all that sugar.
3. Simmer the Mixture:
Let the mixture simmer for about 15-20 minutes. Stir occasionally to prevent sticking. You’ll see the cherries soften and the syrup begin to take shape. Keep an eye on it, and enjoy the lovely scent wafting through your kitchen!
4. Mash the Cherries:
Using a spoon or potato masher, gently mash the cherries in the pot. This helps release even more juice and ensures those sweet cherry flavors blend nicely into the syrup. You want a bit of chunkiness, but don’t worry about it being perfect!
5. Thicken the Syrup:
Continue to simmer for another 5-10 minutes. The syrup will thicken up, creating a luscious consistency. If it’s too thin, simmer a bit longer until you reach your desired thickness.
6. Add Flavor Boost:
Once the syrup has thickened, take the pan off the heat. Stir in the lemon juice and, if you like, add the vanilla extract. The lemon juice adds a bright flavor that balances the sweetness perfectly.
7. Cool and Strain:
Allow the syrup to cool slightly. If you want a smooth syrup with no bits of cherry, strain it through a fine-mesh sieve into a clean jar or bottle. If you prefer it chunky and rustic, feel free to skip this step!
8. Store the Syrup:
Once cooled, transfer the syrup to a clean jar or bottle. Make sure to refrigerate it. The syrup will thicken a little more as it cools, so don’t be worried if it seems a bit runny at first.
9. Enjoy Your Creation:
Now the best part! Use your delicious homemade cherry syrup on pancakes, waffles, ice cream, yogurt, or in your favorite beverages. The possibilities are endless! Enjoy!
There you have it! A delightful cherry syrup that’s sure to sweeten up your meals. 🍒✨
FAQ About Easy Homemade Cherry Syrup
Can I Use Frozen Cherries for This Recipe?
Absolutely! Frozen cherries work wonderfully in this recipe. Just be sure to thaw them and drain any excess liquid before adding them to the saucepan. This way, you’ll still get that rich cherry flavor!
How Can I Adjust the Sweetness of the Syrup?
If you find the syrup too sweet, consider adding a bit more lemon juice to balance it out. Start with half a tablespoon more and adjust to your taste. You can also reduce the sugar slightly if you’d like it less sweet from the beginning.
How Should I Store Leftover Cherry Syrup?
Store your cherry syrup in an airtight container in the refrigerator. It will keep for up to two weeks. Make sure it’s completely cooled before sealing it to prevent condensation inside the jar. Just give it a good shake before using it again!
What Can I Use Cherry Syrup For Besides Pancakes?
The uses are endless! Drizzle it over ice cream, yogurt, or cheesecake, add it to cocktails for a fruity twist, or mix it into sparkling water for a refreshing drink. Get creative and enjoy!