This easy homemade cherry syrup is perfect for drizzling over pancakes, ice cream, or even yogurt. Made with fresh cherries, it’s sweet, fruity, and oh-so-delicious!
If cherries are in season, I’m all in for making this syrup. It’s quick to whip up, and it’s such a treat to have this homemade goodness ready to enjoy anytime! 🍒
Key Ingredients & Substitutions
Cherries: Fresh cherries give a wonderful natural taste, but if they’re out of season, frozen cherries work just as well! Make sure they’re pitted for an easier process.
Sugar: Granulated sugar is typical, but you can opt for brown sugar for a deeper flavor or sweeteners like honey or maple syrup if you want a healthier twist.
Lemon Juice: This adds brightness to the syrup. If you don’t have fresh lemons, bottled lemon juice is fine—just use a bit less.
Vanilla Extract: Though optional, vanilla adds warmth. If you want a complimentary flavor, use almond extract instead!
How Do I Achieve the Perfect Texture for My Syrup?
The key to getting a nice syrup texture lies in simmering and mashing the cherries. After boiling, reduce the heat and let it simmer to soften the cherries and encourage the flavors to meld. If thicker syrup is preferred, using a cornstarch slurry is a great technique. Just remember to stir it in slowly to avoid lumps!
- Always mash cherries lightly to release more juice.
- Let the mixture simmer to let flavors combine nicely.
- For thickening, closely monitor as it cooks on low heat after adding cornstarch.
Easy Homemade Cherry Syrup Recipe
Ingredients You’ll Need:
- 2 cups fresh or frozen cherries, pitted
- 1 cup granulated sugar
- 1 cup water
- 1 tablespoon fresh lemon juice
- 1/2 teaspoon vanilla extract (optional)
- 1 teaspoon cornstarch mixed with 1 tablespoon water (optional, for thickening)
How Much Time Will You Need?
This lovely cherry syrup takes about 20-25 minutes in total. You’ll spend 5 minutes preparing the ingredients and about 15-20 minutes cooking on the stove. It’s a quick and enjoyable process, perfect for a tasty treat!
Step-by-Step Instructions:
1. Combine the Ingredients:
In a medium saucepan, combine the pitted cherries, granulated sugar, and water. Mix everything well and prepare for some delightful cooking!
2. Bring to a Boil:
Place the saucepan over medium-high heat. Stir occasionally as the mixture starts to heat up, ensuring the sugar fully dissolves. You want this to come to a nice boil!
3. Simmer for Flavor:
Once boiling, reduce the heat to medium-low. Let it simmer gently for about 10-15 minutes. You’ll see the cherries soften and the mixture begin to thicken slightly. The aroma will be fantastic!
4. Mash and Enhance the Flavor:
Using a potato masher or the back of a spoon, lightly mash the cherries. This helps release more juice and enhances the overall flavor of your syrup.
5. Add Final Touches:
Remove the pan from the heat, and stir in the fresh lemon juice and vanilla extract if you are using them. These add a nice brightness to your syrup.
6. Thicken if Desired:
If you prefer a thicker syrup, put the pan back on low heat and stir in the cornstarch slurry. Cook it for another 1-2 minutes until the syrup reaches your desired consistency.
7. Cool and Store:
Let the syrup cool slightly before transferring it to a clean jar or container. This keeps it fresh when stored in the fridge.
8. Serve and Enjoy:
Enjoy your homemade cherry syrup warm or chilled over pancakes, waffles, ice cream, or yogurt. This syrup can be stored in the refrigerator for up to two weeks, but I doubt it will last that long!
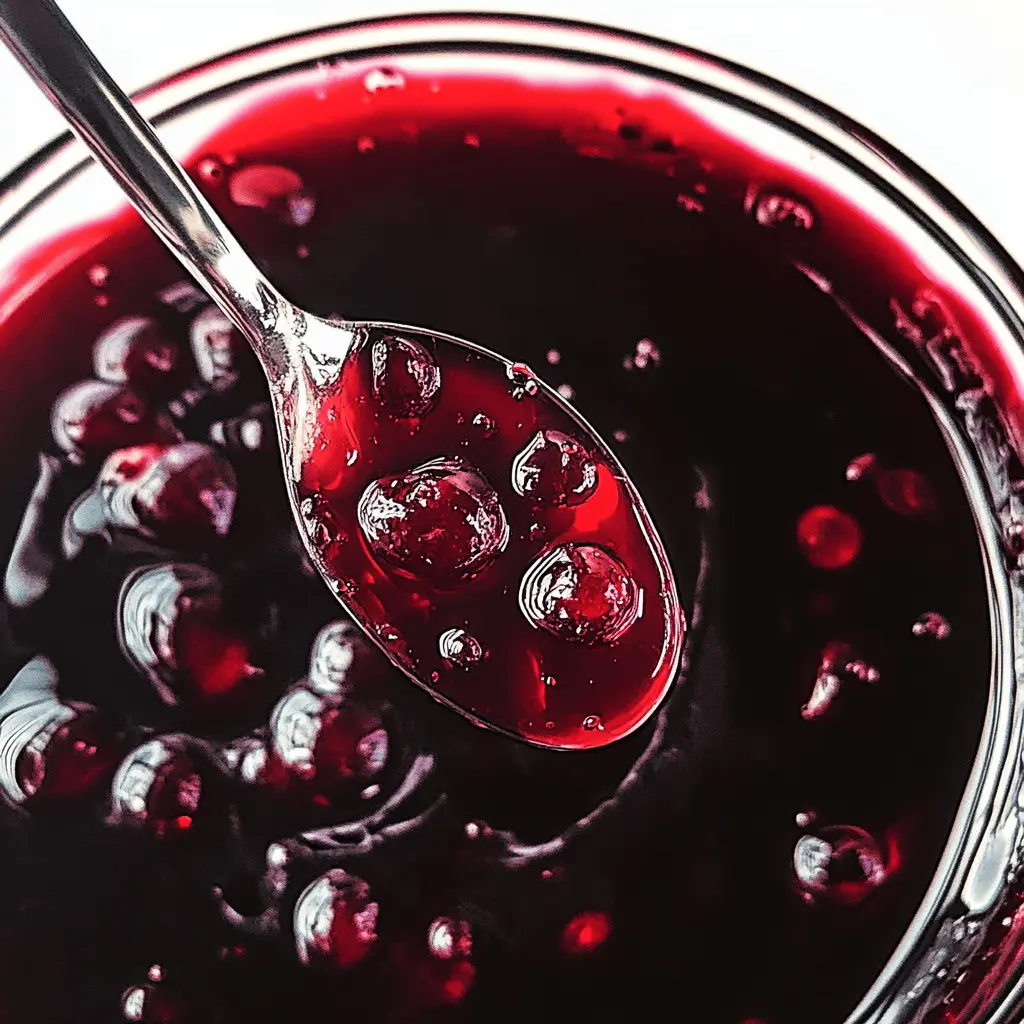
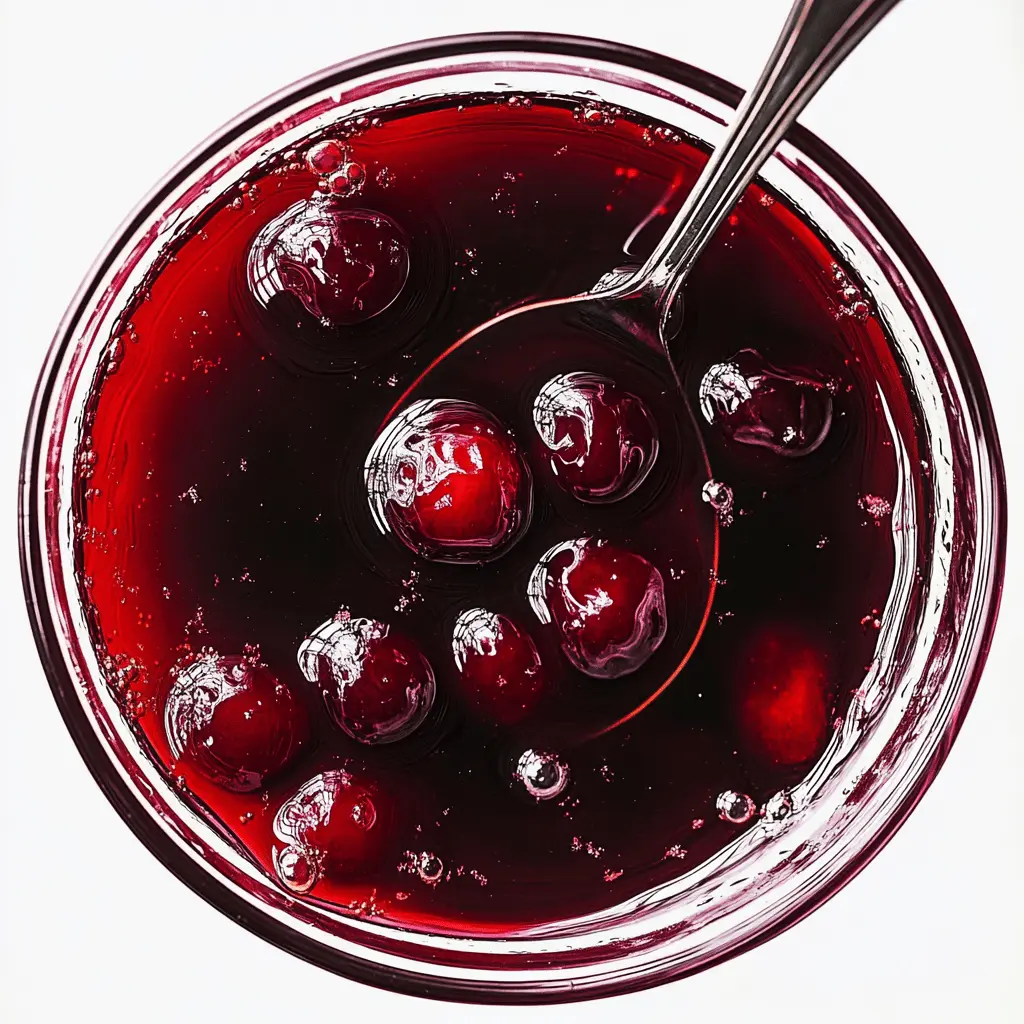
This vibrant cherry syrup is beautifully rich and glossy, with scrumptious pieces of cherry throughout, just like in the image! Enjoy with every sumptuous spoonful! 🍒
FAQ About Easy Homemade Cherry Syrup Recipe
Can I Use Frozen Cherries for This Recipe?
Absolutely! Frozen cherries work perfectly and can save you some prep time. Just make sure they’re pitted before you start cooking. There’s no need to thaw them beforehand; you can add them directly to the saucepan.
How Do I Store the Cherry Syrup?
Store your homemade cherry syrup in an airtight container or jar in the refrigerator. It should last for up to two weeks. If you want to store it longer, you can also freeze it in ice cube trays for easy portioning!
What If I Don’t Have Cornstarch for Thickening?
No worries! If you don’t have cornstarch, you can simply skip the thickening step. The syrup will still be delicious! Alternatively, you could use other thickening agents like arrowroot powder or flour, although results may vary.
Can I Make This Recipe Ahead of Time?
Yes! This cherry syrup can be made ahead of time and stored as mentioned. It’s a great addition to brunch or desserts and can be reheated gently before serving or enjoyed cold.