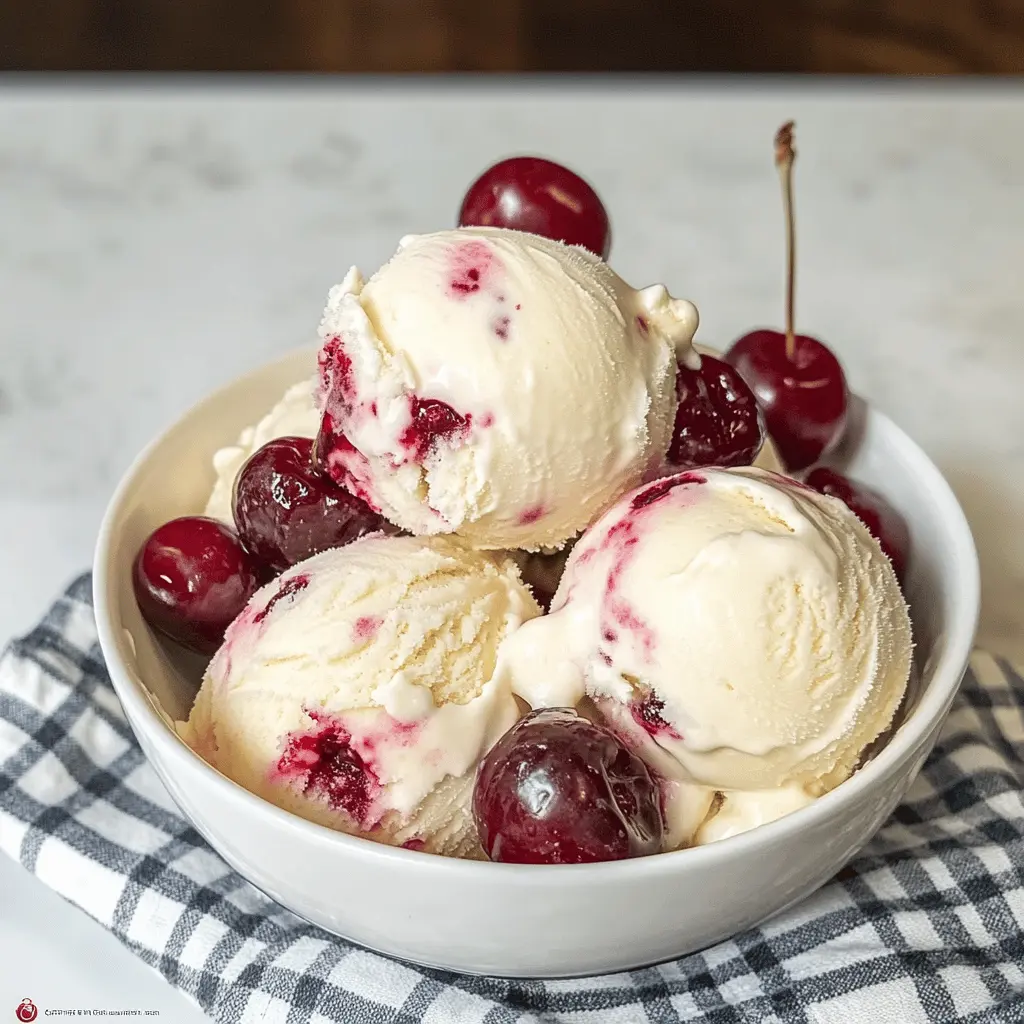
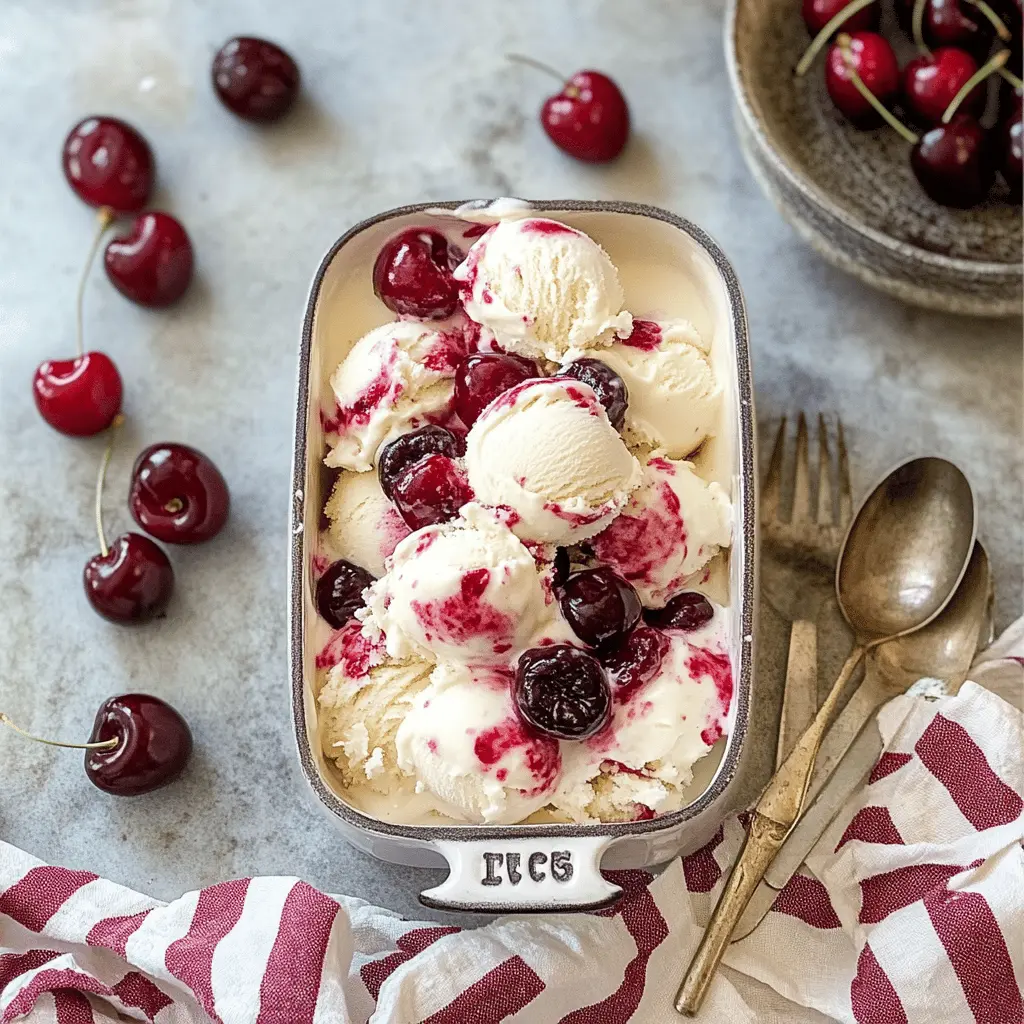
This Easy Homemade Cherry Vanilla Ice Cream is a delightful treat! With creamy vanilla and sweet cherry chunks, it’s perfect for hot days or cozy nights.
Making ice cream at home is a fun adventure! Just mix, freeze, and scoop. I love topping mine with extra cherries—because, why not? 🍒😄
Key Ingredients & Substitutions
Heavy cream: This makes your ice cream creamy and rich. If you’re looking for a lighter version, you can mix in half and half, or use coconut cream for a dairy-free option.
Whole milk: Whole milk gives a nice balance to the creamy texture, but you could use 2% milk if that’s what you have on hand. Just remember, it may be a little less creamy.
Granulated sugar: This sweetens the ice cream nicely. If you’re reducing sugar, consider using honey or a sugar substitute, but keep in mind it might change the texture a bit.
Cherries: Fresh cherries are fantastic for their flavor, but you can definitely use frozen ones. Make sure they’re pitted! If cherries aren’t available, blueberries, strawberries or even raspberries work well in this recipe.
Cherry jam: This adds an extra layer of cherry flavor and makes a beautiful swirl. If you don’t have cherry jam, you could use any berry jam or simply omit it for a more straightforward cherry flavor.
How Do I Get the Perfect Texture for My Ice Cream?
Achieving the creamy texture in homemade ice cream can be tricky! Here’s how to get it just right:
- Keep your ice cream maker bowl in the freezer for at least 24 hours before churning to ensure it’s very cold.
- When mixing your ingredients, make sure the sugar is completely dissolved. This helps create a smooth mixture.
- Churn the ice cream until it reaches a soft-serve consistency. This usually takes about 20-25 minutes. Don’t skip this step, as turning it too little can lead to more icy ice cream!
- Freeze your ice cream after churning—4 hours is ideal. If you want it to be scoopable, let it sit at room temperature for a few minutes before serving.
With these tips in mind, you’ll be well on your way to making deliciously creamy cherry vanilla ice cream at home! Enjoy!
Easy Homemade Cherry Vanilla Ice Cream
Ingredients You’ll Need:
- 2 cups heavy cream
- 1 cup whole milk
- 3/4 cup granulated sugar
- 1 tablespoon pure vanilla extract
- 1 1/2 cups fresh or frozen pitted cherries, chopped
- 2 tablespoons cherry jam or preserves (optional, for extra cherry flavor and swirl)
- 1 teaspoon lemon juice (to brighten cherry taste)
- Pinch of salt
How Much Time Will You Need?
This delightful ice cream recipe takes about 15 minutes of prep time. Then, you’ll need to churn it for about 20-25 minutes and freeze it for at least 4 hours to let it set. In total, you’re looking at about 4 hours and 40 minutes for delicious homemade cherry vanilla ice cream!
Step-by-Step Instructions:
1. Prepare the Ice Cream Base:
In a mixing bowl, add the heavy cream, whole milk, granulated sugar, vanilla extract, and a pinch of salt. Whisk everything together until the sugar is completely dissolved. It’s important that the sugar is fully mixed in for a smooth texture later!
2. Cook the Cherry Mixture:
Grab a small saucepan and turn the heat to medium. Add the chopped cherries, cherry jam (if you want extra cherry flavor), and lemon juice. Cook this mixture for about 5 minutes, stirring occasionally. You want the cherries to soften and release their juicy goodness. Once done, remove from heat and let it cool down.
3. Chill the Cherry Mixture:
Once the cherry mixture is cool, pop it in the refrigerator to chill further. You want it nice and cold before adding it to the ice cream base!
4. Churn the Ice Cream:
Now, pour your prepared ice cream base into your ice cream maker. Follow the manufacturer’s instructions—typically, you’ll churn it for about 20-25 minutes until it resembles a soft-serve consistency, so be sure to keep an eye on it!
5. Add the Cherry Swirl:
In the last minutes of churning, gently add the chilled cherry mixture. This will create beautiful swirls and cherry chunks throughout the ice cream. Don’t overmix; you want those swirls to be visible!
6. Freeze the Ice Cream:
Transfer your churned ice cream into a freezer-safe container. For the best texture, let it freeze for at least 4 hours or overnight. The longer it sits, the firmer it will get!
7. Scoop & Enjoy:
When you’re ready to indulge, scoop out portions of your homemade cherry vanilla ice cream. Top with fresh cherries if you like, and enjoy this creamy delight bursting with sweet cherry ribbons!
Happy eating! 🍦
Frequently Asked Questions (FAQ)
Can I Use Different Fruits in This Recipe?
Absolutely! While this recipe focuses on cherries, you can substitute them with other fruits like strawberries, blueberries, or raspberries. Just remember to adjust the amount of sweetener if the fruit is particularly sweet or tart!
What If I Don’t Have an Ice Cream Maker?
No problem! You can still make this ice cream without one. After mixing the base and cherry mixture, pour it into a shallow dish. Every 30-45 minutes, stir the ice cream vigorously with a fork to break up any ice crystals until it reaches your desired consistency. This process usually takes about 3-4 hours.
How to Store Leftover Ice Cream?
Store any leftover ice cream in an airtight container in the freezer. It can last for up to 2-3 weeks, but for the best texture and flavor, try to consume it within a week. If it gets too hard, let it sit at room temperature for a few minutes before scooping!
Can I Use Low-Fat Milk Instead of Whole Milk?
While you can use low-fat milk, using whole milk creates a creamier texture. If you’re looking for a lighter option, consider using half-and-half instead, or a combination of low-fat milk and some additional cream for balance!