
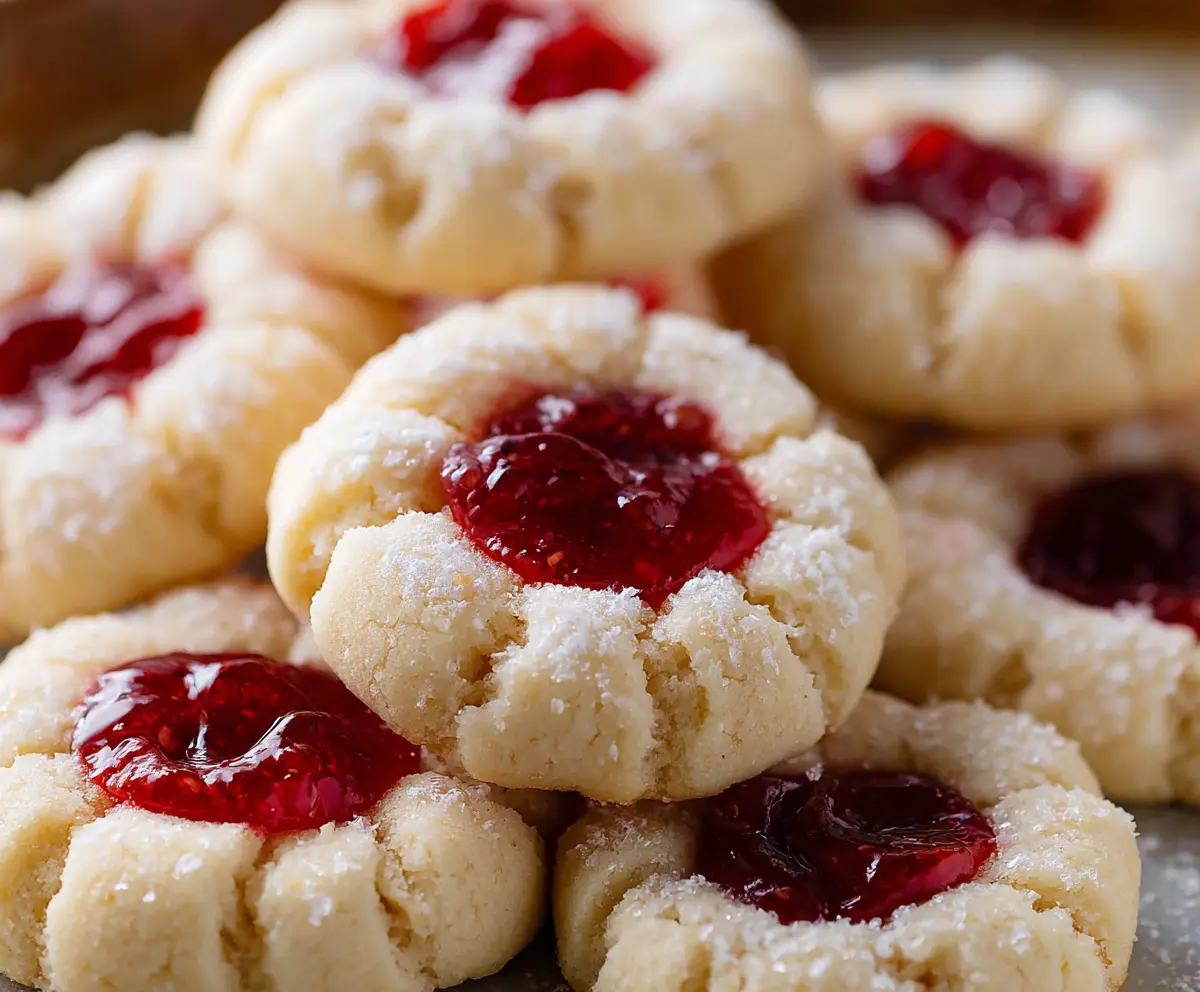
These Raspberry and Lemon Thumbprint Cookies are like little bursts of joy! Soft, buttery cookies with a tart raspberry jam center, wrapped in a hint of lemon flavor. Yum!
Honestly, who can resist a cookie that has its own jam spot? I love making these for friends, but I might eat half of them myself! They look pretty on a plate too!
Key Ingredients & Substitutions
Butter: Unsalted butter is best for controlling salt levels. You can replace it with margarine if you’re looking for a dairy-free option, though I do prefer the flavor of real butter!
Granulated Sugar: Besides rolling, sugar adds sweetness. You could use coconut sugar for a slight caramel flavor or even a sugar substitute like Stevia to make it lower in calories.
Lemon Juice and Zest: Fresh lemons bring the best flavor. If you’re out, bottled lemon juice can work, but the zest adds a special touch that bottled juice can’t replace. Alternatively, try using lime juice for a different zing!
Raspberry Jam: Seedless raspberry jam is ideal for a smoother texture, but any jam will do. Substituting with other fruit jams like strawberry or blueberry works nicely too!
What’s the Best Way to Achieve Perfectly Shaped Thumbprints?
The thumbprint indents are key to these cookies. Here’s how to do it right:
- Use a light touch with your thumb or a teaspoon to create the indents. You want a nice well for the jam, but not all the way through!
- If the dough becomes too soft from your hands, pop it in the fridge for a few minutes—it firms up nicely!
- Make sure not to skip the rolling in sugar; it gives a lovely finish and adds a nice crunch against the soft cookie.
Raspberry And Lemon Thumbprint Cookies
Ingredients You’ll Need:
- 1 cup (2 sticks) unsalted butter, softened
- 3/4 cup granulated sugar (plus extra for rolling)
- 2 large egg yolks
- 1 teaspoon vanilla extract
- 2 tablespoons fresh lemon juice
- 1 tablespoon lemon zest (from about 1 lemon)
- 2 cups all-purpose flour
- 1/2 teaspoon salt
- 1/2 cup raspberry jam (preferably seedless or slightly chunky)
How Much Time Will You Need?
This delightful cookie recipe requires about 20 minutes of prep time and 12 to 15 minutes for baking. Including cooling time, it’s best to set aside about an hour, but these cookies will be well worth it!
Step-by-Step Instructions:
1. Preheat Your Oven
First things first, preheat your oven to 350°F (175°C). This way, it’ll be ready to go when your cookies are shaped. Line your baking sheets with parchment paper or silicone mats to prevent sticking.
2. Cream the Butter and Sugar
In a big mixing bowl, use an electric mixer to cream together the softened butter and 3/4 cup of granulated sugar. Mix them up until it’s light and fluffy, which should take about 3 minutes. This step helps give the cookies a nice texture!
3. Add the Yummy Ingredients
Once your butter and sugar are fluffy, beat in the egg yolks, vanilla extract, fresh lemon juice, and lemon zest. Mix until everything is nicely blended together. The lemon zest really adds a pop of flavor!
4. Mix the Dry Ingredients
In a separate bowl, whisk together the flour and salt. This helps to evenly distribute the salt throughout the flour, so every cookie has the same delicious taste.
5. Combine Wet and Dry Ingredients
Now, slowly add the flour mixture to your wet ingredients. Mix it on low speed until everything is just combined. Be careful not to overmix here; it’s okay if there are a few small lumps!
6. Shape Cookies
Roll the dough into 1-inch balls. Then, roll each ball in granulated sugar to coat them. Place these on your lined baking sheets, making sure to leave about 2 inches of space between each one.
7. Create the Thumbprints
Using your thumb (or the back of a teaspoon), gently press down in the center of each dough ball to make a small indentation. Just don’t push all the way through; we want a nice little well to hold the jam!
8. Fill with Jam
Now for the sweet part! Fill each indentation with about 1/2 teaspoon of raspberry jam. This is where the deliciousness happens!
9. Bake the Cookies
Pop the baking sheets into your preheated oven and bake for about 12 to 15 minutes. You want the edges to be set and the cookies to be lightly golden.
10. Cool Down
Once they’re done baking, let the cookies cool on the baking sheet for about 5 minutes. After that, transfer them to a wire rack to cool completely. Try to resist eating them right away; they smell amazing!
11. Serve and Enjoy!
Finally, serve these delightful raspberry and lemon thumbprint cookies to your friends and family, or just enjoy them on your own! Keep them stored in an airtight container at room temperature for up to a week, if they last that long!
These cookies bring out beautiful flavors of lemon, and the raspberry jam provides a lovely sweetness that fits perfectly. Enjoy baking and savoring every bite!
Can I Use Another Type of Jam?
Absolutely! While raspberry jam is delicious, you can substitute it with strawberry, blueberry, or even apricot jam. Just keep in mind that the flavor profile will change a little, but it will still be yummy!
How Do I Store Leftover Cookies?
Store the cooled cookies in an airtight container at room temperature for up to one week. If you want them to last longer, you can freeze them for up to three months. Just make sure to layer them with parchment paper to prevent sticking.
Can I Make the Dough in Advance?
Yes! You can prepare the dough ahead of time and refrigerate it for up to 3 days. When you’re ready to bake, let it sit at room temperature for about 15 minutes to soften, then proceed with rolling and baking as instructed.
What Should I Do If the Dough Is Too Sticky?
If the dough feels too sticky to handle, chill it in the refrigerator for about 30 minutes. This will make it easier to roll into balls and shape the thumbprints without sticking to your hands.