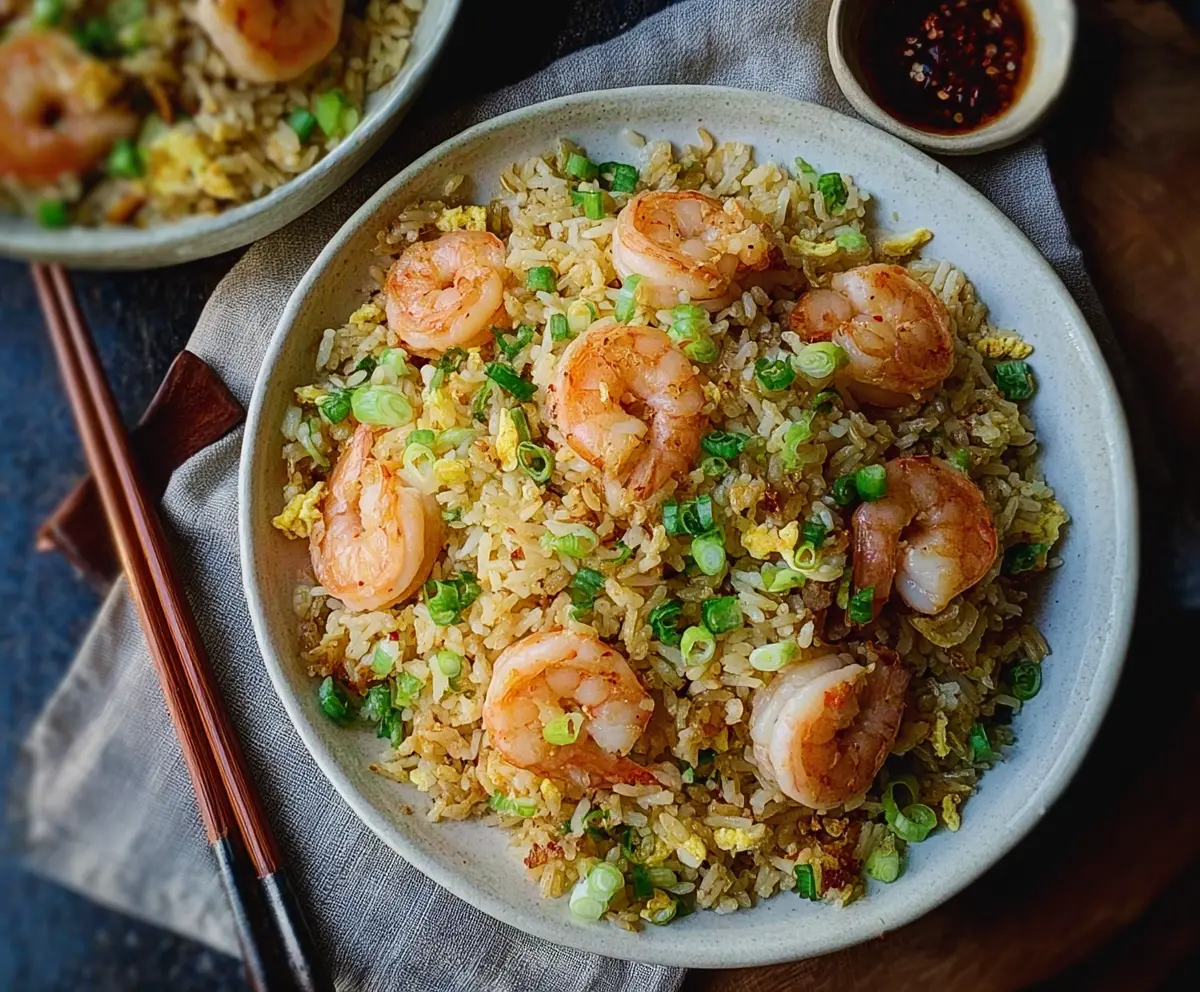
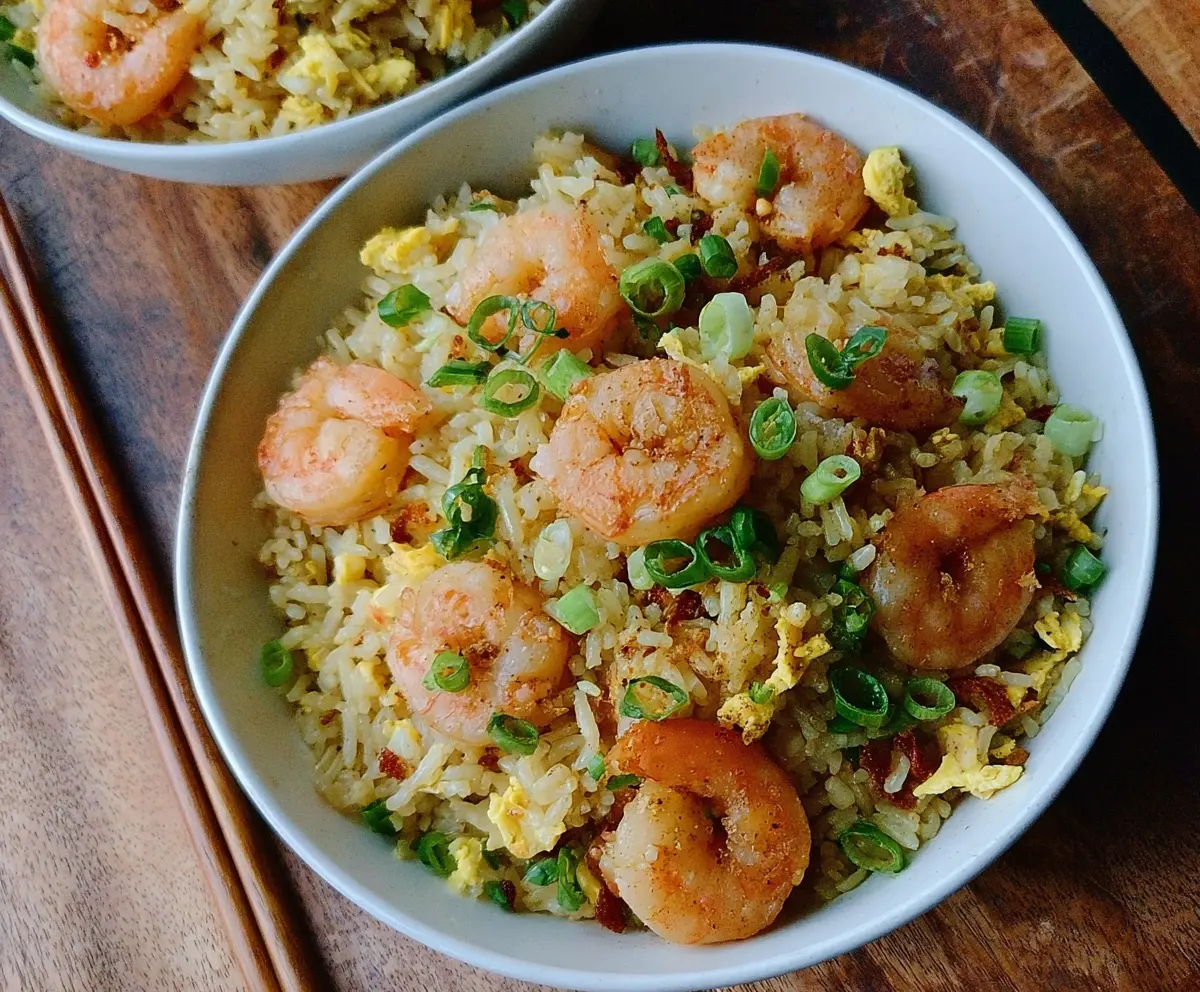
This Shrimp Garlic Fried Rice is a tasty and quick meal, perfect for busy nights. It’s packed with juicy shrimp and flavorful garlic, all mixed with fluffy rice.
Who doesn’t love a one-pan wonder? I can whip this up in no time, and my family always asks for seconds. Plus, the aroma is heavenly; it makes my kitchen smell so good!
I enjoy this fried rice with a sprinkle of green onions on top. It adds a nice crunch and bright color, making the dish look as good as it tastes!
Key Ingredients & Substitutions
Jasmine Rice: This fragrant rice is perfect for fried rice. If you don’t have jasmine rice, you can use long-grain white rice or even brown rice for a nuttier flavor. Just make sure it’s cooked and cooled for the best texture.
Shrimp: Fresh shrimp is great, but frozen shrimp works just as well – just thaw it before cooking! For a vegetarian option, replace shrimp with tofu or add more veggies like bell peppers and peas.
Garlic: Fresh garlic gives the best flavor, but garlic powder can be a quick substitute in a pinch. Just reduce the amount to about 1/4 teaspoon to avoid overpowering the dish.
Green Onions: They add a nice crunch. If you’re out of green onions, you can use chives or finely chopped shallots. However, don’t skip on the green part of the onions as it adds vibrancy!
Oyster Sauce: This is optional but adds depth. If you’re avoiding shellfish, use a hoisin sauce or soy sauce instead for a similar sweetness.
How Do You Ensure Perfectly Fried Rice?
Making fried rice can be straightforward if you follow these steps. The key is starting with day-old, chilled rice because it dries out and prevents clumping.
- Create a hot pan: Use a large skillet or wok and heat it well before adding oil.
- Cook shrimp quickly: Stir-fry until just pink, then take them out to avoid overcooking during the rest of the process.
- Use high heat: This helps the garlic release its flavor without burning.
- Break up clumps: When adding rice, break it apart to mix well and heat through evenly.
- Taste and adjust: Always taste before serving to make sure it’s seasoned to your liking.
By keeping these tips in mind, you’ll whip up a delicious plate of shrimp garlic fried rice every time!
How to Make Shrimp Garlic Fried Rice
Ingredients You’ll Need:
For the Fried Rice:
- 2 cups cooked jasmine rice, preferably chilled overnight
- 12-15 medium shrimp, peeled and deveined
- 4 cloves garlic, minced
- 2 large eggs, beaten
- 3 green onions, sliced (white and green parts separated)
- 2 tablespoons vegetable oil (divided)
- 1 tablespoon soy sauce
- 1 teaspoon oyster sauce (optional)
- Salt and freshly ground black pepper, to taste
- Red pepper flakes or chili flakes (optional, for serving)
How Much Time Will You Need?
This shrimp garlic fried rice recipe takes approximately 10 minutes to prepare and another 10-15 minutes to cook. You’ll enjoy a delicious meal in about 25-30 minutes from start to finish!
Step-by-Step Instructions:
1. Prepare Your Ingredients:
Start by gathering and preparing all your ingredients. Mince the garlic, slice the green onions (keeping the white and green parts separate), and beat the eggs in a bowl. Having everything ready makes cooking easier and faster!
2. Cook the Shrimp:
In a large skillet or wok, heat 1 tablespoon of vegetable oil over medium-high heat. Add the shrimp, seasoning them lightly with salt and black pepper. Stir-fry the shrimp for about 2-3 minutes, or until they turn pink and are cooked through. Once done, remove the shrimp from the pan and set them aside.
3. Sauté the Garlic:
In the same pan, add the remaining 1 tablespoon of oil. Toss in the minced garlic and the white parts of the green onions. Sauté for about 30 seconds, stirring often, until the garlic is fragrant but be careful not to let it burn!
4. Scramble the Eggs:
Pour the beaten eggs into the skillet, scrambling them gently until they are just set (not overcooked). This shouldn’t take long, just a minute or two!
5. Add the Rice:
Next, add the chilled cooked rice to the pan. Break apart any clumps and stir well to combine with the garlic and eggs. Heat the rice through for a few minutes.
6. Flavor It Up:
Add the soy sauce and oyster sauce (if using) to the rice, stirring everything to coat the rice evenly with the sauces and flavors.
7. Incorporate the Shrimp:
Return the cooked shrimp to the pan and toss everything together gently to combine, allowing everything to warm through once more.
8. Final Seasoning:
Taste your fried rice and adjust it with more salt and pepper if needed. Remember, the soy sauce will add some saltiness!
9. Add Green Onions:
Remove the pan from heat and stir in the green parts of the sliced green onions for a fresh, crunchy finish.
10. Serve:
Your shrimp garlic fried rice is now ready to be served! Dish it out hot and if you like a little kick, serve with red pepper flakes or chili flakes on the side.
This fried rice is delightful on its own or pairs nicely with steamed vegetables or a simple cucumber salad. Enjoy your delicious homemade meal!
Can I Use Fresh or Frozen Shrimp?
Both options work! If using frozen shrimp, just make sure to thaw them completely in the fridge or under cold running water before cooking. Fresh shrimp is great, but frozen is often just as good and convenient.
How Do I Store Leftovers?
Store any leftover fried rice in an airtight container in the refrigerator for up to 3 days. To reheat, simply warm it in a skillet over medium heat, adding a splash of water to prevent it from drying out.
Can I Make This Recipe Vegetarian?
Absolutely! You can replace the shrimp with extra vegetables like bell peppers, peas, and carrots, or use tofu for protein. Simply follow the same cooking method, sautéing the veggies until tender.
What Type of Rice is Best?
Jasmine rice is ideal for fried rice due to its fragrant aroma and fluffy texture. If you don’t have it, long-grain white rice or brown rice can also work as alternatives, just ensure they are cooked and chilled beforehand for the best results.