Instant Pot corn on the cob comes out plump, juicy, and tender without the pot of boiling water or the wait for a big stockpot to come back to a simmer. The kernels stay sweet and intact, with a clean bite that tastes closer to steamed corn than boiled corn, which is exactly why this method earns a spot in the dinner rotation. It’s fast enough for a weeknight side dish, but the result still feels like someone paid attention.
The trick is pressure, not extra liquid. The corn cooks above the water on the trivet, so it steams instead of soaking, and that keeps the flavor from going flat. Two minutes at high pressure is enough for fresh corn cut in half, and the quick release matters because lingering heat can push it past tender into soft. I also like finishing it with butter right away so it melts into the kernels instead of sitting on top in a greasy layer.
Below, you’ll find the timing that keeps the corn bright and sweet, the small prep choices that make serving easier, and a few ways to season it when you want something beyond butter and salt.
The kernels stayed plump and sweet, and the quick release kept them from getting mushy. I broke the ears in half like you said and it made serving so much easier.
Save this Instant Pot corn on the cob for the nights when you want sweet, buttery corn without boiling a giant pot.
The Reason Pressure-Cooked Corn Stays Sweet Instead of Waterlogged
Most corn goes wrong when it sits in too much water for too long. The kernels absorb more than they need, and the flavor gets dull. In the Instant Pot, the corn cooks in steam above the water, which keeps the sweetness in the cob instead of leaching it out. That’s why this method tastes cleaner than a long boil.
The other thing that matters is timing. Fresh corn only needs a short burst of pressure, and the quick release stops the cooking before the kernels soften too much. If you leave it on keep-warm or let the pressure drop naturally, the residual heat keeps working and the corn can turn a little tired and starchy.
What Each Ingredient Is Actually Doing in This Dish
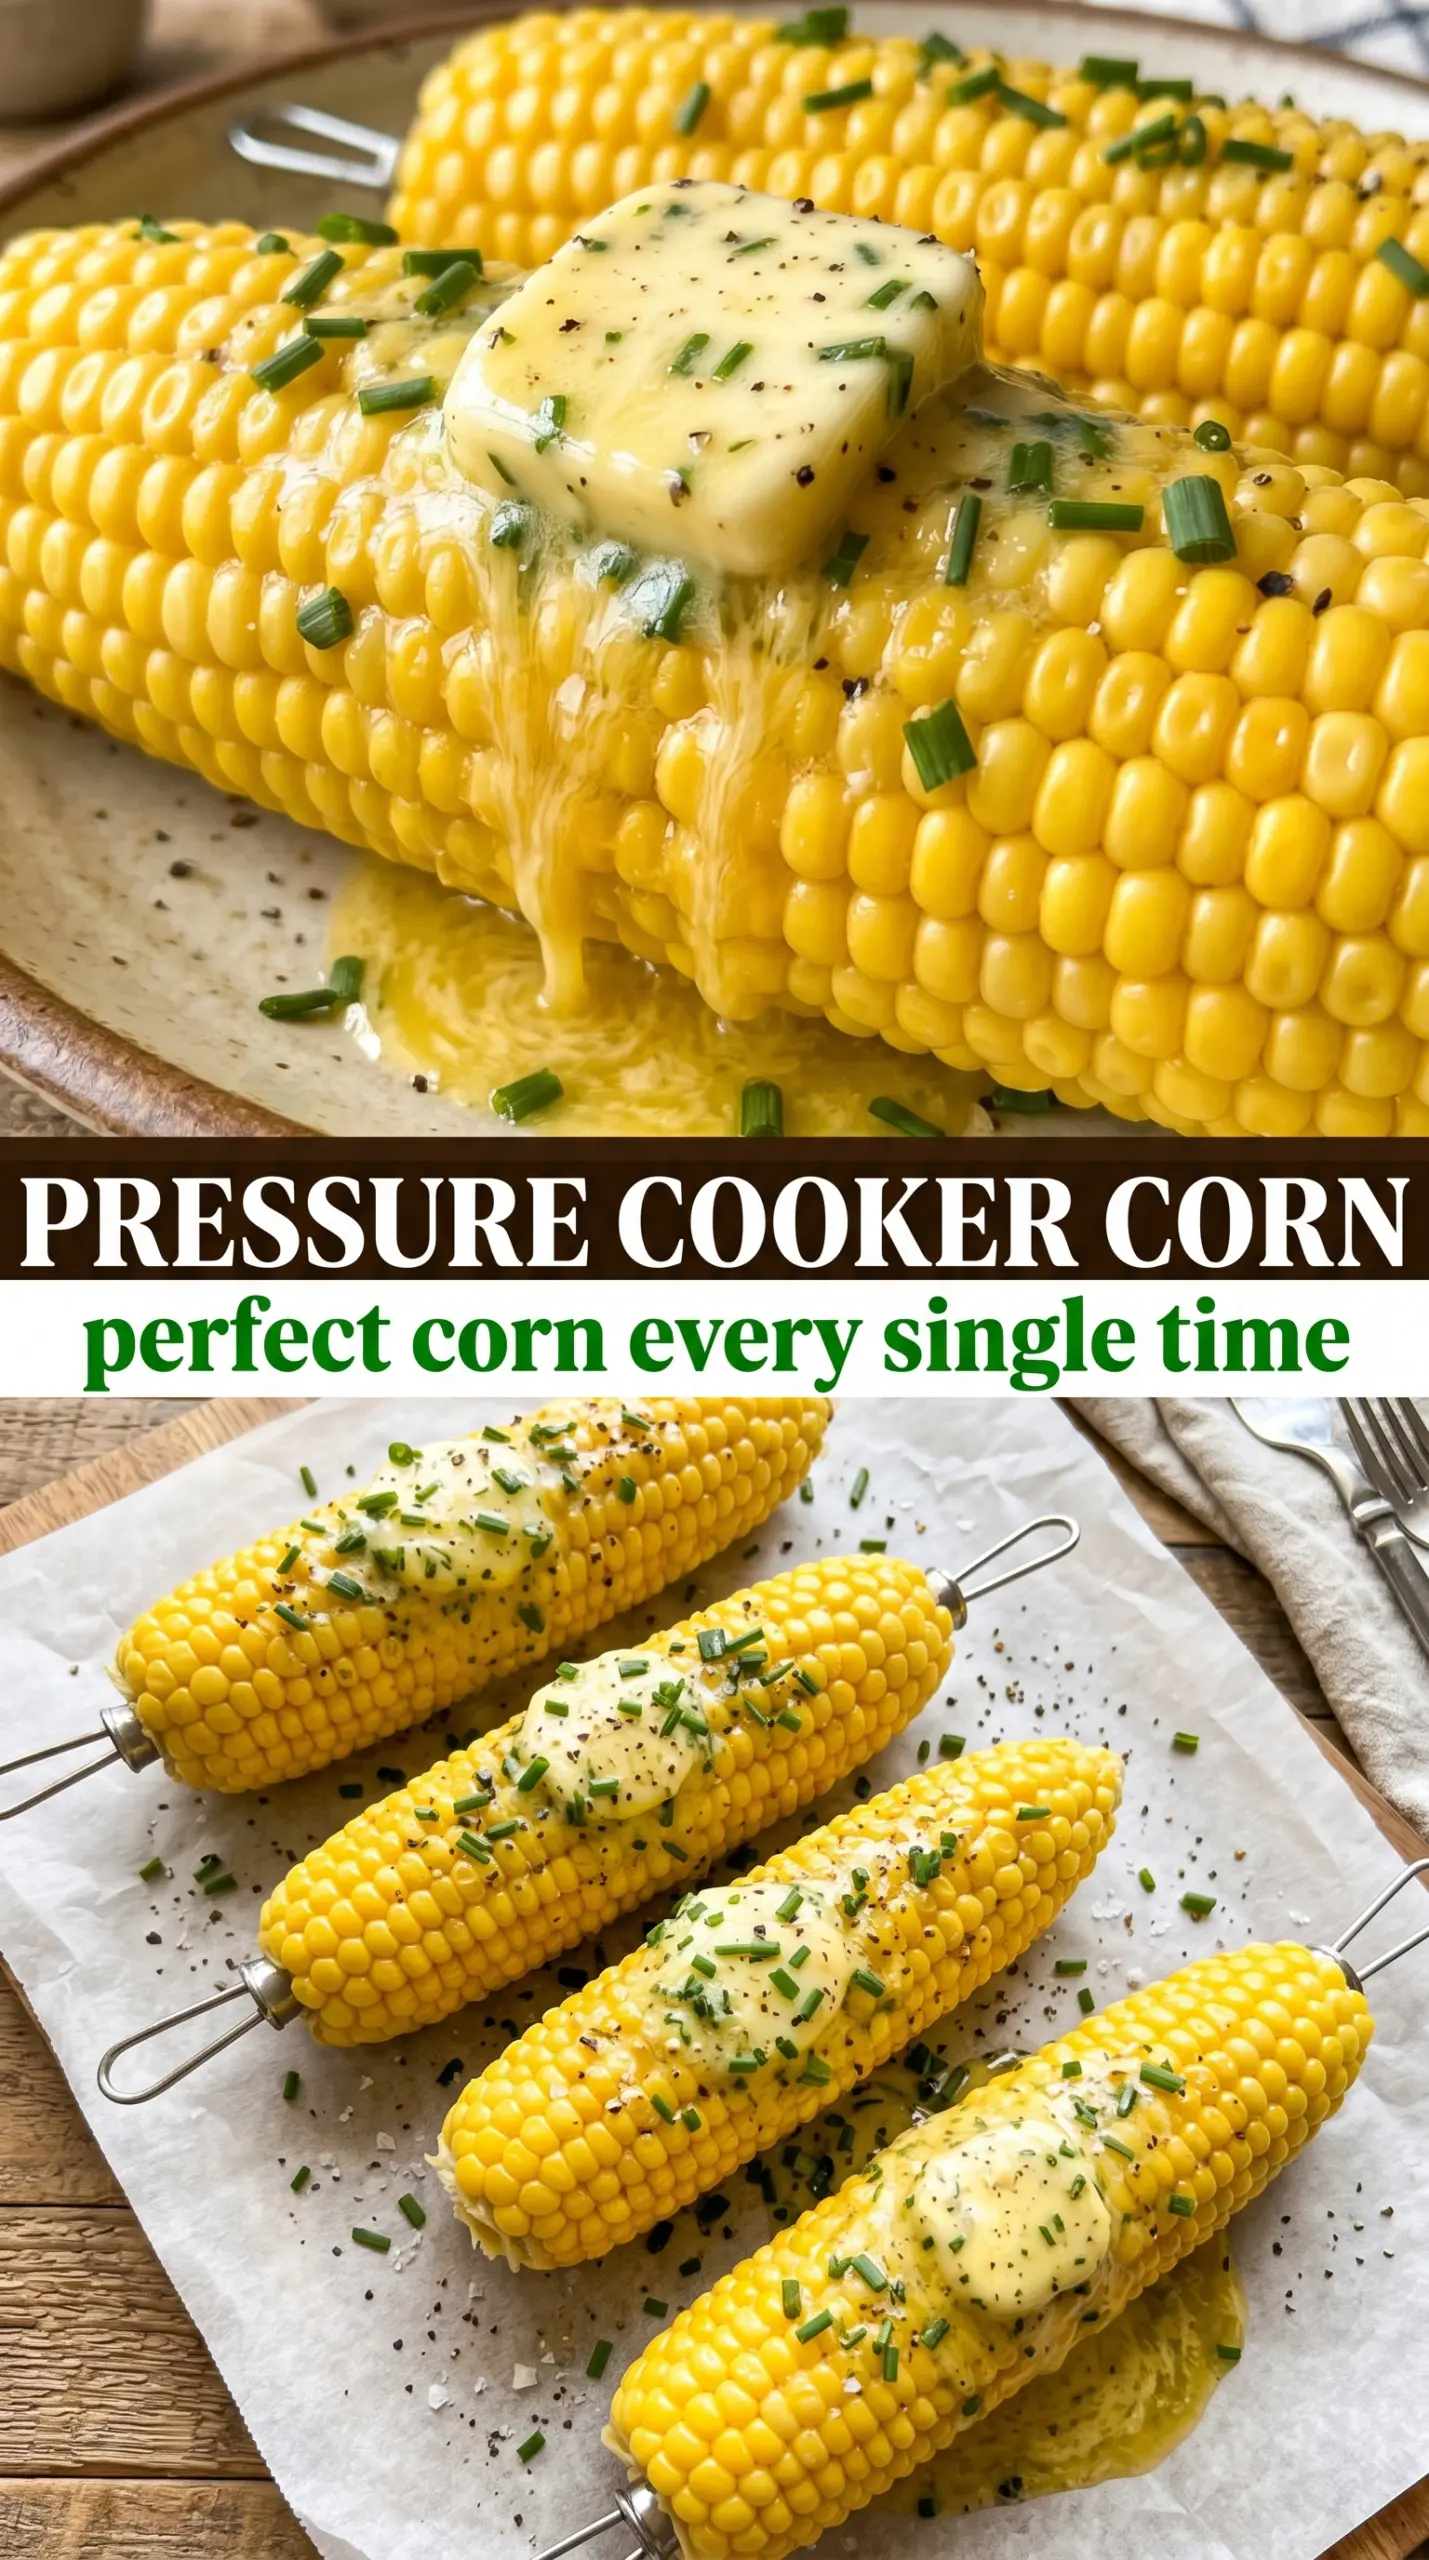
- Corn — Fresh ears matter most here. The pressure cooking is gentle, but it won’t hide old, dry corn, so choose ears with tight husks and moist-looking silk when you can. Breaking them in half is helpful for fit and serving, and it doesn’t hurt the texture.
- Water — Just one cup is enough because it’s creating steam, not boiling the corn submerged. More water won’t improve the result; it only takes longer to come to pressure.
- Butter — Add it after cooking so it melts into the hot kernels and coats them evenly. Salted butter works too, but I like unsalted here because it gives you more control when you finish with flaky salt.
- Flaky salt and chives — These are the finishing details that make the corn taste complete. Flaky salt gives you little bursts of seasoning instead of a flat salty edge, and fresh chives add a mild onion note that works with sweet corn without overpowering it.
Getting the Timing Right in the Instant Pot
Set Up for Steam, Not Boil
Pour the water into the insert first, then add the trivet so the corn sits above the liquid. Stack the halved ears on top; overlap is fine because the goal is steam circulation, not perfect spacing. If the corn is touching the water, you’ve changed the method from steaming to boiling, and the texture gets softer than it should.
Use a Short Pressure Cook
Two minutes on High Pressure is the sweet spot for fresh corn cut in half. The pot will take a few minutes to come up to pressure, and that extra time is part of the cook, so don’t increase the timer unless the ears are unusually thick or not fully fresh. For corn that’s been sitting around for a while, the texture is usually better at two minutes than three.
Release the Pressure Right Away
When the timer ends, quick release immediately. That stops the kernels from turning mushy and keeps the bite bright. If the vent sputters, pause and finish it in short bursts rather than letting it sit and continue cooking in the residual heat.
Season While It’s Hot
Lift the corn out with tongs and add the butter while it’s still steaming. Hot kernels grab the salt better than warm ones, and the butter melts into the ridges instead of sliding off. This is the moment for pepper, chives, and flaky salt, because once the corn cools a bit, the toppings don’t cling nearly as well.
How to Adapt This for Different Dinners and Dietary Needs
Dairy-Free Corn with Olive Oil
Skip the butter and finish the corn with a good drizzle of olive oil or avocado oil, then add salt, pepper, and chives. You’ll lose the buttery richness, but the corn still tastes sweet and clean, and the oil helps the seasonings stick.
Garlic Butter Finish
Mash a little minced garlic into the melted butter before spooning it over the corn. The heat from the kernels softens the garlic just enough to take the raw edge off, but it still tastes sharper and more savory than plain butter.
Spicy Corn with Chili and Lime
Add a squeeze of lime and a pinch of chili powder or cayenne after cooking. The acid keeps the corn tasting bright, and the heat cuts through the sweetness without hiding it.
Storing Leftover Corn
- Refrigerator: Store leftover corn in an airtight container for up to 4 days. The kernels will stay sweet, though the texture softens a little after chilling.
- Freezer: Freeze the kernels cut from the cob, not the whole cobs. Whole cobs get watery after thawing, but cut kernels freeze well for soups, salads, and fritters.
- Reheating: Warm the corn gently in the microwave or in a covered skillet with a splash of water. High heat dries it out fast, so use just enough heat to take the chill off.
Answers to the Questions Worth Asking

Instant Pot Corn on the Cob
Ingredients
Equipment
Method
- Pour 1 cup of water into the Instant Pot and place the trivet inside.
- Stack the corn halves on the trivet, allowing them to overlap if needed.
- Seal the lid and cook on High Pressure for 2 minutes.
- Perform a quick release immediately when the timer ends.
- Carefully remove the corn with tongs.
- Top immediately with butter, salt, pepper, flaky salt, and fresh chives, then serve.


