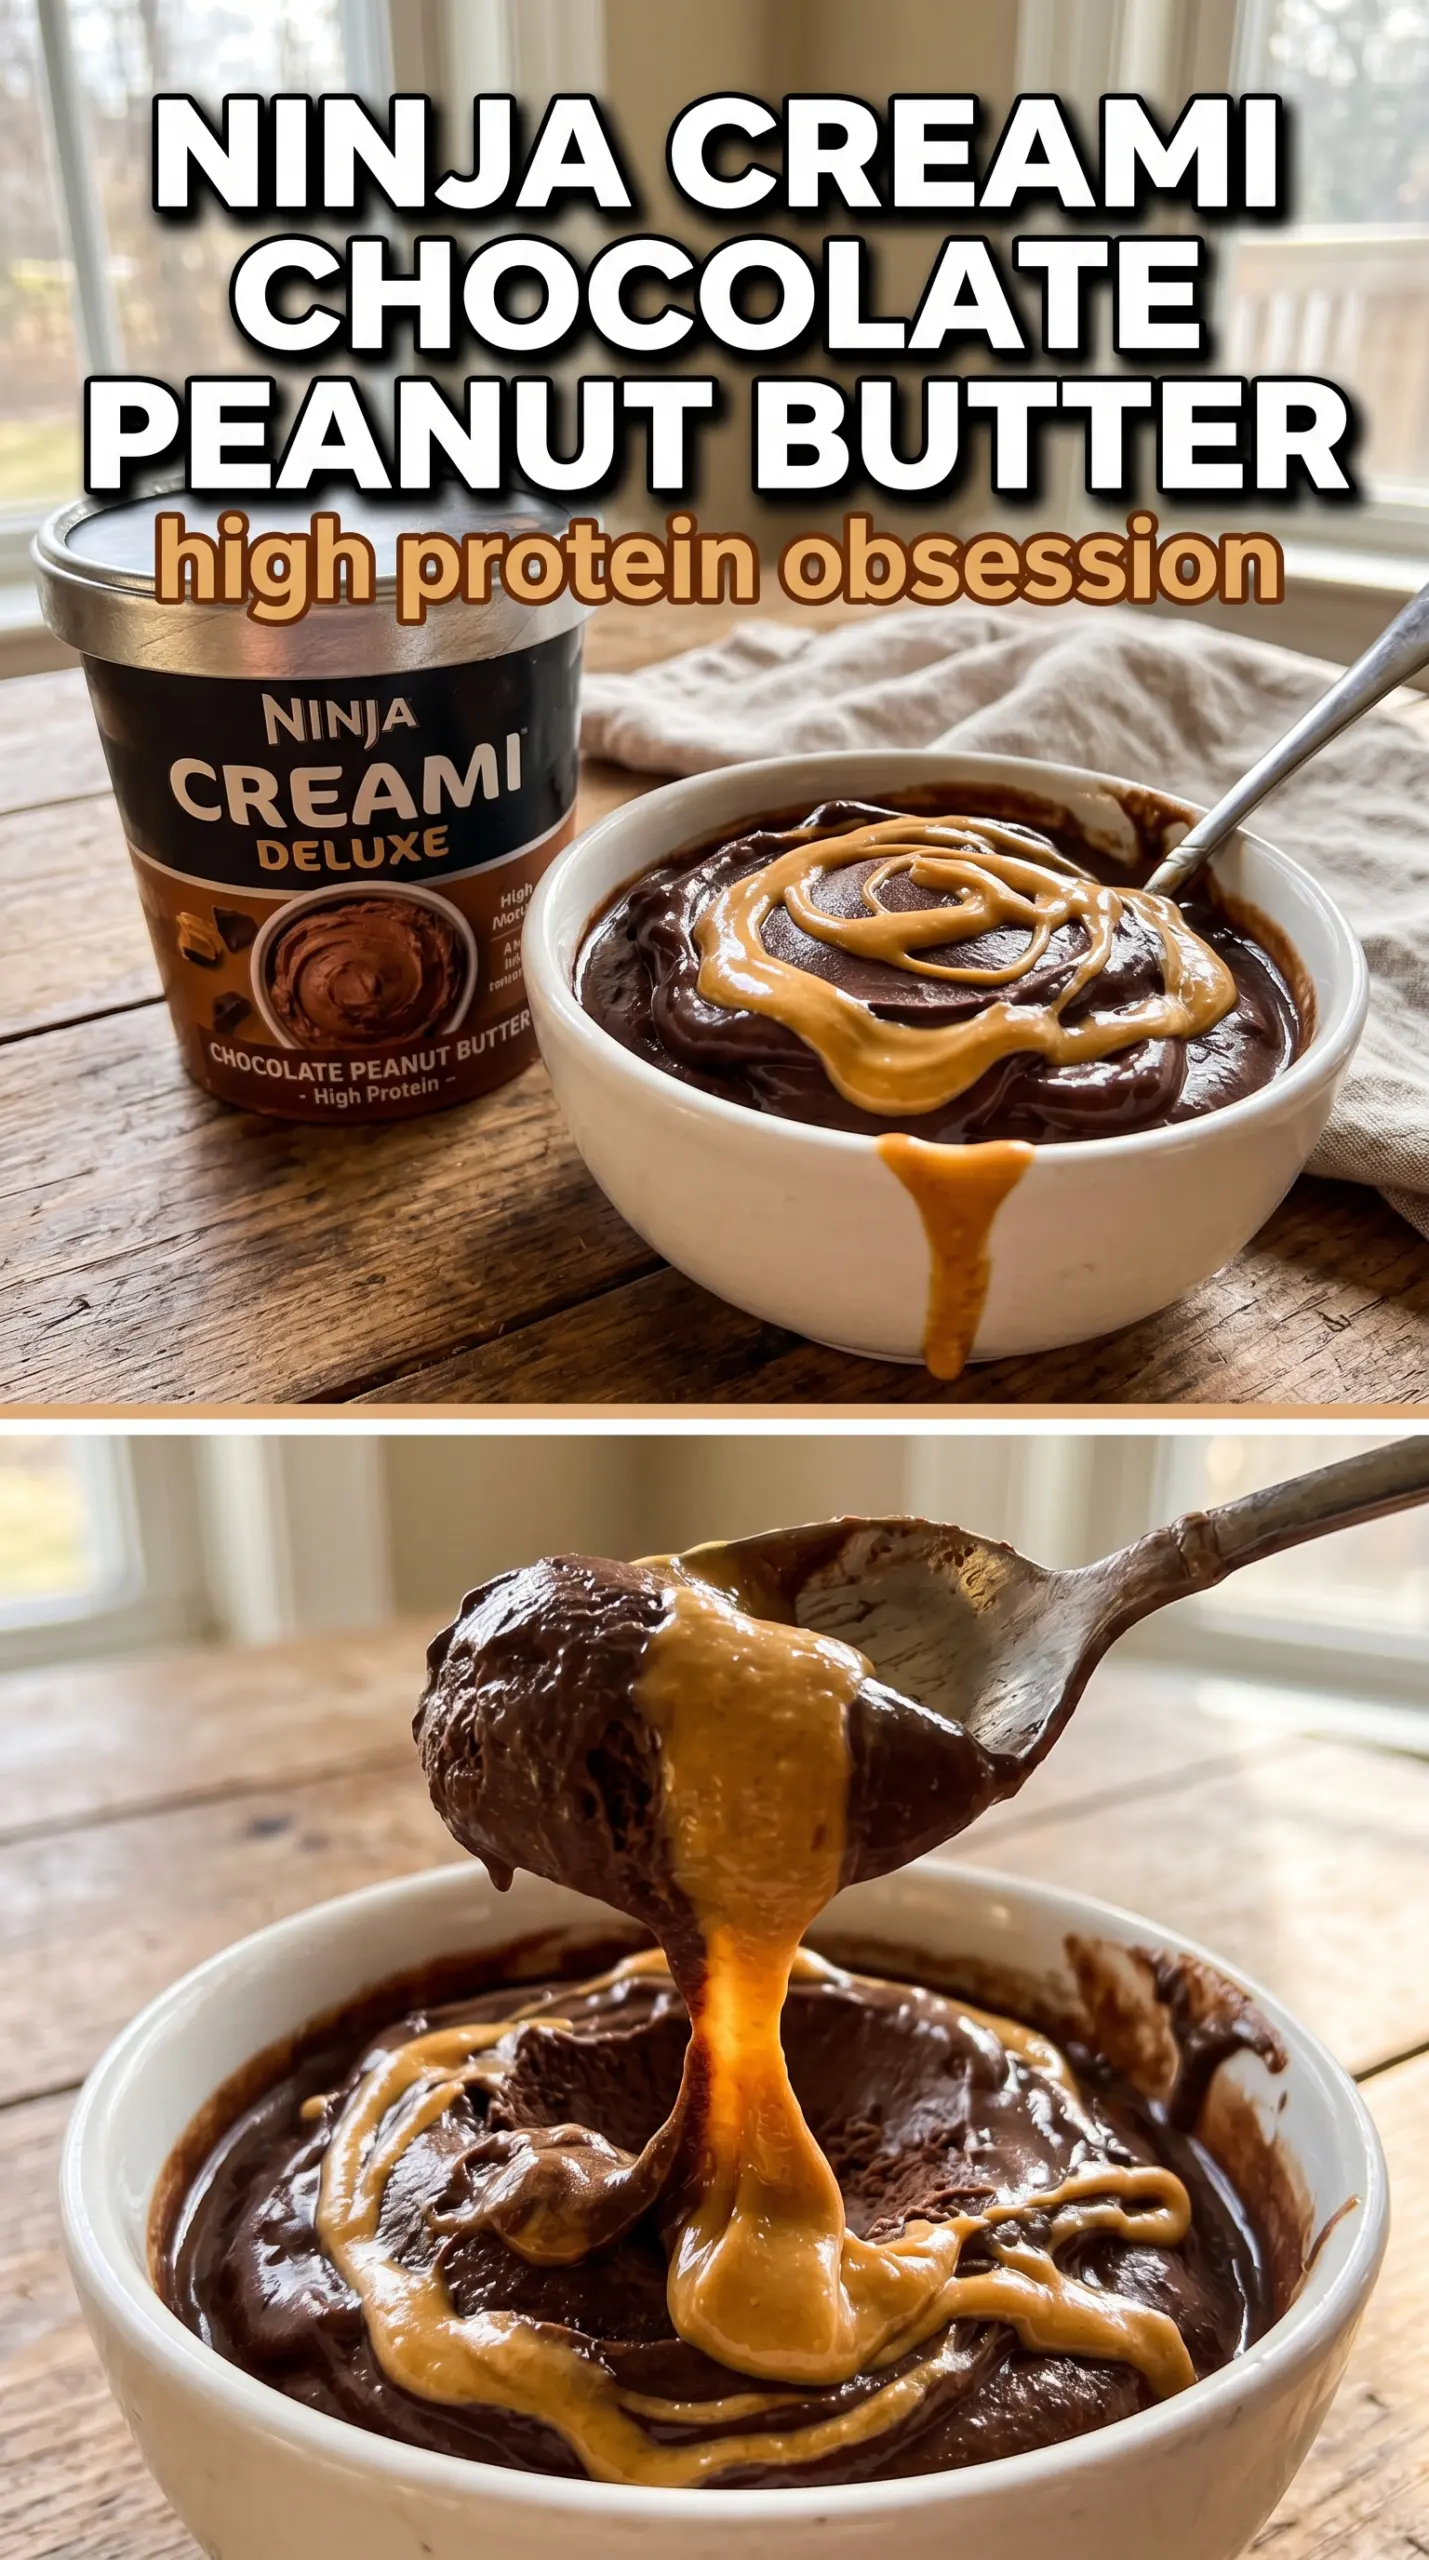
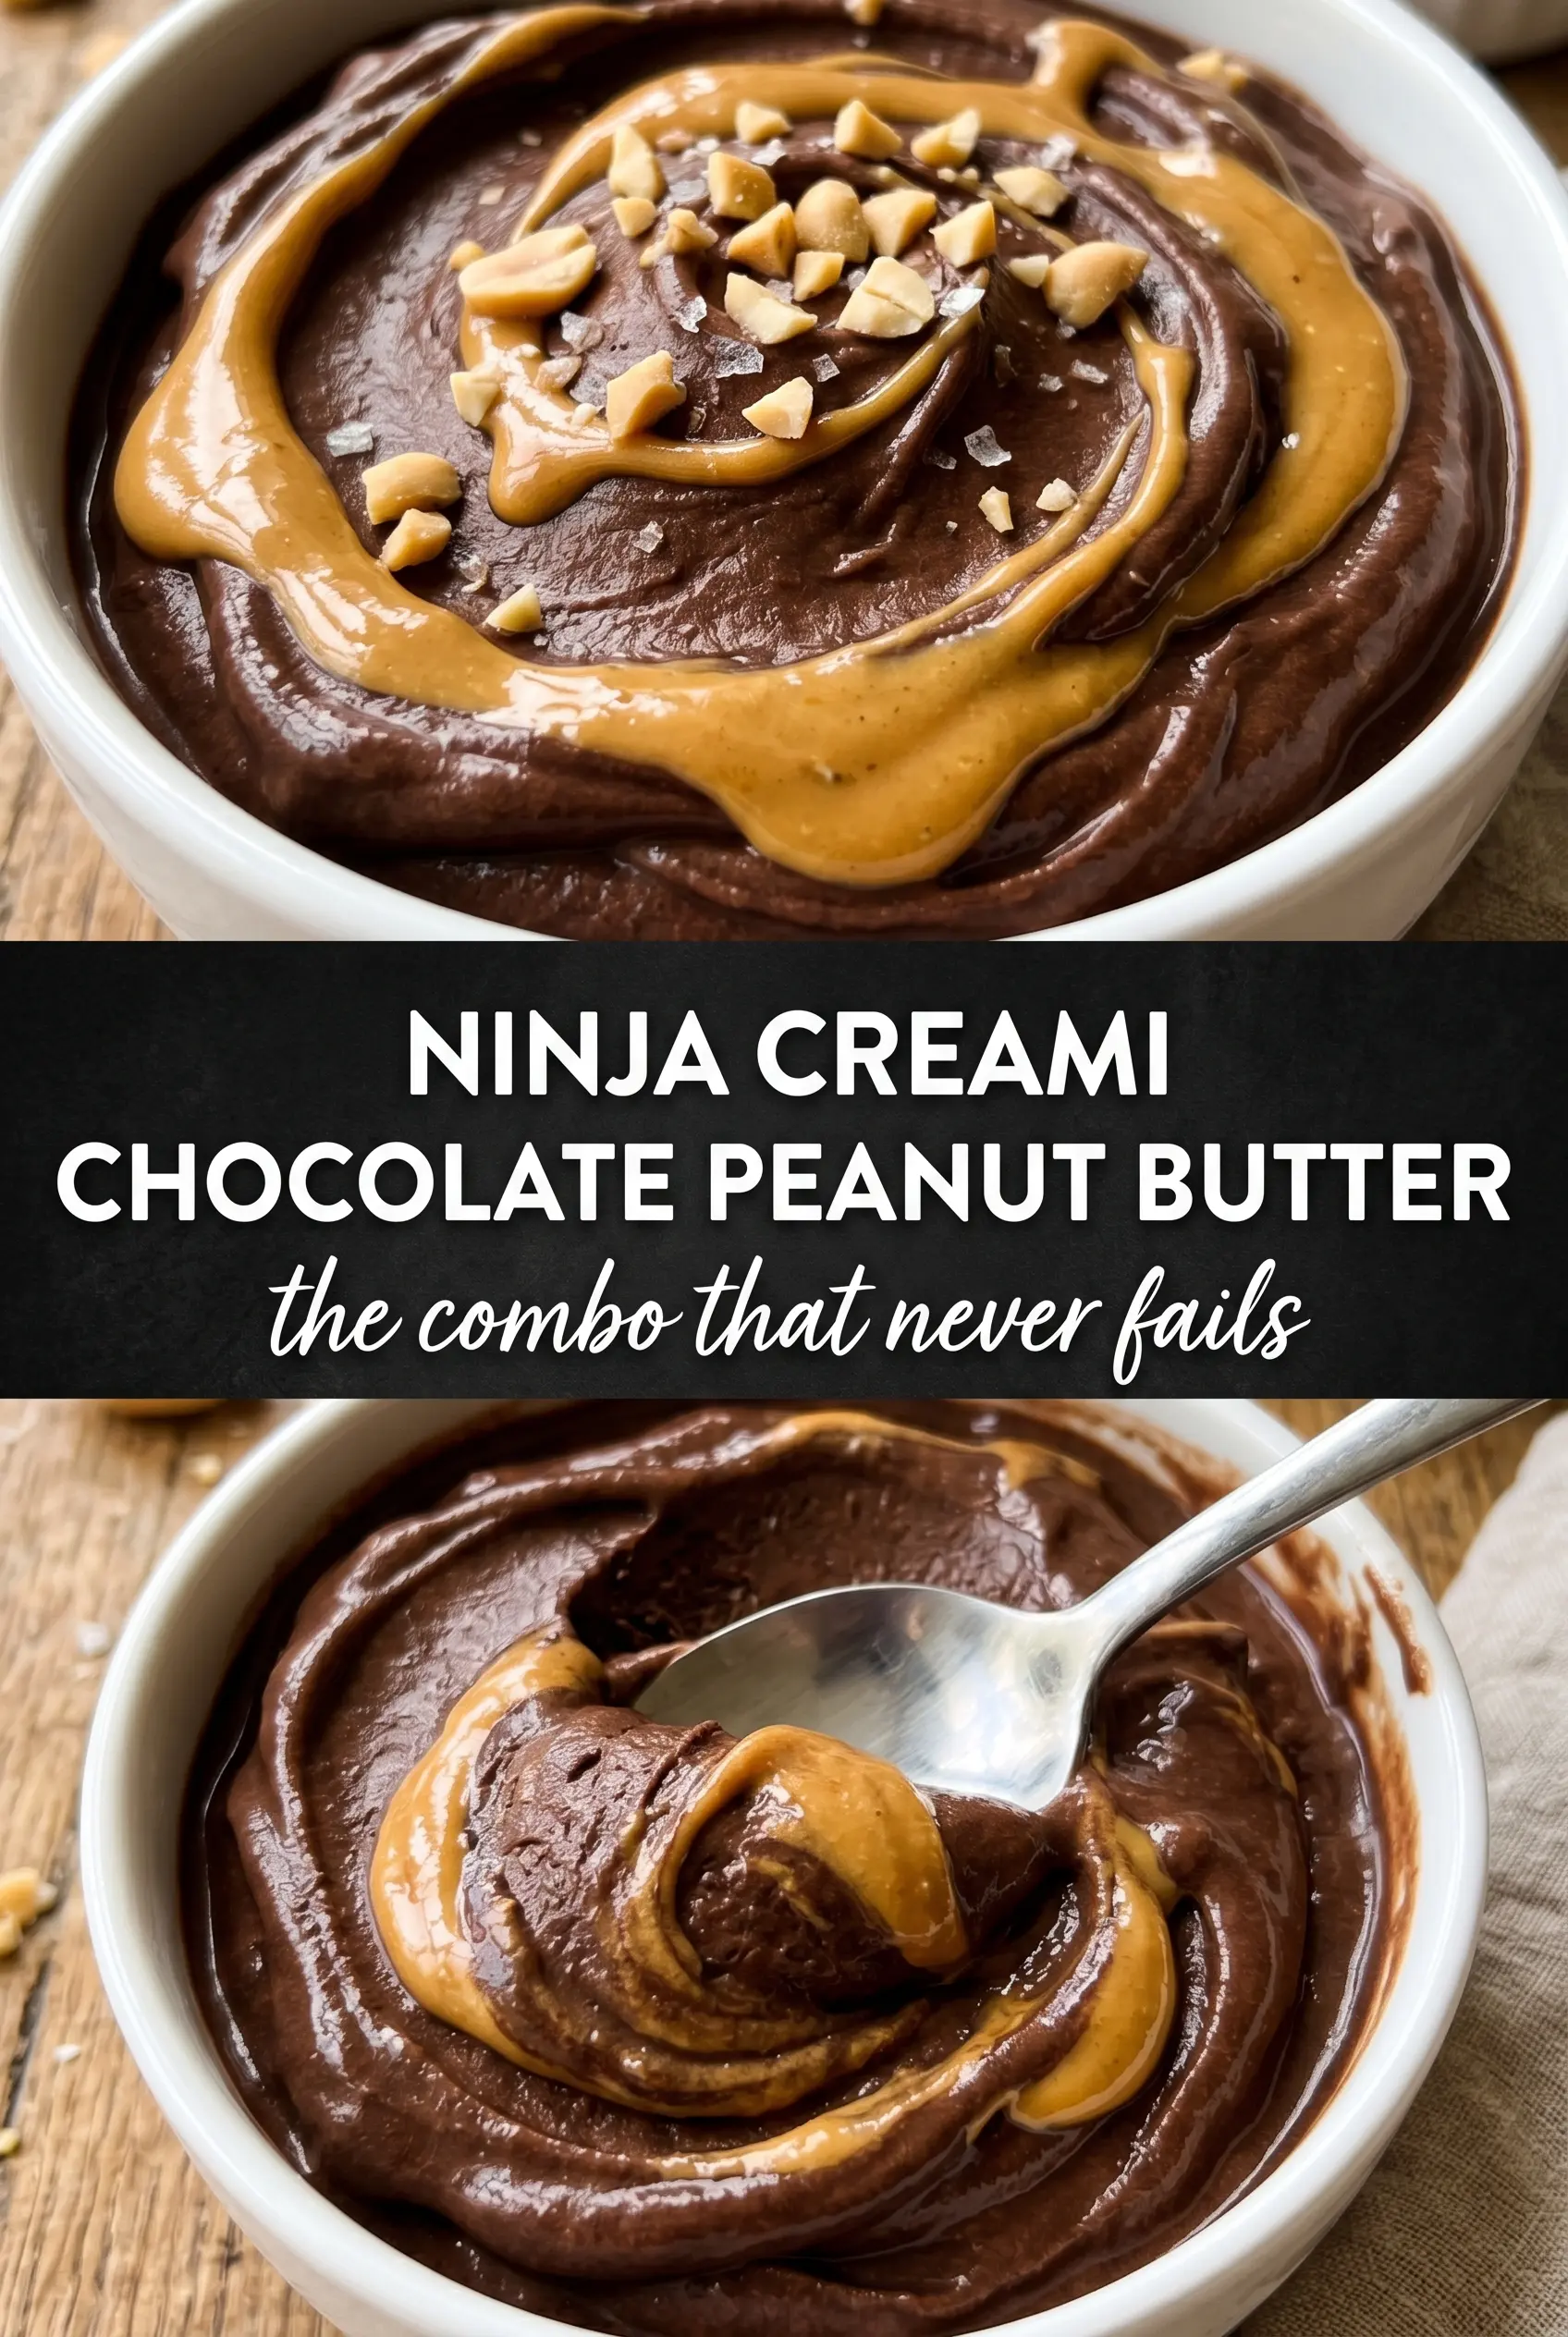
Rich chocolate ice cream with a thick peanut butter swirl hits the sweet spot between fudgy and creamy without tasting heavy. The chocolate base freezes dense in the Ninja Creami, then gets turned silky with one spin and finished with warm peanut butter that sinks into the top instead of disappearing into the whole pint.
What makes this version work is the balance in the base. Chocolate milk gives you a head start on flavor, cocoa deepens it, and a little cream cheese keeps the texture from freezing into a chalky block. The peanut butter goes in at the end, warmed just enough to drizzle, so you get those bold ribbons instead of a muddy mix.
Below, I’ll walk you through the small details that matter most: how smooth the base needs to be before freezing, when to add a splash of milk for a re-spin, and the easiest way to get that Reese’s-style swirl on top without overmixing it away.
The chocolate base froze up smooth, and the warm peanut butter swirled through the top instead of getting lost. My son asked if I could make another pint the next day.
Like this Ninja Creami chocolate peanut butter ice cream? Save it to Pinterest for the nights when you want a dense chocolate pint with a warm peanut butter swirl.
The Secret to Keeping the Peanut Butter Swirl Distinct
The biggest mistake with this kind of pint is stirring the peanut butter into the base too early. Peanut butter belongs at the finish, when the ice cream is already processed and fluffy. That way it stays in ribbons and pockets instead of blending into the chocolate and turning the whole thing beige.
The other thing that matters is the base texture before freezing. A Creami mix that isn’t fully smooth will freeze with tiny grit from the cocoa or cream cheese, and no machine setting fixes that later. Blend until the mixture looks glossy and completely uniform, then freeze it flat so the blade can work evenly through the pint.
- Chocolate milk or whole milk — Chocolate milk gives the fastest route to a deeper chocolate base, while whole milk makes the flavor cleaner and lets the cocoa lead. Either one works, but if you use plain whole milk, the cocoa and sugar have to do all the heavy lifting.
- Heavy cream — This is what keeps the finished ice cream from eating icy. You can swap in half-and-half in a pinch, but the pint will be lighter and less plush.
- Cream cheese — This small amount gives the base body and helps it churn into a scoopable texture instead of a shaved-ice texture. Softened cream cheese blends in best; cold cream cheese leaves tiny bits behind.
- Unsweetened cocoa powder — Use a cocoa you like to drink, because its flavor carries through after freezing. Dutch-process cocoa gives a darker, smoother chocolate note; natural cocoa tastes a little sharper.
- Creamy peanut butter — Warm it just enough to loosen. Thick peanut butter straight from the jar won’t drizzle well and tends to tear the top instead of swirling through it.
What Each Ingredient Is Actually Doing in This Frozen Dessert
- Base ingredient (cream, milk, or non-dairy) — This provides the foundation and richness. Quality matters.
- Sweetener (sugar, honey, or other) — This sweetens and prevents ice crystals. The ratio is critical.
- Flavor element (vanilla, fruit, or other) — This defines the ice cream personality. Use quality ingredients.
- Stabilizers (egg yolks, cornstarch, or gelatin) — These prevent melting and large ice crystals. Optional but helpful.
- Churning (if using ice cream maker) — This incorporates air and prevents ice crystals. Critical for smooth texture.
- Freezing temperature and time — Proper freezing prevents rock-hard texture. Store at 0°F or below.
- Mix-ins (chocolate, cookies, or fruit) — These add texture and prevent monotone flavor. Add near end of churning.
- No-churn method (if using whipped cream or condensed milk) — This creates creamy texture without ice cream maker. Freezing time is longer.
How to Build the Base So It Freezes Smooth
Blending Until the Base Is Completely Uniform
Combine the milk, cream, cocoa, sugar, cream cheese, vanilla, and salt in a blender or use an immersion blender in a deep cup. Stop only when the mixture looks glossy and there are no visible cocoa specks or cream cheese bits clinging to the sides. If the base isn’t smooth now, those little lumps harden in the freezer and show up in the final texture.
Freezing the Pint Flat and Untouched
Pour the mixture into the Ninja Creami pint container and freeze it level for a full 24 hours. A tilted pint freezes unevenly, which can make one side processed and the other side crumbly. The surface should be solid all the way through before you spin it, not slushy in the center.
Processing, Then Deciding on a Re-Spin
Run the Ice Cream setting first and look for a dry, powdery center before you add anything else. If the pint looks crumbly, add 1 tablespoon milk and re-spin; that small amount is enough to loosen the texture without watering down the chocolate. Too much liquid makes the pint soft and thin instead of dense and scoopable.
Adding the Peanut Butter Swirl at the End
Warm the peanut butter just until it flows off a spoon in a slow ribbon. Drizzle it over the top of the processed ice cream and fold once or twice with a spoon, or use the Mix-In function if you want more even distribution. Stirring hard at this stage blends the swirl into the base, which defeats the whole point.
How to Adapt This Pint When You Want It Lighter, Sweeter, or Dairy-Free
Make it richer with Dutch-process cocoa
Dutch-process cocoa gives the pint a darker, smoother chocolate taste and makes the base look more like a classic chocolate ice cream. It’s a good swap if you want less bitterness and a deeper color.
Go dairy-free with full-fat coconut milk
Use canned full-fat coconut milk in place of the cream, and swap the chocolate milk for a dairy-free chocolate milk or plain plant milk with an extra tablespoon of sugar. The texture will be a little softer and the coconut note will show up, but the pint still freezes creamy enough to spin well.
Make the swirl stronger with a little powdered sugar
If you want the peanut butter to taste more like a candy-bar filling, stir 1 to 2 teaspoons powdered sugar into the warmed peanut butter before swirling it in. That gives the ribbon a softer, sweeter finish without making the base too sweet.
Storage and Reheating
- Refrigerator: This ice cream isn’t meant to be stored in the fridge; it melts fast and loses its texture.
- Freezer: You can refreeze leftovers in the pint, but the texture gets harder and a little icier after the first day. Press parchment directly on the surface before freezing to help slow that down.
- Reheating: Let the pint sit at room temperature for 5 to 10 minutes before scooping. If you try to force it straight from the freezer, the top cracks and the texture turns rough.
Questions I Get Asked About This Recipe
Ninja Creami Chocolate Peanut Butter Ice Cream
Ingredients
Equipment
Method
- Blend chocolate milk (or whole milk), heavy cream, cocoa powder, granulated sugar, softened cream cheese, vanilla extract, and salt until completely smooth with no lumps remaining, pausing and scraping as needed.
- Pour the mixture into the Ninja Creami pint container and freeze for 24 hours (until fully solid).
- Process on the Ice Cream setting; if the texture isn’t properly churned, re-spin once with 1 tablespoon milk until scoopable.
- Drizzle warm peanut butter over the frozen surface and swirl in with a spoon, or use the Mix-In function to combine.
- Serve immediately while the peanut butter swirl is still glossy and the ice cream is at its best texture.


