Tropical coconut ice cream gets its best texture when the base is rich enough to freeze smooth but not so heavy that it tastes dull, and this version lands right in that sweet spot. The coconut milk brings body, the cream keeps it plush, and the pineapple stays bright instead of getting lost in the mix. Every spoonful tastes like pineapple up front, then soft coconut, then a little toasted crunch from the shredded coconut.
The trick is treating the custard like a real custard, not just a mixture to warm through. Egg yolks give the ice cream that dense, scoopable finish, while the cooked base helps the coconut flavor taste round instead of thin. The pineapple goes in near the end of churning so it stays in little bursts instead of turning icy and sharp. That’s the difference between a frozen dessert that tastes homemade and one that tastes carefully built.
Below you’ll find the point where the custard can go wrong, why the pineapple gets added late, and how to keep the final texture creamy after freezing. If you’ve ever had coconut ice cream turn too hard or pineapple ice cream taste flat, this method fixes both problems.
The custard stayed silky and the pineapple pieces were still bright and juicy after freezing, not icy or tough. I served it after 30 minutes on the counter and it scooped like a dream.
Save this pineapple coconut ice cream for the day you want a creamy tropical dessert with real pineapple chunks and toasted coconut.
The Custard Has to Cook, Not Just Warm
The most common mistake with homemade ice cream is stopping the base too early. Cold ingredients will still look thin in the pot, but once the custard reaches 175°F, the yolks have thickened enough to give you that creamy, scoopable texture after freezing. If you pull it before that point, the ice cream can freeze hard and icy. If you push it too far, the eggs can scramble and the base turns grainy.
Straining the custard matters here because coconut milk can leave little bits behind, and you want the finished ice cream smooth before the pineapple gets folded in. The mixture also needs to chill completely before churning. A warm base won’t freeze properly in the machine, and the pineapple will sink instead of staying distributed through the ice cream.
What Each Ingredient Is Actually Doing in This Tropical Ice Cream
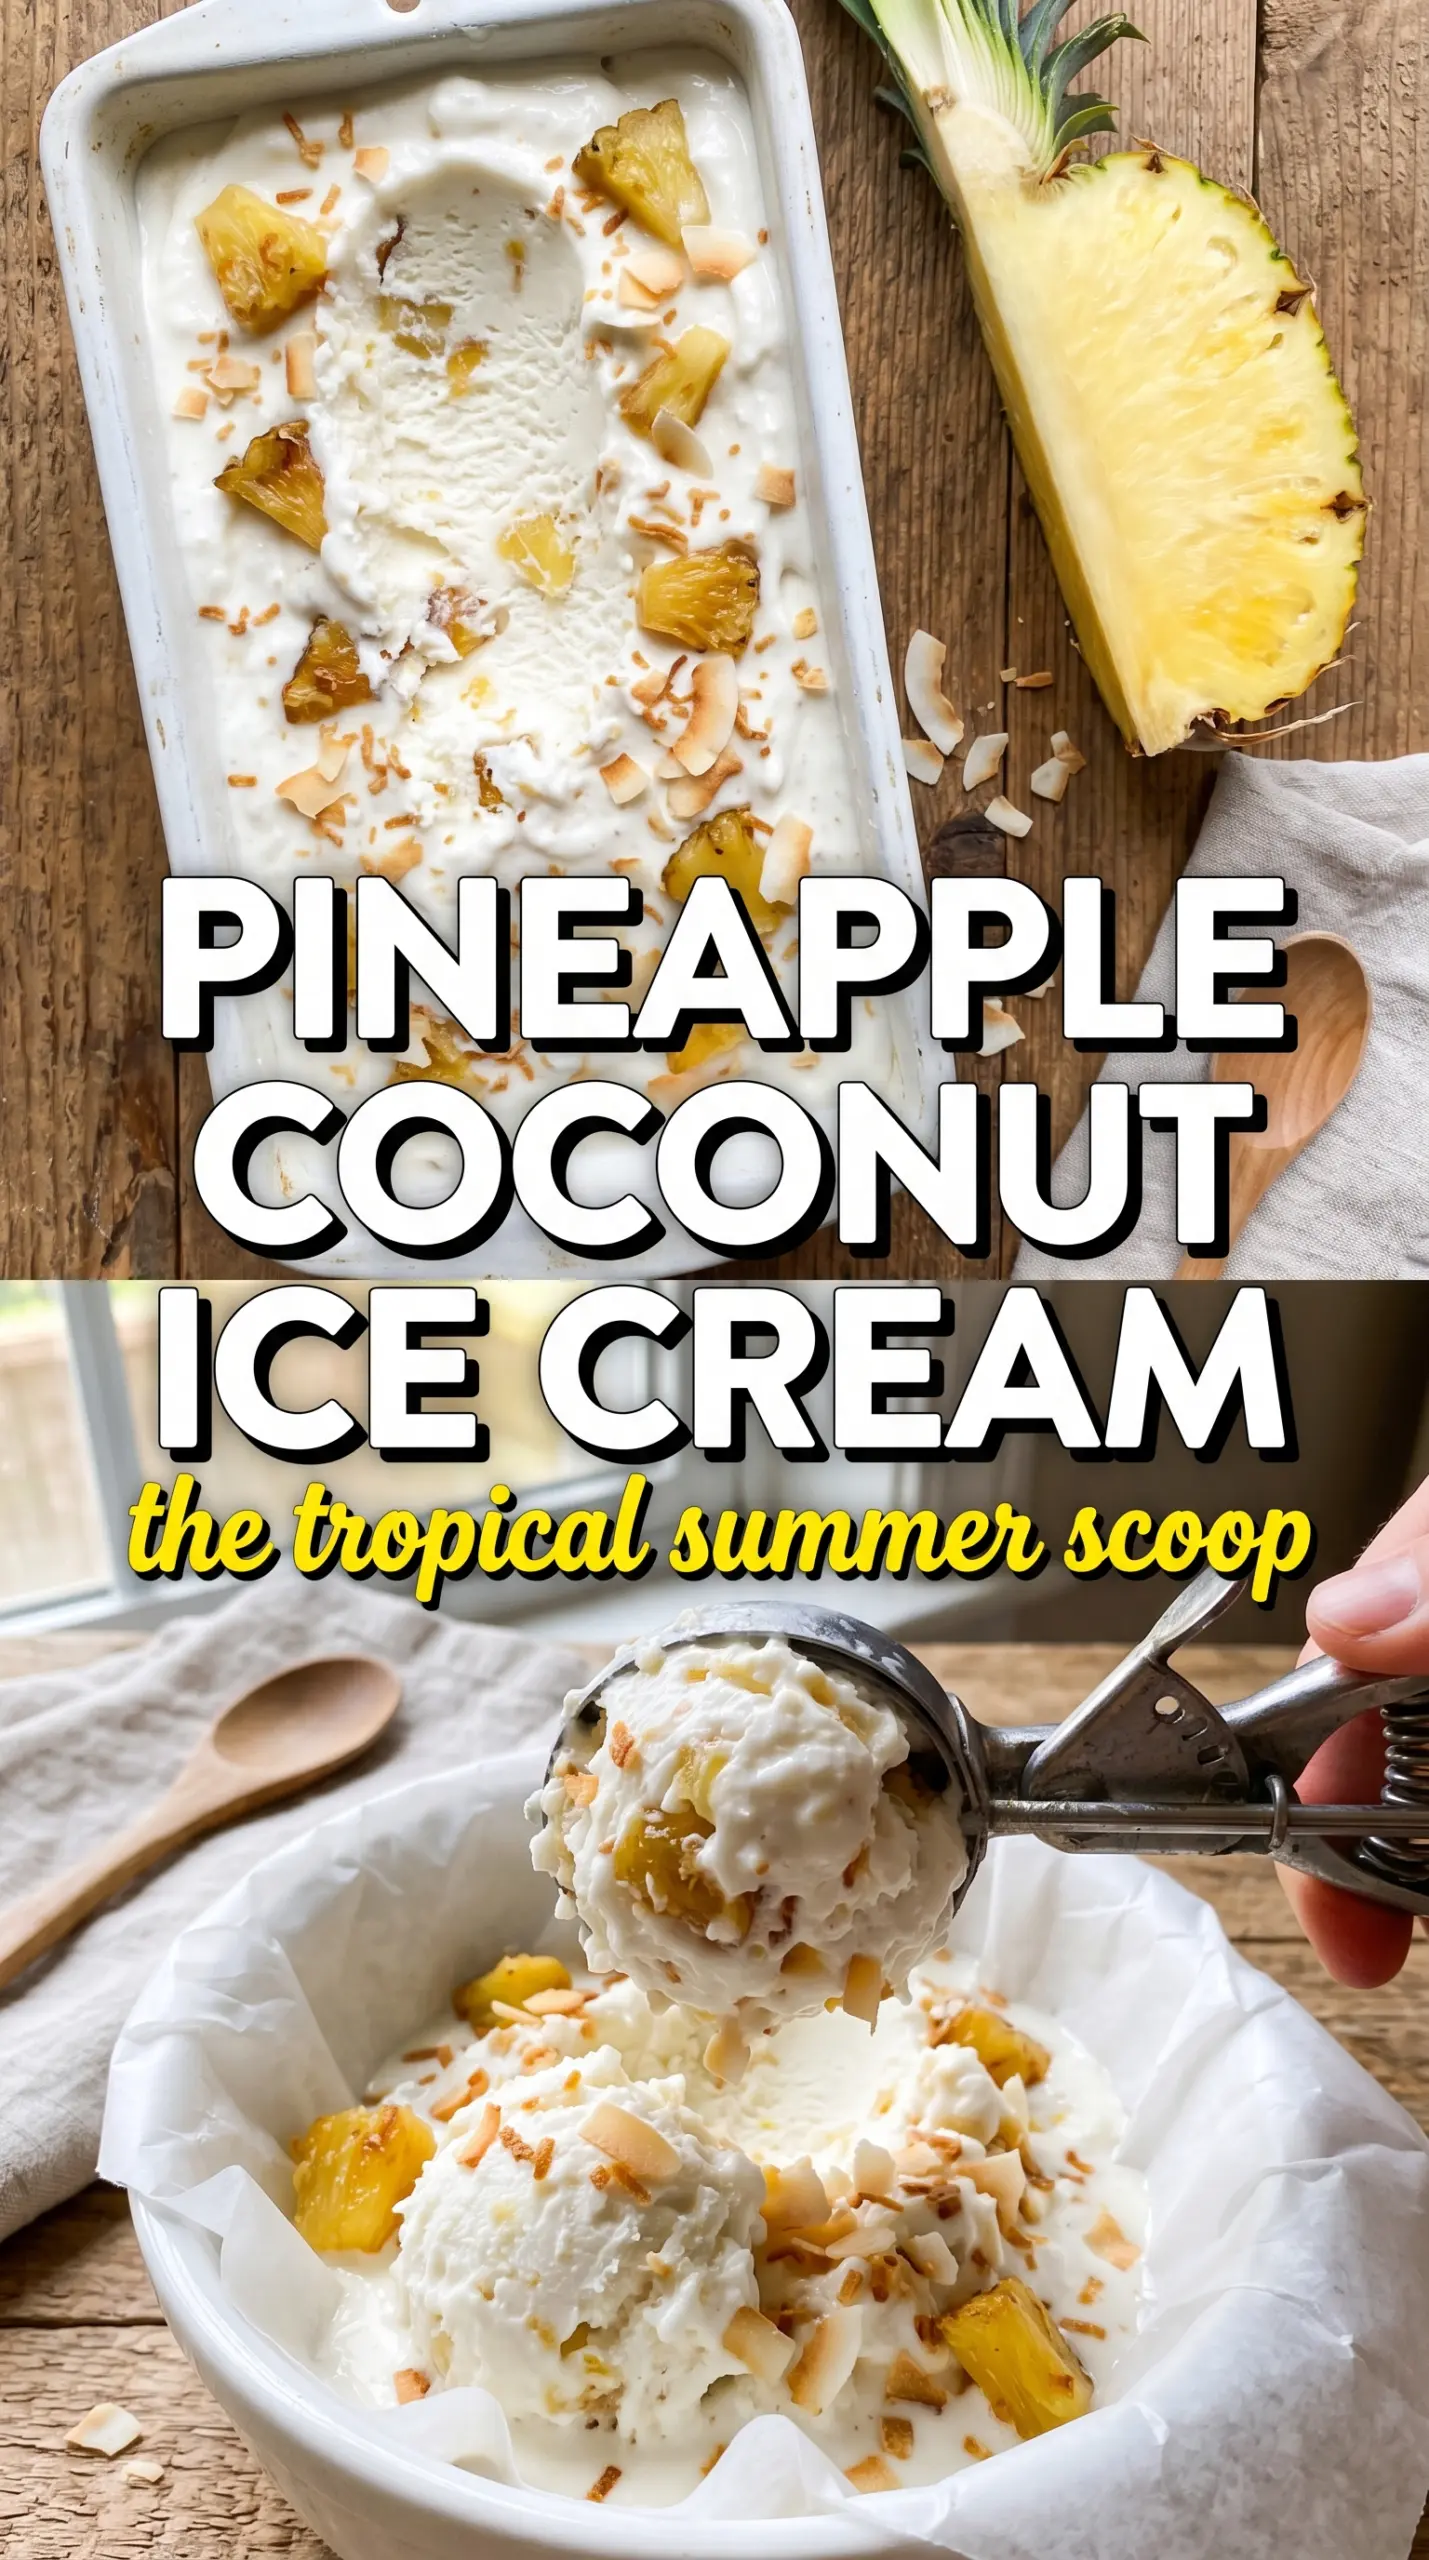
- Full-fat coconut milk — This gives the ice cream its coconut backbone and enough fat to freeze with a soft, creamy body. Light coconut milk won’t do the same job; it makes the base taste watery and icy.
- Heavy cream — The cream rounds out the coconut and keeps the texture lush after freezing. You can replace it with more coconut milk, but the ice cream will be firmer and less rich.
- Egg yolks — These are what turn the base into a custard and give the finished ice cream that dense, old-fashioned texture. Temper them slowly so they thicken instead of scrambling; rushing this step is where most failures happen.
- Fresh pineapple — Fresh pineapple gives you bright flavor and small juicy bursts in the finished churn. If you use canned pineapple, drain it very well and expect a softer, slightly less vivid result.
- Toasted shredded coconut — This adds a little chew and a toasted note that keeps the ice cream from tasting one-dimensional. Untoasted coconut will work, but it won’t give the same contrast.
- Coconut extract and vanilla — These boost the coconut flavor without making the base heavier. The coconut extract is doing the heavy lifting here, so don’t skip it unless you’re fine with a milder coconut flavor.
The Churn That Keeps the Pineapple from Turning Icy
Warming the Base the Right Way
Heat the coconut milk, cream, and sugar together just until the sugar dissolves and the mixture is steaming. You don’t want a boil; too much heat makes the dairy harder to control when it hits the yolks. Whisk a little of the warm mixture into the yolks first, then add the yolks back to the saucepan in a slow stream. That gradual change in temperature is what keeps the custard smooth.
Cooking to the Right Thickness
Keep stirring as the custard cooks and watch for it to lightly coat the back of a spoon. At 175°F, it should look slightly thicker than heavy cream, not pudding-like. If you overcook it, the base can turn sandy. If you’re nervous, pull it from the heat as soon as it reaches temperature and strain it right away.
Chilling Before the Churn
Pour the custard into a clean container and chill it until it’s fully cold, then let it rest in the refrigerator for at least 4 hours. This step matters more than people think. A warm base churns slowly and traps larger ice crystals, while a cold base freezes smoother and faster. The pineapple goes in during the last 5 minutes so it stays suspended instead of breaking down in the machine.
The Final Freeze
After churning, pack the ice cream into a freezer container and press a piece of parchment or plastic wrap directly onto the surface. That small step helps keep freezer crystals off the top layer. Freeze until scoopable, but don’t judge it straight from the machine; it needs time to firm up. Let it sit at room temperature for 10 to 15 minutes before serving if it’s been in the freezer overnight.
Three Useful Ways to Change It Without Losing the Point
Dairy-Free Coconut Ice Cream
Swap the heavy cream for more full-fat coconut milk if you want a fully dairy-free version. The ice cream will taste a little more coconut-forward and freeze a touch firmer, but the custard method still gives it a creamy finish. Use the same temperature and chilling steps so the texture stays smooth.
No-Churn Shortcut
If you don’t have an ice cream maker, whip 2 cups of heavy cream to soft peaks and fold it into a fully chilled sweetened coconut mixture that has been thickened on the stove. You’ll lose a little of the dense custard body, but you’ll still get a smooth frozen dessert with good coconut flavor. Fold in the pineapple and toasted coconut at the end so the mix doesn’t deflate.
Pina Colada Version
Add a tablespoon of rum or rum extract if you want the flavor to lean more like a piña colada. Alcohol softens the freeze a bit, so keep the amount modest or the ice cream can stay too soft in the freezer. A small splash gives you the cocktail feel without changing the structure.
Storage and Reheating
- Refrigerator: Don’t store the finished ice cream in the fridge; it will melt and lose its texture. Keep the churned base chilled before freezing if you need to hold it for a few hours.
- Freezer: Store in an airtight container for up to 2 weeks for the best texture. After that, it can pick up ice crystals and the pineapple pieces get a little harder.
- Reheating: Not applicable for ice cream. For serving, let it sit at room temperature for 10 to 15 minutes so the fat softens and the scoops release cleanly.
Answers to the Questions Worth Asking
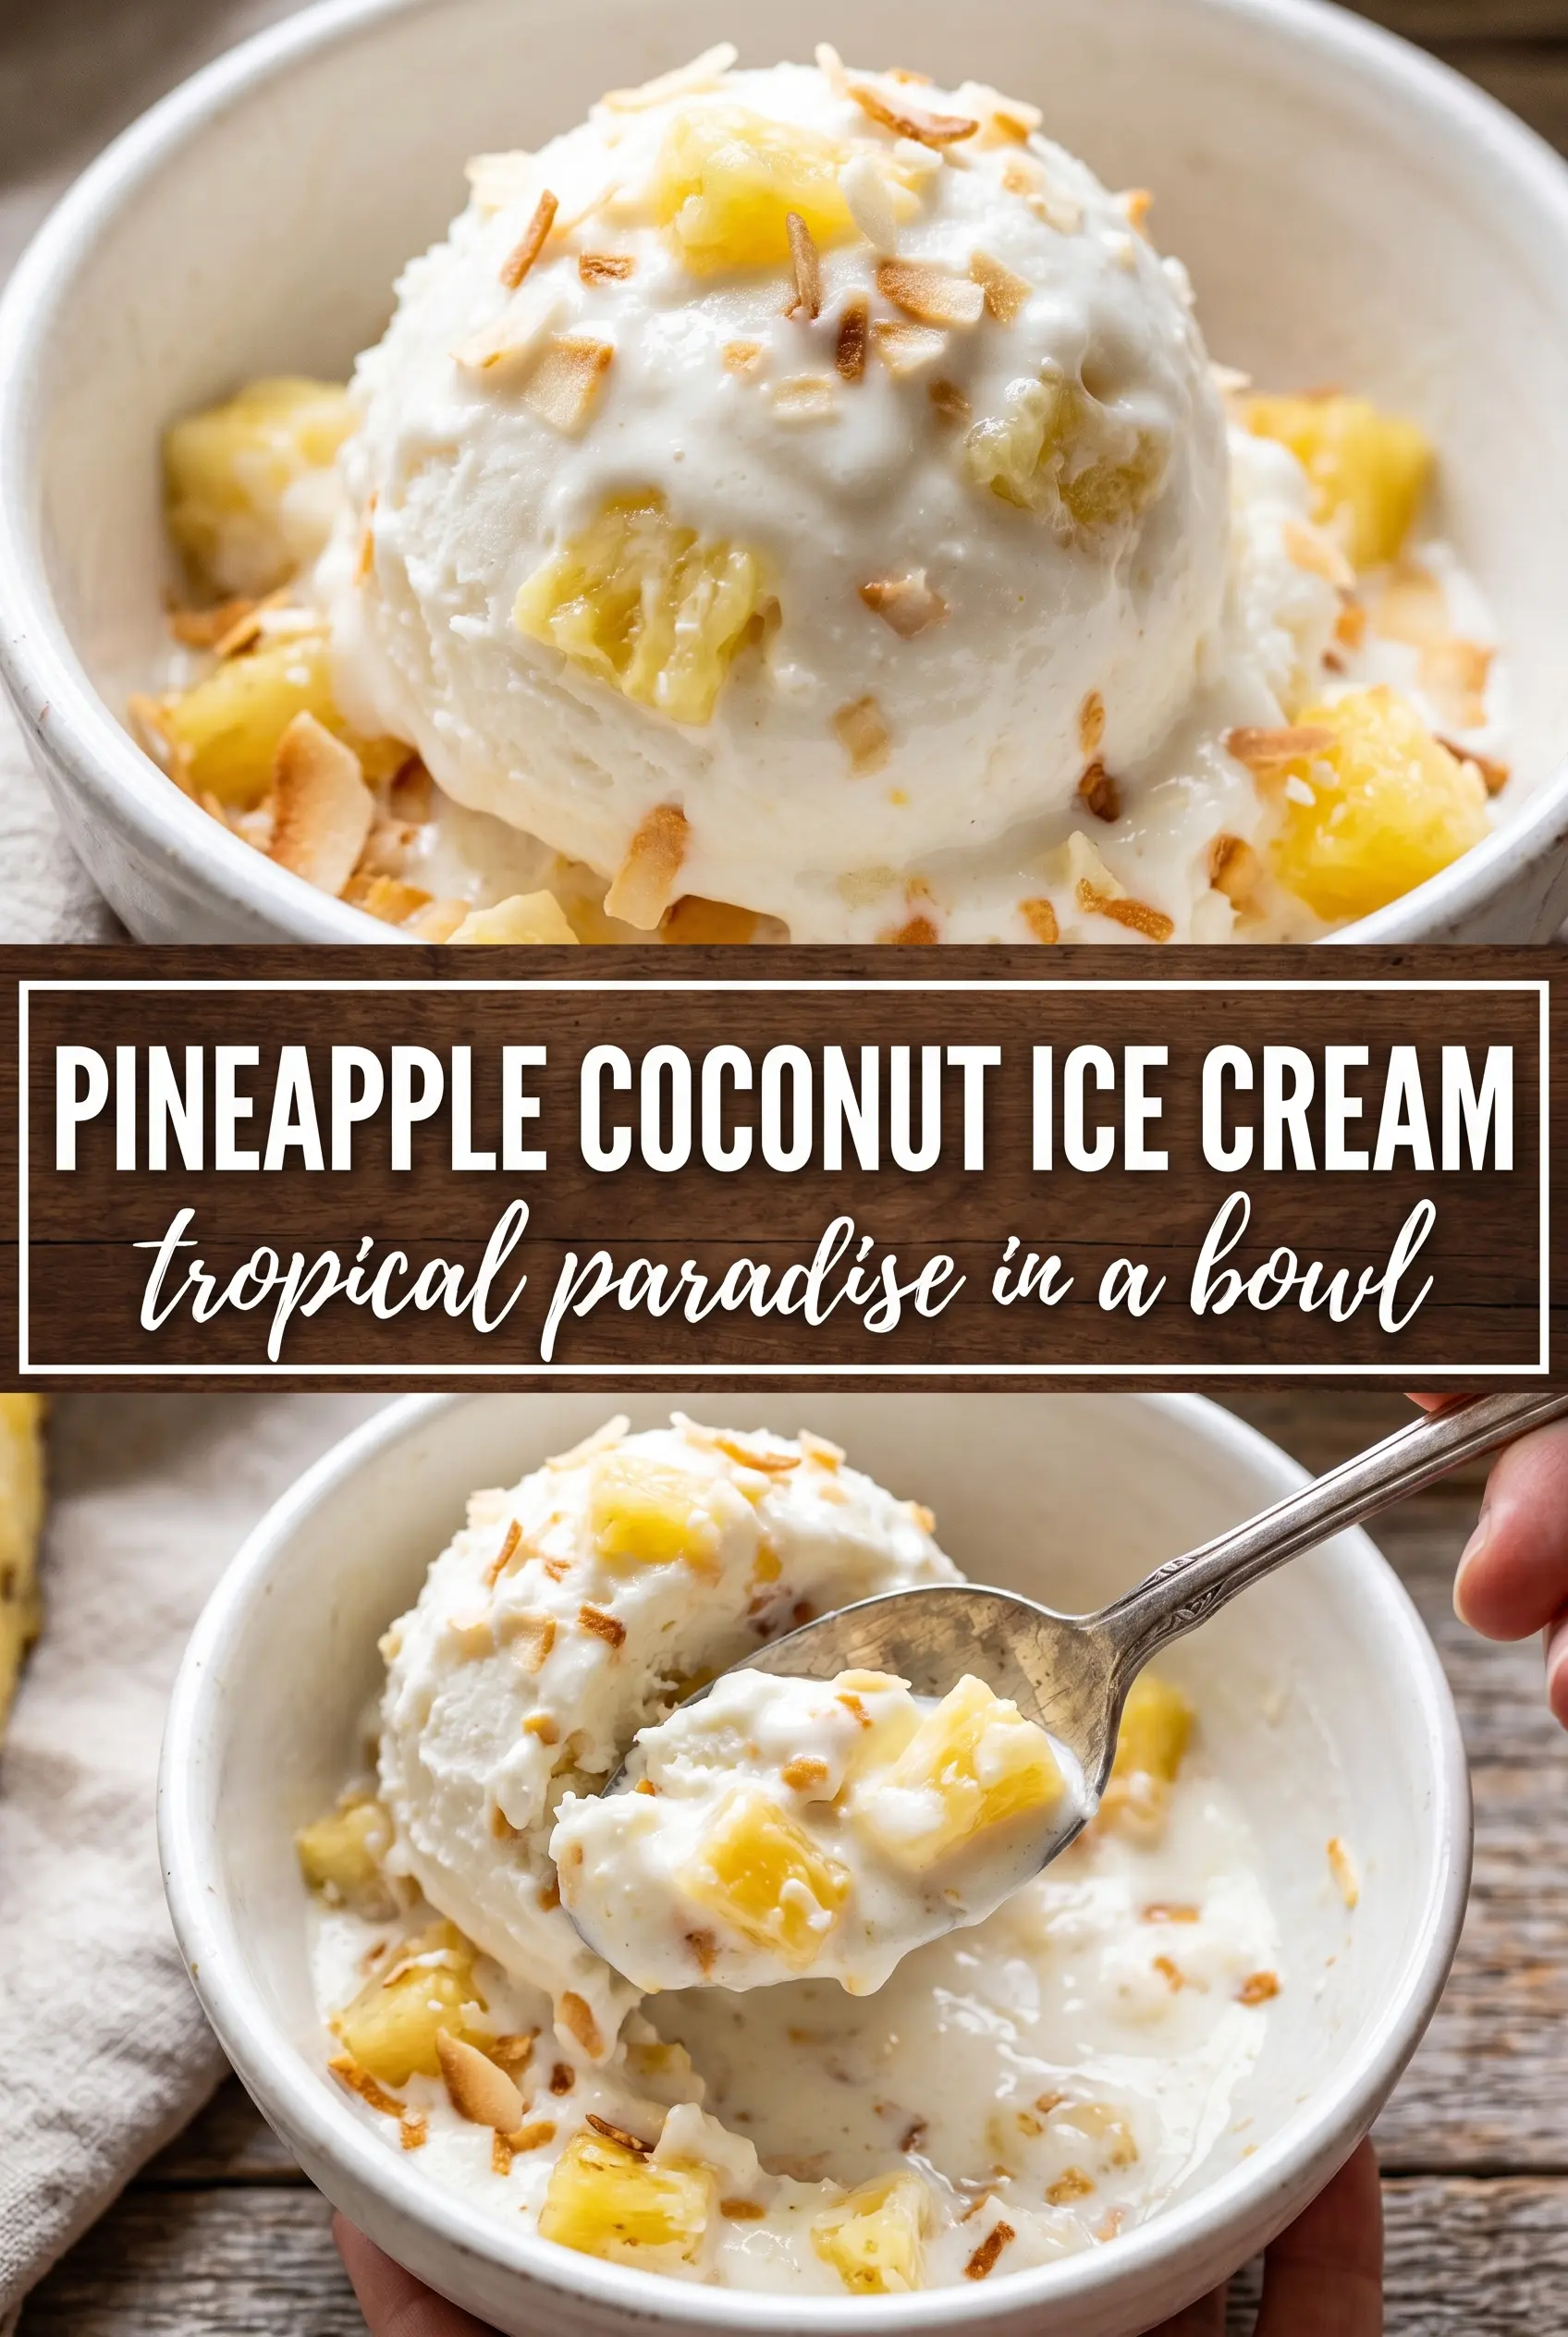
Pineapple Coconut Ice Cream
Ingredients
Equipment
Method
- In a saucepan, heat full-fat coconut milk, heavy cream, and granulated sugar, whisking until the sugar is fully dissolved.
- In a bowl, whisk egg yolks until smooth, then slowly whisk the hot coconut mixture into the egg yolks to temper.
- Return the mixture to the saucepan and cook at 175°F, stirring constantly, until it thickens enough to coat the back of a spoon (about 10 minutes).
- Strain the custard, then stir in coconut extract, vanilla extract, and salt until smooth.
- Cool to room temperature, then refrigerate at least 4 hours until very cold.
- Churn the chilled custard in an ice cream maker until it becomes thick and the texture looks like soft-serve.
- Add diced pineapple and toasted shredded coconut in the last 5 minutes of churning, so the pineapple chunks remain visible.
- Transfer to a freezer-safe container and freeze until scoopable, until firm throughout.


