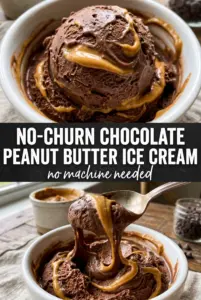
Fudgy chocolate ice cream with thick peanut butter ribbons has that old-school scoop-shop richness, only this version skips the machine and still freezes up creamy instead of icy. The chocolate base tastes deep and almost brownie-like, and the peanut butter swirl stays distinct enough that you get a salty, nutty streak in nearly every bite.
The trick is in the balance. Sweetened condensed milk brings sweetness and body at the same time, while whipped cream gives the mixture its light, scoopable texture. The cocoa powder needs to be whisked in until smooth before it ever meets the cream, or you end up with little dry pockets that never disappear. Warm peanut butter matters too, because cold peanut butter won’t ribbon through the mixture cleanly — it clumps on contact and drags the cream down with it.
Below, I’ll walk through the one folding step that protects the texture, plus a couple of ways to change the swirl without losing that creamy, no-churn finish.
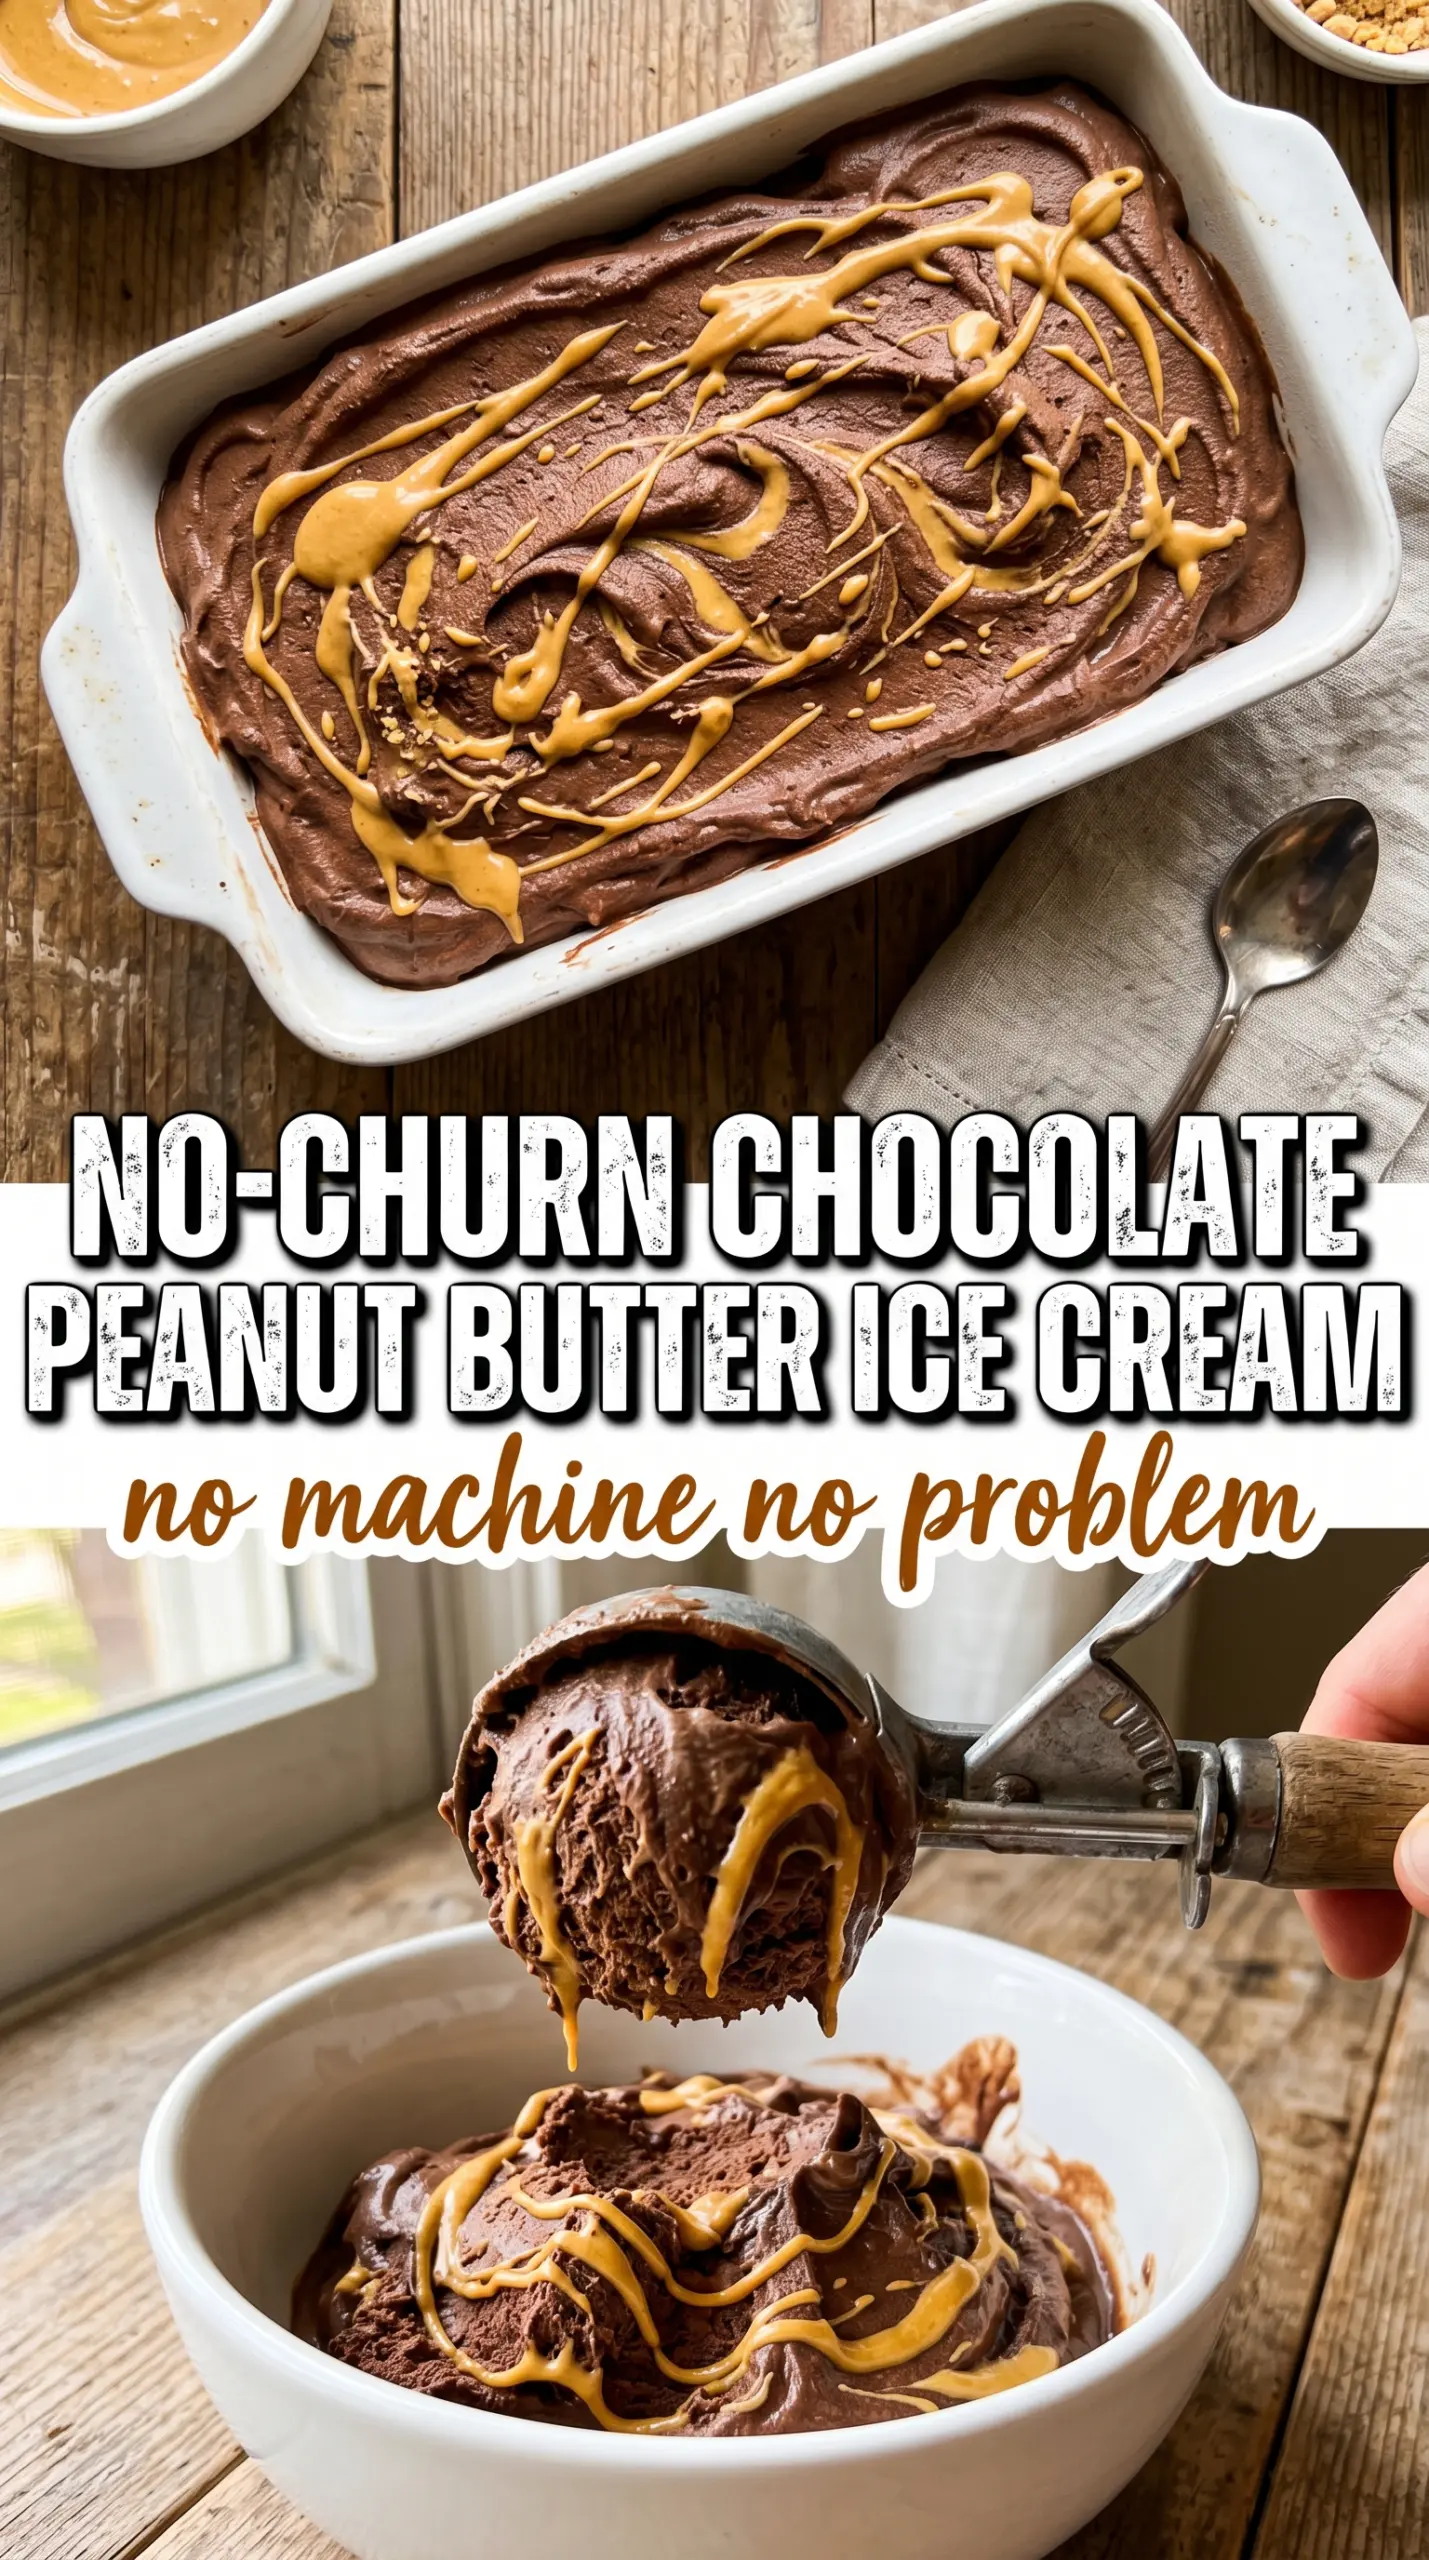
The chocolate stayed silky after freezing and the peanut butter swirls were still soft enough to scoop cleanly. I used a loaf pan and had it ready by dinner after just a little patience in the freezer.
Save this no-churn chocolate peanut butter ice cream for the nights when you want a fudgy frozen dessert with thick peanut butter ribbons and no ice cream maker.
The Secret to No-Churn Ice Cream That Scoops Like the Real Thing
Most no-churn ice cream goes wrong in one of two places: the whipped cream gets deflated, or the base freezes into a solid block because it was mixed too aggressively. This recipe avoids both problems by treating the whipped cream like the structure it is. You want stiff peaks, not soft billows, because that air is what keeps the finished ice cream from turning dense.
The second piece is the folding. Once the condensed milk mixture is smooth, it should be added in a few additions and folded gently with a spatula. If you stir like you’re mixing batter, you’ll knock out the air and lose the creamy texture that makes no-churn ice cream worth making.
- Heavy cream — Use the full-fat version. Half-and-half won’t whip properly, and that extra fat is what gives the finished ice cream body instead of iciness.
- Sweetened condensed milk — This does three jobs at once: sweetens, thickens, and helps keep the texture soft straight from the freezer. There isn’t a true substitute that behaves the same way.
- Unsweetened cocoa powder — Natural cocoa works well here, but Dutch-process cocoa gives the deepest, darkest chocolate flavor. Either way, whisk it with the condensed milk until the mixture looks completely smooth and glossy.
- Creamy peanut butter — The peanut butter should be warmed just enough to loosen it. If it’s thick and cold, it won’t swirl; it will sink in clumps and break through the chocolate layer.
What Each Ingredient Is Actually Doing in This Frozen Dessert
- Base ingredient (cream, milk, or non-dairy) — This provides the foundation and richness. Quality matters.
- Sweetener (sugar, honey, or other) — This sweetens and prevents ice crystals. The ratio is critical.
- Flavor element (vanilla, fruit, or other) — This defines the ice cream personality. Use quality ingredients.
- Stabilizers (egg yolks, cornstarch, or gelatin) — These prevent melting and large ice crystals. Optional but helpful.
- Churning (if using ice cream maker) — This incorporates air and prevents ice crystals. Critical for smooth texture.
- Freezing temperature and time — Proper freezing prevents rock-hard texture. Store at 0°F or below.
- Mix-ins (chocolate, cookies, or fruit) — These add texture and prevent monotone flavor. Add near end of churning.
- No-churn method (if using whipped cream or condensed milk) — This creates creamy texture without ice cream maker. Freezing time is longer.
Folding, Swirling, and Freezing Without Losing the Texture
Whipping the Cream to the Right Point
Start with a cold bowl and cold cream, then whip until the cream holds stiff peaks that stand up straight when you lift the beater. If the peaks flop over, the ice cream will freeze softer and heavier. If you take it past stiff peaks into a grainy stage, stop immediately or the final texture can turn slightly buttery.
Making the Chocolate Base Smooth First
Whisk the condensed milk, cocoa powder, vanilla, and salt in a separate bowl until the mixture is fully smooth and dark. Cocoa clumps hide in the corners of the bowl if you rush this part, so scrape the sides and bottom as you whisk. The base should look thick, silky, and uniform before it touches the whipped cream.
Folding Without Deflating the Cream
Add the chocolate mixture to the whipped cream in a few additions and fold with a spatula, cutting down through the center and lifting up from the bottom. Stop as soon as you don’t see streaks of white cream anymore. A few faint marbled ribbons are better than overmixing, which knocks out the air and leaves you with a denser ice cream.
Swirling the Peanut Butter Layer
Pour half the mixture into a loaf pan, drizzle on half the warmed peanut butter, then run a knife through it just a few times. Repeat with the remaining mixture and peanut butter. Too much swirling blends the peanut butter into the base and you lose those bold ribbons that make each scoop look and taste layered.
Swap the Peanut Butter for a Different Swirl
Almond butter or cashew butter can stand in for peanut butter if you want a milder nut flavor. Warm it first so it ribbons cleanly. The swap keeps the texture intact, but the finished ice cream will taste a little less bold and a little more buttery.
Make It Dairy-Free
Use full-fat coconut cream in place of the heavy cream and a dairy-free condensed milk alternative. The result will still be creamy, though the coconut flavor will show up in the background and the texture may freeze a touch firmer than the original.
Make It Gluten-Free as Written
This recipe is naturally gluten-free as long as your cocoa powder and peanut butter are certified gluten-free. That matters more than people think, because flavored nut butters and cocoa blends can pick up additives during processing.
Add Crunch Without Freezing It Rock-Hard
Crushed peanut butter cups, chopped roasted peanuts, or chocolate chunks can be folded into the last layer before freezing. Keep the pieces small so the ice cream still scoops cleanly. Large mix-ins make each bite feel crowded and can turn the pan into a brick if you overdo them.
Storage and Reheating
- Refrigerator: Don’t store this in the fridge; it will melt and lose the whipped texture.
- Freezer: Keeps well for up to 2 weeks in an airtight container with parchment pressed on the surface to limit ice crystals. After that, it can start to pick up freezer flavor.
- Reheating: Not applicable. Let the pan sit at room temperature for 5 to 10 minutes before scooping so the edges soften first. If you try to scoop it straight from the freezer, the top can crack and the texture will seem harder than it really is.
Questions I Get Asked About This Recipe

No-Churn Chocolate Peanut Butter Ice Cream
Ingredients
Method
- Whip the heavy cream in a large bowl until it forms stiff peaks, about 3 to 5 minutes, with the whisk leaving clear trails that don’t melt back in immediately.
- Whisk the sweetened condensed milk, unsweetened cocoa powder, vanilla extract, and salt together in a separate bowl until smooth and free of cocoa lumps, with no streaks remaining.
- Gently fold the condensed milk mixture into the whipped cream until just combined, stopping as soon as you no longer see white streaks so the texture stays airy and creamy.
- Pour half the mixture into a 9x5 loaf pan and drizzle over half the warm creamy peanut butter.
- Swirl the top with a knife in a few slow figure-eight passes, so you get thick ribbons rather than fully blending.
- Add the remaining ice cream mixture to the pan and drizzle on the rest of the warm creamy peanut butter.
- Swirl again with the knife to create visible marbling throughout, leaving distinct peanut butter ribbons on the surface.
- Freeze for at least 6 hours or overnight until firm, with the center fully set and scoopable straight from the freezer.