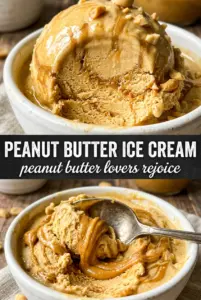
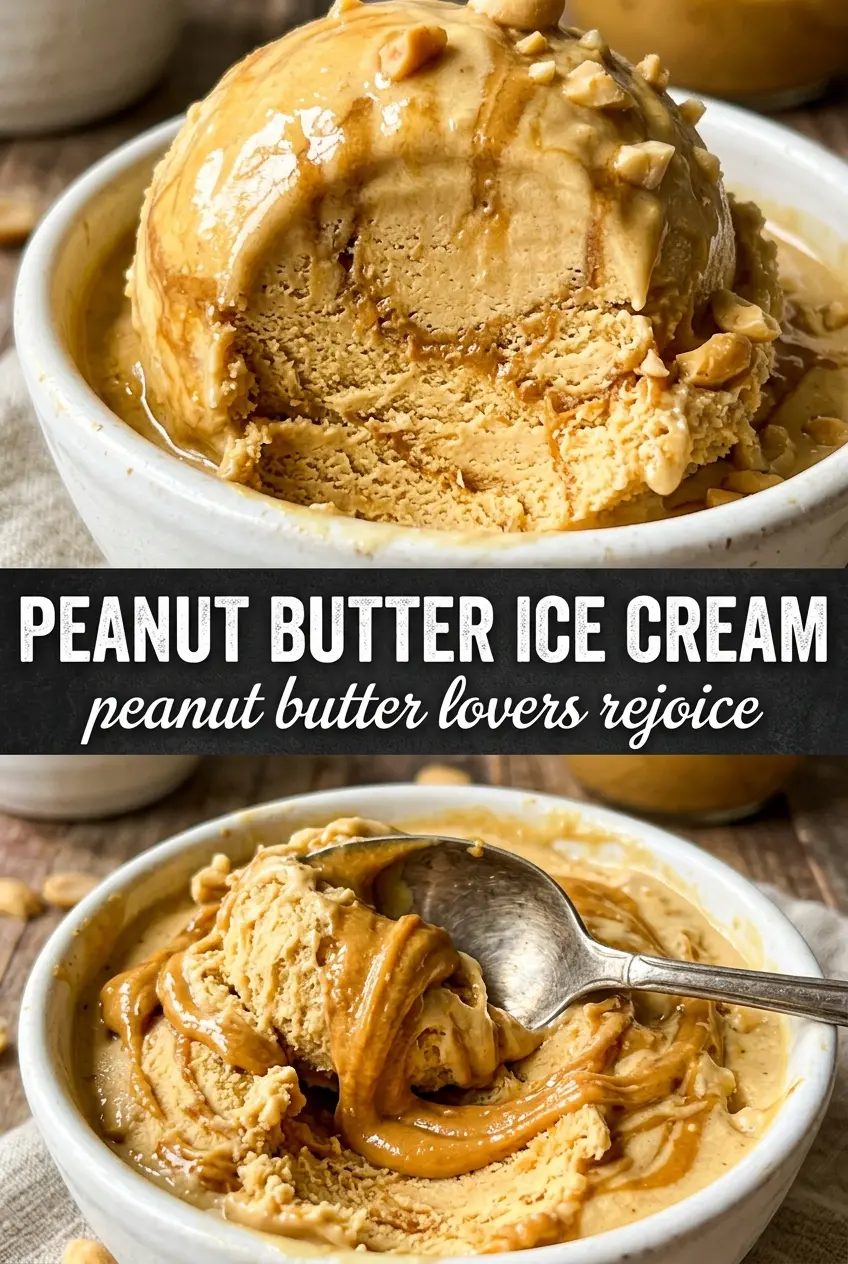
Peanut butter ice cream has a way of tasting fuller and more luxurious than you expect from such a short ingredient list. The custard base gives it that dense, spoon-coating body, while the peanut butter brings a roasted depth that plain vanilla ice cream never quite reaches. The result is creamy, pale, and deeply nutty, with a finish that lingers instead of disappearing after the first bite.
What makes this version work is the custard technique. Heating the dairy first, then whisking it slowly into the yolks, keeps the eggs from scrambling and gives the finished ice cream a smooth, stable texture. The peanut butter goes in while the custard is still warm, which helps it melt in completely instead of leaving little streaks or grainy pockets behind. A quick strain catches any tiny bits of cooked egg and gives you that silky finish you want in homemade ice cream.
Below, I’ll walk through the timing that matters, the one ingredient that changes the texture more than you’d think, and a few smart ways to adapt this if you want a stronger peanut flavor or a lighter finish.
The custard was unbelievably smooth and the peanut butter flavor came through without tasting heavy. I churned it overnight and it froze up with that dense scoopable texture I always hope for in homemade ice cream.
Save this peanut butter ice cream for the days when you want a thick, custard-style scoop with real roasted peanut flavor.
The Custard Step That Keeps Peanut Butter Ice Cream Silky
Most homemade ice cream gets rough or icy because the base never fully emulsifies before it hits the churn. With peanut butter ice cream, that risk is even higher, because peanut butter wants to cling together instead of disappearing smoothly into the dairy. The fix is to cook the custard gently and add the peanut butter while it’s still warm enough to melt in completely.
If the heat is too high, the yolks thicken unevenly and the base can turn grainy before you notice it. If the peanut butter goes in after chilling, it takes more work to blend and can leave tiny flecks instead of a uniform cream. The right texture at the stove is thick enough to coat a spoon and leave a clean path when you drag your finger through it, but not so thick that it starts looking curdled.
What Each Ingredient Is Actually Doing in This Peanut Butter Ice Cream
- Heavy cream — This gives the ice cream its lush body and keeps the churned base from freezing too hard. There isn’t a great substitute if you want the same dense scoop, though half-and-half will make a softer, lighter result.
- Whole milk — Milk balances the richness of the cream so the peanut butter flavor doesn’t turn dull or greasy. Lower-fat milk works in a pinch, but the finished texture will be less creamy and a little more icy.
- Granulated sugar — Sugar does more than sweeten here. It lowers the freezing point, which keeps the ice cream scoopable instead of turning it into a brick. Don’t cut it too far or the texture will freeze harder than you want.
- Egg yolks — The yolks build the custard base and give the ice cream that dense, velvety mouthfeel. Whole eggs won’t give the same richness, and the finished ice cream won’t feel as plush on the tongue.
- Creamy peanut butter — This is the main flavor, so use a smooth one that stirs easily. Natural peanut butter can work, but it should be well mixed first; otherwise the oil and solids separate and the custard won’t stay even.
- Vanilla extract — Vanilla rounds out the peanut butter and keeps the flavor from tasting flat. It’s a background note, but it matters more than people think in a simple custard like this.
- Salt — A small amount sharpens the peanut flavor and keeps the sweetness in check. Skip it and the ice cream tastes softer and less defined.
Building the Custard Without Scrambling the Yolks
Warming the Dairy
Heat the cream and milk until they’re steaming, not boiling. You want little wisps of steam and small bubbles around the edge of the pan, but no hard simmer. If the dairy is too hot when it hits the yolks, they can seize before the custard even starts. Whisk the sugar into the yolks first so they loosen up and blend more evenly.
Tempering and Cooking Slowly
Pour the hot dairy in a thin stream while whisking constantly. That gradual addition is what protects the yolks and keeps the base smooth. Once everything goes back to the saucepan, cook over medium-low heat and stir the whole time until it reaches 175F and lightly coats the spoon. If you push it past that point, the custard can turn grainy or develop little bits of cooked egg.
Melting in the Peanut Butter
Take the pan off the heat before whisking in the peanut butter. Residual heat is enough to melt it completely, and that gentler approach keeps the custard from overcooking. Stir until the base looks uniform and glossy, with no streaks or clumps. If the peanut butter resists blending, whisk a little longer before reaching for more heat.
Chilling and Churning
Strain the custard through a fine mesh sieve, then stir in the vanilla and salt. An ice bath speeds the cooling, but the base still needs several hours in the refrigerator to chill fully before churning. A cold base freezes faster in the machine and gives you a smoother texture. If you churn a warm base, the ice cream stays loose too long and can turn coarse.
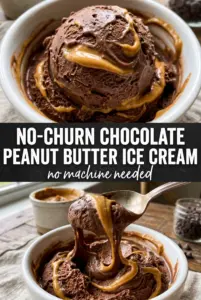
Make It More Chocolatey
Fold in chopped chocolate or swirl in a ribbon of chocolate fudge after churning. That keeps the peanut butter base intact while adding sharp contrast and a little texture. If you stir chocolate straight into the warm custard, it can muddy the flavor and overwhelm the peanut butter.
Dairy-Free Version
Use full-fat canned coconut milk in place of the cream and milk, then chill the base thoroughly before churning. The texture will be a little softer and the flavor will pick up a coconut note, but the peanut butter still carries the dessert. Use a dairy-free ice cream maker recipe if your machine needs a different fat balance.
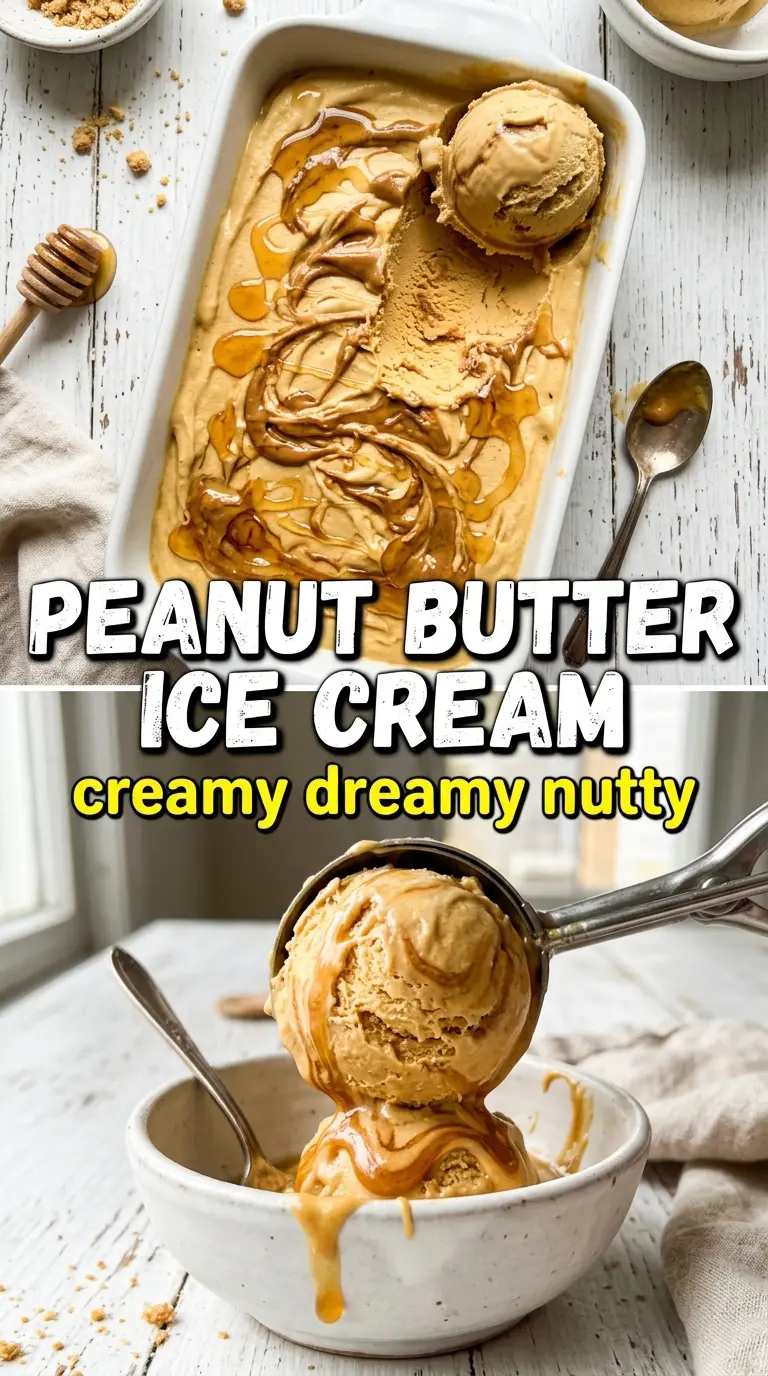
Extra-Roasted Peanut Flavor
Stir in a handful of finely chopped roasted peanuts after churning for more crunch and a deeper peanut finish. You can also swap a spoonful of the sugar for honey if you want a warmer, slightly rounder sweetness. Too much add-in will crowd the custard, so keep it restrained.
Storage and Reheating
- Refrigerator: Store the churned ice cream in an airtight container in the freezer, not the fridge, for up to 2 weeks. It will firm up over time, especially at the edges.
- Freezer: It freezes well. Press parchment or plastic wrap directly onto the surface before sealing the container to limit ice crystals and keep the top from drying out.
- Reheating: Not applicable. For the best scoop, let it sit at room temperature for 5 to 10 minutes before serving so the custard softens instead of breaking into icy shards.
Questions I Get Asked About This Peanut Butter Ice Cream
Peanut Butter Ice Cream
Ingredients
Equipment
Method
- Heat the heavy cream and whole milk in a saucepan until steaming. Keep it at a gentle simmer, with small bubbles around the edges, not a rolling boil.
- In a bowl, whisk the egg yolks and granulated sugar until smooth, then slowly whisk the steaming dairy into the yolks. Pour in a thin stream while whisking to avoid scrambling.
- Return the mixture to the saucepan and cook over medium-low heat, stirring constantly, until the custard reaches 175°F. The custard should coat the back of a spoon and look slightly thicker with a steady temperature climb.
- Remove the custard from heat and whisk in the creamy peanut butter until completely smooth. Scrape the bottom and corners so no streaks remain.
- Strain the custard through a fine mesh sieve, then whisk in the vanilla extract and salt. Discard any solids and keep whisking until the mixture looks uniform.
- Cool the custard in an ice bath, stirring occasionally until it feels much colder. The surface should stop steaming and the bowl should cool down quickly against the ice.
- Refrigerate at least 4 hours or overnight until thoroughly chilled. Cover it so a skin doesn’t form and the texture stays smooth.
- Churn the chilled custard in an ice cream maker according to the manufacturer’s instructions. Stop when it reaches a thick, soft-serve consistency.
- Transfer to a freezer-safe container and freeze until firm. The ice cream should scoop cleanly after it hardens.