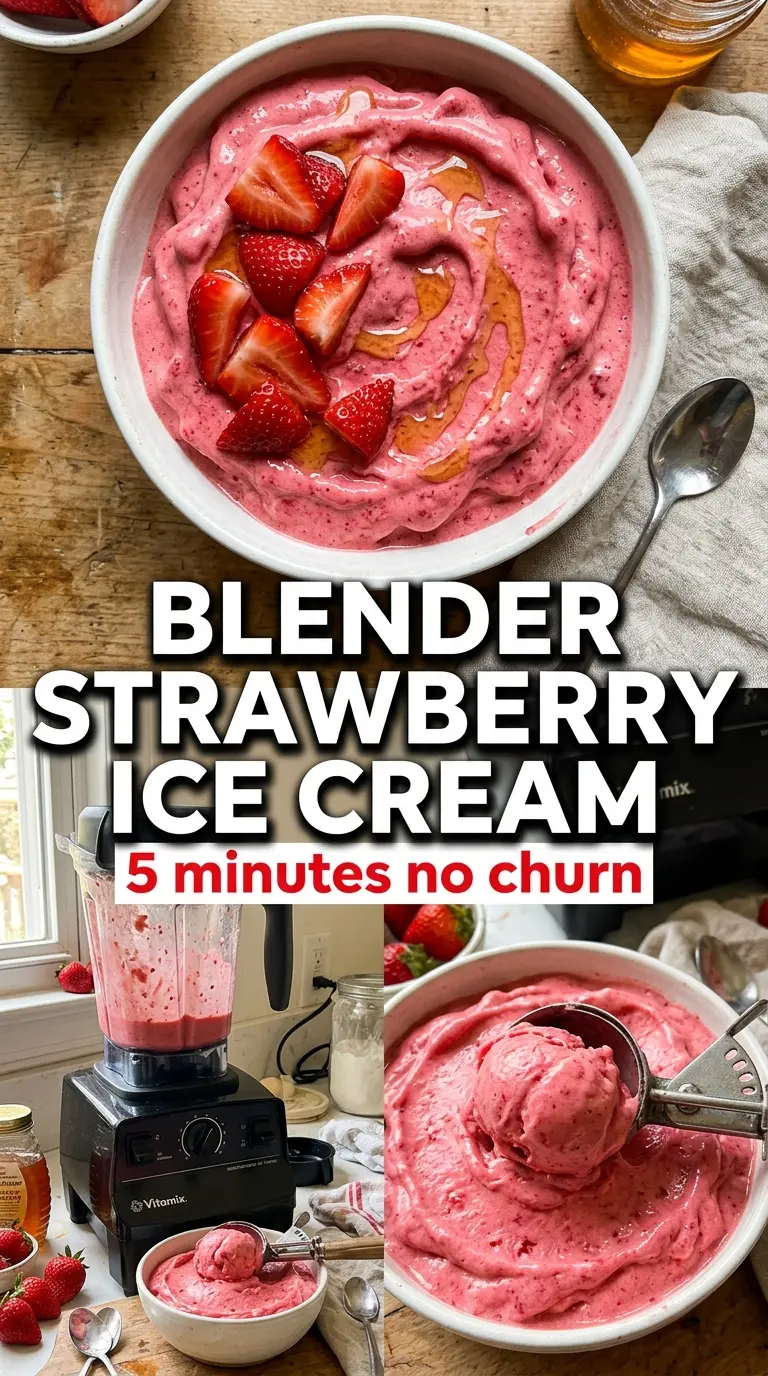
Blender strawberry ice cream lands somewhere between soft-serve and full-on ice cream, with a texture that goes from icy chunks to smooth, spoonable pink cream in a matter of minutes. The banana gives it body, the strawberries bring brightness, and the cream keeps it from tasting like frozen fruit puree. It’s the kind of dessert that disappears fast because it feels lighter than classic ice cream but still satisfies like a real treat.
The trick is starting with fruit that’s frozen solid, then giving it just a few minutes at room temperature so the blender can catch up. Too much thawing turns this into a loose smoothie base; too little and the blades stall before everything turns silky. A high-powered blender helps, but the real difference is patience between pulses and scraping the sides so every frozen bit gets worked in.
Below, I’ll show you how to keep the texture creamy instead of crumbly, plus a few swaps that still give you that bright strawberry flavor when you want a dairy-free version or a different level of sweetness.
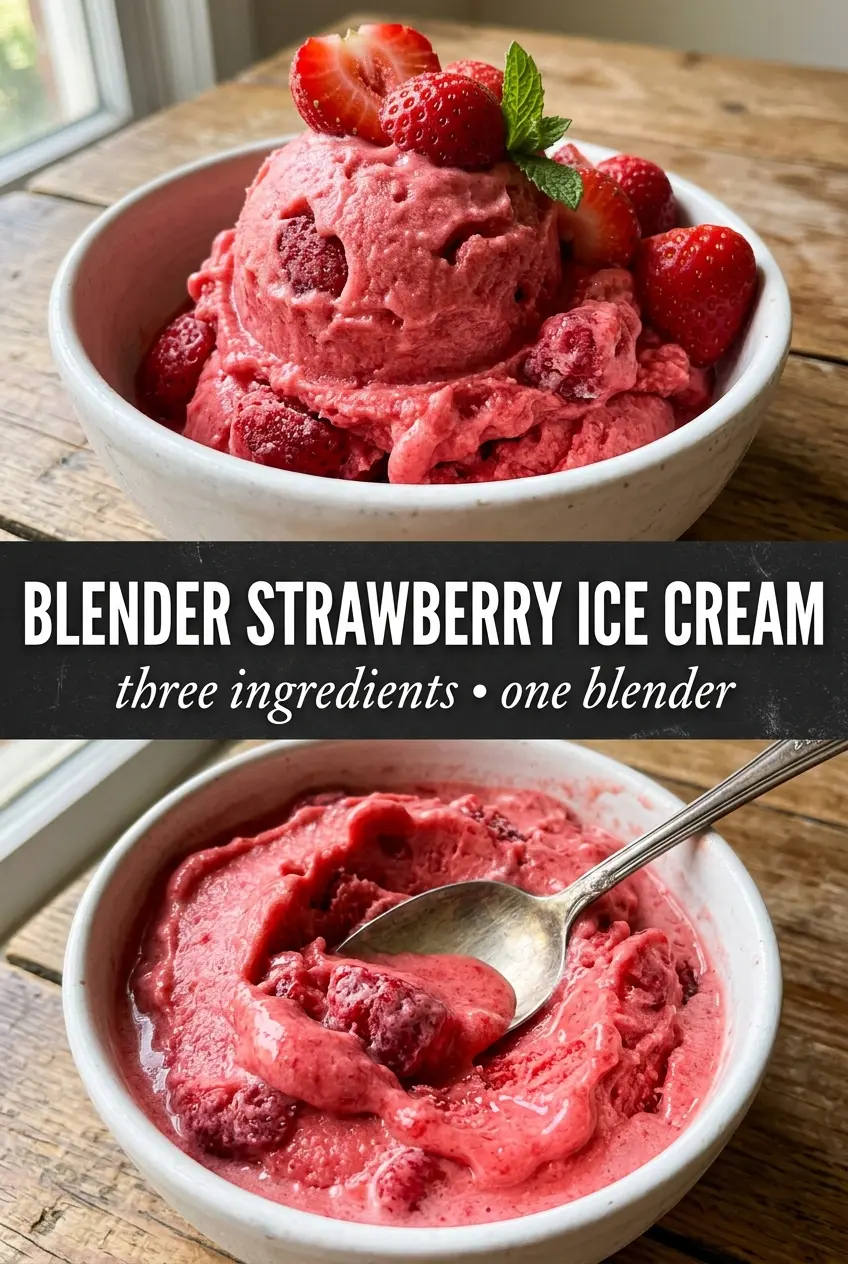
The color was gorgeous and it blended into the creamiest texture in my food processor after just a minute or two. My kids thought it tasted like strawberry ice cream from a scoop shop.
Save this blender strawberry ice cream for the days when you want a frozen dessert that’s bright, creamy, and ready in minutes.
The Hidden Reason This Turns Creamy Instead of Icy
Most blender ice creams fail for one of two reasons: the fruit is too hard for the blender to break down, or the mixture gets over-thinned before it turns smooth. This version avoids both problems by using frozen banana for creaminess and just enough cream to help the blades move without turning the whole thing slushy.
The other thing that matters is speed once the blender starts doing its job. If you stop too soon, you get a grainy mix with hard strawberry bits. If you keep adding liquid to force it along, you lose that dense, scoopable texture. The goal is a thick, cold puree that looks almost like soft serve when it’s done.
- Frozen strawberries — These carry the flavor, color, and natural tartness. Use good berries here, because bland ones stay bland after freezing. If yours are very seedy, that’s fine; the blender handles them.
- Frozen banana — This is what gives the ice cream its body. You can’t fully replace it with another fruit and get the same creamy texture, but frozen mango works in a pinch for a softer, sweeter finish.
- Heavy cream or coconut cream — This keeps the mixture rich and smooth. Heavy cream gives the cleanest dairy version, while coconut cream makes a good dairy-free swap with a faint coconut note.
- Honey or maple syrup — The sweetener does more than add sweetness; it softens the frozen fruit just enough to help blending. Use honey for a rounder flavor or maple syrup for a deeper, slightly earthy finish.
- Vanilla extract — A small amount makes the strawberries taste fuller and more dessert-like. Skip it only if you want the fruit to taste very sharp and plain.
What Each Ingredient Is Actually Doing in This Frozen Dessert
- Base ingredient (cream, milk, or non-dairy) — This provides the foundation and richness. Quality matters.
- Sweetener (sugar, honey, or other) — This sweetens and prevents ice crystals. The ratio is critical.
- Flavor element (vanilla, fruit, or other) — This defines the ice cream personality. Use quality ingredients.
- Stabilizers (egg yolks, cornstarch, or gelatin) — These prevent melting and large ice crystals. Optional but helpful.
- Churning (if using ice cream maker) — This incorporates air and prevents ice crystals. Critical for smooth texture.
- Freezing temperature and time — Proper freezing prevents rock-hard texture. Store at 0°F or below.
- Mix-ins (chocolate, cookies, or fruit) — These add texture and prevent monotone flavor. Add near end of churning.
- No-churn method (if using whipped cream or condensed milk) — This creates creamy texture without ice cream maker. Freezing time is longer.
How to Blend It Without Burning Out the Motor
Let the Fruit Take the Edge Off
Give the frozen strawberries and banana about 5 minutes at room temperature before blending. They should still feel frozen, just not rock-hard, which helps the blades catch without overheating the blender. If you skip this and start with hard-as-stone fruit, the mixture tends to spin around the sides instead of breaking down evenly.
Start Thick and Keep Scraping
Add the fruit, cream, honey, vanilla, and salt to the blender all at once, then start on high. Stop once or twice to scrape the sides down so the frozen chunks near the top don’t stay untouched. If the blades stop turning, use the tamper if you have one, or pause and stir before adding more liquid.
Blend Until It Looks Like Soft Serve
Keep blending until the mixture is completely smooth and glossy, about 2 minutes in a strong blender. You’re looking for a thick swirl that mounds on itself, not a pourable smoothie. The moment it turns silky, stop blending; extra time warms it up and makes the texture looser.
Serve Now or Freeze Briefly for Scoops
For a soft-serve texture, eat it right away. For firmer scoops, transfer it to a freezer container and freeze for 1 to 2 hours. Past that point it gets hard, so let it sit on the counter for a few minutes before scooping if you freeze it longer.
How to Adapt This When You Want a Different Texture
Dairy-Free Coconut Version
Use coconut cream instead of heavy cream. It keeps the texture rich and scoopable, but it adds a light coconut note that plays nicely with strawberries. If the coconut flavor is too strong for your taste, use a smaller amount and let the banana do more of the cream work.
Lower-Sugar Blend
Cut the honey or maple syrup in half if your strawberries are already sweet. The finished ice cream will taste a little brighter and more fruit-forward, though the texture may be slightly firmer after freezing because sugar helps soften the mix.
Banana-Free Strawberry Ice Cream
If you don’t want banana, replace it with frozen mango or a little more coconut cream. You’ll lose some of the neutral, custardy body that banana gives, and the result will taste a bit fruitier and softer. It still works, but it won’t have quite the same creamy stretch.
Storage and Reheating
- Refrigerator: Don’t store this in the fridge. It melts into a smoothie quickly and loses the frozen texture that makes it worth serving.
- Freezer: Freeze in a shallow, airtight container for up to 1 week. It gets firmer after a few hours, and the banana-based texture is best within the first day.
- Reheating: There’s no reheating here. Let it sit at room temperature for 5 to 10 minutes until it loosens enough to scoop, which works better than microwaving and keeps the texture even.
The Questions People Ask Before They Blend It
Blender Strawberry Ice Cream
Ingredients
Equipment
Method
- Let the frozen strawberries and frozen banana sit at room temperature for 5 minutes to soften slightly, so the blender can move the fruit. The mix should still feel cold, not thawed.
- Add the softened strawberries, banana, cream, honey (or maple syrup), vanilla extract, and salt to a high-powered blender. Keep the lid on and add ingredients for even blending.
- Blend on high for 2 minutes, stopping to scrape down the sides as needed, until completely smooth and creamy. The texture should be thick like soft serve with no visible ice chunks.
- Serve immediately as soft serve for a instantly creamy texture, ideally in chilled bowls. The top should hold a swirl rather than run.
- For scoopable ice cream, transfer to a freezer container and freeze for 1 to 2 hours. The surface will firm up, and a spoon should come away with a scoopable shape.