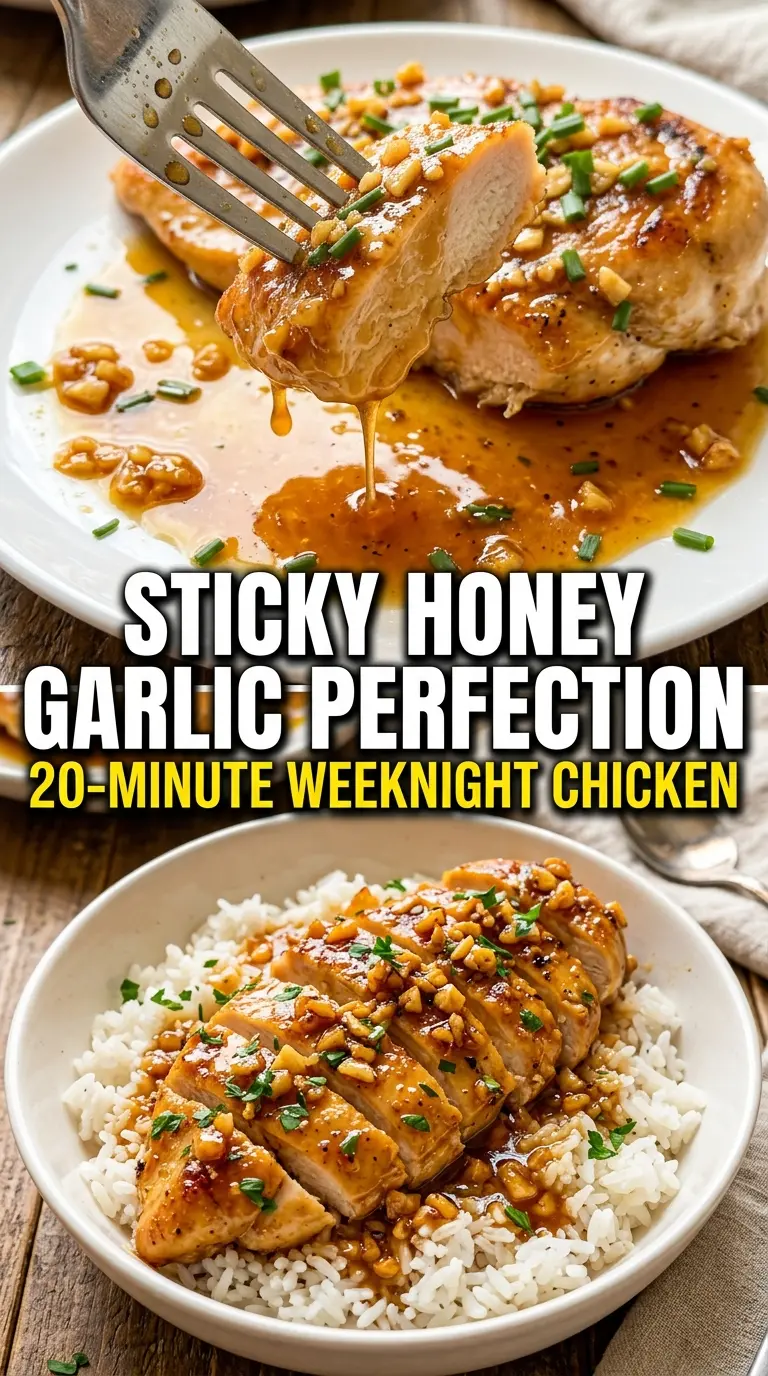
Honey garlic chicken earns its place in the regular rotation because the sauce clings to the skin instead of sliding off, and the thighs stay juicy while the edges pick up a dark, sticky glaze. The best versions have that balance of sweet, salty, and sharp that keeps each bite from tasting one-note, and this one gets there with almost no extra effort.
The key is building flavor in stages. Searing the chicken skin-side down first renders fat and gives the skin a head start toward crispness, while the garlic only gets a minute in the pan so it stays fragrant instead of bitter. The vinegar matters too; it cuts through the honey and keeps the sauce from turning syrupy in a cloying way.
Below, I’ll walk through the small details that make the glaze thicken properly, plus a few smart swaps if you need to work with what’s in your kitchen.
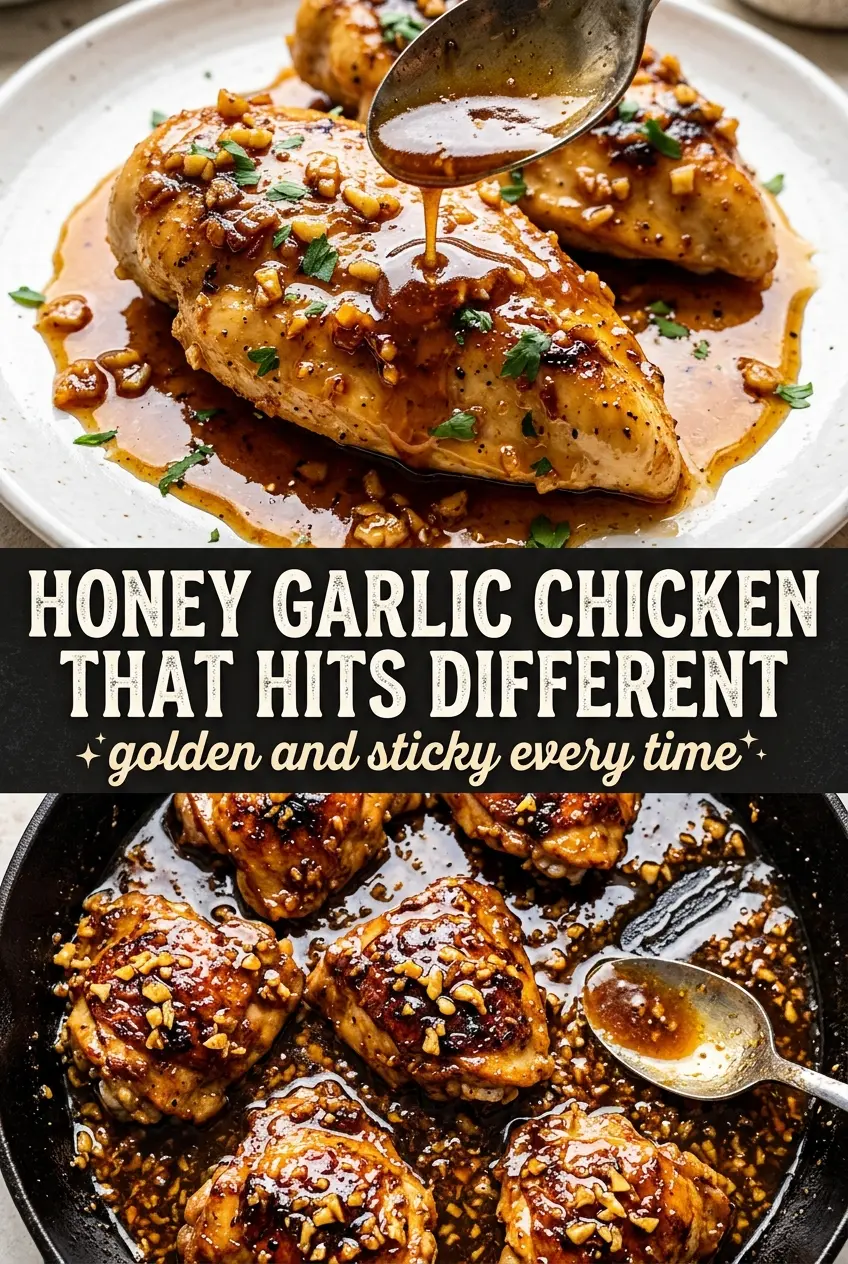
The sauce thickened up beautifully in the oven and the skin stayed crisp enough that my husband kept stealing bites straight from the skillet. I liked how the garlic stayed sweet instead of burning.
Save this honey garlic chicken for the night you want sticky caramelized thighs and a pan sauce that comes together in one skillet.
The Trick to Crisp Skin and a Sauce That Actually Clings
Honey-based sauces can go wrong fast if you rush the pan. If the chicken hasn’t rendered enough fat before the glaze goes in, the sauce ends up pooling underneath instead of coating the meat, and the skin turns soft before it gets the chance to crisp. Starting skin-side down in a hot skillet solves that problem by building both texture and flavor at the same time.
The other thing that matters is heat control after the sauce goes in. Honey burns at a lower temperature than people expect, so the sauce should only simmer briefly on the stovetop before the skillet goes into the oven. That oven finish cooks the chicken through without scorching the garlic or reducing the glaze into a sticky mess that tastes bitter.
What Each Ingredient Is Actually Doing in the Pan
- Bone-in, skin-on chicken thighs — These stay juicy during the sear and oven finish, and the skin gives you the browned top layer that makes the dish feel complete. Boneless thighs work in a pinch, but you lose some of the richness and the sauce won’t have quite as much body.
- Honey — This is the sticky backbone of the glaze. Use a regular liquid honey; the more complex, darker varieties bring a deeper note, while very floral honey can taste a little light once it’s reduced.
- Soy sauce — It gives the sauce its salt and keeps the sweetness in check. Low-sodium soy sauce works fine if that’s what you keep on hand, but don’t use a pale substitute like coconut aminos and expect the same depth.
- Apple cider vinegar — That small splash wakes the whole sauce up and keeps the honey from tasting flat. If you need a swap, rice vinegar is the closest stand-in.
- Garlic and butter — Garlic brings the sharp savory edge, and butter helps the sauce emulsify so it looks glossy instead of oily. Add the garlic after the chicken comes out of the skillet so it only needs a minute to bloom.
How to Build the Glaze Without Burning It
Seasoning and Searing the Chicken
Pat the chicken dry before it hits the pan. Moisture on the skin is the fastest way to lose your sear. Season both sides with salt and pepper, then lay the thighs skin-side down in hot olive oil and leave them alone until the skin is deep golden and releases easily from the skillet. If it sticks, it’s not ready yet. Flip briefly just to color the other side, then move the chicken out while you build the sauce.
Waking Up the Garlic
Turn the heat down and add the butter and minced garlic to the same pan. You want the garlic fragrant, not browned, which usually takes about a minute in the hot fat left behind from the chicken. If the garlic starts to take on color fast, the pan is too hot and the next ingredients will taste sharp instead of rounded. This is the point where the skillet smells rich and savory.
Finishing in the Oven
Stir in the honey, soy sauce, vinegar, and red pepper flakes, then return the chicken skin-side up. Spoon some sauce over the top before the pan goes into the oven so the glaze has a chance to lacquer the meat as it cooks. Bake until the chicken reaches 165°F at the thickest part, and don’t rely on color alone here — the glaze can look done before the meat is fully cooked. Once it comes out, spoon the pan sauce over everything and finish with thyme and sesame seeds.
How to Adapt It When You Need a Different Version
Use boneless thighs for a faster weeknight version
Boneless thighs cook faster and are easier to serve, but they won’t keep the same crisp skin or the same rich pan juices. Start checking them a few minutes earlier in the oven so they don’t overcook and go dry at the edges.
Make it gluten-free without losing the savory edge
Swap in a gluten-free soy sauce or tamari in the same amount. Tamari tastes a little rounder and less sharp, which actually works well with the honey, and the sauce still reduces and coats the chicken the same way.
Skip the red pepper flakes for a milder glaze
Leave out the red pepper flakes if you want a softer, sweeter sauce. You’ll lose a little warmth in the finish, so add a few extra cracks of black pepper at the end to keep the flavor from tasting one-dimensional.
Storage and Reheating
- Refrigerator: Store leftovers for up to 4 days. The skin softens in the fridge, but the sauce stays flavorful.
- Freezer: It freezes well for up to 2 months, though the texture of the skin won’t stay crisp. Freeze the chicken with the sauce in a sealed container and thaw overnight in the fridge.
- Reheating: Warm it covered in a 325°F oven until heated through, then uncover for the last few minutes to bring back some of the glaze. The biggest mistake is blasting it in the microwave, which turns the sauce thin and the chicken tough.
Answers to the Questions Worth Asking
Honey Garlic Chicken
Ingredients
Equipment
Method
- Season the chicken with salt and pepper on both sides.
- Heat the olive oil in a large oven-safe skillet over medium-high heat, then sear the chicken skin-side down for 5-6 minutes until deeply golden.
- Flip the chicken briefly and remove it from the pan.
- Add the butter and garlic to the pan and cook for 1 minute until fragrant.
- Stir in the honey, soy sauce, apple cider vinegar, and red pepper flakes.
- Return the chicken skin-side up to the skillet and spoon the sauce over.
- Transfer to a 400F oven and bake for 15-18 minutes, until the internal temperature reaches 165F.
- Spoon the pan sauce over the chicken and garnish with fresh thyme and sesame seeds.