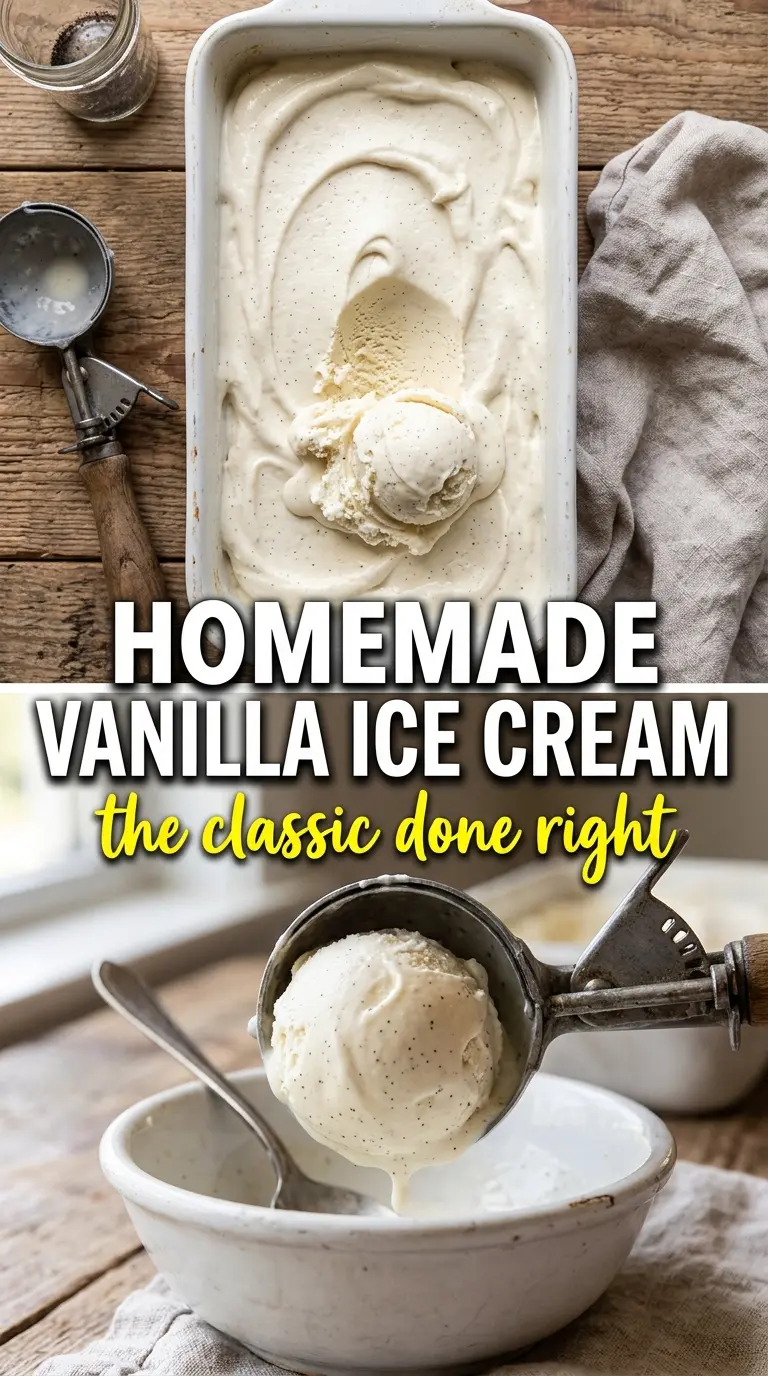
Pale golden vanilla custard ice cream has a way of making plain vanilla feel like the whole point. The texture is the draw here: dense, silky, and scoopable instead of airy and icy, with vanilla bean specks running through every spoonful. It tastes like the kind of ice cream that stands up on its own in a bowl, but it also plays nicely with pie, brownies, or warm fruit.
The difference comes from the custard base. Egg yolks bring body and that old-fashioned richness you don’t get from a quick no-cook mix, and the slow heat turns the cream, milk, and sugar into something that freezes smoother. Steeping the vanilla bean in the dairy first matters too — that step pulls out a deeper, rounder vanilla flavor before the yolks ever hit the pan.
Below, you’ll find the exact moment to stop cooking the custard, why chilling overnight changes the final texture, and how to swap in extract without losing the character of the ice cream.
The custard thickened exactly the way you described, and the vanilla bean flavor came through in every bite. I chilled it overnight and it churned into the creamiest ice cream I’ve made at home.
Save this old-fashioned vanilla ice cream for the days when you want a true custard-style scoop with real vanilla bean flavor.
The Custard Base Is Where Most Vanilla Ice Cream Goes Wrong
The biggest mistake with old-fashioned ice cream is rushing the custard. If the heat is too high, the egg yolks can scramble before the mixture thickens, and if you stop too early, the finished ice cream freezes thin and icy instead of rich. You want the base to coat a spoon and leave a clean line when you drag a finger through it.
That gentle thickening is what gives this style its body. The yolks don’t just add flavor; they emulsify the fat and water so the churned ice cream freezes smoother. The slow tempering step matters for the same reason. It keeps the eggs from cooking in streaks and gives you a custard that stays glossy all the way through.
- Egg yolks — These are doing the heavy lifting for texture. Whole eggs would make the custard firmer and a little less creamy, while yolks alone give you that classic dense scoop.
- Heavy cream and whole milk — Cream brings richness, milk keeps the base from turning greasy. Using all cream makes the final ice cream harder and flatter on the palate, so stick with the ratio here.
- Vanilla bean — The bean gives the deepest vanilla flavor and the visual specks people expect in a true homemade vanilla ice cream. If you use extract instead, stir it in after the custard comes off the heat so the flavor doesn’t cook off.
- Sugar — This does more than sweeten. It lowers the freezing point, which helps the ice cream stay scoopable instead of turning into a brick.
How to Steep the Vanilla and Cook the Custard Without Curdling It
Split the vanilla bean and scrape the seeds into the cream and milk, then drop the pod into the pan too. Warm it over medium heat until you see steam and the edge just starts to tremble with the first tiny bubbles, then pull it off the burner and let it sit. That steeping time isn’t wasted; it pulls the flavor out of the pod and gives the custard a fuller vanilla taste.
Whisk the yolks and sugar until the mixture turns pale and a little thick. When you pour in the warm dairy, do it slowly and keep whisking so the eggs warm up gradually. If you dump it all in at once, the yolks can seize into little bits and you’ll never get that smooth base back.
Return the custard to the saucepan and cook over medium-low heat while stirring constantly, scraping the bottom and corners. Once it starts to thicken, it can go from perfect to overcooked fast, so watch for the moment it coats the back of a spoon and holds a clean line when you swipe through it. If you see even a few flecks of cooked egg, strain it immediately and keep going; a fine mesh sieve will save the batch.
The Small Changes That Let You Make It Your Own
Use vanilla extract when you don’t have a bean
Stir in 2 teaspoons pure vanilla extract after the custard comes off the heat and before chilling. You lose the visual specks and a little of the layered flavor, but the ice cream still tastes clean and classic.
Make it dairy-free with a custard-style plant base
Use full-fat canned coconut milk in place of the cream and whole milk, then follow the same custard method. The texture will be a little softer and you’ll taste coconut in the background, but the egg yolks still give it body.
Add a mix-in without making it icy
Fold in chopped chocolate, crushed cookies, or toasted nuts after churning, not before. Cold mix-ins keep their texture better, and the ice cream base doesn’t have to work around extra moisture while it freezes.
Storage and Reheating
- Refrigerator: The custard base can be chilled for up to 2 days before churning. It will thicken a bit more as it rests, which helps the final texture.
- Freezer: The churned ice cream keeps for about 2 weeks in a covered container. Press parchment or plastic wrap directly on the surface to reduce ice crystals.
- Reheating: Not applicable for the finished ice cream. For scooping, let it sit at room temperature for 5 to 10 minutes so it softens at the edges instead of melting around the rim.
Answers to the Questions Worth Asking
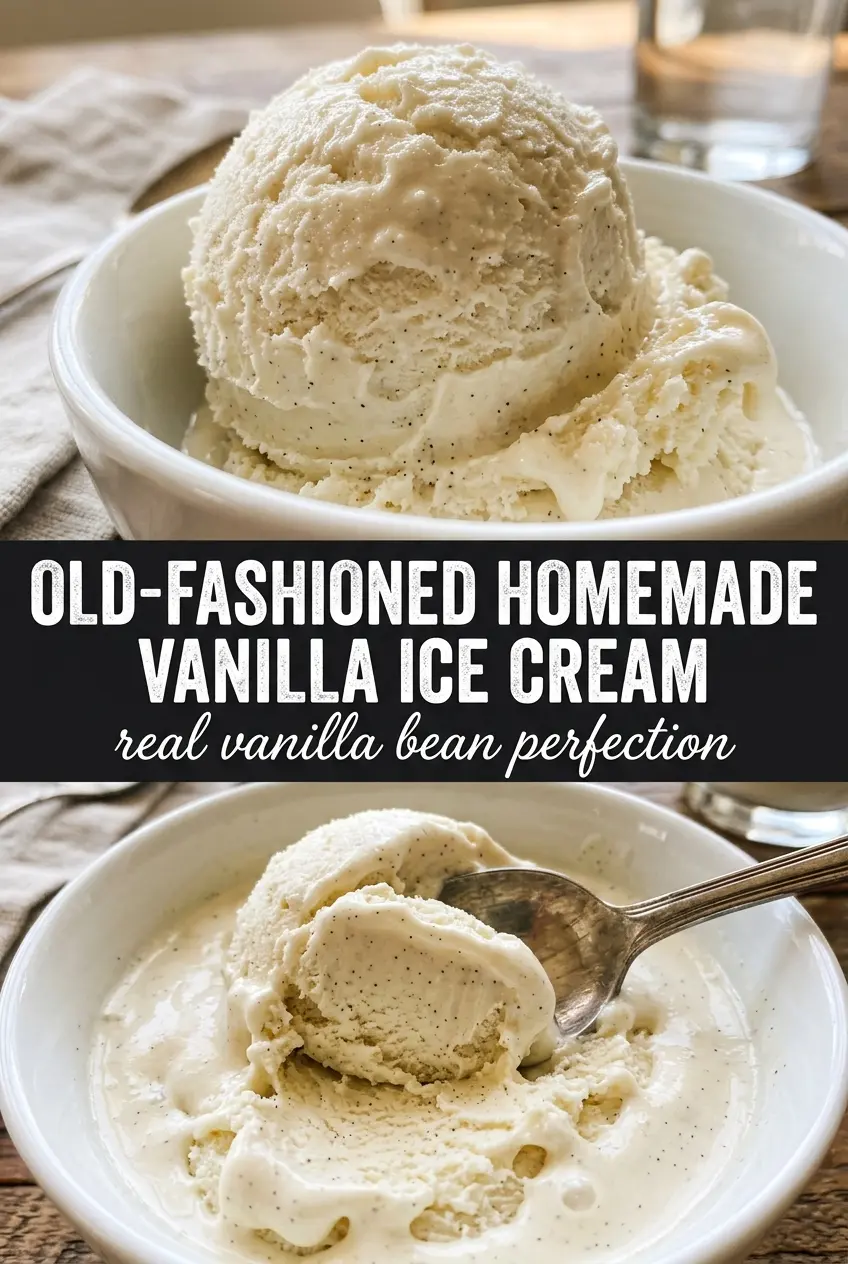
Old-Fashioned Homemade Vanilla Ice Cream
Ingredients
Equipment
Method
- Split the vanilla bean, scrape out the seeds, and add both the pod and seeds to the heavy cream and whole milk in a saucepan.
- Heat over medium heat until steaming and just beginning to simmer, then remove from heat and steep for 15 minutes; the liquid should look lightly infused, not bubbling.
- Remove the vanilla bean pod after steeping.
- Whisk the egg yolks and granulated sugar until pale and thick, with the mixture looking slightly lighter in color.
- Slowly pour the warm cream into the yolks while whisking constantly, keeping the custard smooth with no scrambling.
- Return the mixture to the saucepan and cook over medium-low heat, stirring constantly, until it thickens to coat the back of a spoon (175°F), with a clear custard gloss.
- Strain through a fine mesh sieve, stir in the salt, and cool the custard over an ice bath until noticeably cooler.
- Refrigerate the custard at least 4 hours or overnight, until fully chilled through.
- Churn in an ice cream maker, then freeze until firm, until the texture is scoopable and holds shape.