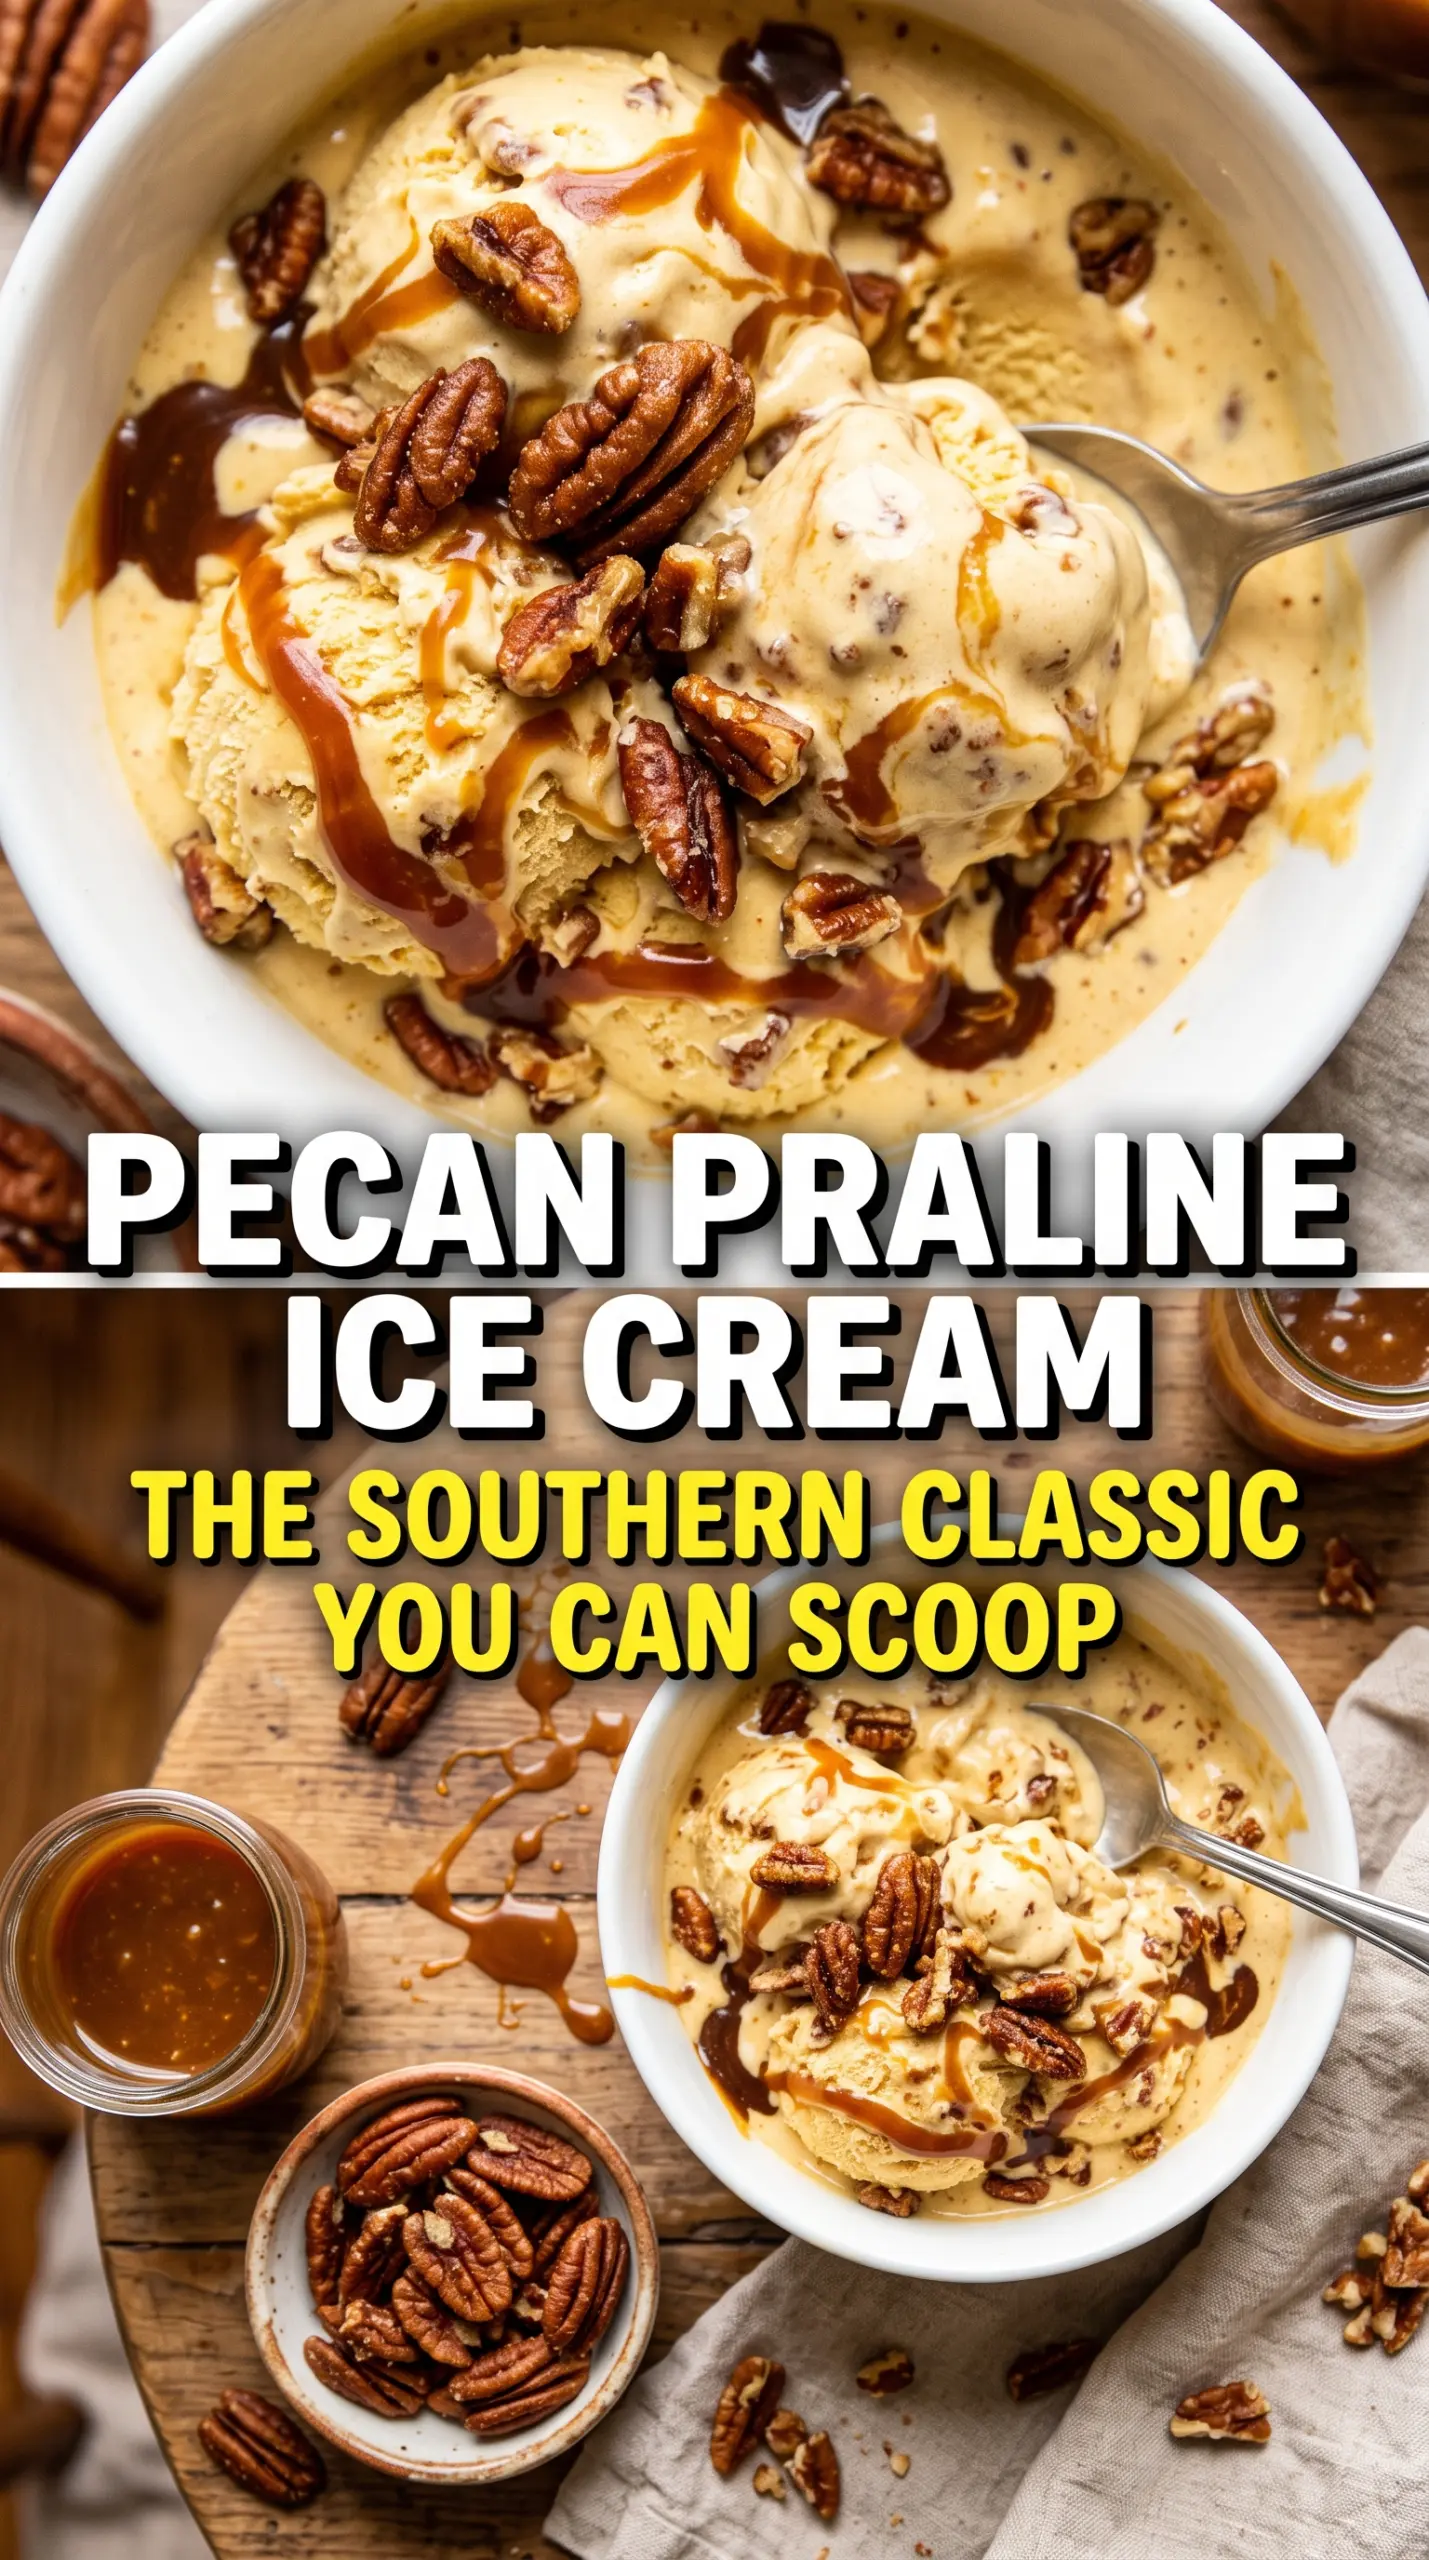
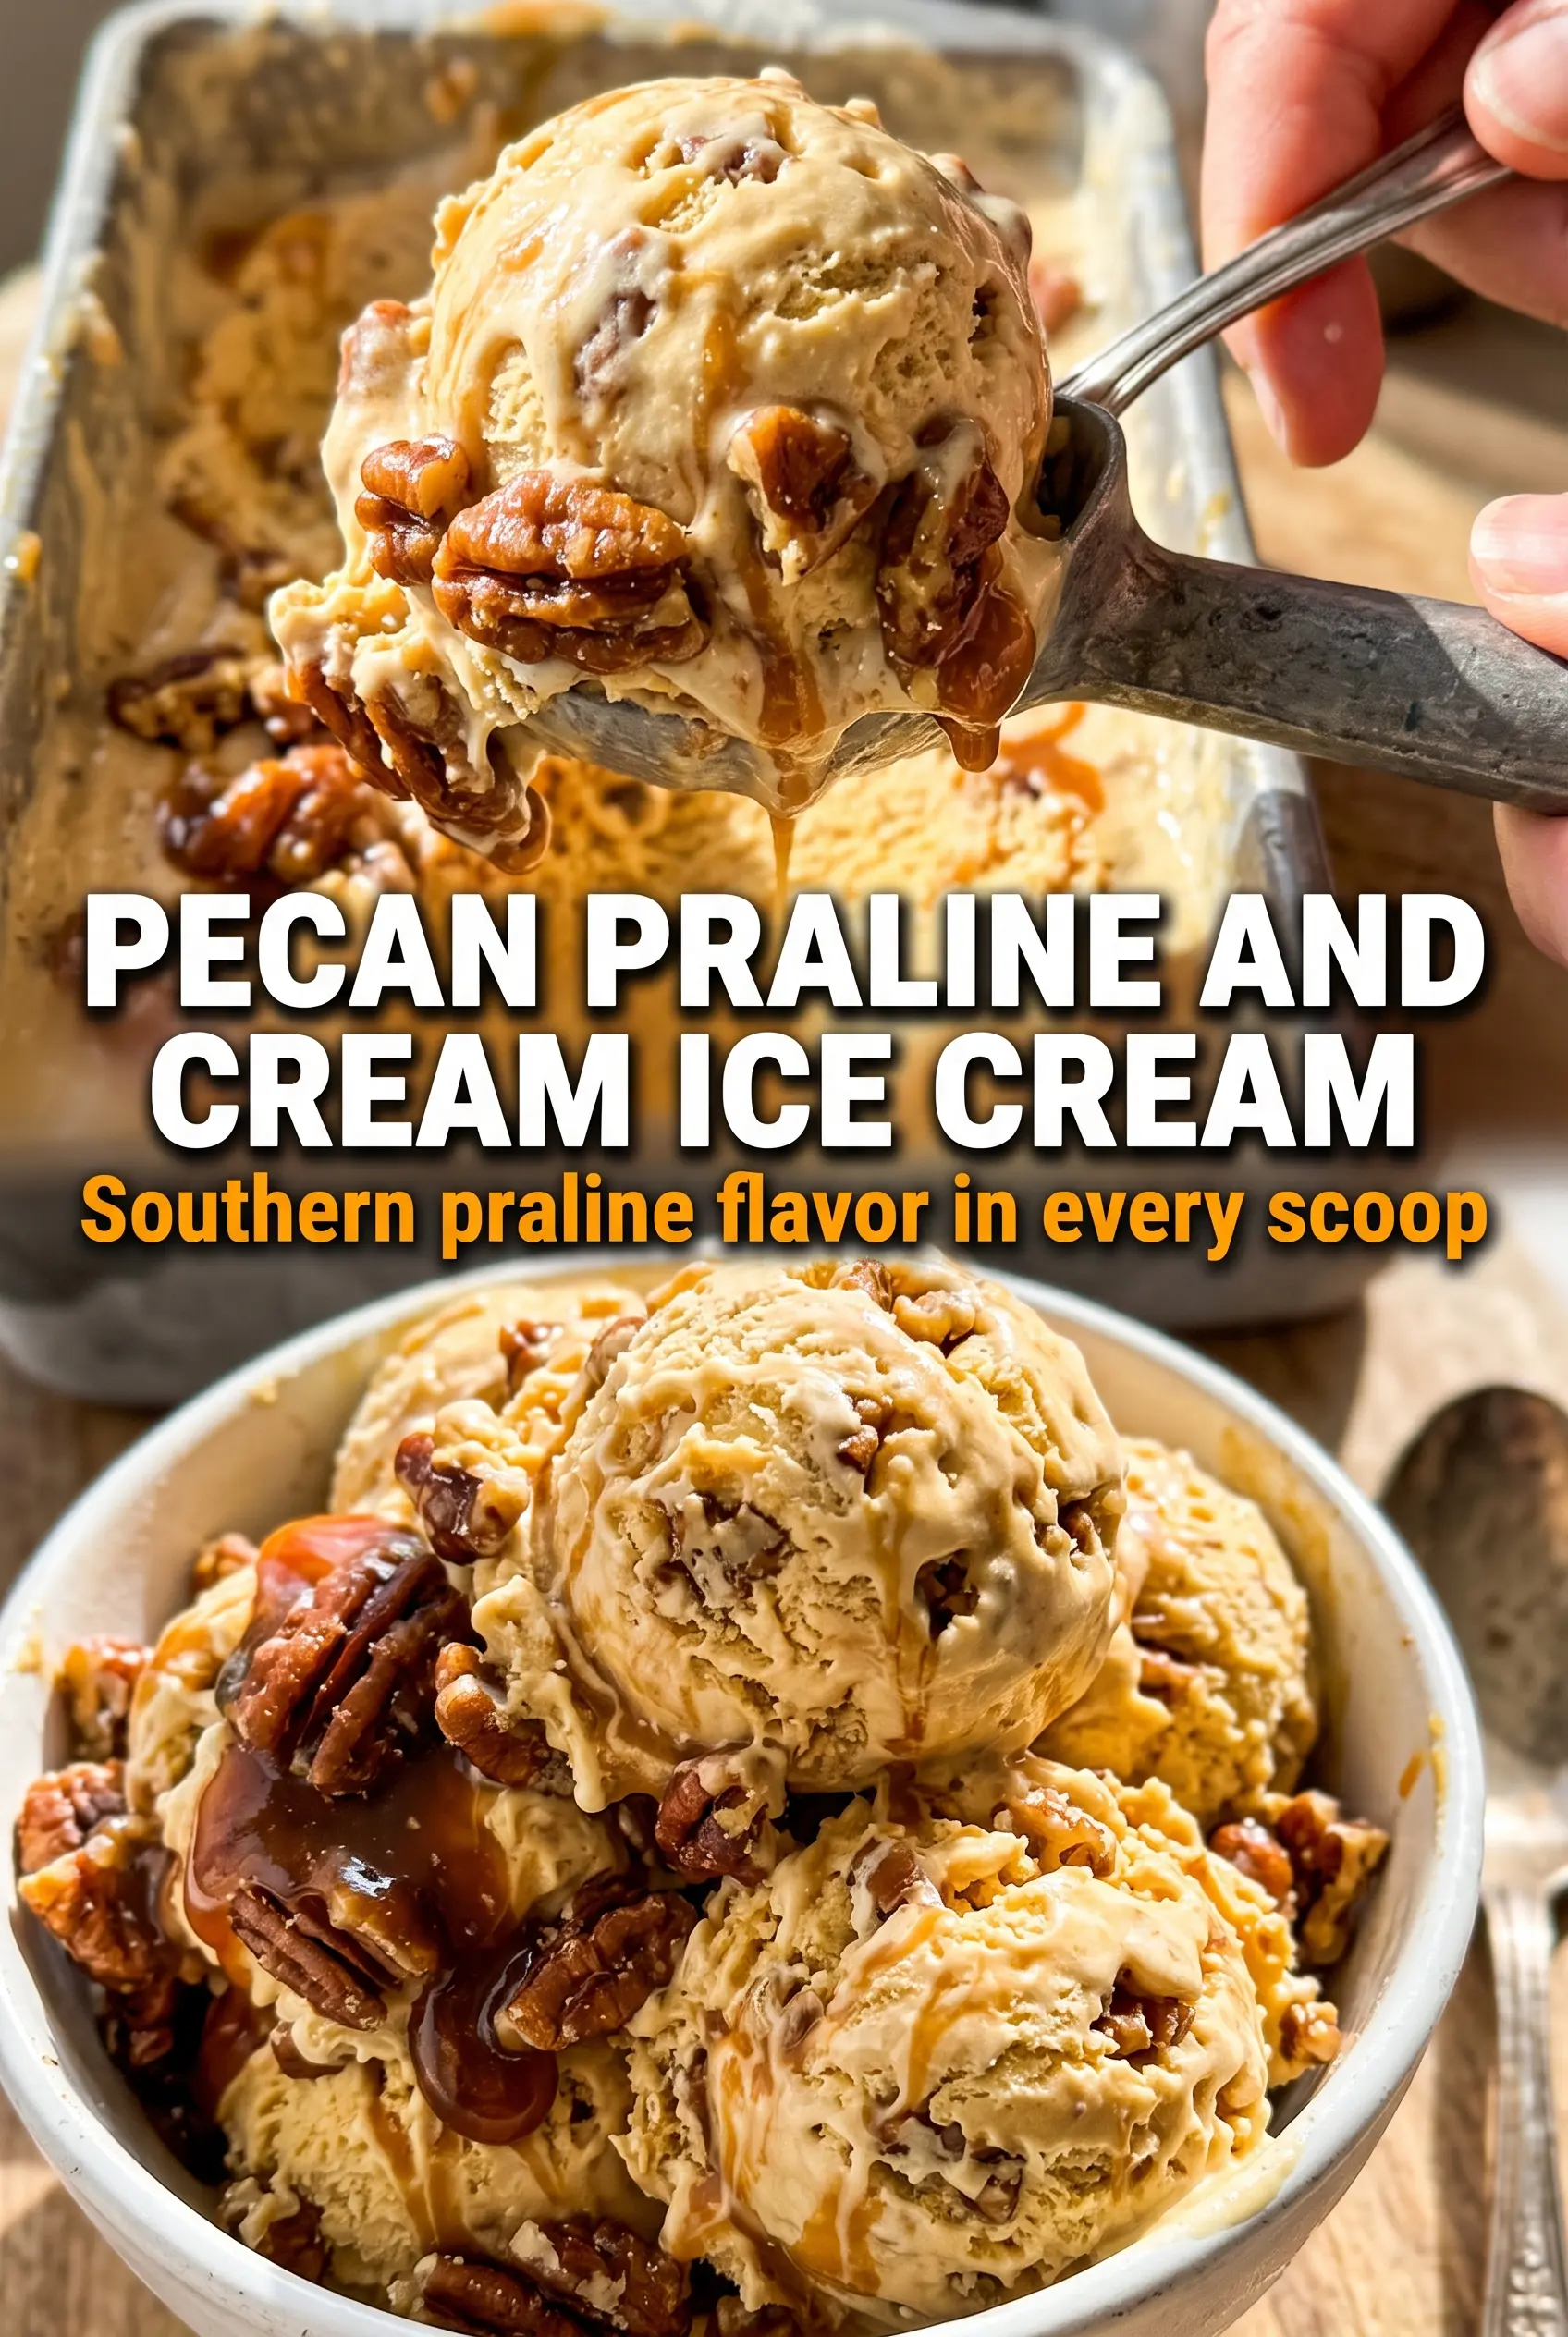
Pecan praline and cream ice cream earns its place in the freezer because every scoop gives you two things at once: a rich vanilla custard that stays smooth and spoonable, and shards of caramelized praline pecans that crack through each bite. The contrast is what makes it memorable. You get the deep brown-sugar warmth of pralines without losing the clean, creamy base that keeps the whole dessert from tasting overly sweet.
The part that matters most is cooking the praline to the right temperature before the pecans go in, then cooking the custard gently enough that the yolks thicken instead of scramble. Brown sugar brings a softer, molasses-heavy sweetness than white sugar would, which fits the pecans beautifully. Chilling the base fully before churning is just as important as the stovetop work; if the custard is even a little warm, the ice cream maker can’t build the same dense, creamy texture.
Below you’ll find the temperature cues that keep both the praline and the custard on track, plus a few swaps and storage notes that help this recipe hold up after it comes out of the machine.
The praline pieces stayed crunchy even after freezing, and the custard turned out silky instead of icy. I’d never cooked the sugar mixture to the soft-ball stage before, but that texture made all the difference.
Love the crunchy praline pecans in this homemade ice cream? Save it to Pinterest for the dessert nights when you want a creamy custard base with real candy crunch.
The Moment That Keeps the Pralines Crunchy Instead of Dissolving
The praline pecans need to be cooked to the soft-ball stage before the nuts go in. That temperature gives you a candy shell that sets into brittle, crackly clusters once it cools, instead of a sticky syrup that melts into the ice cream base. If the mixture looks glossy but still runs off the spoon like sauce, it is not ready yet.
The other trap is adding the pecans too early. Stir them in after the sugar mixture reaches temperature and the butter has fully melted, then spread the clusters out on parchment right away. If you leave the candy mass in the hot pan, it keeps cooking and can turn grainy or too hard to break into good-sized pieces.
What Each Ingredient Is Actually Doing in This Custard
- Pecan halves — Halves hold their shape better than chopped nuts, so they give you distinct praline clusters instead of sandy bits. If all you have are pieces, use them, but expect a less dramatic crunch in the final scoop.
- Brown sugar — This is doing double duty in both the praline and the custard. It adds depth that white sugar can’t match, with a caramel note that makes the ice cream taste like pralines instead of just sweet cream.
- Heavy cream — You need the fat here. It softens the custard and helps the ice cream stay scoopable after freezing, while also giving the praline mixture enough richness to coat the nuts cleanly.
- Egg yolks — Yolks thicken the base into a true custard, which is why this ice cream tastes denser and silkier than an egg-free version. Whisk them slowly with the hot dairy so they warm gradually and don’t curdle.
- Whole milk — Milk keeps the base from becoming heavy or greasy. Don’t swap in low-fat milk unless you want a thinner texture that freezes harder.
- Vanilla extract — Add it after cooking both the pralines and the custard so the flavor stays round and warm instead of cooking off on the stove.
Building the Custard Without Scrambling the Yolks
Cooking the Praline Base
Set the brown sugar, cream, and butter over medium heat and let the mixture come to a steady bubble. Stir just enough to keep the sugar from sticking at the edges; over-stirring can splash sugar crystals onto the pan walls, which later encourages graininess. Once it hits 235F, stir in the pecans, vanilla, and salt, then turn it out immediately onto parchment so the candy stops cooking. The finished clusters should look glossy at first, then dull and firm as they cool.
Tempering the Yolks
Warm the cream, milk, and brown sugar until the sugar dissolves and the mixture is hot but not boiling. Whisk the yolks in a bowl, then add the hot dairy in a slow stream while whisking constantly. That gradual rise in temperature protects the eggs; if you dump the dairy in all at once, the yolks seize and you get little bits of cooked egg in the base. The mixture should look pale, smooth, and fluid before it goes back to the pan.
Thickening to Custard
Cook the custard over medium-low heat and keep it moving with a spatula, especially around the bottom and corners of the pot. You’re looking for 175F and a texture that coats the back of a spoon without feeling starchy or scrambled. Pull it off the heat right away and strain it through a fine sieve. If the custard looks grainy, it spent too long on the burner; straining helps, but the real fix is gentler heat next time.
Chilling, Churning, and Folding In the Candy
Stir in the vanilla and salt after straining, then chill the base until it’s completely cold and has rested in the refrigerator for about 4 hours. A cold base churns faster and makes smaller ice crystals, which gives you smoother ice cream. Add the praline chunks during the last few minutes of churning so they distribute evenly without getting crushed to dust. Freeze the finished ice cream until firm enough to scoop, but don’t leave it uncovered or the praline pieces can pick up freezer frost.
Three Ways to Adjust the Batch Without Losing the Texture
Dairy-Free Version
Use full-fat canned coconut milk in place of the cream and whole milk, and keep the egg yolks for body. The flavor shifts a little toward coconut, but the custard still churns into a creamy base. Skip any lower-fat plant milks; they freeze icy and don’t carry the praline flavor well.
Lighter Brown Sugar Note
You can replace part of the brown sugar with white sugar, but the ice cream will lose some of that deep praline character. I like the full brown sugar amount here because it ties the base to the candy pieces and keeps the dessert tasting cohesive.
Nut-Free Alternative
Leave out the pecans and make a simple brown sugar caramel shard instead, or fold in toasted sunflower seeds if you still want crunch. You’ll lose the classic praline flavor, but you keep the buttery candy contrast against the custard.
Storage and Reheating
- Refrigerator: The custard base can be kept chilled for up to 2 days before churning. After that, the flavor is still fine, but the texture starts to flatten a little.
- Freezer: The finished ice cream freezes well for about 2 weeks. Press parchment or plastic wrap directly onto the surface to limit ice crystals and keep the praline pieces crisp.
- Reheating: This dessert doesn’t need reheating. Let it sit on the counter for 5 to 10 minutes before scooping so the praline clusters don’t shatter the spoon and the ice cream releases cleanly.
Answers to the Questions Worth Asking
Pecan Praline and Cream Ice Cream
Ingredients
Equipment
Method
- Combine brown sugar, heavy cream, and butter in a saucepan over medium heat and stir until the mixture reaches 235°F (soft ball stage), then keep it moving for even caramelization (about 5 minutes).
- Stir in pecan halves, vanilla extract, and salt until the nuts are fully coated, then immediately spread the praline mixture onto parchment in a thin layer (visual cue: glossy caramel clinging to the nuts).
- Let the praline cool to harden completely, then break it into crunchy chunks for folding into the ice cream.
- Heat heavy cream, whole milk, and brown sugar in a saucepan over medium heat until the sugar dissolves and the mixture is steaming (visual cue: no grainy sugar).
- Slowly whisk the hot cream mixture into the egg yolks to temper them (visual cue: the yolks turn smoother and lighter).
- Return the mixture to the saucepan and cook, stirring, until it reaches 175°F, then immediately strain to remove any curdled bits.
- Whisk in vanilla extract and salt, cool completely to room temperature, then refrigerate for 4 hours (visual cue: custard thickens and feels cold through the center).
- Churn the chilled custard in an ice cream maker until it reaches a soft-frozen texture, then fold in the praline pecan chunks during the last 5 minutes (visual cue: speckles and clusters distribute throughout).
- Transfer to a container and freeze until firm (visual cue: scoopable, sliceable texture rather than soft).


