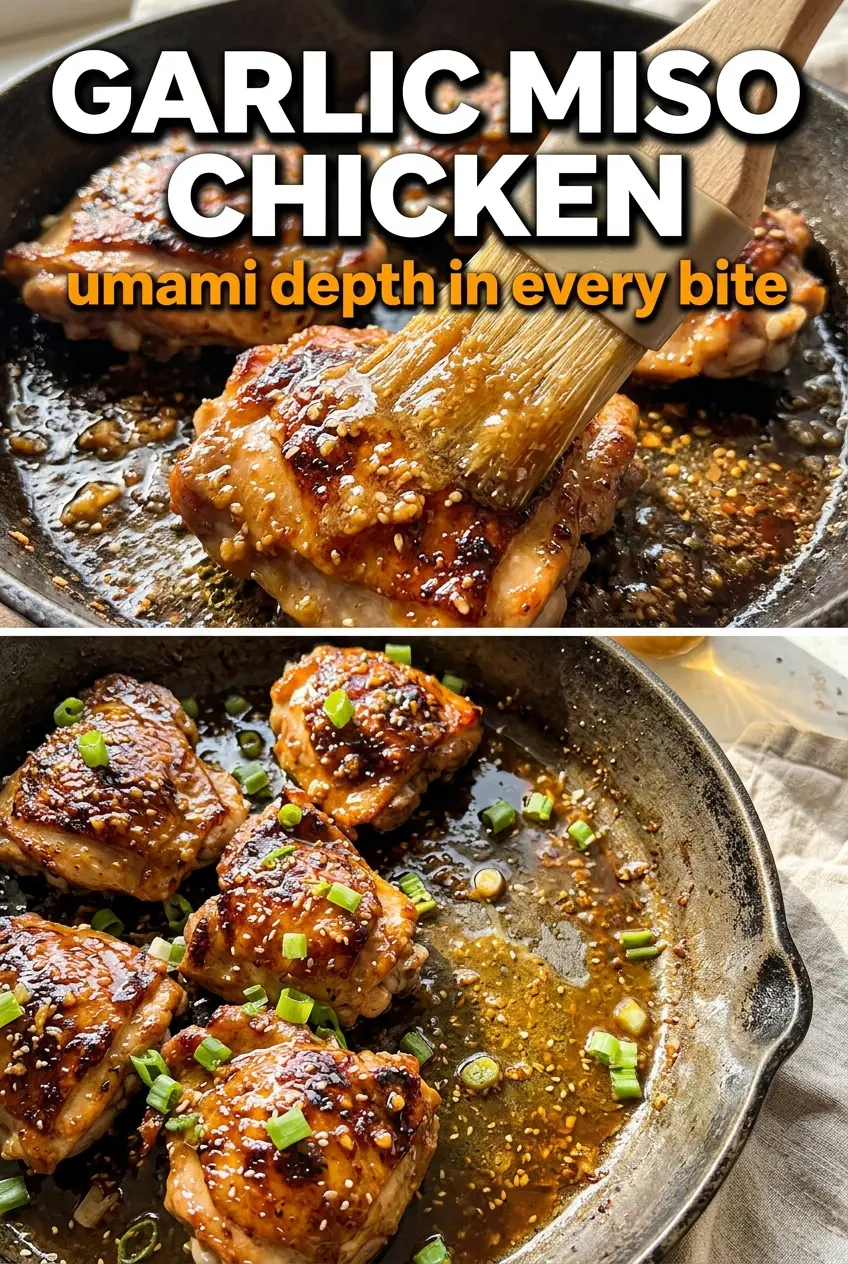
Miso-glazed chicken earns its place in the dinner rotation when the edges turn sticky and dark, the garlic perfumes the pan, and the thighs come out with a lacquered crust that tastes deeper than the short ingredient list suggests. The glaze clings instead of sliding off, and the broiler finishes what the oven starts, giving you those caramelized spots that make each bite taste richer.
This version works because the marinade balances salt, sweetness, and acid before the chicken ever hits heat. White or red miso brings the savory backbone, mirin and honey help the surface brown, and a little rice vinegar keeps the glaze from tasting flat. The garlic and ginger don’t just add flavor; they sharpen the miso so the finished chicken tastes clean and bold instead of heavy.
Below, you’ll find the detail that matters most: how to broil this chicken without burning the glaze, plus the ingredient swaps that still keep the dish grounded in that same salty-sweet, deeply savory lane.
The marinade turned into this glossy glaze in the oven, and the broiler gave the chicken those caramelized spots without drying it out. I used thighs and they stayed juicy even after 20 minutes.
Love the glossy miso glaze and caramelized edges? Save this Garlic Miso Chicken for the nights when you want bold umami with almost no fuss.
The Trick Is in the Broiler, Not Just the Marinade
Miso does a lot of the heavy lifting, but it also burns fast once the sugars in the glaze start concentrating. That means the chicken needs enough time in the oven to cook through before the broiler comes on. If you blast it too early, the outside goes dark before the thighs are done in the center, and the glaze tastes bitter instead of caramelized.
The other thing that matters here is the chicken cut. Boneless thighs stay juicy through the high heat and short broil, while leaner cuts dry out before the miso gets that deep, savory edge. The marinade should look thick and clingy before it goes on the chicken; if it seems too loose, it won’t coat evenly or build that lacquered finish.
What Each Ingredient Is Actually Doing in This Dish

- White or red miso paste — This is the backbone of the dish. White miso tastes a little milder and sweeter; red miso brings a deeper, saltier punch. Either works, but red miso will brown faster, so watch the broiler closely.
- Mirin and honey — These create the glossy finish and help the glaze caramelize. If you swap in plain sugar, you lose some of the roundness and the sauce can turn sharper. Honey alone works in a pinch, but the glaze will be a little thicker and darker.
- Soy sauce — This deepens the savory base and makes the miso taste fuller. Use a low-sodium soy sauce if that’s what you keep on hand, but don’t skip it entirely or the marinade will taste one-note.
- Rice vinegar — The acid keeps the glaze from reading heavy and helps the garlic and ginger stand out. Lemon juice can work, but it shifts the flavor away from the clean, Japanese-American balance this recipe is built on.
- Boneless chicken thighs — Thighs stay tender under the broiler and give the glaze something rich to cling to. Chicken breasts can work, but they need less oven time and are much less forgiving once the heat gets high.
Build the Glaze Before You Build the Crust
Mix the marinade until it looks smooth and glossy
Whisk the miso, mirin, soy sauce, sesame oil, honey, garlic, ginger, and rice vinegar until the mixture loosens into a smooth paste. If the miso stays in streaks, it won’t coat the chicken evenly and you’ll get patchy seasoning. The finished marinade should look thick but spreadable, like a loose glaze rather than a dressing.
Let the chicken soak long enough to pick up the flavor
Give the chicken at least an hour in the marinade, or leave it overnight if you want a deeper savory edge. The surface will darken and the thighs will absorb some of that salt-sweet balance, which is what keeps the final bite from tasting like sauce sitting on top of plain chicken. If you’re short on time, even 30 minutes helps, but the flavor won’t travel as far into the meat.
Roast first, broil second
Place the chicken on a foil-lined baking sheet and bake at 400F until the thighs are cooked through, about 18 to 20 minutes. The glaze should look set and glossy, and the chicken should feel firm at the center when pressed. Then broil for 3 to 4 minutes, watching constantly, until the top is deeply caramelized with a few charred spots. If you walk away for even a minute, miso can go from bronzed to burnt fast.
Finish with the garnishes while the glaze is still tacky
Scatter sesame seeds and sliced green onions over the hot chicken right after it comes out of the oven. The seeds stick best when the glaze is still sticky, and the green onions give the dish a fresh bite that cuts through the saltiness. Serve it right away so the crust stays crisp at the edges and the sauce doesn’t soften under steam.
How to Adapt This for a Lighter Bowl, a Bigger Crowd, or a Dairy-Free Table
Serve it over rice for the classic version
Steamed rice catches the extra glaze and softens the saltiness of the miso. If you want the full takeout-style effect, spoon any pan juices over the rice so nothing goes to waste.
Make it gluten-free with tamari
Swap the soy sauce for tamari in a 1:1 amount. The flavor stays deeply savory, and the glaze still browns the same way, as long as your miso paste is also gluten-free.
Use chicken breasts when that’s what you’ve got
Chicken breasts work, but they need less time in the oven and a closer eye under the broiler. Pull them as soon as the center reaches temperature, because the lean meat dries out before the glaze gets its deepest color.
Stretch it into a bigger meal
Slice the cooked chicken and serve it with cucumbers, shredded cabbage, or roasted broccoli to turn it into bowls or meal prep containers. The glaze holds up well, and the savory-sweet flavor works across a lot of different vegetables.
Storage and Reheating
- Refrigerator: Store for up to 4 days. The glaze softens a little, but the flavor stays strong.
- Freezer: It freezes well for up to 2 months. Freeze the cooked chicken in a sealed container, then thaw in the fridge before reheating.
- Reheating: Warm in a 325F oven, covered loosely with foil, until heated through. The biggest mistake is blasting it in the microwave, which can toughen the thighs and make the glaze sticky in the wrong way.
Answers to the Questions Worth Asking
Garlic Miso Chicken
Ingredients
Equipment
Method
- Whisk miso paste, mirin, soy sauce, sesame oil, honey, garlic, ginger, and rice vinegar together until smooth and glossy.
- Place chicken thighs in the marinade and coat thoroughly, then refrigerate for at least 1 hour or overnight.
- Preheat oven to 400F, then place the chicken on a foil-lined baking sheet (discard any excess marinade).
- Bake 18-20 minutes at 400F, until the chicken is cooked through and the glaze has started to thicken and darken.
- Broil 3-4 minutes on high until the miso glaze is deeply caramelized and charred in spots; watch carefully because miso burns quickly.
- Rest briefly, then garnish with sesame seeds and green onions before serving.


