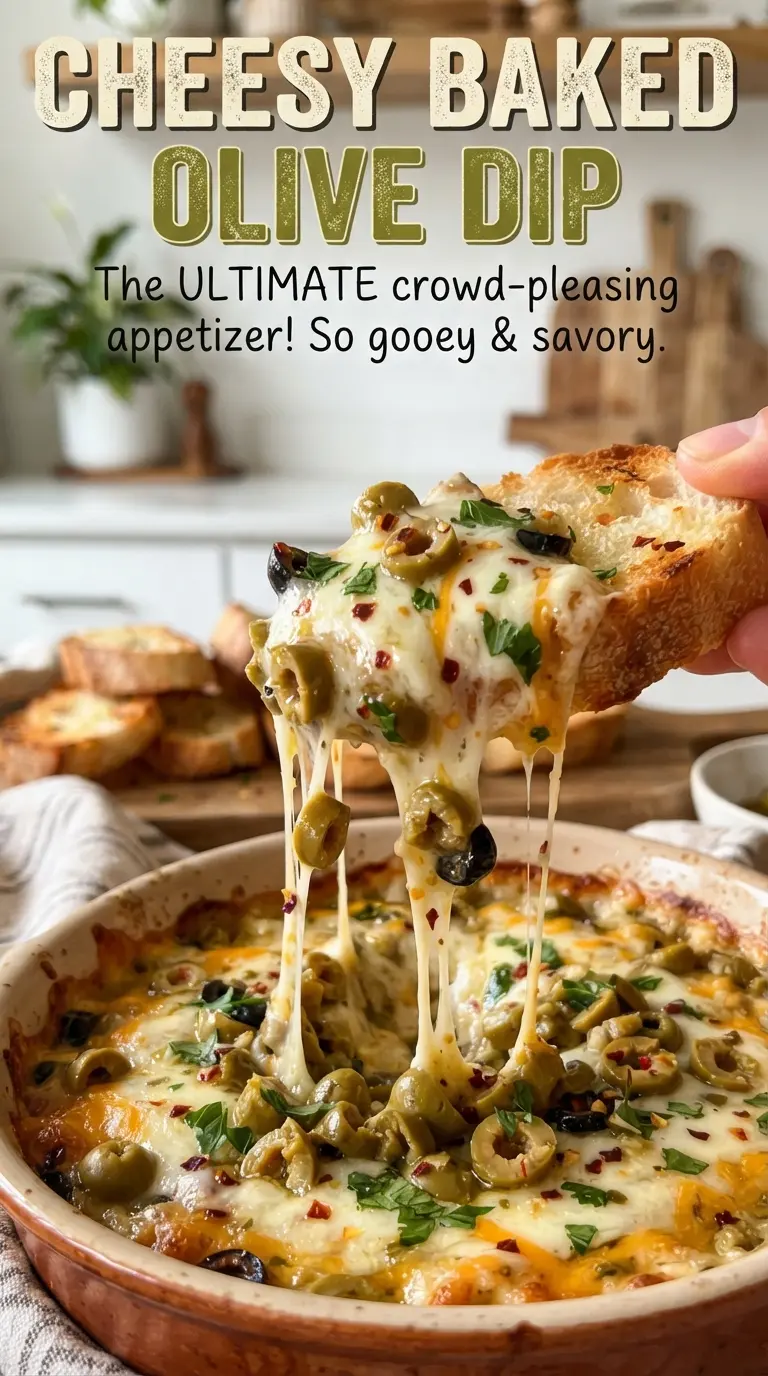
Cheesy baked olive dip comes out hot, salty, and scoopable with a browned top that gives way to a creamy center packed with briny olives. It’s the kind of appetizer that disappears fast because every bite hits three things at once: rich cheese, sharp Parmesan, and that punchy olive flavor that keeps people going back with one more cracker.
The balance matters here. Cream cheese gives the dip its body, but mayonnaise and sour cream keep it loose enough to bake without turning dense. A mix of mozzarella and Parmesan melts into a stretchy, savory base, while the pimento-stuffed green olives and black olives bring both brightness and depth. The garlic doesn’t need much help — a couple of cloves are enough to keep the dip tasting layered without taking over.
Below, I’ll show you how to keep the texture creamy instead of greasy, what to do if your olives are extra salty, and a few smart ways to adapt this dip for different crowds. It’s a simple dish, but a few small details make the difference between good and the kind of bowl people hover over.
The dip baked up with the perfect golden top, and the olives stayed briny without making it watery. I served it with toasted baguette slices and there wasn’t a spoonful left after ten minutes.
Save this cheesy baked olive dip for the next game day, because that bubbly mozzarella top and briny olive bite are made for sharing.
The Reason This Dip Stays Creamy Instead of Turning Greasy
The biggest mistake with baked dips like this is pushing the oven too hard and letting the cheese separate before the center has time to heat through. Cream cheese gives you structure, but it needs the mayonnaise and sour cream to loosen it into something that bakes up smooth instead of stiff. The dip should be mixed until completely even before it ever goes into the oven, because little pockets of cream cheese can leave you with uneven texture after baking.
The other thing that matters is how much olive liquid you drag into the bowl. Drained olives keep the dip thick and creamy. If the olives are wet, the filling can loosen and the top can bake up before the middle catches up. You want a dip that bubbles at the edges and still feels soft when you scoop it, not one that looks oily around the rim.
What Each Ingredient Is Actually Doing Here
- Cream cheese — This is the base that gives the dip its thickness and body. Soften it first or it won’t blend smoothly, and you’ll end up with little lumps that never fully melt out.
- Mayonnaise and sour cream — These keep the dip spoonable after baking and add a little tang that balances the salt from the olives and Parmesan. Sour cream gives a cleaner tang; mayo gives a richer finish, so together they make the texture taste fuller.
- Mozzarella — Use shredded mozzarella for the stretchy, melty top and for the elastic texture through the dip. Pre-shredded works fine here, though freshly shredded melts a little more smoothly if you’ve got the time.
- Parmesan — This is where the savory edge comes from. It sharpens the whole dip and helps the top brown faster, which is why the surface tastes deeper than the creamy center.
- Pimento-stuffed green olives and black olives — The mix gives you both briny brightness and a rounder olive flavor. If you only use one type, the dip still works, but the combination keeps every bite more interesting.
- Garlic and green onions — Garlic gives the base its backbone, while green onions add freshness after baking. Don’t skip the onions unless you have to; they keep the dip from tasting heavy.
Building the Dip So the Top Browns and the Center Stays Soft
Mix the Base Until It’s Completely Smooth
Start with softened cream cheese, then work in the mayonnaise, sour cream, one cup of mozzarella, Parmesan, and garlic until the mixture looks even and glossy. If the cream cheese is still cold, you’ll see streaks and small lumps that stay in the finished dip. A hand mixer makes this fast, but a sturdy spoon works if the cream cheese is properly softened. The mixture should hold its shape but still spread easily.
Fold in the Olives and Onion Without Crushing Them
Add the sliced olives and green onions at the end and fold them in gently. You want the olives dispersed through the dip, not mashed into the base, because whole slices give you better texture and a cleaner briny pop. If the olives seem especially wet, pat them dry first. That small step keeps the dip from turning loose in the oven.
Bake Until the Edges Bubble and the Top Turns Gold
Spread the mixture into a greased small baking dish and top with the remaining mozzarella. Bake at 375°F until the edges are active and bubbling and the top is golden in spots, usually 22 to 25 minutes. If the top browns before the center looks hot, tent it loosely with foil for the last few minutes. You’re looking for a dip that’s creamy through the middle and just starting to pull away from the edge of the dish.
Serve It Hot, Not Warm
This dip is at its best right out of the oven, when the cheese still stretches and the olives taste bright against the creamy base. Give it a minute or two so it doesn’t burn tongues, then bring it to the table with toasted baguette slices or sturdy crackers. If it sits too long, the top firms up, but a brief rewarm brings it right back.
How to Change This Dip Without Losing the Good Part
Make it sharper and saltier
Add a few chopped castelvetrano or kalamata olives along with the green olives if you want a more complex, bolder olive flavor. Kalamatas bring a darker, fruitier note, while castelvetranos keep things milder and buttery. Just drain them well so the dip doesn’t loosen.
Make it gluten-free for the whole table
The dip itself is naturally gluten-free, so the only swap you need is the dippers. Serve it with gluten-free crackers, sliced vegetables, or sturdy corn chips. Keep an eye on packaged olives and shredded cheese if cross-contamination matters for your kitchen.
Make it a little lighter
You can swap part of the mayonnaise for plain Greek yogurt, but don’t replace all of it or the dip can turn a little sharp and less silky. Greek yogurt works best as a partial swap because it adds tang without losing too much creaminess. The texture will be a touch looser, but it still bakes well.
Add a little heat
A pinch of crushed red pepper or a spoonful of chopped pepperoncini gives the dip a sharper finish without changing the creamy base. Pepperoncini add tang along with heat, which plays well with the olives. Start small, because the olives already bring plenty of salt and punch.
Storage and Reheating
- Refrigerator: Store leftovers covered for up to 4 days. The dip will firm up as it chills, especially around the edges.
- Freezer: I don’t recommend freezing this dip. Dairy-heavy baked dips can separate after thawing, and the texture turns grainy instead of creamy.
- Reheating: Warm it in a 325°F oven, covered loosely with foil, until hot in the center. The common mistake is blasting it in the microwave, which makes the cheese oily and the olives rubbery.
Questions I Get Asked About This Recipe
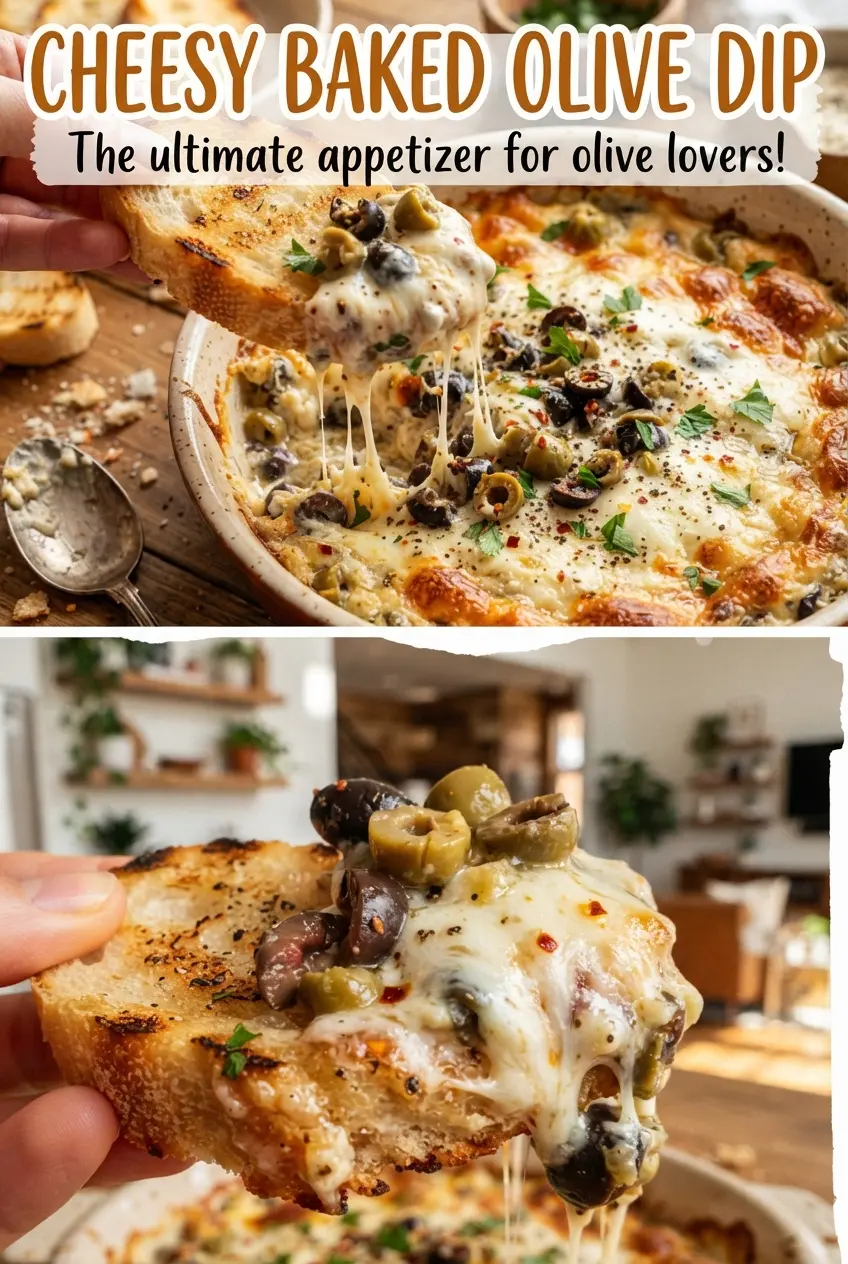
Cheesy Baked Olive Dip
Ingredients
Equipment
Method
- Preheat the oven to 375F, then grease a small baking dish so the dip releases easily. Set the dish on a stable rack for quick transfer to the oven.
- Mix cream cheese, mayonnaise, sour cream, 1 cup mozzarella, Parmesan, and garlic until smooth. Scrape the bowl to eliminate lumps for a creamy texture.
- Fold in the green olives, black olives, and green onions. Stop mixing when the olives and onions are evenly distributed.
- Spread the mixture into the greased dish and top with the remaining mozzarella. Level the surface so the cheese melts uniformly.
- Bake for 22-25 minutes at 375F until bubbly and golden on top. Look for active bubbling around the edges and a browned, melted surface.
- Serve the dip hot with toasted baguette slices or crackers. Use a toasted slice for a stretchy cheese pull with each bite.