Bright, blistered green beans with golden garlic and lemon are the kind of side dish that disappears before anything else on the table gets touched. The beans stay crisp-tender, not soft and sulky, and the finish of butter, lemon zest, and toasted almonds gives every bite a little crunch and lift. It tastes like you put in more work than you did, which is exactly why it earns a permanent spot in the rotation.
The trick is letting the beans take direct contact with the hot skillet before the garlic ever shows up. That first stretch builds color and flavor on the beans themselves, while the butter comes in later to carry the garlic without burning it. Lemon goes in at the end so the dish stays bright instead of turning flat, and the almonds add the one texture that keeps this from feeling like a plain vegetable side.
Below, I’m walking through the small timing details that keep the garlic golden and the beans crisp, plus a few easy swaps for when you want to change the finish without losing what makes this version work.
The beans stayed crisp and the garlic turned golden instead of bitter. I served them with roast chicken and my husband picked around the plate to get the last almonds.
Save these blistered sautéed green beans for the nights when you want a fast side with lemon, garlic, and toasted almonds.
The Trick to Crisp Green Beans Instead of Limp Ones
Green beans need enough heat to blister before they start to soften. If the pan is crowded, they steam and go dull before they ever pick up color. A wide skillet and a single layer matter here more than almost anything else.
The garlic goes in later because it cooks faster than the beans and burns the second the pan runs too hot for too long. Butter adds flavor, but it also lowers the heat a little and gives the garlic a softer, more even browning. Lemon at the end keeps the beans tasting fresh and sharp instead of heavy.
What Each Ingredient Is Actually Doing in This Dish
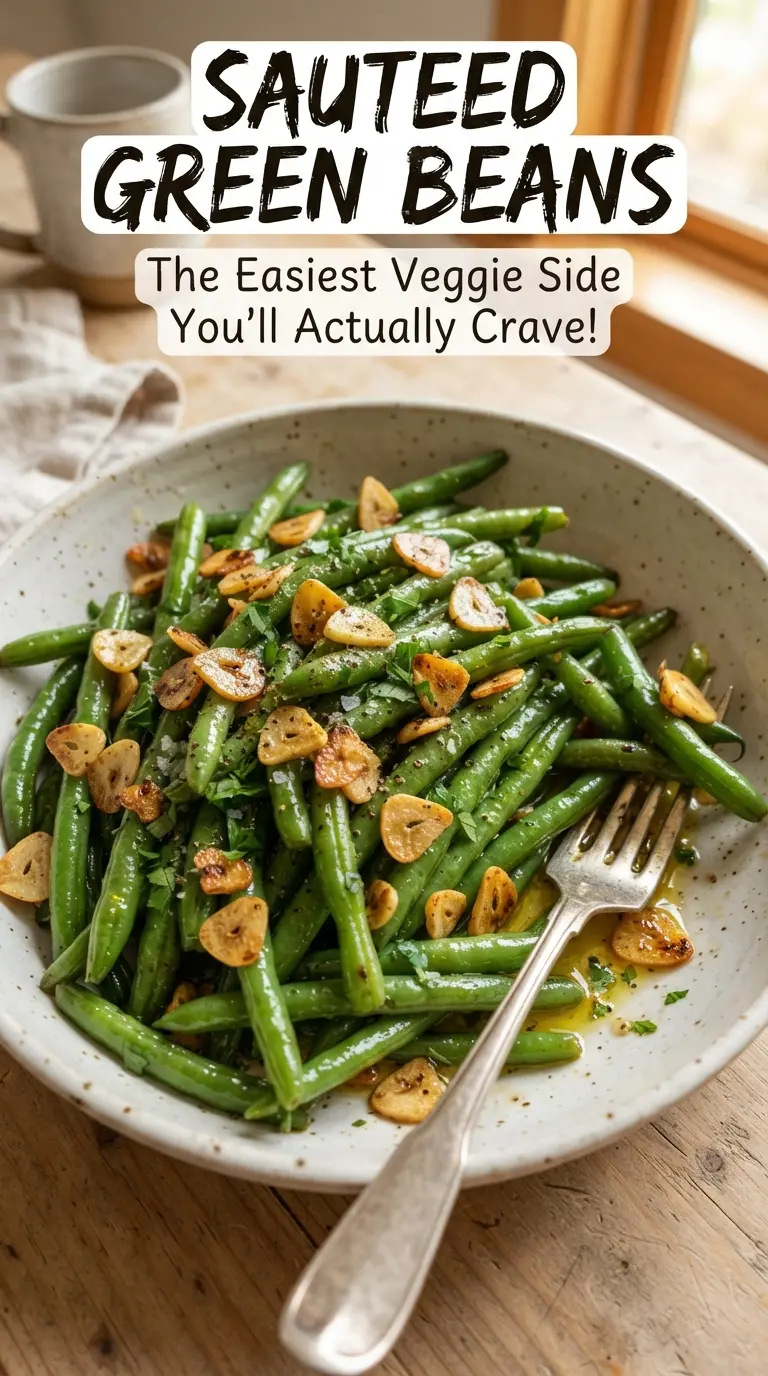
- Fresh green beans — These need to be fresh and snappy, not bendy. Older beans soften too fast and never get that clean crisp-tender bite. Trim the stem ends so they cook evenly.
- Olive oil — The oil gets the beans moving in the skillet and handles the first stage of high heat. You don’t need a fancy one here; any decent everyday olive oil works.
- Butter — Butter is what gives the garlic and beans a richer finish once the initial blistering is done. If you swap it for more oil, the dish still works, but it loses that round, glossy finish.
- Garlic — Thin slices brown more gently than minced garlic, so they stay sweet instead of bitter. If all you have is minced garlic, add it for the last 30 seconds and watch it closely.
- Lemon zest and juice — Zest carries the bright citrus aroma; juice adds the acid that wakes the whole pan up. Don’t replace both with one or the other if you can avoid it.
- Toasted almonds — They add the crunch that makes the texture feel finished. If you skip the toasting step, the nuts taste flatter and disappear into the dish instead of standing out.
Getting the Beans Blistered Before the Finish Goes In
Start with a hot, roomy skillet
Heat the oil over medium-high before the beans go in, then add them in as close to a single layer as you can manage. You want a quick sizzle right away. If the beans pile up, they trap steam and go soft before the surfaces can blister.
Toss until the skins spot and wrinkle
Cook the beans for 6 to 8 minutes, tossing every so often, until you see charred spots and the color turns a deeper green. They should still have a little snap when you bite one. If they’re turning olive drab and collapsing, the heat is too low or the pan is overcrowded.
Let the garlic bloom in the butter
Drop the heat to medium, add the butter and sliced garlic, and stir for 1 to 2 minutes until the garlic edges turn pale gold. Don’t walk away here. Garlic goes from golden to bitter fast, and once it burns there’s no hiding it with lemon or salt.
Finish with acid and crunch
Take the pan off the heat for the lemon zest, lemon juice, and toasted almonds, then toss everything together. Off the heat is the safest place for the lemon because it keeps the flavor bright and prevents the butter from feeling greasy. The beans should look glossy, not saucy.
Three Useful Ways to Change the Finish Without Losing the Point
Make it dairy-free
Swap the butter for another tablespoon of olive oil. The beans will still blister nicely, and the garlic will stay in the same sweet-golden lane, but you’ll lose a little richness at the finish. If you want more body, add an extra pinch of salt and a touch more lemon zest.
Use pecans or walnuts instead of almonds
Chopped pecans or walnuts work when almonds aren’t in the pantry. Toast them first so they taste nutty instead of raw, and add them at the very end so they keep their crunch. Walnuts read a little earthier; pecans taste a touch sweeter.
Turn it into a red-pepper version
Keep the red pepper flakes where they are, then add a little extra if you want a sharper finish. This doesn’t change the structure of the dish, just the heat level. The lemon still matters because it keeps the spice from tasting flat.
Storage and Reheating
- Refrigerator: Store in an airtight container for up to 3 days. The beans soften a little, but they still hold up well.
- Freezer: I don’t recommend freezing this dish. The beans lose their crisp texture and the lemon finish gets muddled after thawing.
- Reheating: Warm in a skillet over medium heat just until hot. The mistake to avoid is microwaving too long, which makes the beans limp and the garlic harsh.
Questions I Get Asked About This Recipe
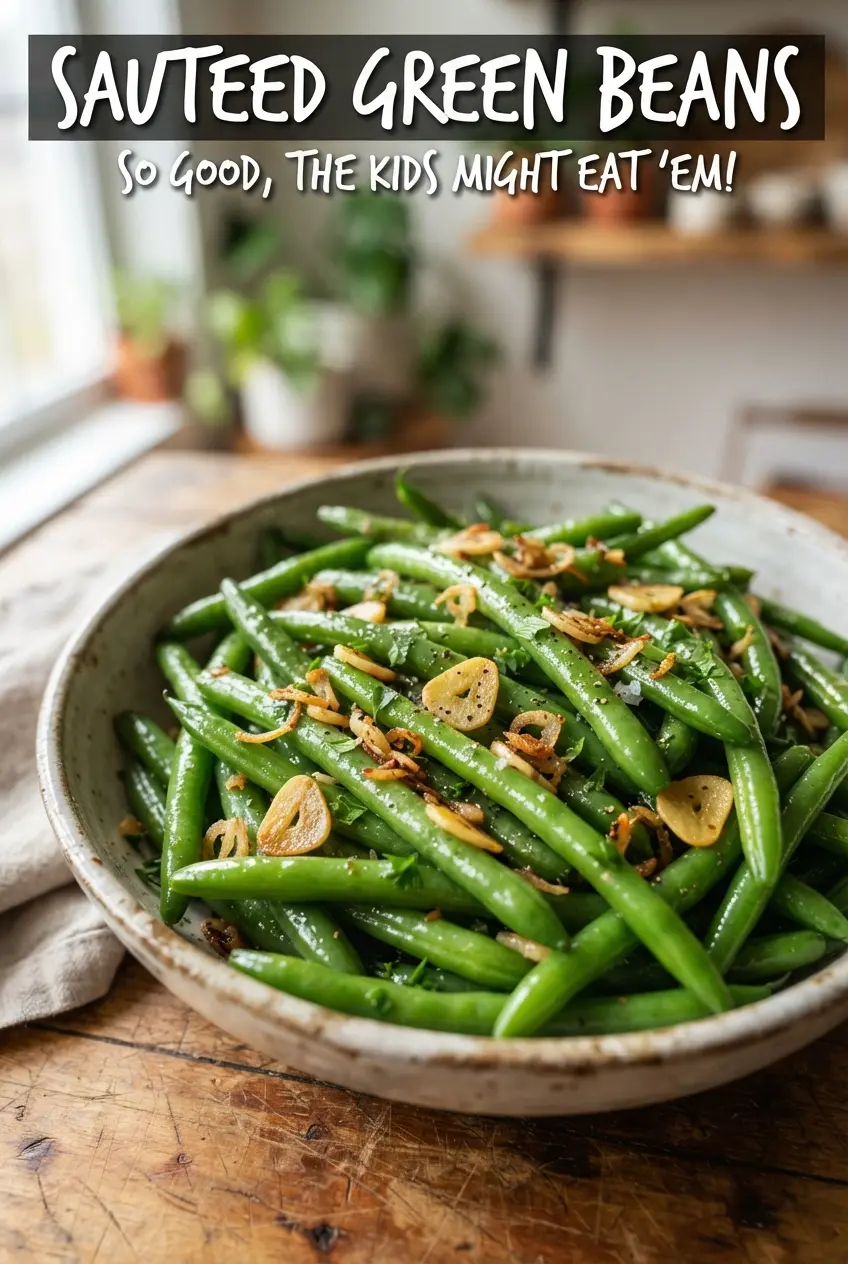
Sauteed Green Beans
Ingredients
Equipment
Method
- Heat olive oil in a large skillet over medium-high heat until shimmering. Add the green beans and cook 6-8 minutes, tossing often, until blistered and crisp-tender.
- Reduce heat to medium, then add butter and thinly sliced garlic. Cook 1-2 minutes, stirring, until the garlic turns golden and fragrant.
- Season with salt, black pepper, and red pepper flakes. Toss to distribute evenly.
- Toss with lemon zest and lemon juice until the beans look glossy. Add the toasted sliced almonds and toss again just to combine, then serve.