Bacon pie irons turn a simple campfire breakfast into a hot, crisp sandwich with melty cheese and smoky bacon in every bite. The bread toasts on the outside while the eggs stay soft inside, which is exactly what makes this one worth repeating around the fire. It eats like breakfast and a hand-held sandwich at the same time, which is about as practical as camp food gets.
The trick is in the layering and the heat. Scrambled eggs go in already cooked, not raw, so the sandwich heats through before the bread burns. Butter on the outside of the bread gives you that golden crust in the pie iron, and the cheese helps hold everything together once it starts melting. If the coals are too hot, the bread will darken before the middle warms up, so steady heat matters more than flame.
Below, I’ve included the little details that keep the sandwich from sticking, plus a few easy swaps if you want to change the filling without losing the crisp, toasty finish.
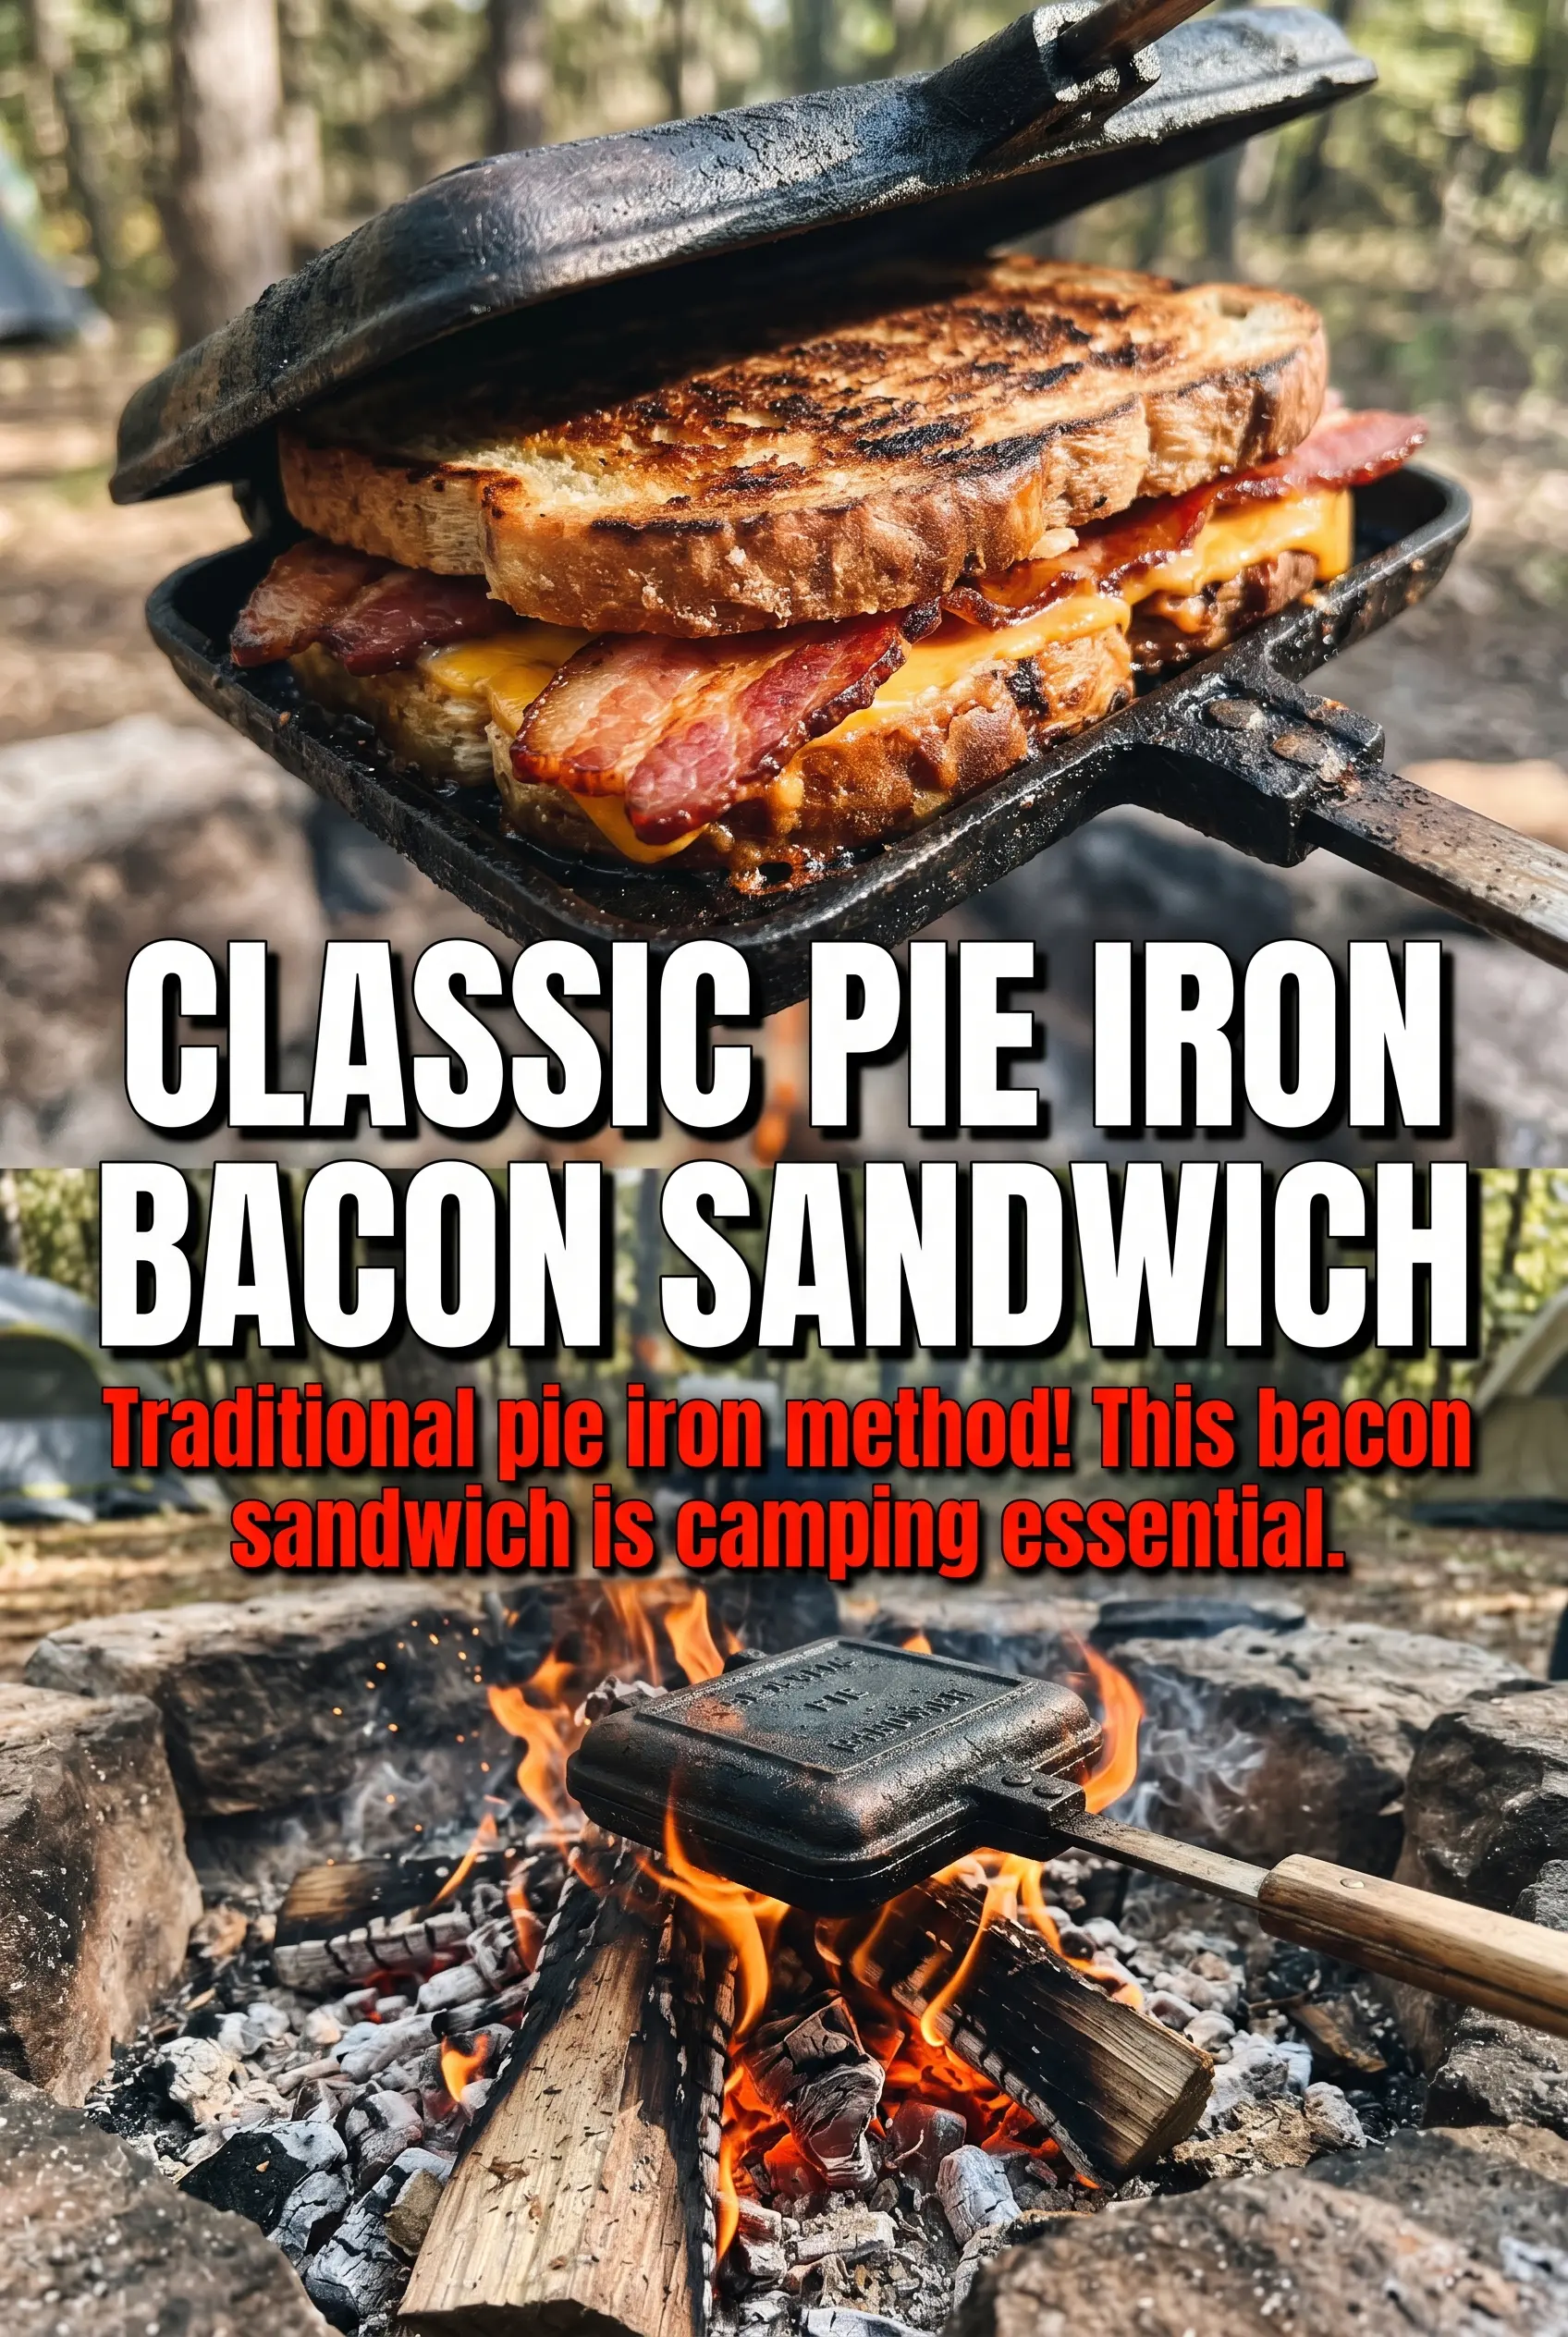
The bread came out evenly toasted and the cheese sealed everything together without leaking out the sides. I cooked it over coals for about 3 minutes per side and it was perfect for breakfast at camp.
Save these bacon pie irons for a campfire breakfast with crispy bread, smoky bacon, and melted cheddar.
The Secret to Keeping the Bread Crisp Before the Filling Heats Through
Pie irons punish overfilled sandwiches. Too much egg or cheese, and the bread steams instead of toasting while the filling squeezes out the sides. This version stays balanced because the eggs are already scrambled, the bacon is cooked, and the cheese is doing two jobs at once: adding flavor and helping the sandwich hold together.
Butter on the outside is not optional here. It creates the barrier that crisps the bread and keeps it from grabbing the metal too hard. If your pie iron sticks, the bread probably needs a little more butter, or the iron was too hot when you loaded it. A steady bed of coals gives you even browning without turning the sandwich black before the cheese melts.
What Each Ingredient Is Doing in the Pie Iron

- Bread — A sturdy sandwich bread works best because it can handle the butter and heat without tearing. Soft sandwich bread browns well and seals the filling neatly; very thin bread tends to split.
- Bacon — Cook it first until crisp or at least fully cooked through. Raw bacon won’t finish properly in the short cook time, and it can make the sandwich greasy before the bread has a chance to toast.
- Scrambled eggs — These should be cooked before they go into the pie iron. That’s the part people get wrong most often. Raw eggs take too long and can make the bread soggy while the outside overcooks.
- Cheddar cheese — Cheddar melts smoothly and gives the sandwich enough body to hold the layers together. A sharper cheddar adds more flavor, but any good melting cheese works if it’s sliced evenly.
- Butter — Butter the outside of the bread, not the inside. That’s what gives you the toasted crust and helps the sandwich release cleanly from the pie iron.
Building the Sandwich So It Toasts, Melts, and Releases Cleanly
Butter the Bread Generously
Spread butter on one side of each slice, all the way to the edges. That edge coverage matters because the corners brown first and tend to stick if they’re left dry. The buttered side goes against the hot metal, so the outside of the sandwich gets crisp while the inside stays soft.
Layer the Filling in the Right Order
Start with one slice of bread butter-side down, then add the eggs, bacon, and cheese before closing with the second slice butter-side up. Cheese works best near the center of the filling because it melts and helps glue everything together. If you overload the sandwich, the lid won’t close cleanly and the edges will burst open over the fire.
Cook Over Steady Coals
Set the pie iron over hot coals, not open flame, and cook for 3 to 4 minutes per side. If the fire is too hot, the bread will scorch before the cheese softens. You’re looking for deep golden bread and cheese that’s fully melted when you open the iron.
Release and Serve Right Away
Lift the sandwich out carefully and let it sit for a minute before cutting or biting in. That short rest keeps the filling from spilling out and gives the cheese a chance to settle. Pie iron sandwiches are at their best when the crust is still crisp and the center is hot.
How to Adapt Bacon Pie Irons Without Losing the Campfire Crunch
Make It Vegetarian
Leave out the bacon and add sautéed mushrooms, spinach, or roasted peppers. You’ll lose the smoky saltiness, so season the eggs a little more aggressively or add a sharper cheese to keep the sandwich from tasting flat.
Use Gluten-Free Bread
Gluten-free sandwich bread works, but choose a sturdy loaf with enough structure to hold up in the pie iron. It usually browns faster and can dry out sooner, so watch the first side closely and don’t overcook it.
Swap the Cheese
Cheddar gives you the most classic result, but Monterey Jack, Colby, or Swiss will melt nicely too. If you use a drier cheese, keep the filling a little tighter so the sandwich doesn’t feel crumbly once it opens.
Storage and Reheating
- Refrigerator: Store leftovers in an airtight container for up to 2 days. The bread will soften, but the flavor holds up well.
- Freezer: Freezing isn’t ideal for the finished sandwich because the bread and eggs both lose texture after thawing.
- Reheating: Warm in a skillet over low heat or in a toaster oven until the center is hot. High heat will brown the bread before the filling is warm, which makes the sandwich taste dry.
Questions I Get Asked About Bacon Pie Irons
Bacon Pie Irons
Ingredients
Equipment
Method
- Butter one side of each bread slice.
- Place one slice butter-side down in the pie iron.
- Layer with scrambled eggs, bacon, and cheddar cheese.
- Season with salt and pepper to taste.
- Top with the second bread slice, butter-side up.
- Close the pie iron and cook over campfire coals for 3-4 minutes per side, until golden and the cheese melts.
- Remove from the pie iron and serve hot.