Deep layers of saucy pasta, creamy ricotta, and a bubbly cheese top make Dutch oven lasagna the kind of meal people remember. The noodles soften right in the sauce, the beef keeps every bite hearty, and the whole pan comes out with that golden, slightly crisp edge that only a covered oven or campfire setup can give you.
What makes this version work is the balance of moisture and heat. The meat sauce goes in thick, not watery, so the noodles have enough liquid to cook without turning the lasagna soupy. The ricotta mixture is held together with egg and Parmesan, which keeps it from sliding apart when you scoop it. A short rest at the end matters too. It gives the layers a chance to settle so the first serving holds together instead of collapsing into the pan.
Below, you’ll find the small details that make this one dependable, whether you’re cooking over coals or using a Dutch oven in the oven at home. The layering order, the noodle placement, and the timing all matter more than people think, and once you get them right, this becomes an easy one-pan crowd-pleaser.
The noodles cooked through perfectly and the top browned up under the lid without drying out. I used the full rest time and the slices held together much better than I expected for campfire lasagna.
Save this Dutch oven lasagna for your next campfire dinner or easy crowd-size casserole night.
The Part Most People Miss When Cooking Lasagna in a Dutch Oven
The biggest mistake with Dutch oven lasagna is treating it like a baked casserole that can tolerate a loose sauce. It can’t. Uncooked noodles need enough moisture to steam and soften, but if the sauce is thin, you’ll end up with a watery bottom and noodles that feel tacky in the center. The goal is a thick meat sauce that clings to the noodles and enough heat from the lid and base to cook the pasta evenly.
Another thing that matters here is the noodle layout. Broken noodles should cover the surface without large gaps, because exposed pockets dry out before the rest of the pan finishes. A full layer of sauce on the bottom keeps the first noodles from sticking and gives the lasagna a cleaner release when you scoop it out.
What Each Ingredient Is Actually Doing in This Dutch Oven Lasagna
- Ground beef — This gives the lasagna its backbone and enough fat to keep the sauce rich. Lean beef works, but if it’s extra-lean, the sauce can taste flat, so don’t be afraid of a little fat in the pan. Drain off only excess grease; a thin coating helps carry flavor.
- Spaghetti sauce — A jarred sauce is fine here because it saves time and already comes seasoned. Use one that’s thick and tomato-forward instead of a thin, watery one. If the sauce looks loose, simmer it a few minutes after adding the beef so it tightens up before layering.
- Ricotta cheese — Ricotta gives you the creamy layer that makes lasagna feel like lasagna. Whole-milk ricotta tastes fuller and holds up better than fat-free. If your ricotta seems grainy, stir it well with the egg before layering so it spreads more smoothly.
- Mozzarella and Parmesan — Mozzarella melts into that stretchy top layer, while Parmesan sharpens the whole dish and keeps the ricotta mixture from tasting bland. Pre-shredded mozzarella works, but freshly shredded melts a little more evenly. Parmesan should be finely grated so it blends cleanly into the filling.
- Egg — The egg helps the ricotta layer set instead of running out when you cut into the lasagna. Skip it and the middle will be looser, especially in a hot Dutch oven. Beat it into the cheese mixture until it disappears.
- Uncooked lasagna noodles — These save a full boiling step and absorb flavor as they cook. Regular noodles work best because they hold up to the layered moisture. Break them to fit, but don’t overlap them too much or the center can stay firm.
Building the Layers So the Center Cooks Through
Starting with Sauce on the Bottom
Coat the Dutch oven and spread a thin layer of meat sauce across the bottom before any noodles go in. That first slick of sauce keeps the pasta from welding itself to the pan and helps the bottom layer soften evenly. If you skip this, the first serving usually tears apart when you lift it out. You want a shallow but complete layer, not a puddle.
Laying the Noodles Without Leaving Gaps
Use three noodles broken to fit and press them into the sauce so the whole surface is covered. Small cracks are fine, but big open spaces dry out and cook unevenly. Don’t stack the noodles too thick at the edges or the center will lag behind. The layer should look tidy and snug, like a fitted puzzle.
Keeping the Cheese Mixture Thick and Scoopable
Mix the ricotta, one cup of mozzarella, Parmesan, egg, and Italian seasoning until it looks uniform and thick. If the filling is too loose, it slips out when the lasagna steams and the layers blur together. A thick cheese layer settles into the pasta instead of sinking. Spoon it in and spread it gently rather than pressing hard.
Managing the Coals and the Final Rest
Cook with coals under the Dutch oven and some on the lid so heat comes from both directions. That top heat is what melts the mozzarella and keeps the noodles from drying out before the center finishes. Lift the lid only near the end to check for bubbling around the edges and a melted, glossy top. Once it’s done, let it rest for 10 minutes so the layers firm up and serve cleanly.
How to Adapt This for a Different Stove, a Different Diet, or a Bigger Crowd
Make It in the Oven Instead of Over Coals
If you’re cooking indoors, bake the covered Dutch oven at 375°F until the noodles are tender and the sauce is bubbling at the edges. Uncover it for the last 10 minutes if you want more browning on top. The texture stays nearly the same, but the heat is steadier, so it’s a little easier to finish evenly.
Gluten-Free Noodles
Use gluten-free lasagna noodles that are labeled oven-ready or no-boil if possible. They can soften a little faster than wheat noodles, so check early and keep the sauce thick to prevent mushiness. The flavor stays the same, but the texture is more delicate, so rest the pan before serving.
Vegetarian Version with the Same Structure
Swap the beef for a hearty layer of sautéed mushrooms, zucchini, and spinach, then simmer everything with the sauce until it thickens. You need the vegetable mixture to be fairly dry or the lasagna will slide apart. This version keeps the same comfort-food feel, but it leans lighter and needs that extra reduction step.
Storage and Reheating
- Refrigerator: Store leftovers covered for up to 4 days. The noodles continue to absorb sauce, so the lasagna gets a little firmer by day two.
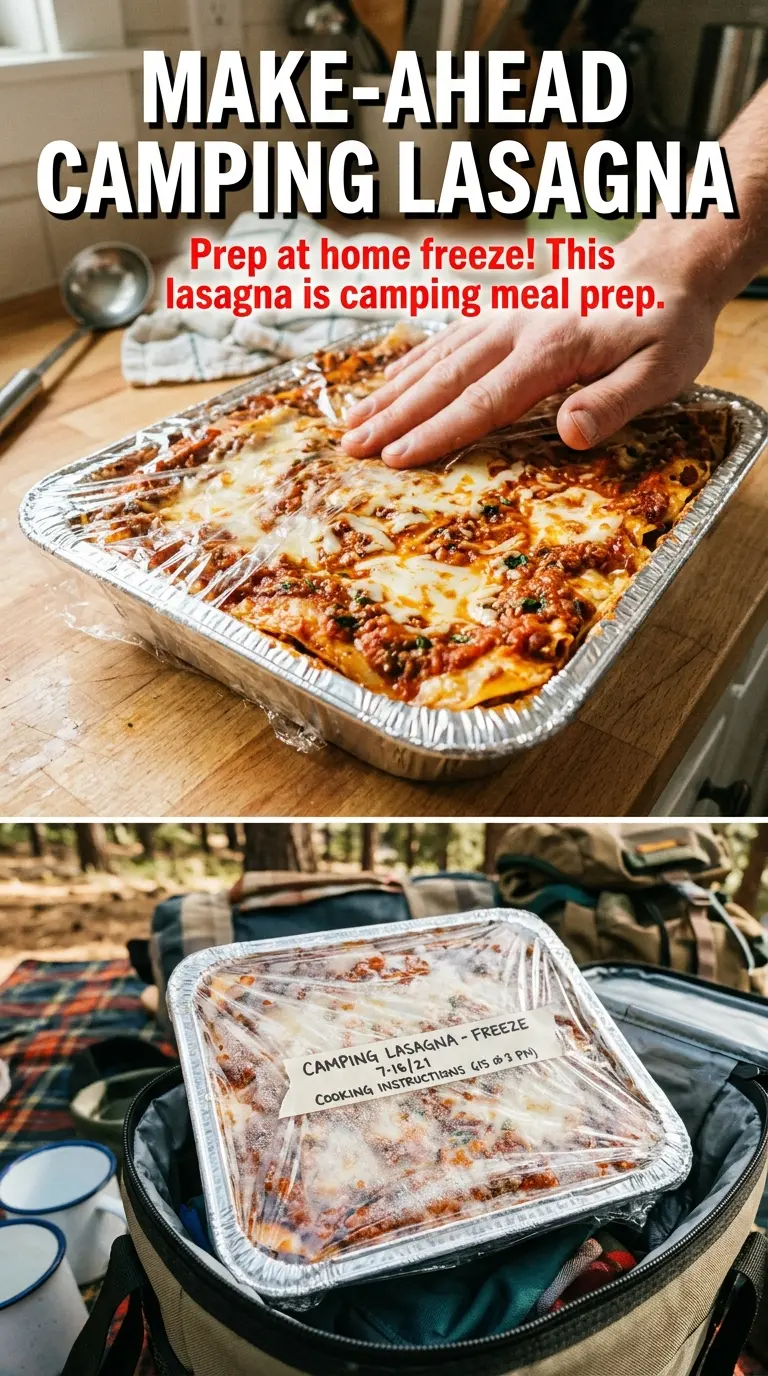
- Freezer: It freezes well if you portion it into airtight containers or wrap the whole cooled pan tightly. Thaw overnight in the fridge for the best texture.
- Reheating: Reheat covered in the oven at 350°F until hot in the center. The common mistake is blasting it uncovered, which dries out the noodles before the middle warms through.
Answers to the Questions Worth Asking

Dutch Oven Lasagna
Ingredients
Equipment
Method
- Brown the ground beef in a skillet over medium-high heat until no longer pink, then stir it into the spaghetti sauce.
- Simmer the combined sauce for 2-3 minutes to thicken slightly while you prep the filling.
- In a bowl, mix ricotta cheese with 1 cup mozzarella, Parmesan, egg, and Italian seasoning until smooth.
- Spray the Dutch oven with cooking spray, then spread a thin layer of meat sauce on the bottom.
- Layer 3 lasagna noodles (broken to fit), then spread half the ricotta mixture over the noodles and spoon over half the remaining meat sauce.
- Repeat with another layer of noodles, the remaining ricotta mixture, and the rest of the meat sauce.
- Top with the final 3 noodles (broken to fit) and spread the remaining sauce over the top layer.
- Sprinkle with the remaining mozzarella to fully cover the top.
- Cover and place the Dutch oven on campfire coals with coals on the lid, and cook for 45-50 minutes until hot in the center and bubbling at the edges.
- Let the lasagna rest for 10 minutes before serving so the layers set for clean scoops.