Caramelized grilled carrots are the kind of side dish that disappears before the main course gets a second glance. The heat softens the centers until they turn sweet and tender, while the outside picks up just enough char to keep every bite interesting. The honey-brown sugar glaze clings to the ridges and turns glossy in the best way, giving you carrots that taste earthy, smoky, and gently sticky all at once.
What makes this version work is the sequence. The carrots go on the grill first with only oil, salt, and pepper, so they can brown without the sugar burning too early. The glaze comes together separately and gets tossed with the carrots right at the end, which keeps it shiny instead of scorched. Cinnamon adds warmth without making the dish taste like dessert, and a little butter helps the glaze coat the carrots evenly.
Below, I’ve included the timing cue that keeps the carrots tender instead of leathery, plus a few smart swaps if you’re working with baby carrots, no grill, or a dairy-free table.
The glaze turned out glossy and clung to every carrot instead of sliding off. I cooked them until they had little char marks and the cinnamon-honey finish made them taste like they came from a steakhouse.
Love these glossy grilled carrots with honey brown sugar glaze? Save them to Pinterest for the nights when you want a side dish with caramelized edges and zero extra fuss.
The Part That Keeps the Glaze from Burning on the Grill
The biggest mistake with glazed carrots is putting the sweet coating on too early. Honey and brown sugar start to darken fast, and on a hot grill that can turn from caramelized to bitter in a hurry. By grilling the carrots plain first, you give them time to soften and pick up char marks before the glaze goes on.
The other detail that matters is size. Whole carrots work best when they’re similar thickness, because thin ones can overcook before the thicker ones are tender. If yours are uneven, split the larger carrots lengthwise so the batch finishes together. You’re looking for a fork to slide in with a little resistance, not for the carrots to collapse on the grill grate.
What Each Ingredient Is Doing in This Dish
- Whole carrots — Whole carrots hold up to the grill better than sliced carrots and give you those dark edges without falling apart. If yours are very thick, cut them lengthwise so the centers have time to soften before the outsides scorch.
- Olive oil — This helps the carrots brown instead of drying out on the grill. Use a plain, dependable oil here; the glaze carries the flavor, not the oil.
- Honey — Honey gives the glaze its shine and the sticky finish that coats the carrots after grilling. There isn’t a perfect substitute if you want the same gloss, but maple syrup will work in a pinch with a deeper, less floral sweetness.
- Brown sugar — This adds molasses depth and helps the glaze thicken just enough to cling. Light or dark brown sugar both work; dark will give you a richer, darker finish.
- Butter — Butter rounds out the glaze and helps it coat the carrots evenly. If you need this dairy-free, use a good vegan butter or swap in a tablespoon of neutral oil, though the glaze won’t taste quite as rich.
- Cinnamon — Cinnamon warms up the sweetness without making the dish taste like dessert. Keep it to a measured spoonful so it supports the glaze instead of taking over.
- Fresh thyme — Thyme cuts through the sweetness with a little savory edge. It’s worth using fresh here; dried thyme can taste dusty against the sticky glaze.
Grilling the Carrots and Finishing the Glaze at the Right Moment
Coating the Carrots First
Toss the peeled carrots with olive oil, salt, and pepper until every side looks lightly slicked. That thin coating helps them char instead of steam. If the carrots are wet or crowded together, they’ll soften unevenly and miss those dark spots that make the dish worth grilling.
Letting the Grill Do the Work
Lay the carrots over medium heat and turn them every few minutes so they brown without blackening. You want tender carrots with visible grill marks and a little blistering at the edges. If the outside is darkening before the inside gives when pierced, move them to a cooler part of the grill and keep going there.
Warming the Honey Brown Sugar Glaze
Stir the honey, brown sugar, melted butter, and cinnamon in a small saucepan just until combined and smooth. The goal is a loose, glossy glaze, not a thick candy syrup. If it cooks too long, it will tighten up and seize when you try to toss the carrots.
Tossing and Serving Immediately
The moment the carrots come off the grill, move them into a bowl and toss with the warm glaze. Hot carrots absorb the coating better than lukewarm ones, which is what gives you that shiny finish. Garnish with thyme and serve right away while the glaze is still fluid and the char marks are at their best.
How to Adapt These Grilled Carrots for Different Tables
Make It Dairy-Free Without Losing the Shine
Swap the butter for a dairy-free butter substitute or a tablespoon of neutral oil. You’ll still get a glossy glaze, though the flavor will be a little less round than the original. If you use oil, whisk the glaze well right before tossing so it stays cohesive.
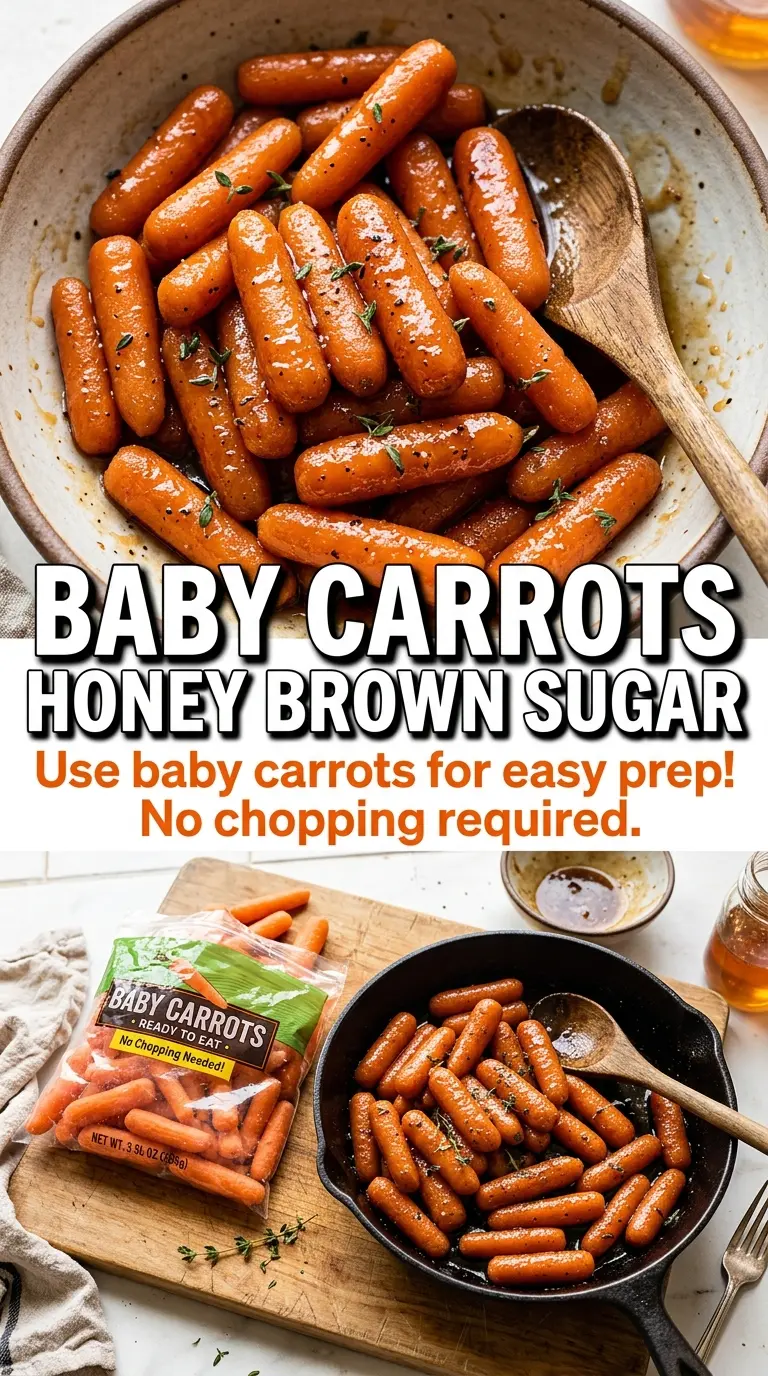
Use Baby Carrots When That’s What You Have
Baby carrots will work, but they need a little more attention because they brown faster than whole carrots and can turn soft before they char. Keep the grill at medium, turn them often, and pull them as soon as they’re tender. You’ll lose some of the dramatic presentation, but the glaze still works well.
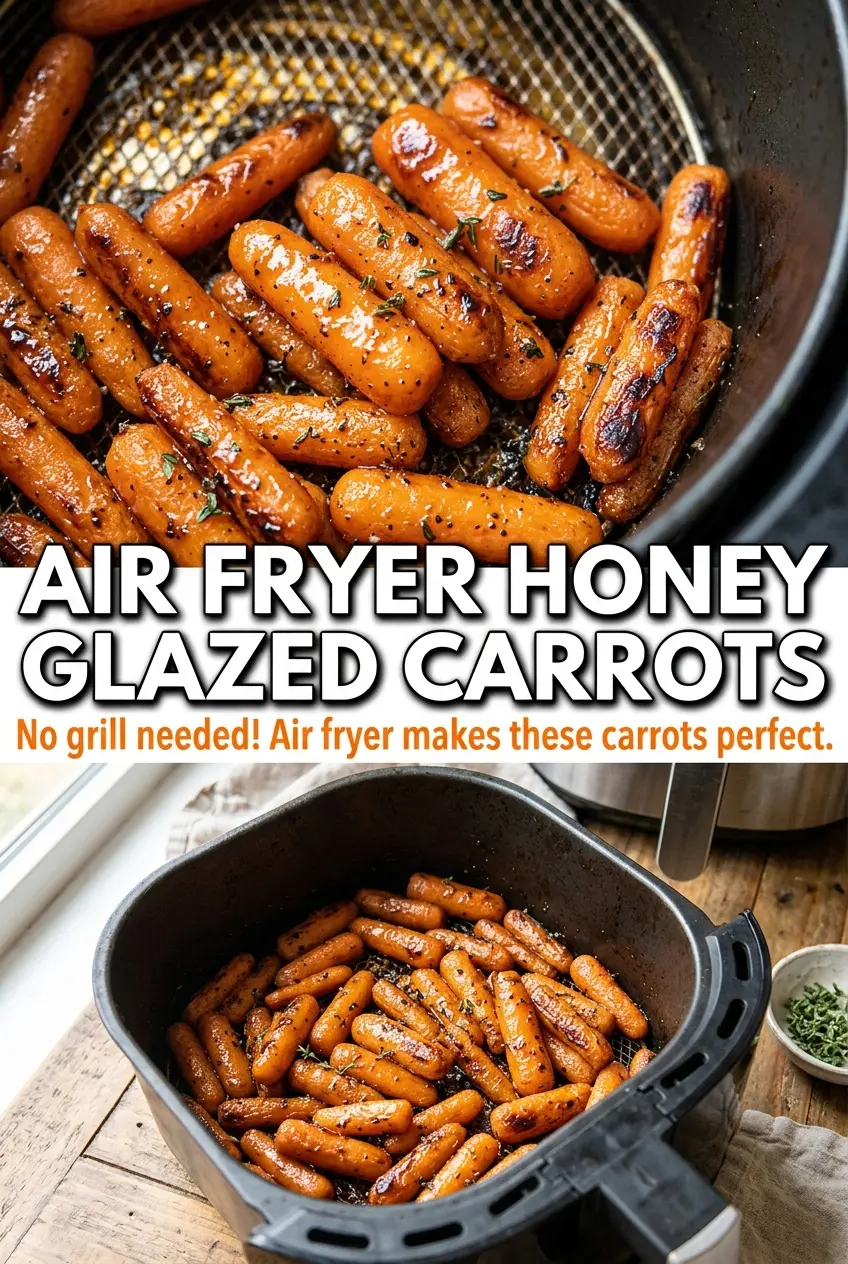
Swap the Grill for the Oven
Roast the carrots at 425°F until they’re browned and tender, then toss them with the warm glaze at the end. You won’t get the same smoke or grill marks, but you’ll still get caramelized edges and a sticky finish. This is the best backup when the weather won’t cooperate.
Cut the Sweetness Back a Touch
If you want the carrots less dessert-like, reduce the brown sugar to 1 tablespoon and keep the honey the same. The glaze will still coat the carrots, but the flavor lands more on the savory side. A little extra thyme works well with that version.
Storage and Reheating
- Refrigerator: Store leftovers in an airtight container for up to 4 days. The glaze will thicken and the carrots will soften a bit as they sit.
- Freezer: These freeze, but the texture gets softer after thawing, so I only do it if I’m okay with a less crisp result. Freeze in a single layer first, then transfer to a container.
- Reheating: Rewarm in a 350°F oven until heated through, or use a skillet over medium-low heat with a splash of water to loosen the glaze. The common mistake is blasting them in the microwave, which makes the carrots rubbery and the glaze sticky in the wrong way.
Questions I Get Asked About This Recipe
Grilled Carrots with Honey Brown Sugar Glaze
Ingredients
Equipment
Method
- Toss the peeled whole carrots with olive oil, salt, and pepper until every piece is well coated, with a visibly shiny coating on the surface.
- Preheat the grill to medium heat and arrange the carrots so they lie in a single layer for even charring.
- Grill the carrots over medium heat for 15-20 minutes, turning occasionally, until tender when pierced and visibly charred with browned edges.
- In a small saucepan over low heat, combine honey, brown sugar, melted butter, and cinnamon and warm until the mixture is smooth and fully combined, with no grainy brown sugar lumps.
- Remove the carrots from the grill and immediately toss them with the honey-brown sugar glaze until glossy and evenly coated.
- Garnish the grilled honey carrots with fresh thyme and serve warm so the glaze stays sticky and shiny.