Campfire grilled cheese hits the table with crisp, buttered bread and a center that turns fully molten before the outside has a chance to burn. When it’s done right, you get that first shatter of toasted crust followed by a long cheese pull that feels almost ridiculous in the best way. It’s the kind of simple food that disappears fast, whether you’re eating it by the fire or making it indoors because you wanted the same comfort without the smoke.
The trick is keeping the heat steady and not rushing the bread. Over a campfire, the flame itself is usually too aggressive, which means the outside darkens before the cheese has time to soften. A grate set over medium heat or a cast iron skillet gives you a calmer cooking surface, and that matters more than fancy cheese choices. American melts smoothly, cheddar brings sharper flavor, and Swiss lands somewhere in between, but the sandwich only works if the butter stays on the outside and the heat stays patient.
Below, I’m breaking down the small details that keep the bread golden instead of scorched, plus a few ways to adapt this for different cheeses, different setups, and the kind of meal you want when you’re cooking with limited gear.
The bread turned perfectly crisp over the fire, and the cheddar melted all the way through without leaking out. I used the cast iron skillet and it came together in minutes.
This campfire grilled cheese keeps the bread crisp and the cheese stretch long — perfect for saving when you want a fire-cooked lunch that comes together fast.
The mistake that makes campfire grilled cheese go from golden to burned
The biggest failure point here is heat control. A lot of people set the sandwich over a lively flame and assume it’ll behave like a kitchen skillet, but fire doesn’t heat evenly. You end up with dark bread and cheese that’s still stiff in the middle. Medium heat over a grate, or a cast iron skillet with a little patience, gives the cheese time to melt before the bread crosses into bitter territory.
Butter on the outside matters more than people think. It protects the bread and helps it brown in a way that feels even instead of patchy. If the bread is browning too fast, move it farther from the flame or lower the heat before the second side goes on. This sandwich rewards calm cooking more than constant checking.
What the bread, butter, and cheese each need to do here
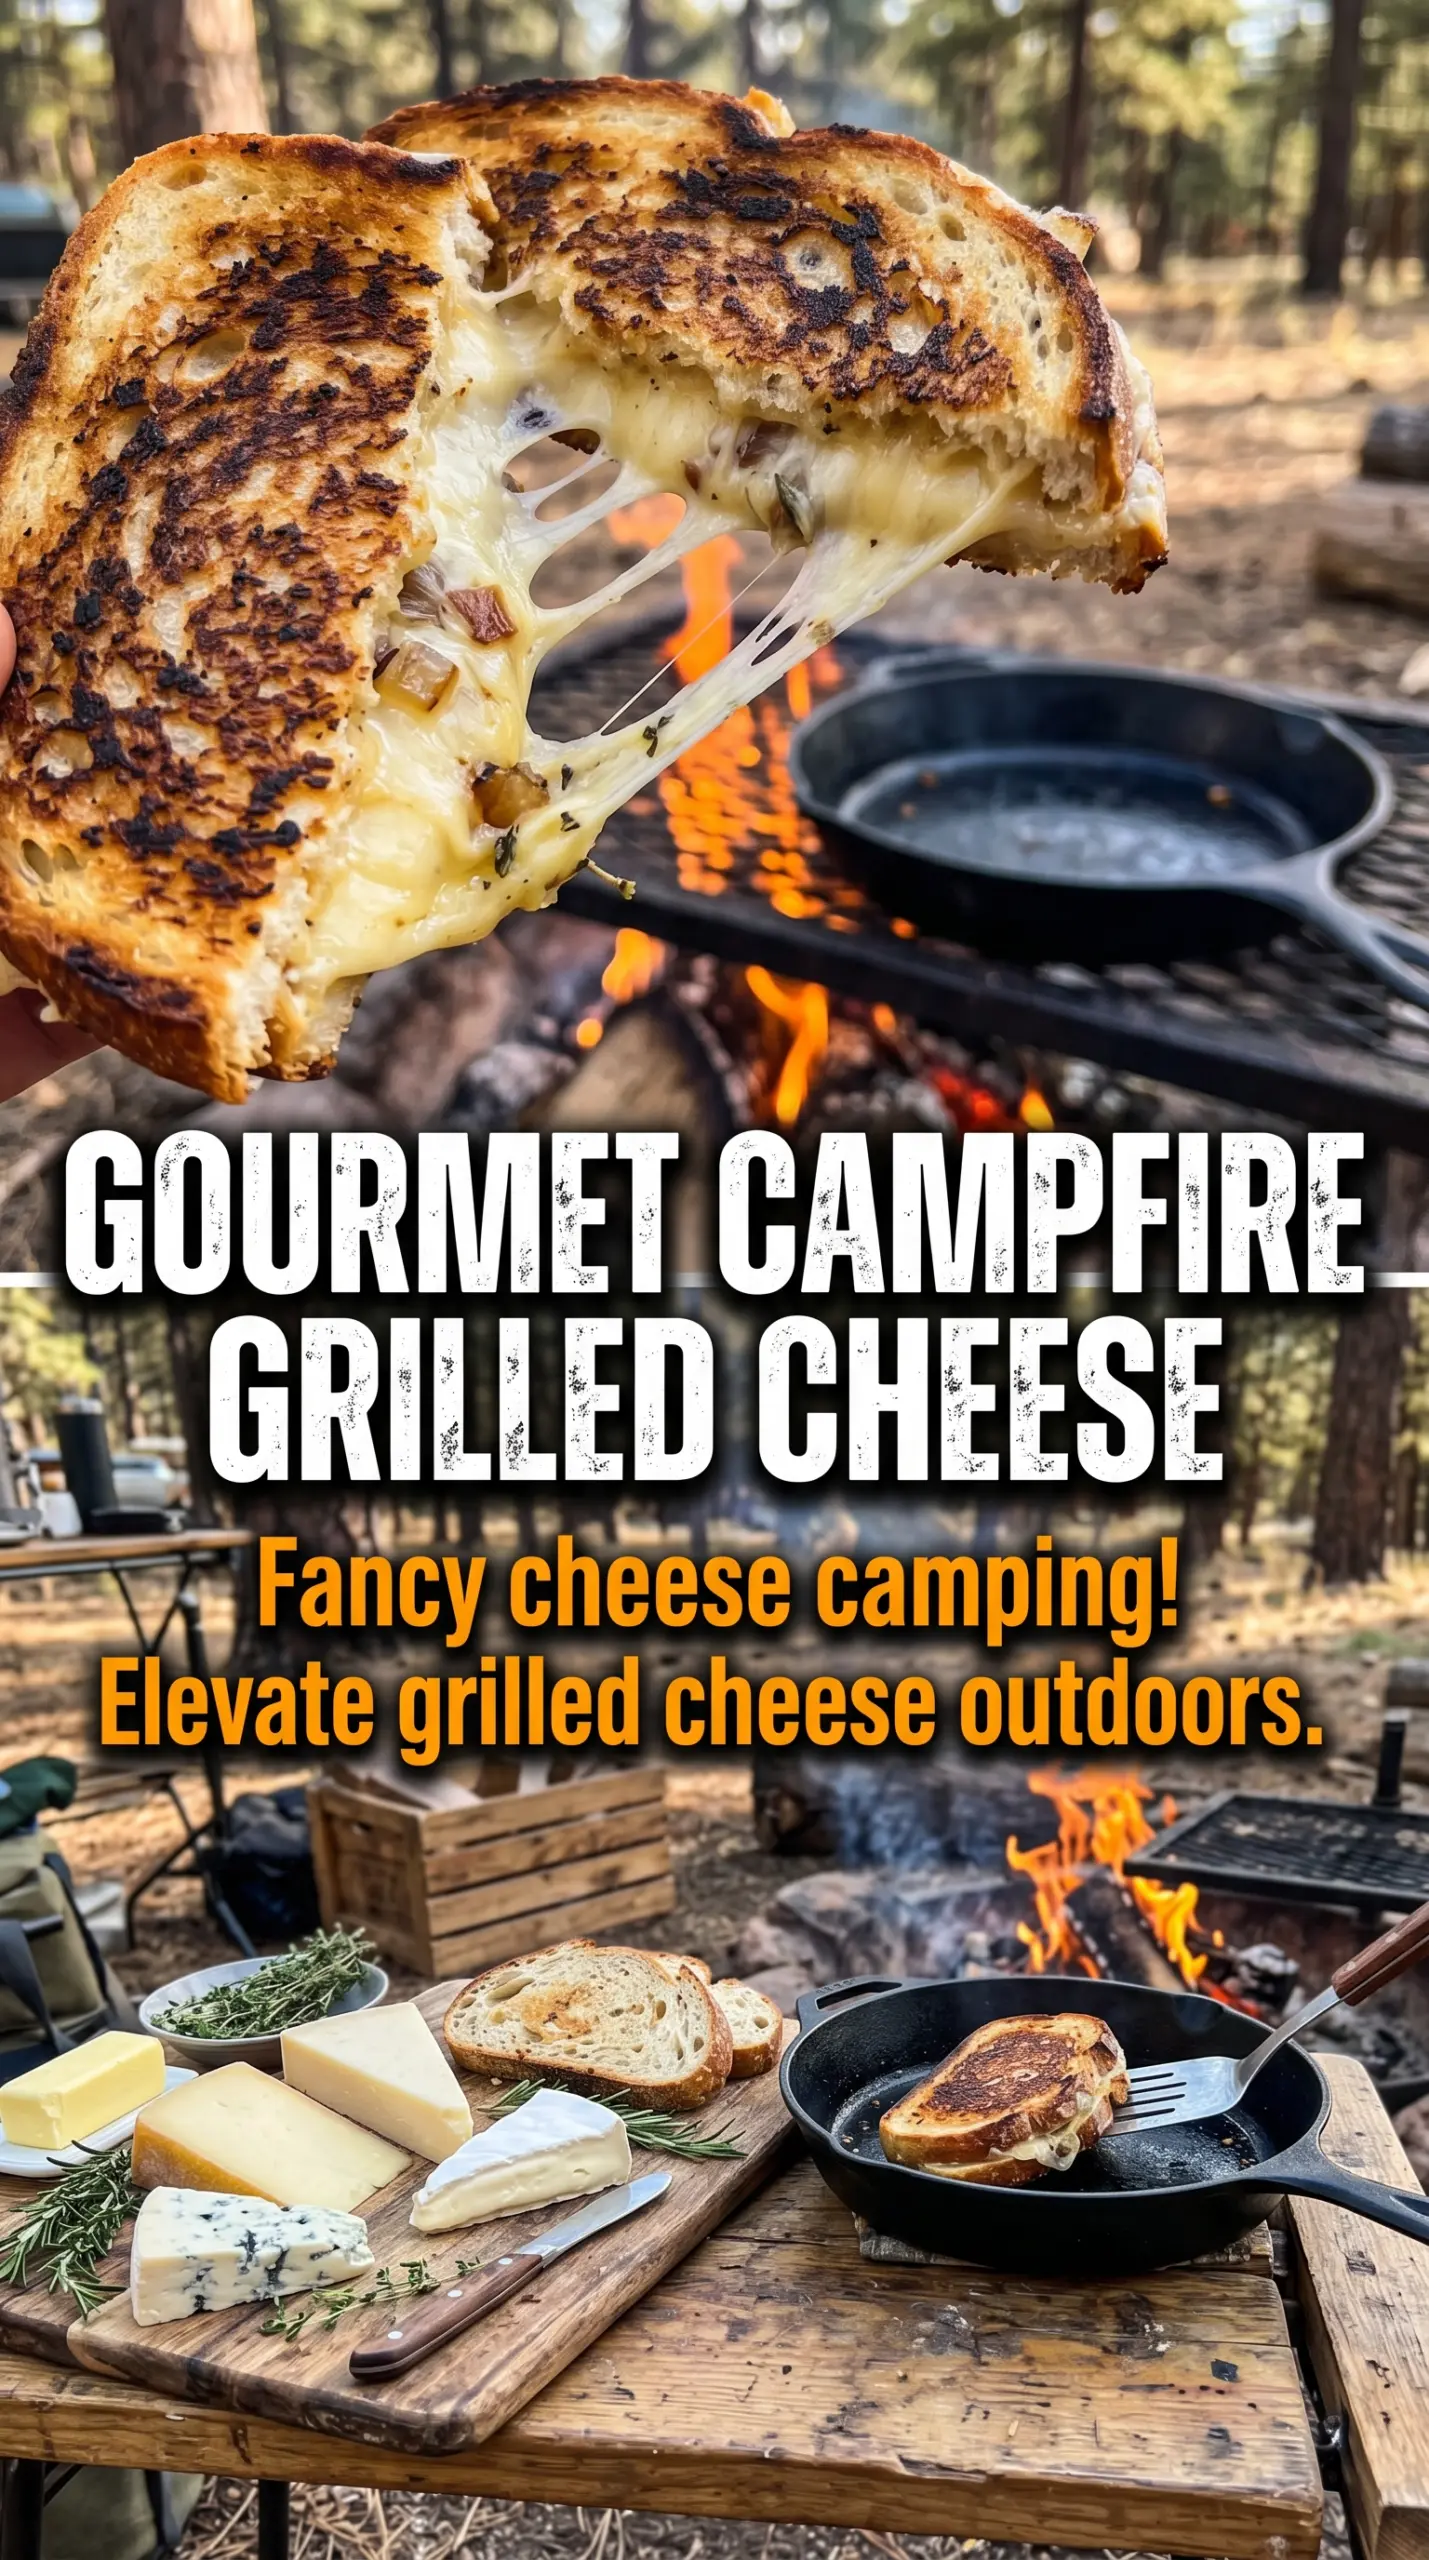
- Bread — Use a sturdy sandwich bread that can handle butter and heat without collapsing. Thin, soft bread can work, but it tears more easily once the cheese starts melting. If yours is very thick, give it a little extra time so the center warms through before the crust gets too dark.
- Cheese — American gives you the smoothest melt, which is why it’s the easiest choice over a campfire. Cheddar adds more sharpness, but it can melt a little less evenly unless it’s sliced thin. Swiss works well too if you want a milder, nuttier sandwich.
- Butter — Softened butter spreads evenly and helps the bread brown instead of soaking in unevenly. Cold butter tends to drag and leaves bare spots, which show up as pale patches after cooking. If you’re cooking for a crowd, soften it before you head outside.
Getting the sandwich melted before the bread overcooks
Building the outside layer
Spread the butter on one side of each bread slice in an even layer from edge to edge. That outer coating is what creates the crisp crust, so thin, patchy coverage leaves you with uneven color. Assemble the sandwich with the butter facing out, then press it lightly so the filling sits flat and doesn’t shift when you move it to the heat.
Cooking over the fire
Set the sandwiches on a campfire grate or in a cast iron skillet over medium heat. You want steady heat, not direct flames licking the bread. Cook until the bottom is deeply golden and releases cleanly, then flip and repeat. If the bread is browning before the cheese softens, the heat is too high and the sandwich needs a few more inches of distance from the fire.
Knowing when it’s done
Pull the sandwiches when both sides are golden and the cheese is visibly melted at the edges. A slight press with the spatula should feel soft, not squishy with cold resistance in the center. Let them sit for a minute before cutting so the cheese settles just enough to give you cleaner halves and less runoff.
How to change the sandwich when your fire, bread, or diet changes
Use cheddar for a sharper, more grown-up sandwich
Cheddar brings more bite, but it melts a little less smoothly than American. Slice it thin so it softens before the bread gets too dark, or mix it with a milder cheese for a stretchier filling.
Make it dairy-free with plant-based butter and meltable cheese
Use a plant-based butter that behaves like spreadable margarine and a dairy-free cheese that lists melting well on the package. The sandwich will still crisp up nicely, but the cheese pull is usually a little shorter and softer than the dairy version.
Swap in sourdough or country bread for a sturdier crust
Heavier bread holds up better over a campfire and gives you a more pronounced crunch. It takes a minute longer to brown, which is a good trade if your heat is a little uneven or you’re working over an open flame.
Storage and Reheating
- Refrigerator: Best eaten right away, but leftovers keep for 1 day wrapped tightly. The bread softens as it sits.
- Freezer: I don’t recommend freezing it. The bread turns spongy and the cheese texture gets grainy after thawing.
- Reheating: Rewarm in a skillet over low heat so the bread can crisp back up without burning. The mistake is using high heat, which reheats the outside before the middle loosens again.
Questions I Get Asked About This Recipe
Campfire Grilled Cheese
Ingredients
Equipment
Method
- Butter one side of each bread slice generously. Make sure the entire surface is coated so the bread turns golden.
- Place cheese between two slices of bread with butter on the outside. Press lightly so the sandwiches hold together for grilling.
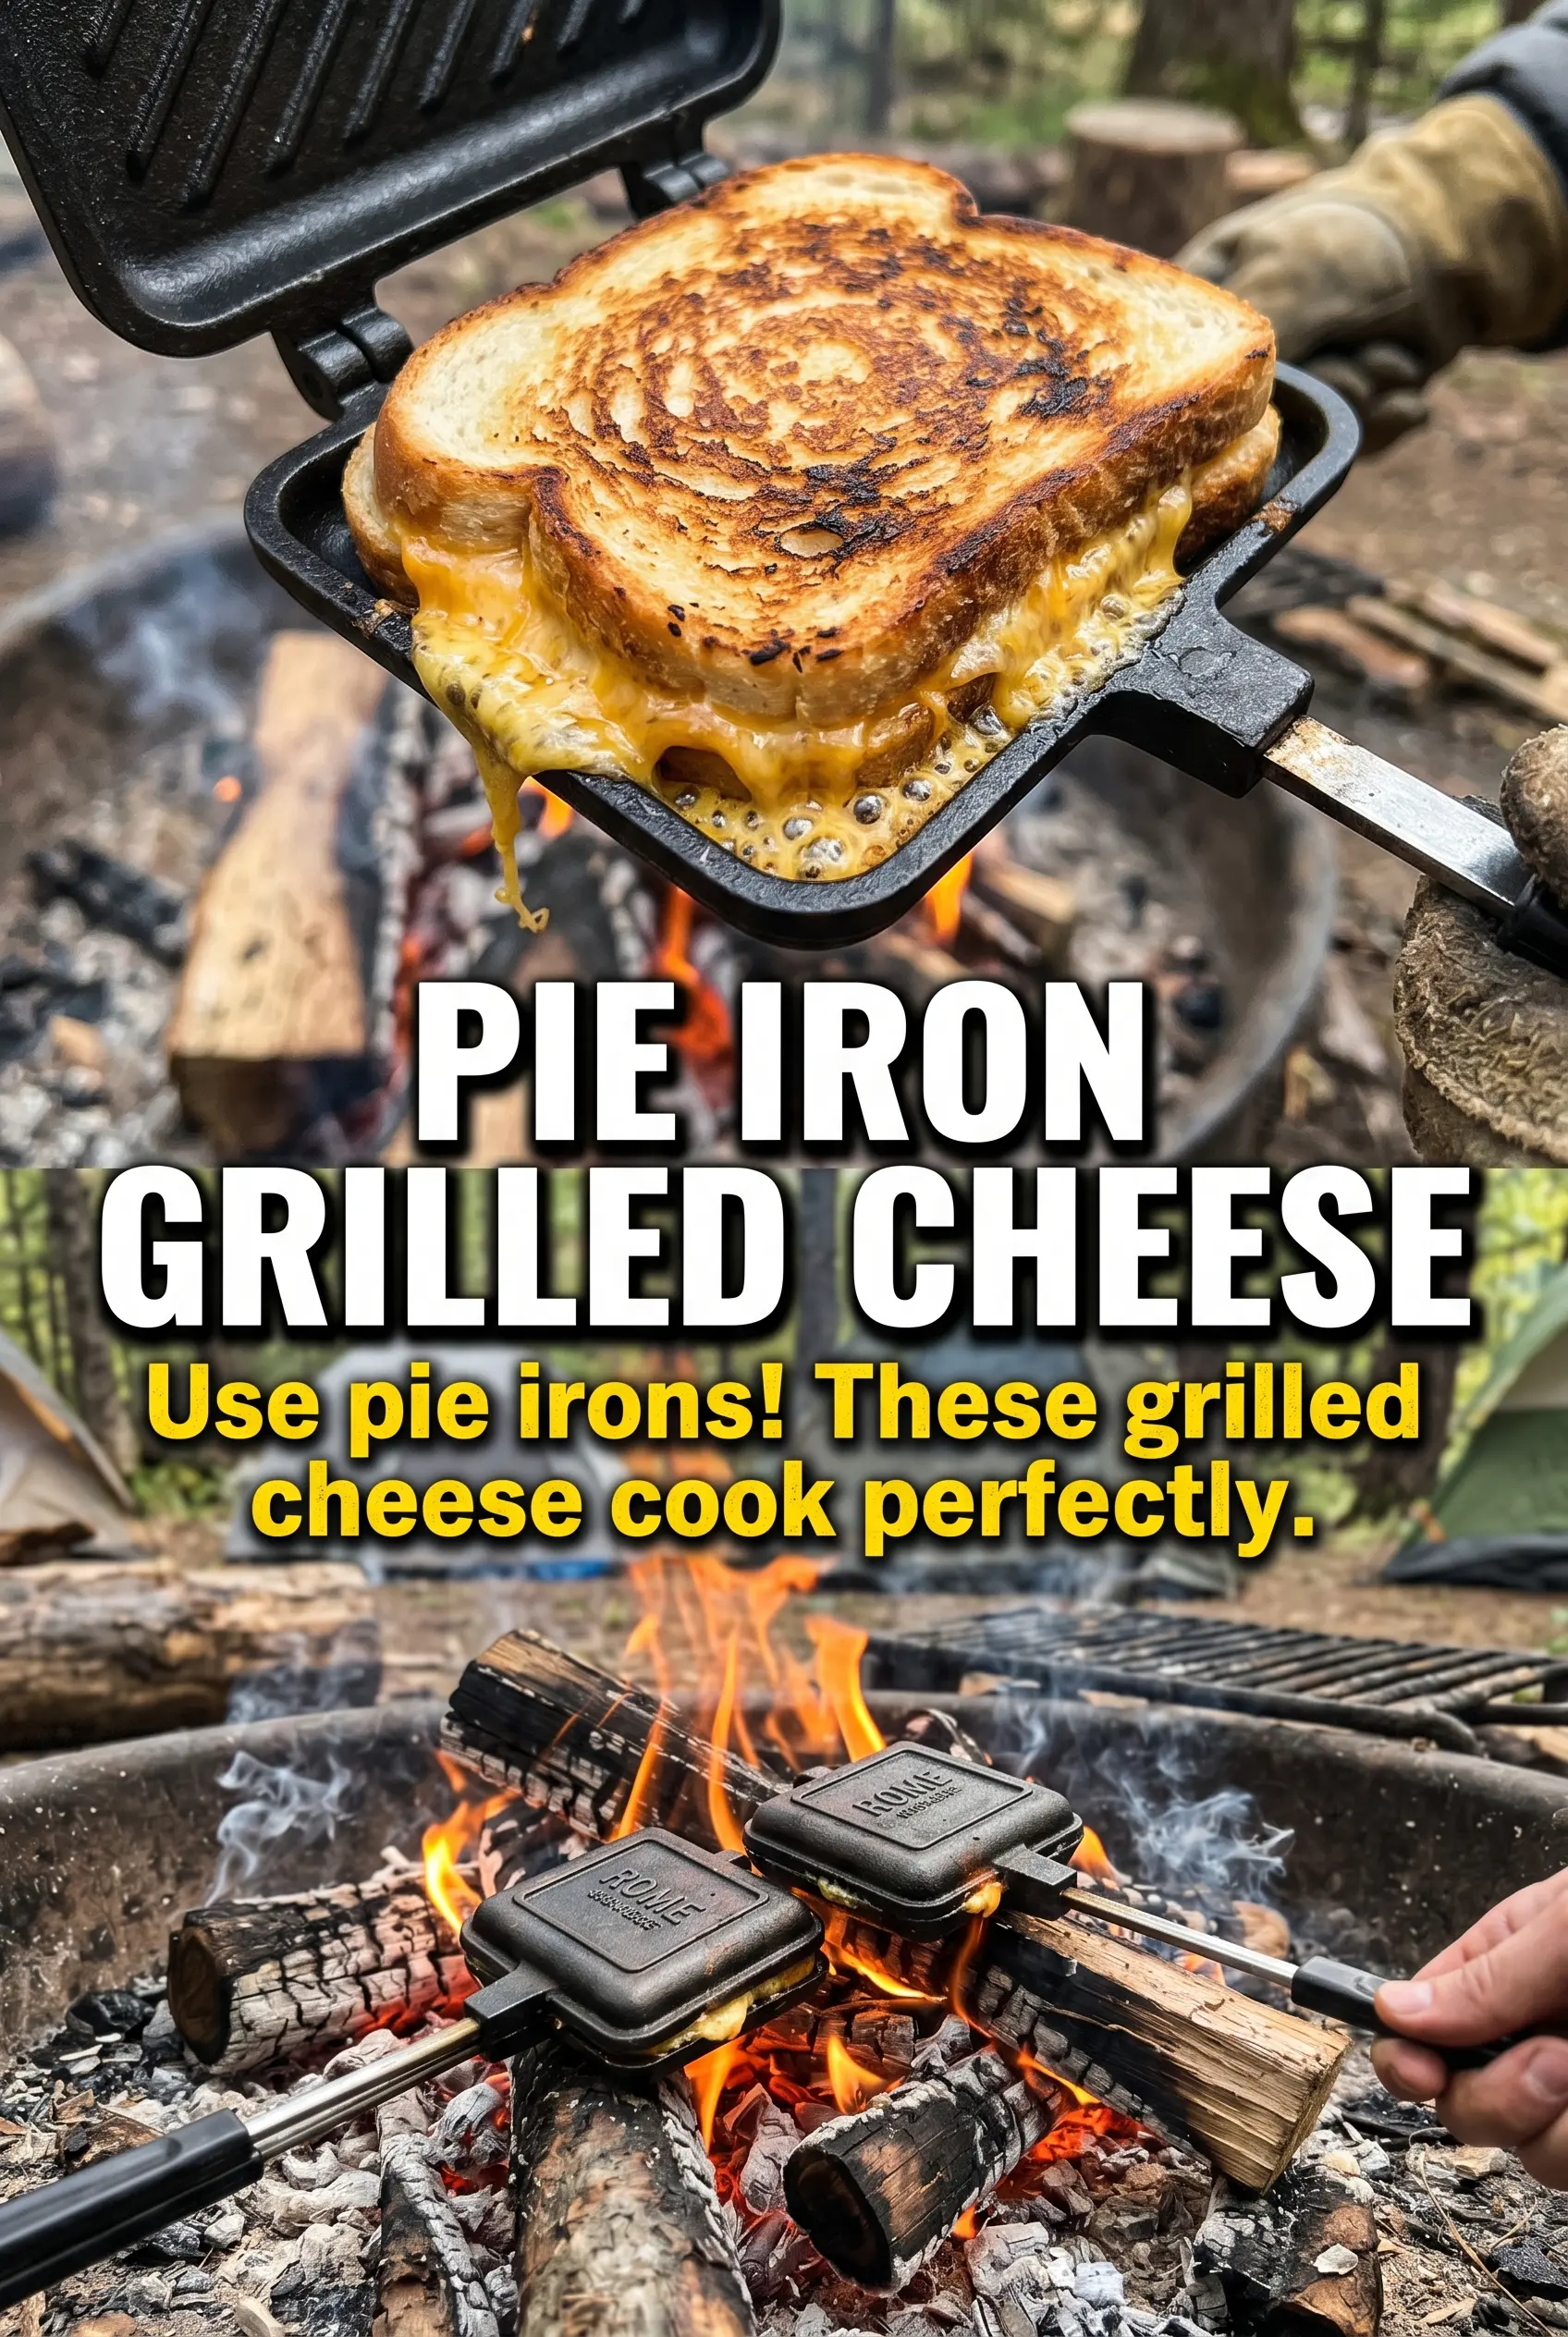
- Place the sandwiches on a campfire grate or in a cast iron skillet over medium heat. Keep the heat at medium so the bread browns without burning while the cheese melts.
- Cook for 4-5 minutes per side until bread is golden brown and cheese is melted. Watch for browning on the first side, then flip when the surface looks crisp.
- Remove from heat, cut in half, and serve hot. Look for a cheese pull when you separate the halves.


