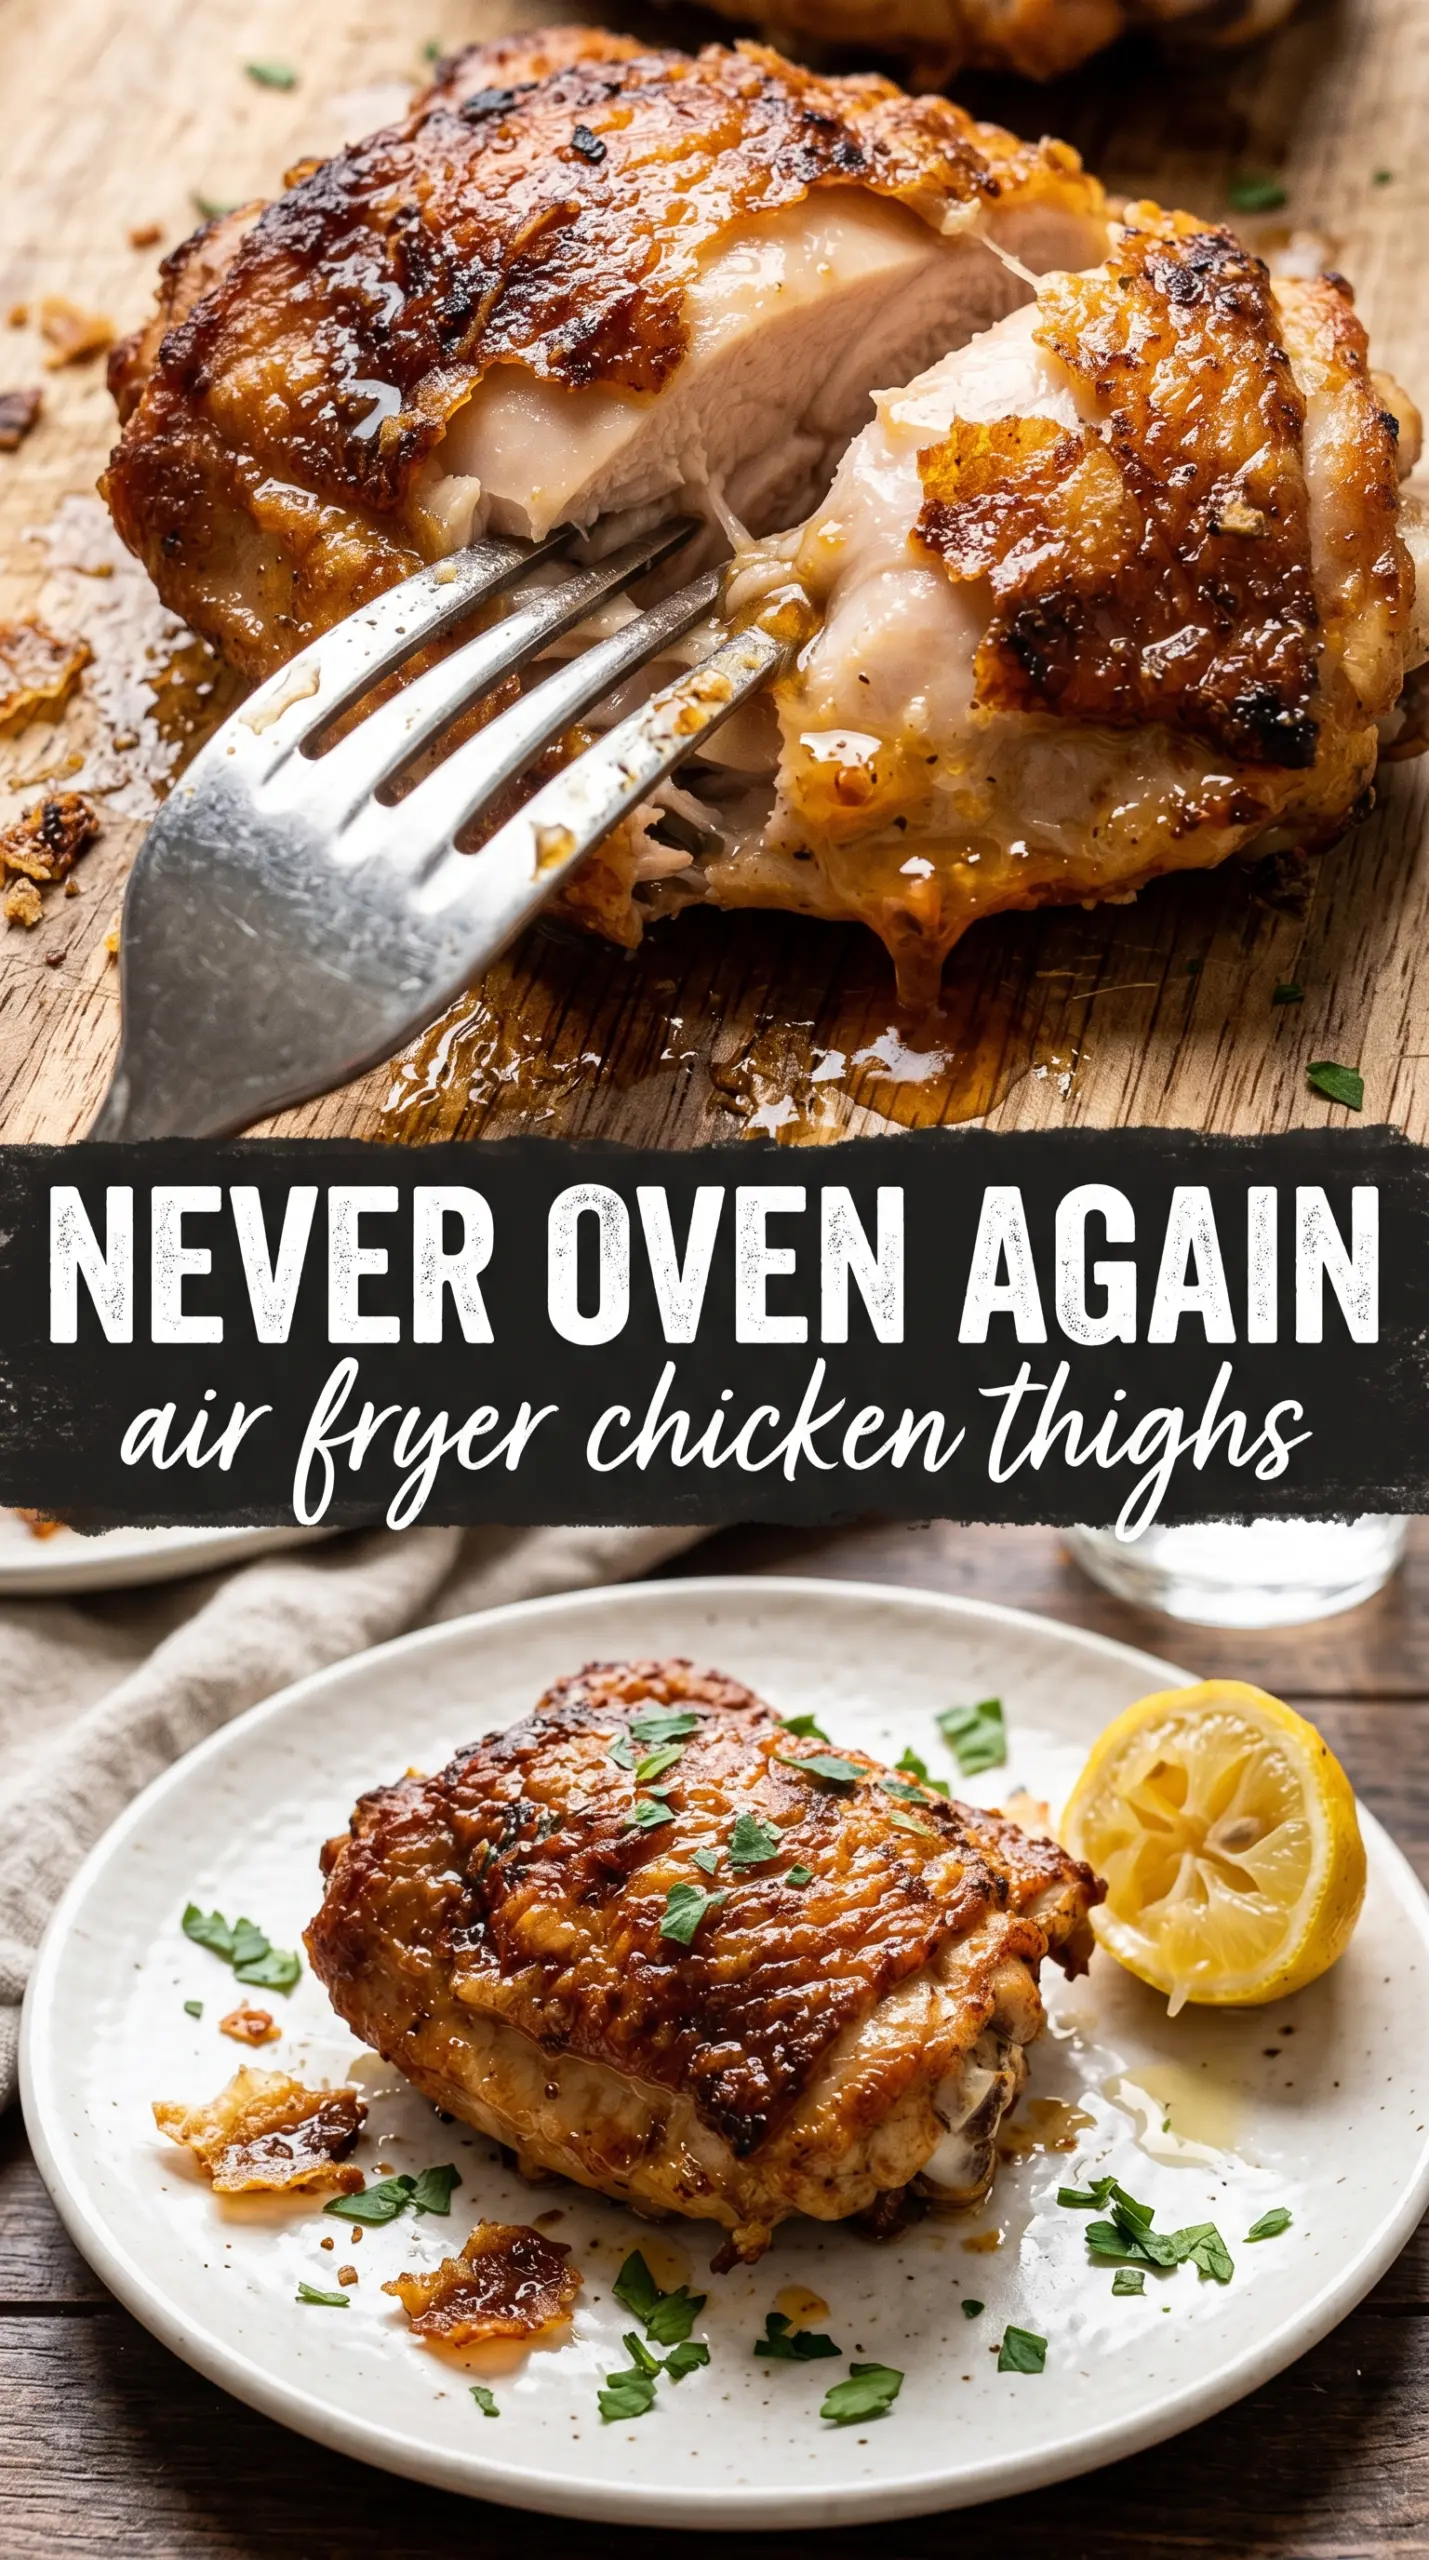
Crispy air fryer chicken thighs deliver the kind of crackly skin and juicy meat that usually takes a lot more time and a lot more cleanup. The skin turns deeply golden in the air fryer, with paprika and garlic tucked into every crevice, and the meat stays tender enough to pull apart with a fork. This is the kind of dinner that feels straightforward on the way in and looks like you put in more effort than you did.
The trick is starting with bone-in, skin-on thighs and drying them well before the oil goes on. Moisture is the enemy of crisp skin, and the air fryer can’t fix that after the fact. Cooking them skin-side down first helps render some fat and set the surface, then flipping them finishes the top into that shattering, browned crust people are after.
Below you’ll find the timing that keeps the skin crisp without overcooking the meat, plus the one swap I use when I want to change the seasoning without losing that same juicy result.
The skin turned out shatteringly crisp, and the thighs were still juicy at 165. I loved that the spice mix browned instead of burning, which doesn’t always happen in my air fryer.
Crispy air fryer chicken thighs like this are perfect for nights when you want crackly skin, juicy meat, and almost no cleanup.
The Step That Keeps the Skin Crisp Instead of Steaming
The biggest mistake with air fryer chicken thighs is rushing past the drying step. If the skin goes in damp, it steams before it has a chance to brown, and that leaves you with soft, rubbery skin instead of the crackly finish you want. Patting the thighs dry is not extra work; it is the difference between decent chicken and the kind people remember.
Spacing matters just as much. When the thighs overlap, the circulating air can’t reach every side evenly, and the skin softens where the pieces touch. Start them skin-side down, then flip them halfway through so the rendered fat can help crisp the top without letting the seasoning burn.
What Each Ingredient Is Doing in This Chicken
- Bone-in, skin-on chicken thighs — These are the best cut for this method because the bone protects the meat from drying out while the skin turns crisp. Boneless thighs cook faster, but you lose some of that juicy texture and the skin won’t have the same payoff.
- Olive oil — You only need a thin coating. It helps the spices cling and encourages browning, but too much oil can make the skin greasy instead of crisp.
- Smoked paprika — This adds color fast and gives the skin a deeper, almost roasted flavor. Regular paprika works if that’s what you have, but smoked paprika gives the chicken more character.
- Garlic powder and onion powder — These season the chicken evenly without the risk of burning that fresh garlic can bring in the air fryer. Fresh garlic tends to scorch before the chicken is done.
- Dried oregano — This adds a little herbal backbone so the seasoning doesn’t taste flat. If you don’t have it, thyme works well and keeps the same savory feel.
- Lemon wedges — The acid wakes everything up at the table. A squeeze right before eating cuts through the richness of the skin in the best way.
From Raw Thighs to Crackly Skin in 22 Minutes
Dry the Skin First
Pat the chicken thighs completely dry with paper towels, including the area under any loose bits of skin. The dryer the surface, the faster it browns. If you skip this, the seasoning can slide around and the skin stays pale longer than it should.
Build the Spice Coating
Mix the oil with the garlic powder, smoked paprika, onion powder, oregano, salt, and black pepper, then rub it all over the thighs. Coat the skin evenly, but don’t pack the spices into thick clumps. Those heavy patches can darken too quickly while the rest of the chicken is still catching up.
Start Skin-Side Down
Preheat the air fryer to 400F for a full 5 minutes, then place the thighs in a single layer skin-side down. That first side gets the longest stretch of direct heat, which helps render fat and set the surface. If your basket is crowded, cook in batches; stacked thighs trap steam and soften the skin.
Flip for the Final Crisp
Air fry for 10 minutes, flip the thighs skin-side up, then cook 10 to 12 minutes more until the skin is deeply golden and the internal temperature reaches 165F. The skin should look blistered and taut, not pale or floppy. Let the thighs rest for 5 minutes before serving so the juices settle back into the meat instead of running onto the plate.
How to Change the Seasoning Without Losing the Crisp
Make It Garlic-Herb Instead of Smoky
Swap the smoked paprika for extra oregano, thyme, and a little dried rosemary. You lose the warm smoky color, but you get a cleaner herbal flavor that works well with mashed potatoes or roasted vegetables.
Use Boneless Thighs for a Faster Dinner
Boneless thighs cook faster, usually around 14 to 16 minutes total, but watch them closely because they can go from juicy to dry in a narrow window. You still want the skin dry and the basket uncrowded, or the top won’t crisp properly.
Make It Dairy-Free and Gluten-Free Without Changing Anything
This recipe already fits both styles as written, which is part of why it lands in regular dinner rotation. Just keep the seasoning blends plain and check that any store-bought spice mixes are free of added fillers if you swap them in.
Turn It Into a Bigger Batch
Cook in batches instead of crowding the basket. Overlapping thighs trap moisture, and the skin will soften before the second side has time to crisp.
Storage and Reheating
- Refrigerator: Store leftovers in an airtight container for up to 4 days. The skin softens in the fridge, but the meat stays juicy.
- Freezer: Freeze cooked thighs for up to 2 months, wrapped well and tucked into a freezer bag. The skin won’t come back fully crisp after freezing, but the chicken reheats well for bowls, salads, or sandwiches.
- Reheating: Reheat in the air fryer at 375F for 4 to 6 minutes until hot. Don’t use the microwave if you want to keep the skin from turning soggy.
Questions I Get Asked About This Recipe

Air Fryer Chicken Thighs
Ingredients
Equipment
Method
- Pat the chicken thighs completely dry with paper towels so the skin can crisp.
- Rub the chicken with olive oil, then mix garlic powder, smoked paprika, onion powder, dried oregano, salt, and black pepper and rub thoroughly all over the chicken.
- Preheat the air fryer to 400°F for 5 minutes to start the crisping immediately.
- Place the chicken thighs skin-side down in the air fryer basket without overlapping.
- Air fry at 400°F for 10 minutes, then flip to skin-side up.
- Air fry at 400°F for 10–12 more minutes until the skin is deeply golden and crispy and the internal temperature reaches 165°F.
- Rest the chicken thighs for 5 minutes to help juices settle, then serve with lemon wedges and parsley.


