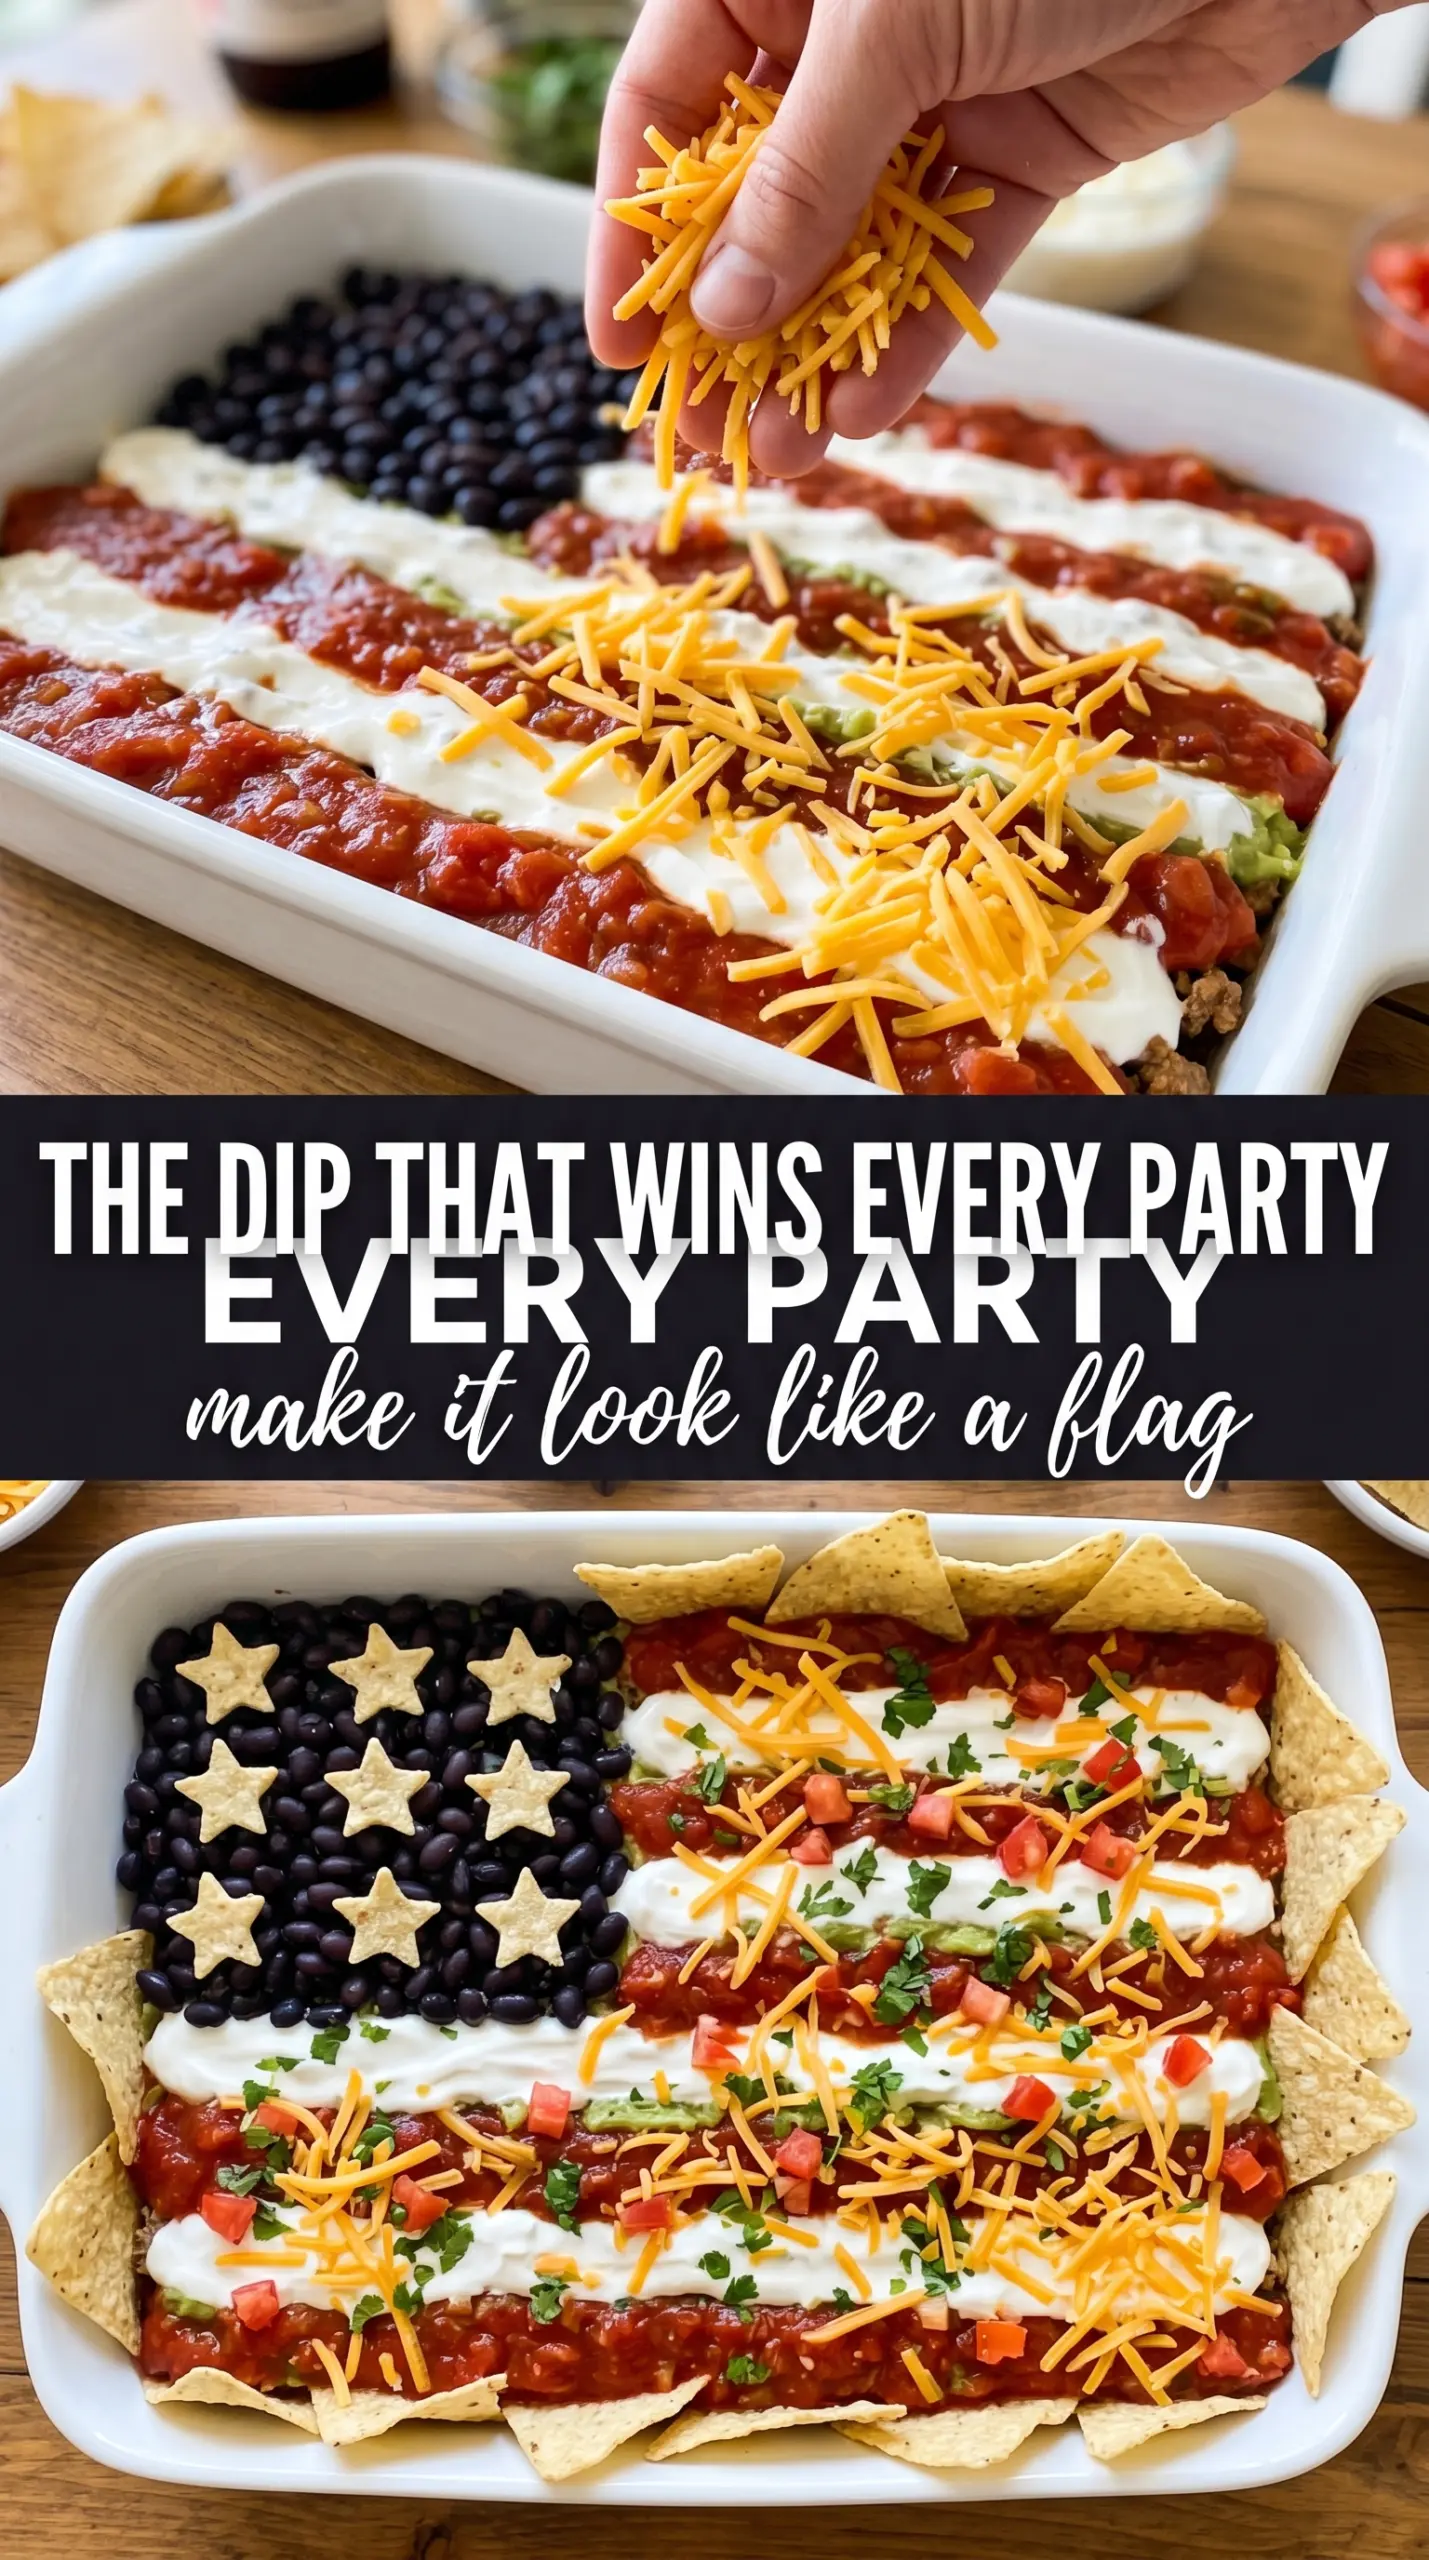
American Flag Taco Dip gets the party started fast: cool, creamy layers underneath, then a bright red-white-and-blue top that looks like you spent way more time on it than you did. The best part is that it eats like a proper layered taco dip, not just a cute centerpiece. Every scoop gets beans, seasoned cream cheese, guacamole, cheese, salsa, and that little hit of sour cream on top.
The texture works because the base layers are thick enough to hold the design. Softened cream cheese blends smoothly with taco seasoning, the guacamole gives the middle some richness, and chilling the finished dip helps the stripes stay put instead of sliding into each other. A rectangular dish matters here, since the flag pattern needs straight edges and clear sections to read well.
Below, I’ll show you the easiest way to build the layers without muddying the colors, plus a few swaps that keep the dip sturdy if you need to make it ahead or adjust it for what’s in your fridge.
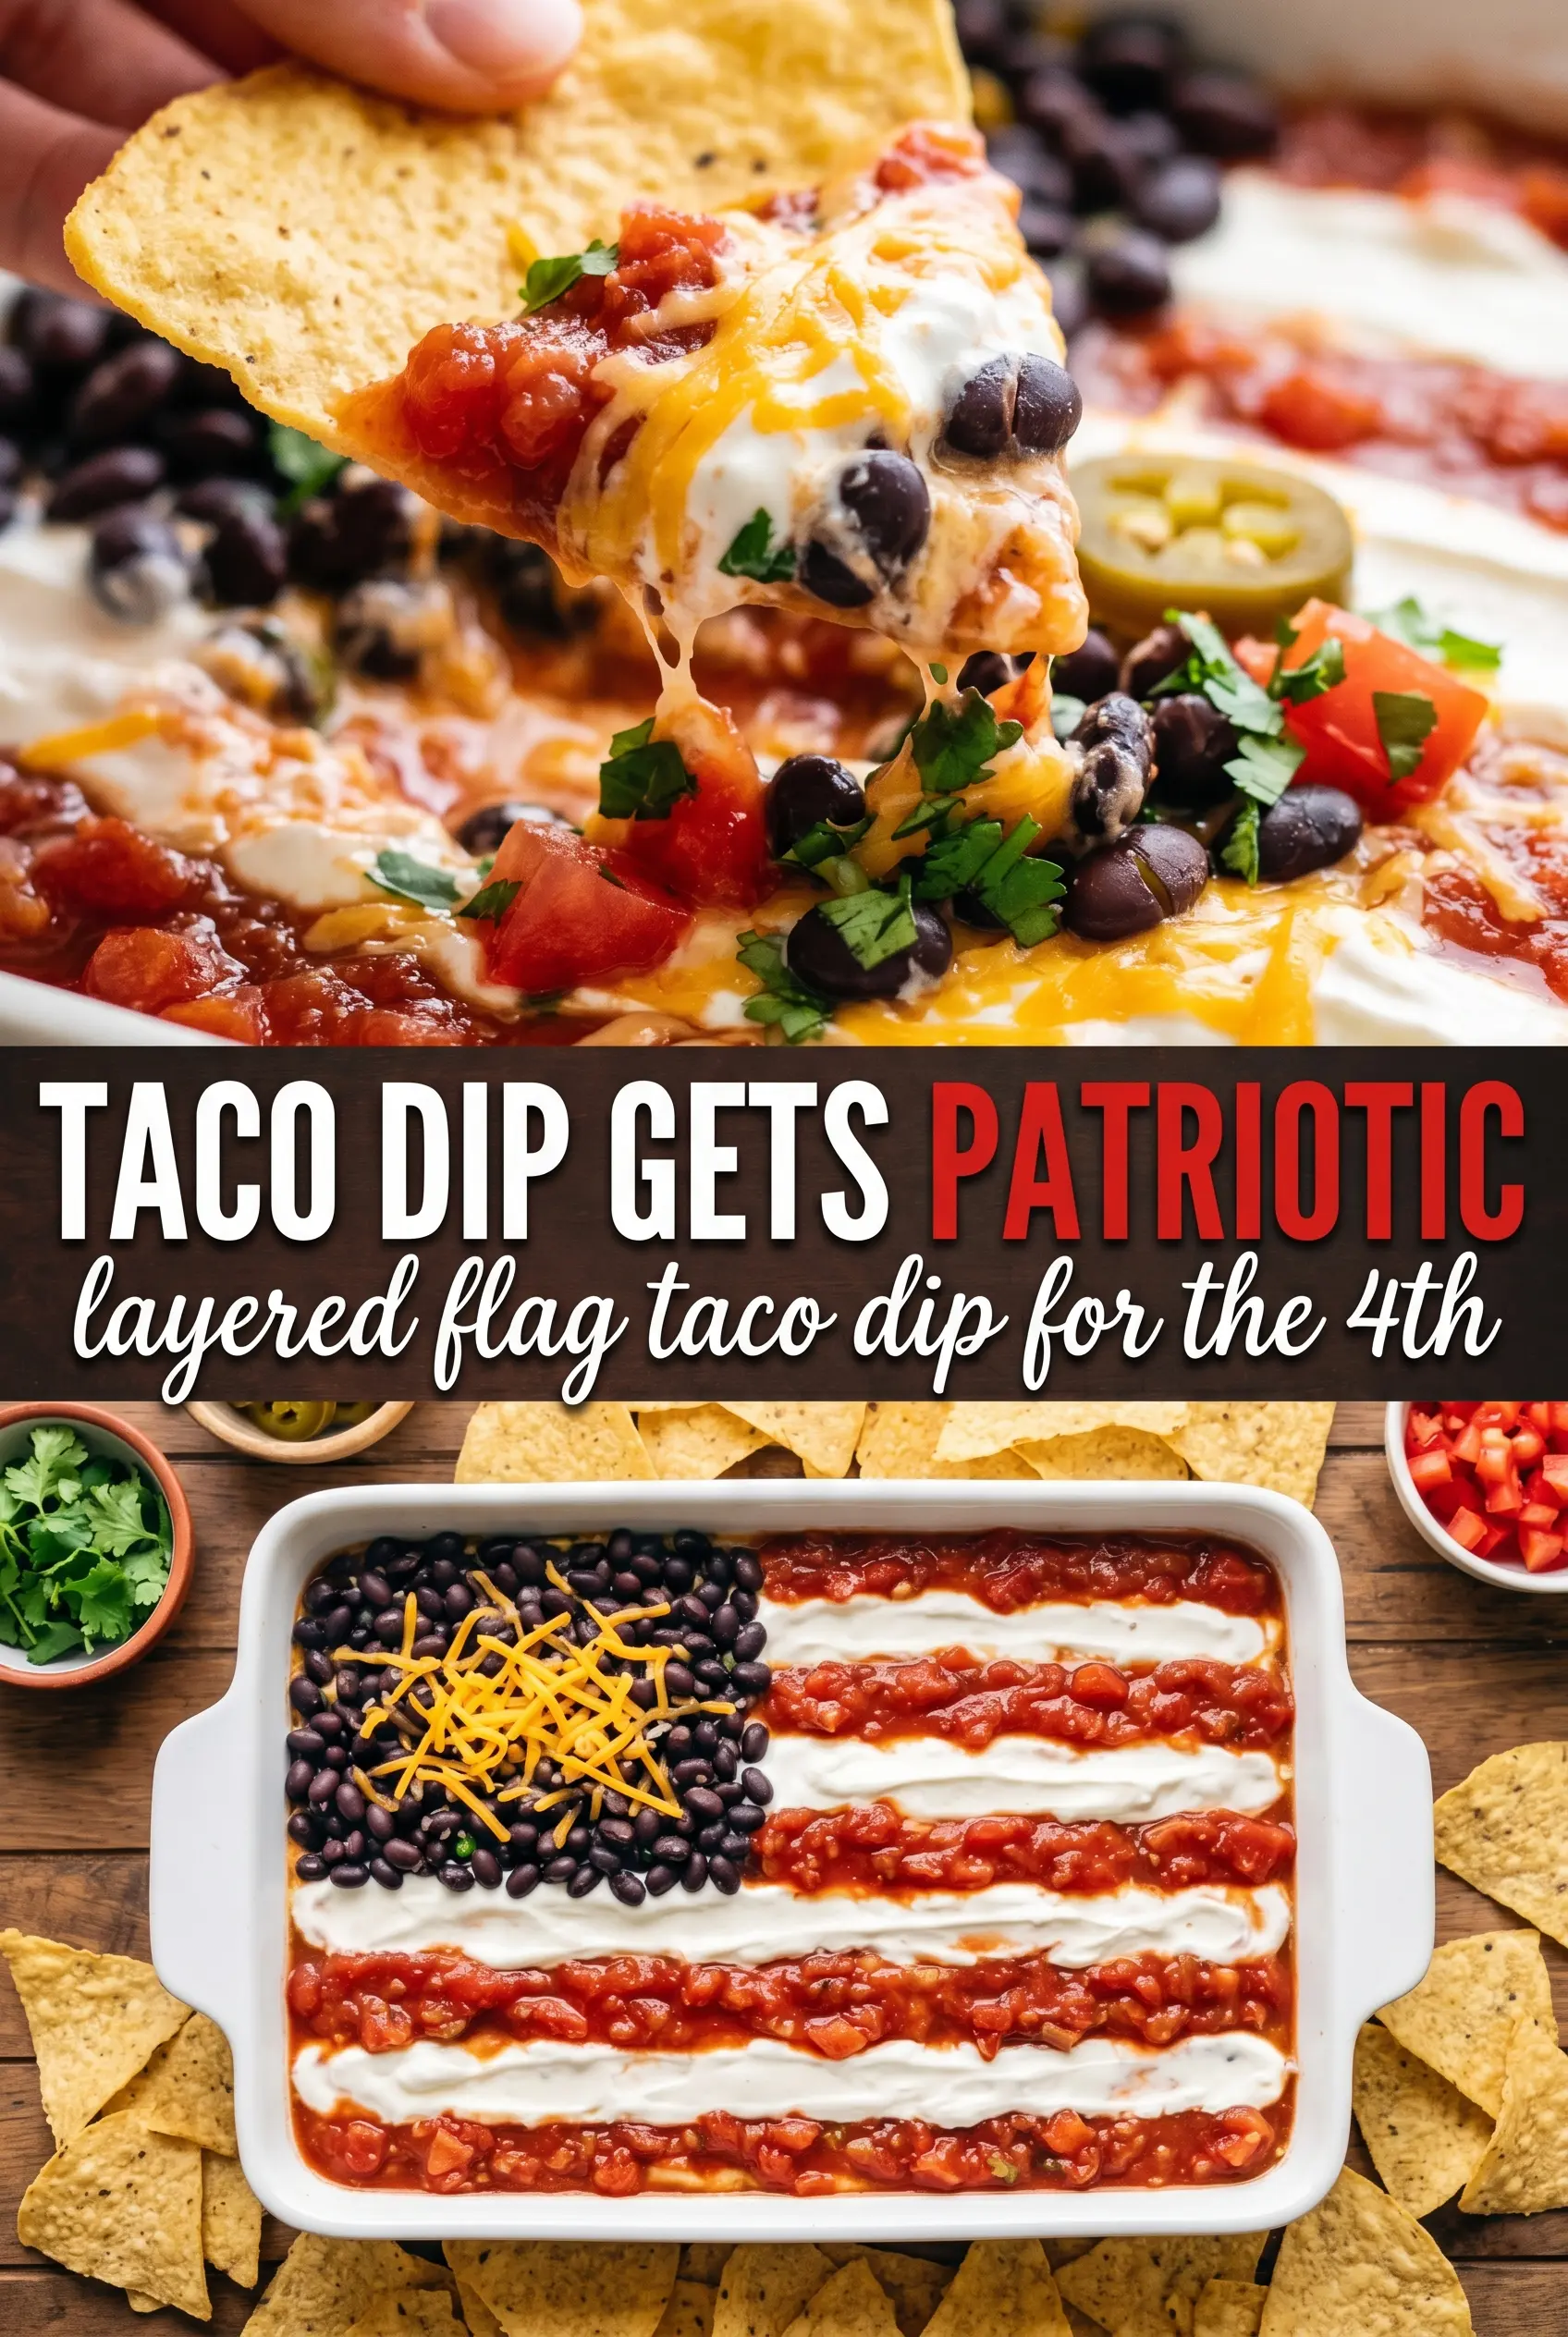
The layers held up beautifully, and chilling it for 30 minutes made the flag design stay crisp when I cut into it. The sour cream stripes looked amazing over the salsa, and everyone kept coming back for “just one more scoop.”
Like this patriotic layered dip? Save American Flag Taco Dip to Pinterest for your next 4th of July spread or potluck appetizer table.
How to Keep the Layers Sharp Instead of Muddy
The biggest mistake with a flag dip is treating it like a scoop-and-smear situation. If the layers are too loose, the sour cream stripes drag into the salsa and the whole top turns pink. Thick layers and a short chill time fix that. You want each layer spread all the way to the edges, but not so thin that the bottom starts peeking through when someone digs in.
The other trick is giving the cream cheese layer enough body. Softened cream cheese beats cold cream cheese every time here because it spreads smoothly without tearing up the bean layer beneath it. Once the top goes on, chill the dip for at least 30 minutes. That sets the design just enough to keep the flag looking clean on the table.
What Each Layer Is Doing in This Dip
- Refried beans — This is the foundation that keeps the dip stable. Canned refried beans are fine here, but if yours are stiff, stir in a spoonful of water or salsa so they spread without tearing the dish.
- Cream cheese — The softened cream cheese gives the dip its rich middle and helps anchor the taco seasoning. Cold cream cheese leaves lumps, so let it sit out until it yields easily when pressed.
- Taco seasoning — This is the quickest way to season the whole center layer without extra chopping. One packet is plenty, but if yours runs salty, use a lighter hand and taste before spreading.
- Guacamole — It brings the creamy, cool contrast that makes the dip taste complete. Fresh guacamole gives the cleanest green color, but a good store-bought tub works if you’re building this for a crowd.
- Sour cream and salsa — These create the flag stripes, so thickness matters more than with a regular dip. Use chunky salsa or pico if you want the red to stay visible instead of seeping into the sour cream.
- Black olives and green onions — The olives make the blue corner visually obvious, and the green onions brighten the top without adding extra weight. Slice them thin so they don’t clump and hide the flag pattern.
Building the Flag So It Holds When You Serve It
Start with a Flat, Even Base
Spread the refried beans in a clean rectangle and press them gently into the corners of the dish. An even bean layer keeps the top layers from sliding, and it gives the whole dip a neat border. If the beans are cold and hard to spread, loosen them first with a spoonful of salsa or a splash of water.
Make the Cream Cheese Layer Smooth
Mix the softened cream cheese and taco seasoning until the color is uniform and there are no streaks left. Then spread it carefully over the beans with the back of a spoon or small offset spatula. If you drag too hard, you’ll pull beans up into the cream cheese and the layers will look messy from the side.
Set the Top Before Decorating
After the guacamole and shredded cheese go on, pipe the sour cream stripes instead of spooning them. A zip-top bag with the corner snipped off gives you cleaner lines and better control over spacing. Add the salsa rows between the white stripes, then build the olive square in the upper left corner so the flag reads clearly from the first glance.
Chill, Then Serve With Chips
The chill time is what turns this from a pretty tray into a party dip that actually holds together. Thirty minutes is enough to firm up the top without drying it out. Serve it cold with sturdy tortilla chips, because thin chips crack before they can carry all those layers.
Three Smart Ways to Adapt This Flag Dip
Make it gluten-free without changing the texture
The dip itself is naturally gluten-free if your taco seasoning is certified gluten-free. The only place people get tripped up is the chips, so serve it with corn tortilla chips that hold up under a heavy scoop.
Swap the dairy for a lighter, sharper finish
Use dairy-free cream cheese and a plant-based sour cream if you need a dairy-free version. The flavor stays bold, but the texture may be a touch softer, so chill it a little longer before serving to help the stripes stay neat.
Turn it into a milder crowd-pleaser
Use mild taco seasoning and a chunky pico with less heat if you’re serving mixed ages or spice-sensitive guests. You still get the same layered look, but the dip tastes creamier and fresher instead of leaning smoky or hot.
How to make it a little ahead
You can assemble the bean, cream cheese, guacamole, and cheese layers a few hours ahead, then add the sour cream stripes, salsa, olives, and green onions closer to serving time. That keeps the colors bright and stops the red from bleeding into the white stripes.
Storage and Reheating
- Refrigerator: Store covered for up to 3 days. The top will soften a bit, and the sour cream stripes may blur slightly, but the flavor stays good.
- Freezer: I don’t recommend freezing this dip. The dairy layers separate and the texture turns grainy after thawing.
- Reheating: This dip is meant to be served cold. If it’s been in the fridge too long, let it sit at room temperature for 10 to 15 minutes so the bean and cream cheese layers loosen up before serving.
Answers to the Questions Worth Asking
American Flag Taco Dip
Ingredients
Equipment
Method
- Spread the refried beans in an even layer across the bottom of a large rectangular baking dish or serving tray.
- Mix the softened cream cheese with the taco seasoning until smooth, then spread evenly over the bean layer.
- Spread the guacamole over the cream cheese layer, then top with the shredded Mexican cheese blend.
- Spoon the sour cream into a piping bag or zip-lock bag with a corner snipped and pipe horizontal white stripes across the top of the dip.
- Add rows of salsa or diced red tomato between the sour cream stripes to create the red stripe effect.
- In the upper left corner, arrange the sliced black olives tightly to form the blue canton rectangle.
- Scatter the green onions across the top of the dip.
- Chill the dip for 30 minutes to set the layers, then serve with tortilla chips.