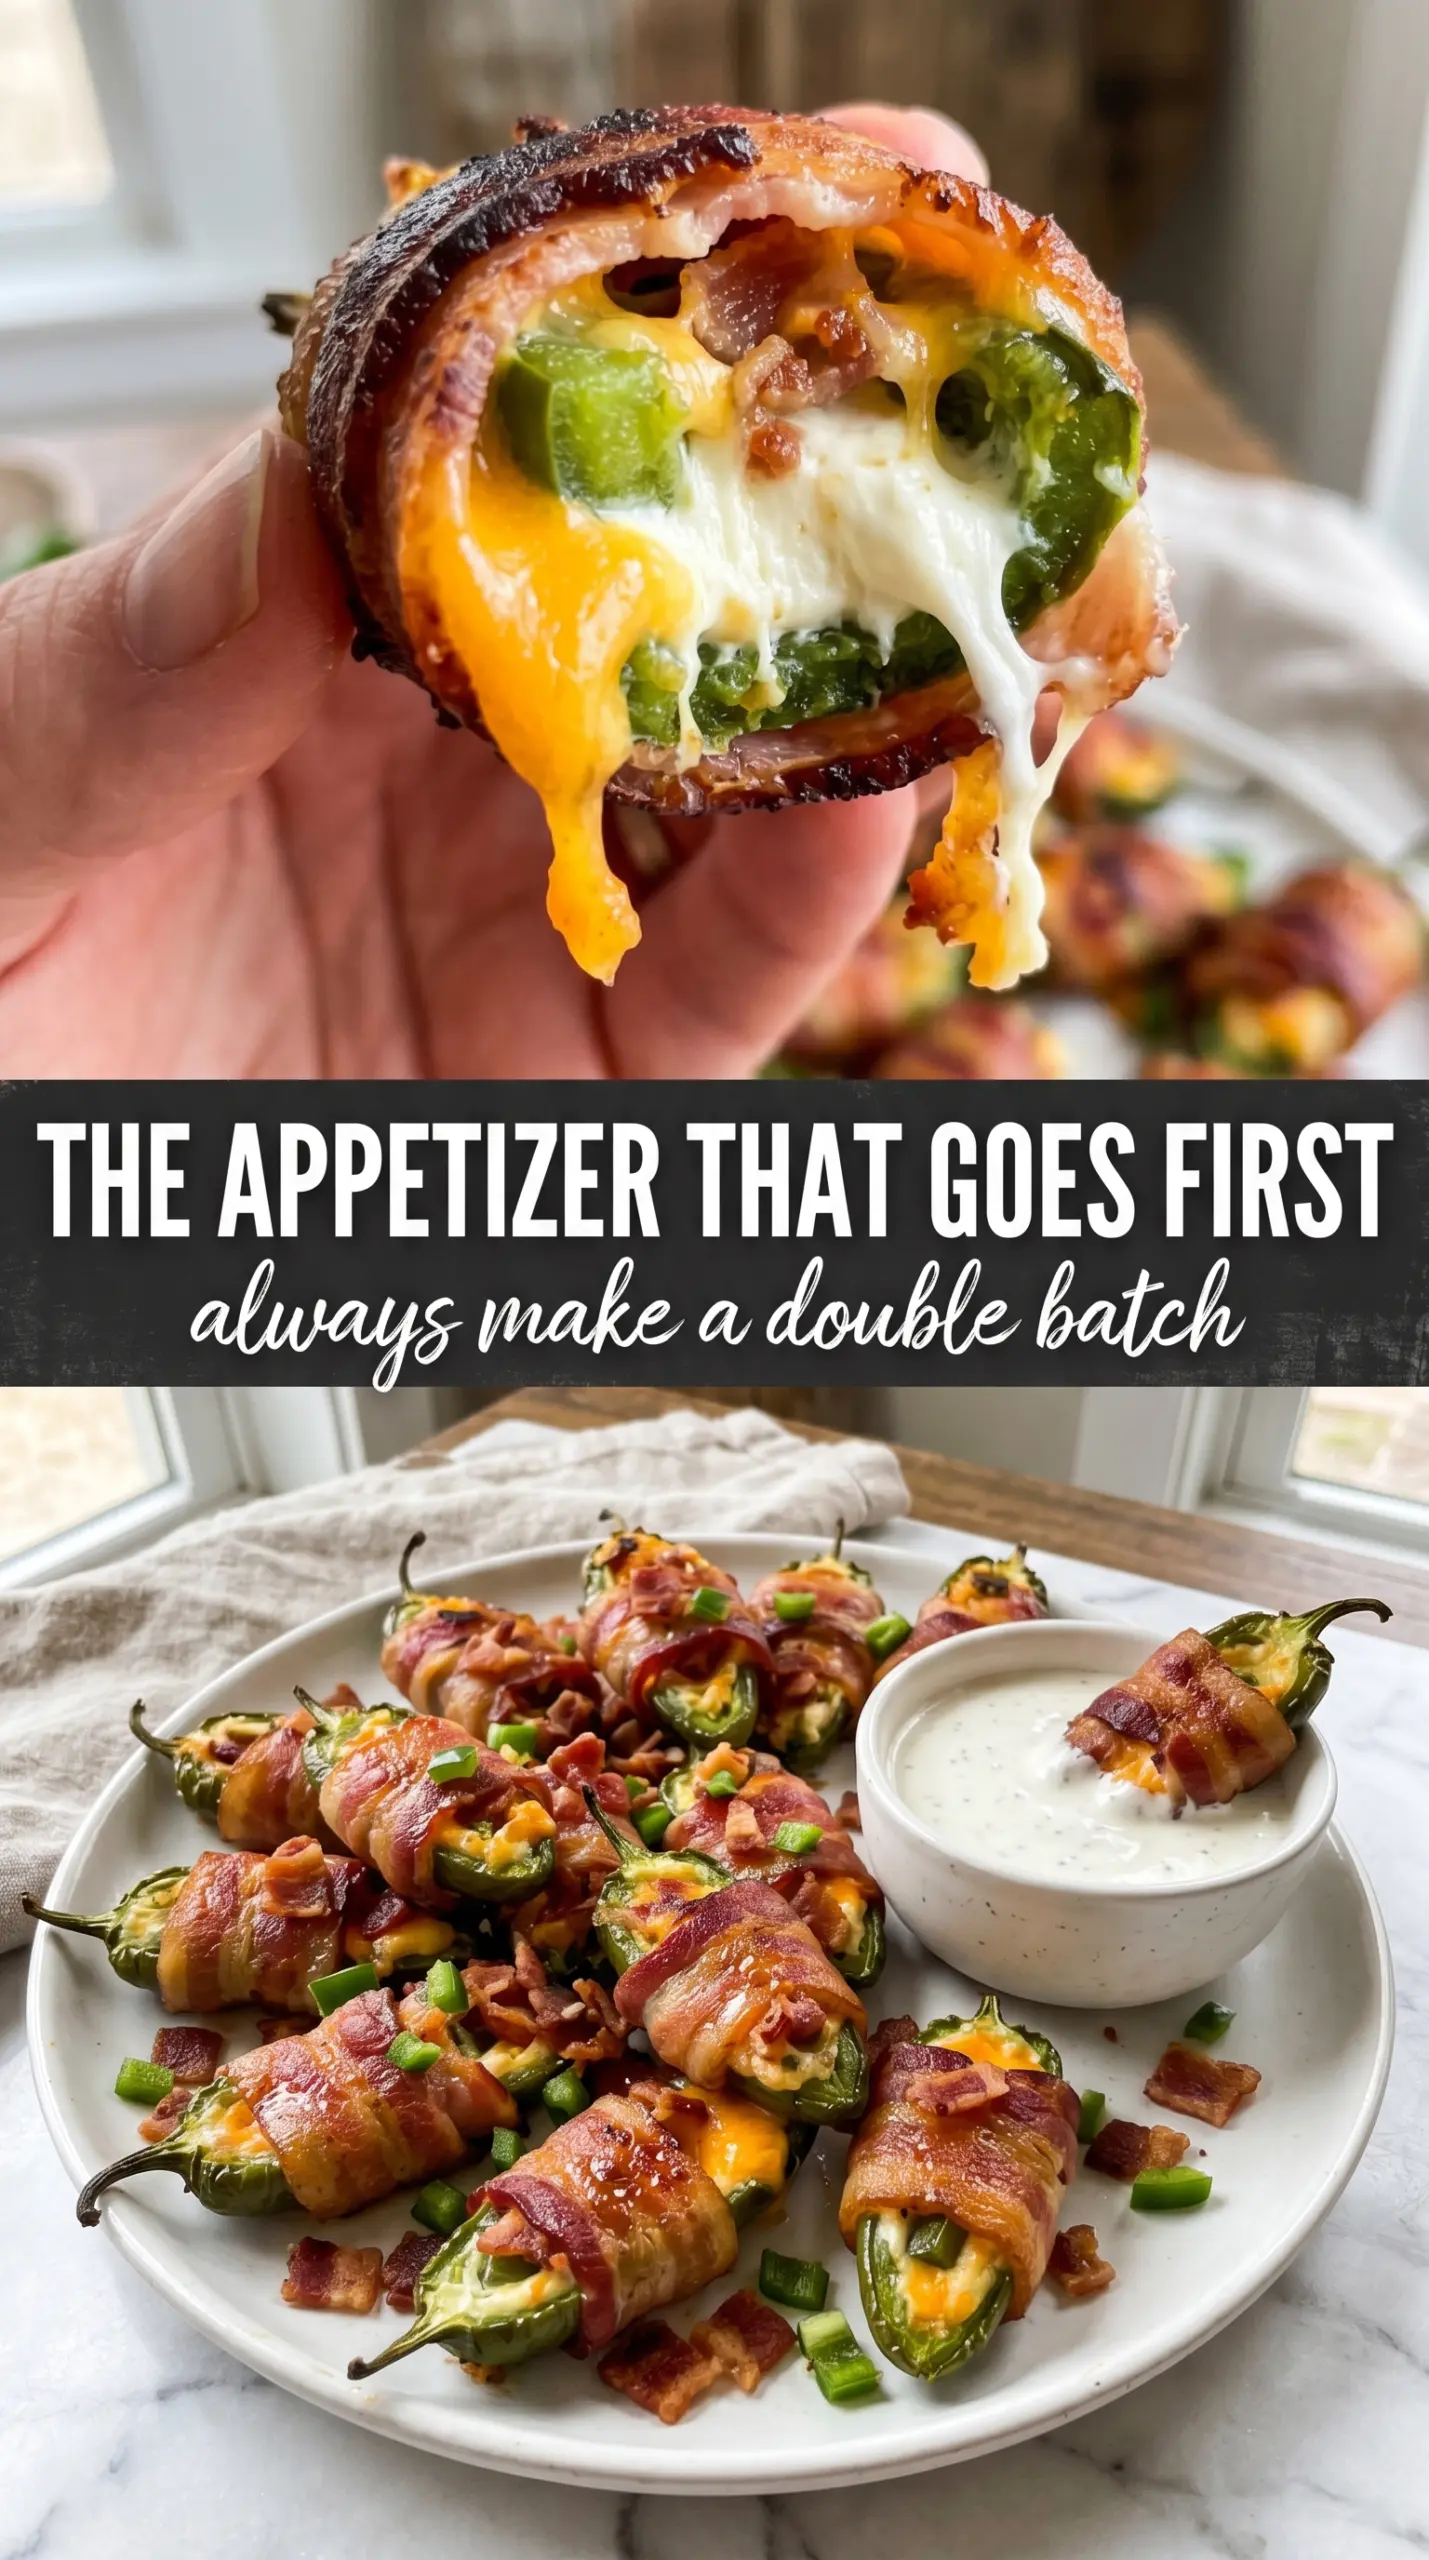
These bacon jalapeño popper bites come out with crisp, salty bacon, a molten cheddar-cream cheese center, and jalapeños that still have just enough bite to keep each mouthful lively. They disappear fast because they hit all the right notes at once: smoky, spicy, creamy, and crunchy.
The part that makes this version work is the wire rack. It lets the bacon render instead of steaming in its own fat, so the bottoms stay crisp and the filling bubbles without turning greasy. Thin-cut bacon also matters here; it wraps tighter and finishes at the same pace as the jalapeños instead of leaving you with soft, flabby strips.
Below, I’ll walk through the one detail that keeps the bacon crisp, the easiest way to fill the peppers without making a mess, and a couple of swaps that still give you a party-ready appetizer.
The bacon got perfectly crisp on the rack and the filling stayed creamy instead of leaking everywhere. I drizzled a little honey on half of them and people kept going back for those first.
Like these bacon jalapeño popper bites? Save them to Pinterest for your next game day spread or party tray.
The Bacon Wrap Trick That Keeps the Cheese Inside
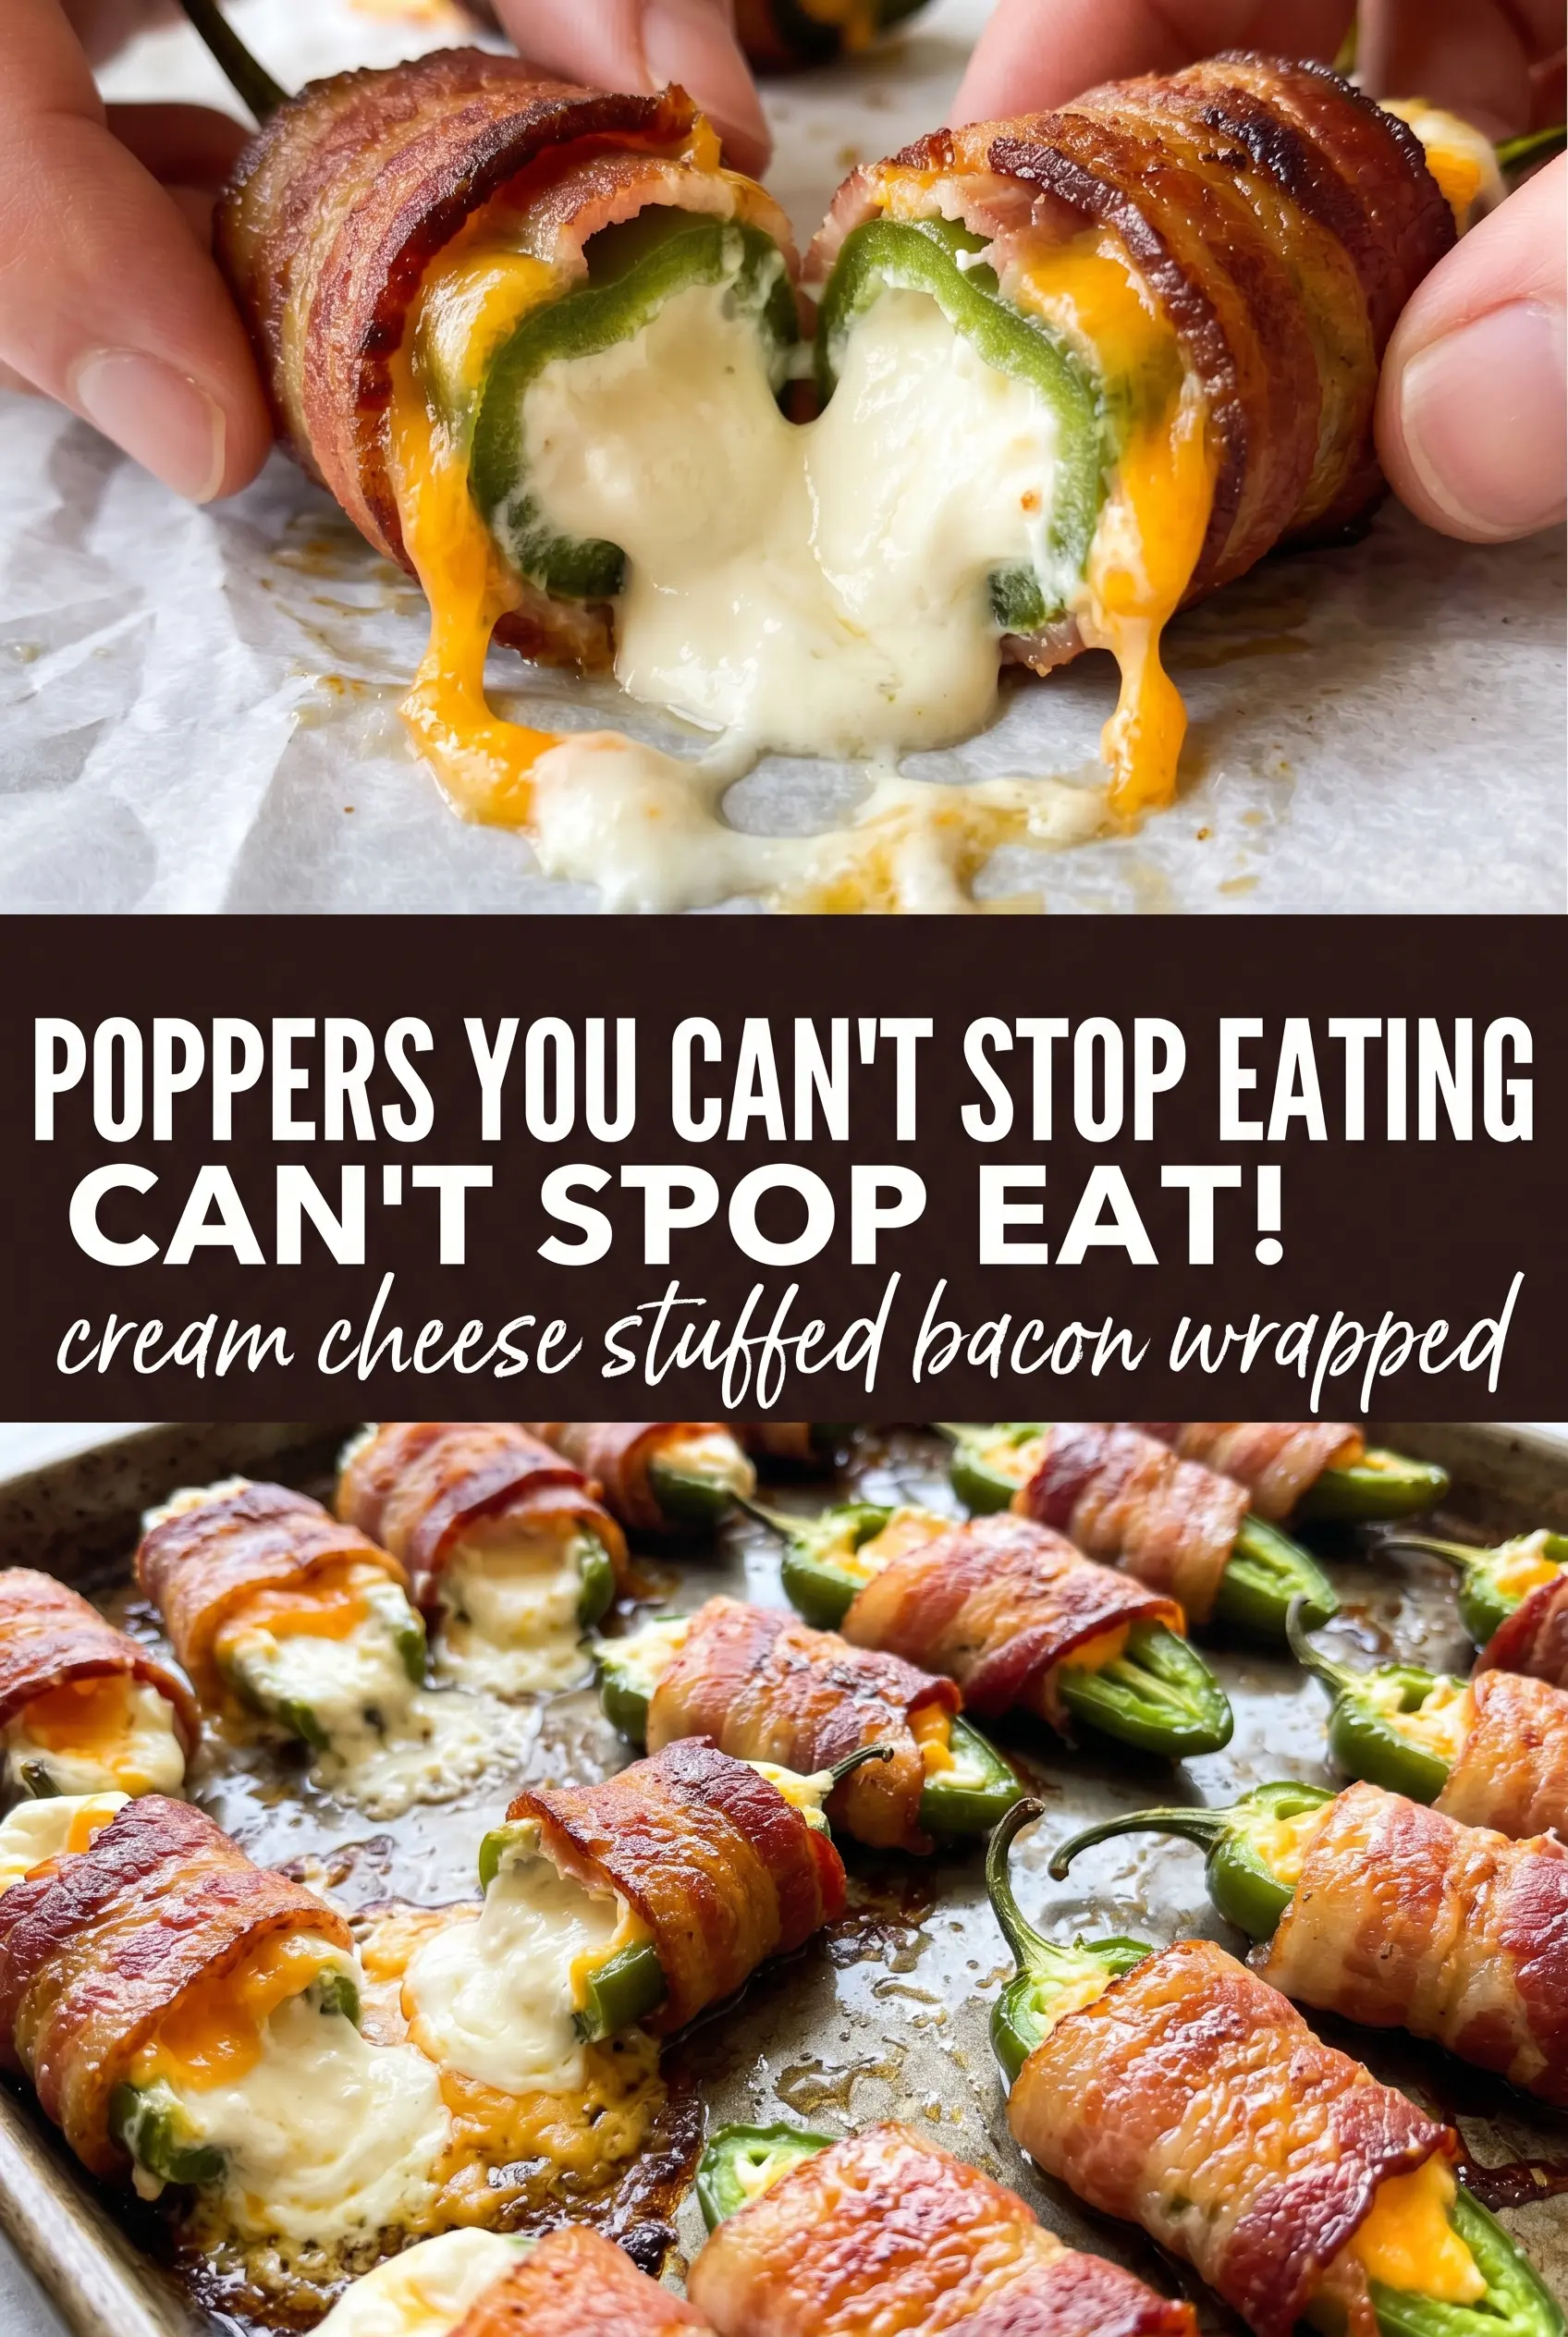
Most popper bites fail in the same place: the bacon shrinks before the cheese sets, then the filling leaks out and burns onto the pan. Wrapping the jalapeños tightly and baking them on a rack gives the bacon a chance to crisp while the cheese stays tucked inside the pepper shell. Thin-cut bacon helps here because it cooks through before the filling has time to overheat and split open.
- Wire rack: This isn’t just for convenience. It keeps air moving around the bacon so the bottoms render instead of going soggy.
- Thin-cut bacon: Thick bacon often needs longer than the peppers do. If thick-cut is all you have, par-cook it for a few minutes first so it can finish at the same pace.
- Seeded jalapeños: Take out the ribs if you want milder bites. Leave a little behind if you want more heat and don’t mind a sharper pepper flavor.
What the Cream Cheese, Cheddar, and Seasoning Are Doing Here
- Cream cheese: This is the base that keeps the filling rich and scoopable. It needs to be softened fully so it blends cleanly with the cheddar instead of staying lumpy.
- Sharp cheddar: Sharp cheddar gives the filling enough flavor to stand up to the bacon. Mild cheddar works, but the bites taste flatter.
- Garlic powder and smoked paprika: These add depth without adding moisture. Fresh garlic isn’t the move here because it can burn and get harsh in the oven.
- Honey: Optional, but worth trying if you like sweet heat. A light drizzle right before serving gives the bacon a glossy finish and makes the spice feel rounder, not hotter.
Building the Bites So They Stay Tight in the Oven
Mixing the Filling
Stir the softened cream cheese, cheddar, garlic powder, and smoked paprika until the mixture looks uniform and thick. If the cream cheese is still cold, you’ll end up fighting little white lumps and the filling won’t spread evenly. The mixture should hold its shape on a spoon, not run. That thickness is what keeps it in the pepper while the bacon shrinks.
Filling and Wrapping
Use a spoon or piping bag to pack the filling into each jalapeño half. Fill them generously, but don’t mound it so high that it spills over the sides before the bacon goes on. Wrap each pepper tightly with a half-strip of bacon, then secure it with a toothpick if it looks loose. The tighter the wrap, the less chance you have of the bacon curling away from the pepper as it cooks.
Baking Until the Bacon Renders
Set the bites on the wire rack and bake at 400°F until the bacon is crisp and the filling is bubbling at the edges, usually 18 to 22 minutes. If the bacon looks pale but the peppers are tender, give it a few more minutes rather than pulling them early. The goal is rendered bacon, not just cooked bacon. Let them sit for a few minutes before serving so the filling settles and doesn’t slide out on the first bite.
How to Adapt These for a Crowd, Less Heat, or No Pork
Milder Party Version
Use jalapeños with the ribs fully removed and rinse the seeded halves under cool water before filling. That takes the edge off the heat without making the peppers bland, which matters because the bacon and cheese need some pepper bite to balance them.
Gluten-Free by Default
These are naturally gluten-free as written, but check your bacon and seasoning labels if you’re cooking for someone sensitive. Some bacon brands add sugar or flavorings that can include unexpected additives.
No-Bacon Option
Skip the wrap and bake the stuffed peppers as-is, then broil them briefly to brown the tops. You lose the smoky saltiness and the crisp exterior, but you keep the creamy filling and the jalapeño bite, which still makes a solid appetizer.
Make-Ahead Shortcut
Stuff and wrap the peppers up to a day ahead, then cover and refrigerate them until baking time. That saves the fiddly prep work, and the chilled bites often hold their shape even better going into the oven.
Storage and Reheating
- Refrigerator: Store leftovers in an airtight container for up to 4 days. The bacon softens a bit, but the filling stays tasty.
- Freezer: Freeze after baking if you need to, but expect the cream cheese filling to lose some of its smooth texture. Freeze on a tray first, then move to a bag or container.
- Reheating: Reheat on a rack in a 375°F oven until hot and the bacon firms back up, about 8 to 12 minutes. The microwave will make the bacon rubbery and the peppers watery.
Answers to the Questions Worth Asking
Bacon Jalapeño Popper Bites
Ingredients
Equipment
Method
- Preheat the oven to 400°F and line a baking sheet with a wire rack.
- Mix together cream cheese, shredded cheddar, garlic powder, and smoked paprika until fully combined, then scrape down the sides so everything is evenly distributed.
- Fill each jalapeño half generously with the cream cheese mixture using a spoon or piping bag.
- Wrap each filled jalapeño half tightly with a half-strip of bacon and secure with a toothpick.
- Arrange the bacon-wrapped jalapeño halves on the wire rack and bake for 18–22 minutes until the bacon is crispy and the filling is bubbling with a lightly browned edge.
- Drizzle with honey if desired and serve hot while the cheese stays visibly melted.